
Still Dreaming of Tulips in Amsterdam…
I’ve been continuing to play around with the Flowering Tulips Bundle. I’m really enjoying this bundle and so much more than I thought I would. When the catalog first came out I completely passed over this set. It was Terry who picked it out as one of his top 5 sets and that’s why I purchased it. I’m so happy that I did. I haven’t purchased the Flowering Tulips stamp set but now I’m thinking about it.
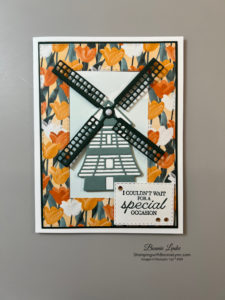
For my card this week I started by using the Stitched Rectangle Dies to cut out the outside edge of the Flowering Field Designer Series Paper (DSP) using the 1st (largest) die. Then using die #5, center it on this same piece of paper to cut out the center (Save this piece to use as the focal point of another card, coming this weekend). This is your DSP Frame.
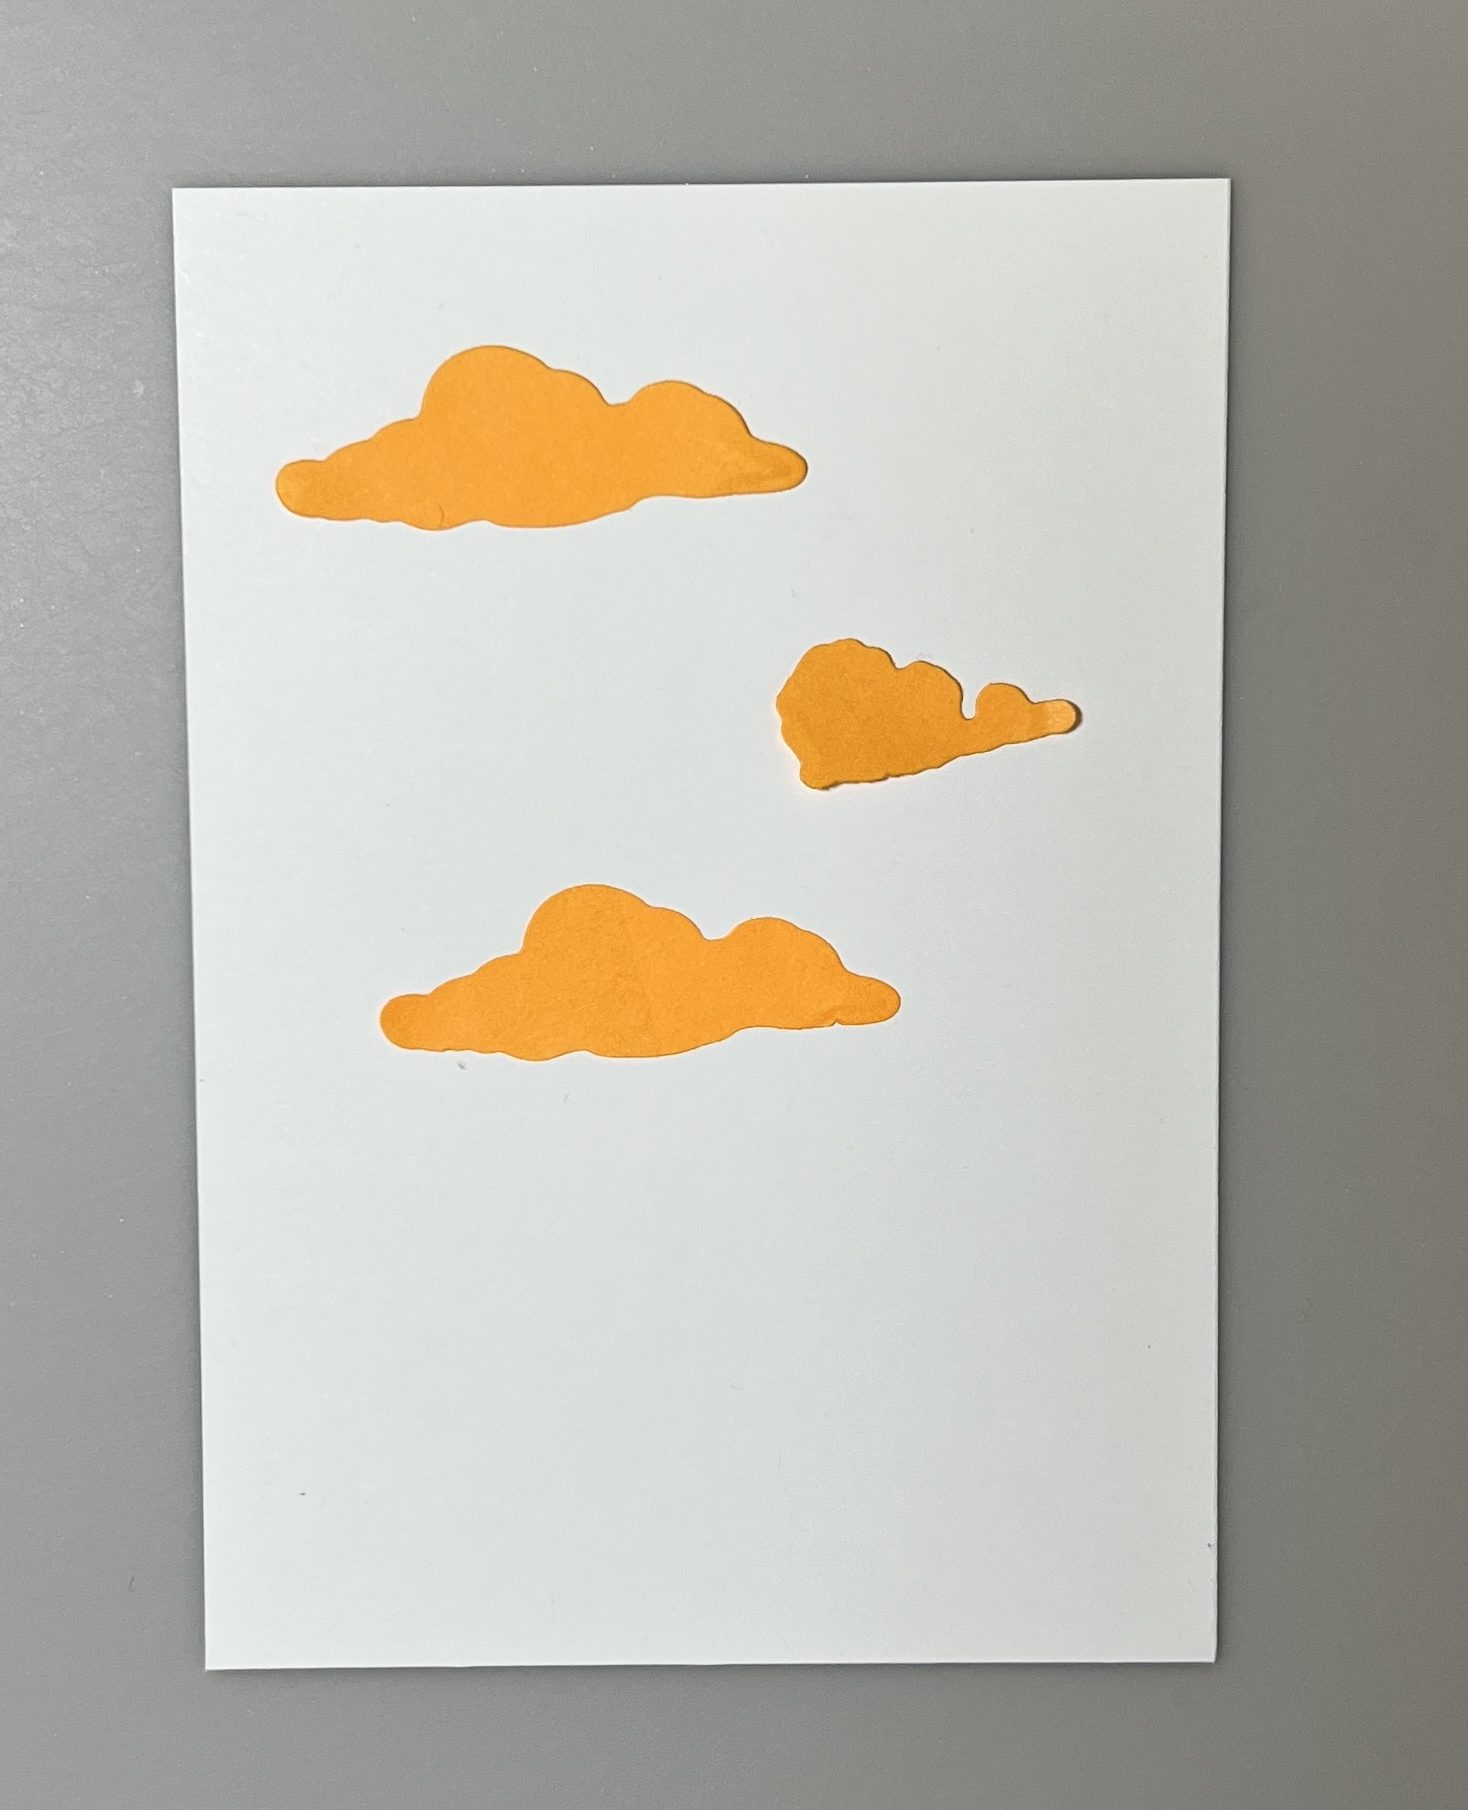
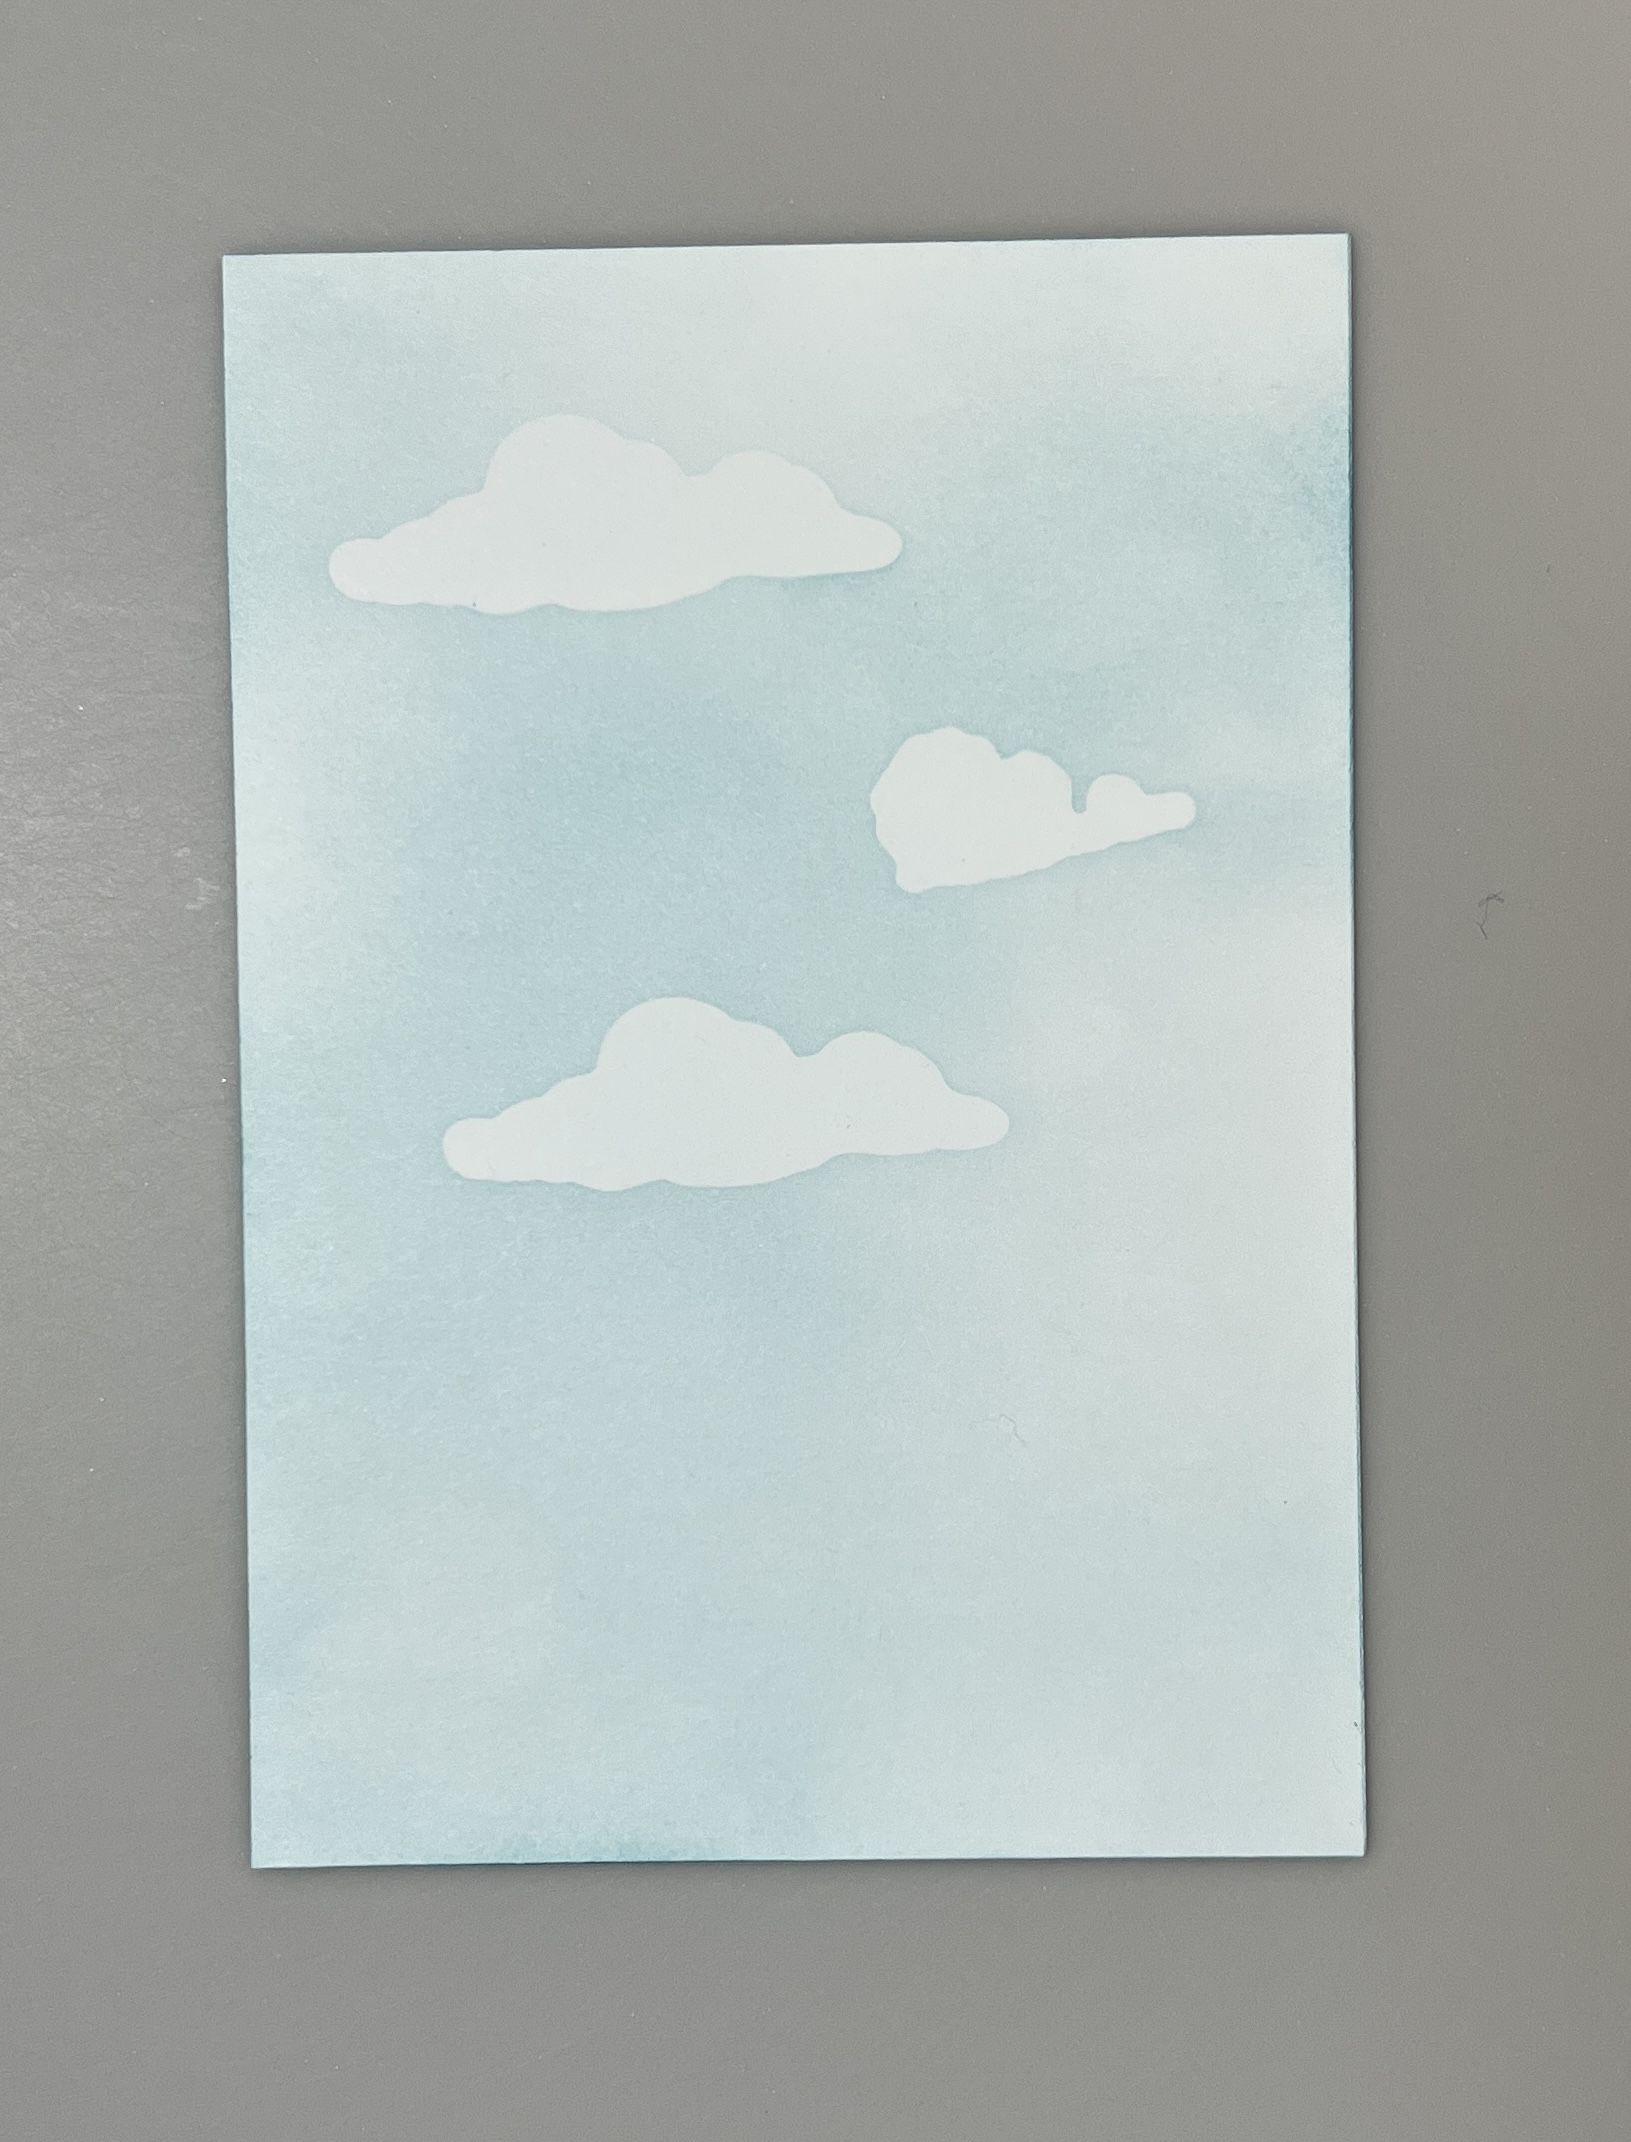
Cut out some clouds with you dies to use as masks on your sky background. Use masking paper or post it notes. Post-its now has ones with the whole post it is sticky called Super Post its.
Place your cloud masks on Basic White piece. Using Blending Brush and Balmy Blue Ink to create your background. Sky is darker than you think so lift masks to check your color and use a light hand when using Blending Brush.
Adhere cloud background to backside of the DSP Frame. Adhere Frame to Evening Evergreen Cardstock.
Fold card base on the 4-1/4” score line and burnish with Bone Folder.
Adhere DSP Frame section to card base.
Use dies to out the 3 pieces of the windmill. You might need to run the detailed top piece of the windmill building through your Stampin Cut and Emboss machine an extra pass or two as it’s a fine detailed die cut.
Adhere the Windmill shape and Windmill detailed piece together with glue. Attached Windmill blades with a brad or using a Glue Dot. Add a Matte Dot over the hole if you do not use a brad. If using a brad do not make it tight as you want to leave it loose so you can turn the windmill.
Adhere Windmill to front of card using Dimensionals.
Stamp greeting on scrap of Basic White Cardstock using Evening Evergreen Ink. Use Layering Circle Die to cut out. Adhere with Dimensionals to front of card.
For inside of card adhere a piece of Basic White Cardstock to Evening Evergreen and adhere to inside of card. Try a 3-3/4” x ¾” of DSP at bottom of the Basic White or maybe stamp a windmill in the bottom corner.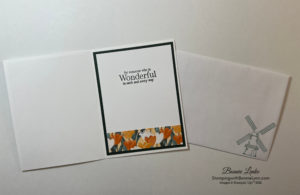
To finish the envelope stamp the Windmill on the front and/or add a piece of DSP to the outer back flap. Use glue to add it and trim to fit.
Click on photo below to go to video on YouTube

And now you have a beautiful card to brighten someone’s day.
Happy Stamping!
Card Recipe
Cardstock:
- Basic White Thick: card base 8-1/2” x 5-1/2” scored at 4-1/4”
- Evening Evergreen: (card front) 3-7/8” x 5-1/2”
- Basic White: 3” x 4-1/4”
- Flowering Fields designer series paper: 4” x 5-1/4”, 4” x 3/4” for inside card at bottom
- Evening Evergreen: (inside) 4” x 5-1/4”
- Basic White: (inside) 3-3/4” x 5”
- Scraps: Evening Evergreen, Soft Succulent and Basic White
Supplies Used:
Cardstock in Basic White, Evening Evergreen, Soft Succulent. Stamp Sets: Tulip Fields. Dies: Windmill Fields and Stitched Rectangle Dies. Inks – . Ribbon – Black & White Gingham. Embellishments – Polished Dots.
Tools used: Stampin Cut and Emboss Machine, Paper Trimmer, Bone Folder, Take Your Pick, Blending Brush and Scissors.
January Host Code: T3ZXTSCK
Use this host code when you order $50 or greater of merchandise and receive a free gift from me. If your order is over $150, please do not use this code, but you’ll still get the free gift.
*****Make sure that you can see my name on the final checkout page listed as your Demonstrator when you order so that you know that you’re ordering with me and you’ll get my rewards.*****

SALE a-bration Going on Now!
The January-February Sale-a-bration event from Stampin’ Up! is going on now. There are some awesome new products that you can earn for FREE with orders of $50+ and orders of $100+ placed between January 4 and February 28.
SHOP
- Spend $50 or more and pick from 7 new products (4 stamp sets and 3 paper packs!) that are available as free items!
- Spend $100 or more and pick from 2 new items (1 stamp set and paper bundle and 1 stamp set) that are available as free items!
- Let me know if you have questions about how SALE-a-bration works.
I would love to be your Stampin’ Up! Demonstrator. To shop with me just click on the link to go to my Stampin’ Up! Store here: https://bonnielenke.stampinup.net/
HOST
- There is a new host exclusive stamp set, Calming Camellia, that will be available for FREE with either a personal order of $300 plus or a party with sales totaling $300 plus.
- Drop me an email at Bonnie@bonniestamps.com if you’re interested in setting up a personal host code for you and your friends to see if you can collect orders to reach the $300 point to get that free stamp set.
JOIN
- There is an AWESOME joining promotion happening! If you purchase the Starter Kit between January 4 and February 28, you’ll get to pick a TWO FREE stamp sets with your Starter Kit!! All stamp sets except for host exclusive and Sale-a-bration stamp sets are can be picked as your free sets!!
- When you purchase the Starter Kit for $99 + taxes (if applicable) before the end of Sale-a-bration, the kit ships for FREE and you get to pick $125 in Stampin’ Up! merchandise and you’ll get TWO additional FREE stamp sets with your kit! Yay!! Two free stamp sets in addition to $125 in merchandise for $99, yes please!
- If you have any questions about joining, please drop me a note at bonnie@bonniestamps.com, I would be happy to talk with you. You can also see additional information on my blog at https://bonnielenke.stampinup.net/join_now

Pingback: FLOWERING TULIPS CARD & PAPER PUMPKIN