How to Make Your Own Background with Stampin Blends
This is a fun card to make and I hope you enjoy working with alcohol inks to make the background for this card and many more.
Start by taking your 91% or higher rubbing alcohol and pour a little into a small container and fill your water painter with the rubbing alcohol. I highly suggest you designate one water painter to use only rubbing alcohol in it.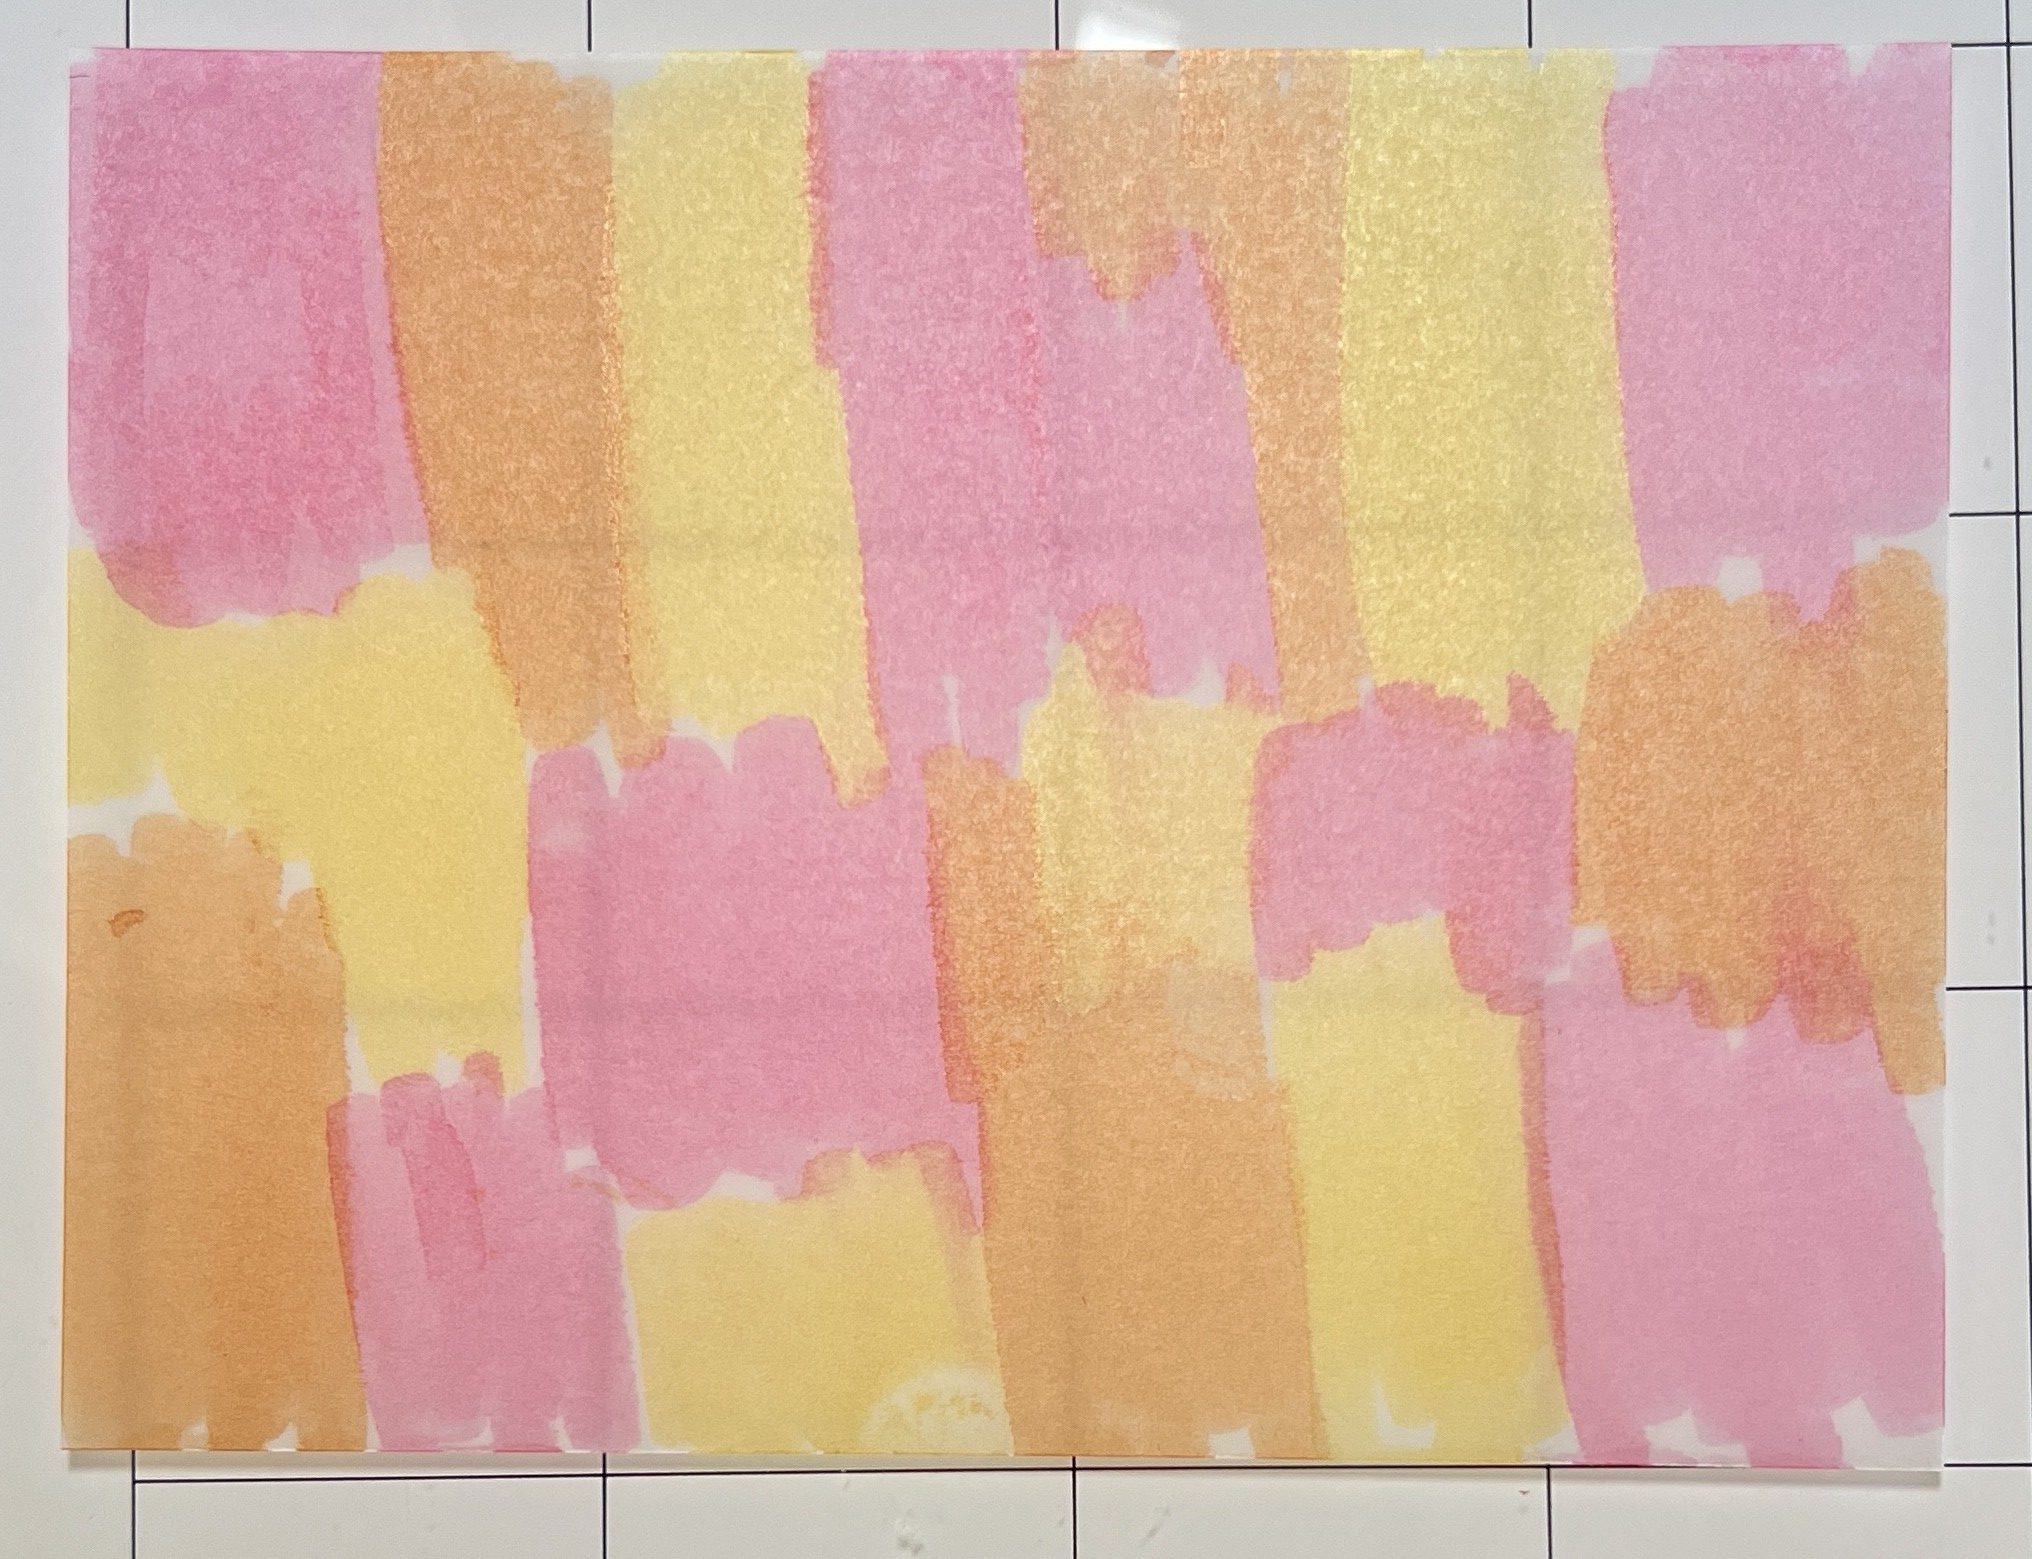
Next grab your piece of vellum and color it with different colors of Stampin Blends or your favorite type of alcohol markers. Make sure you color the complete piece of vellum. Using either a paint brush or a water painter that is filled with at least 91% rubbing alcohol, blot all one of color of ink, then move onto another color of ink until you have all the colors activated by the rubbing alcohol. Colors used in this card were Polished Pink, Fresh Freesia and Daffodil Yellow. (Below are 4 samples of other colors)
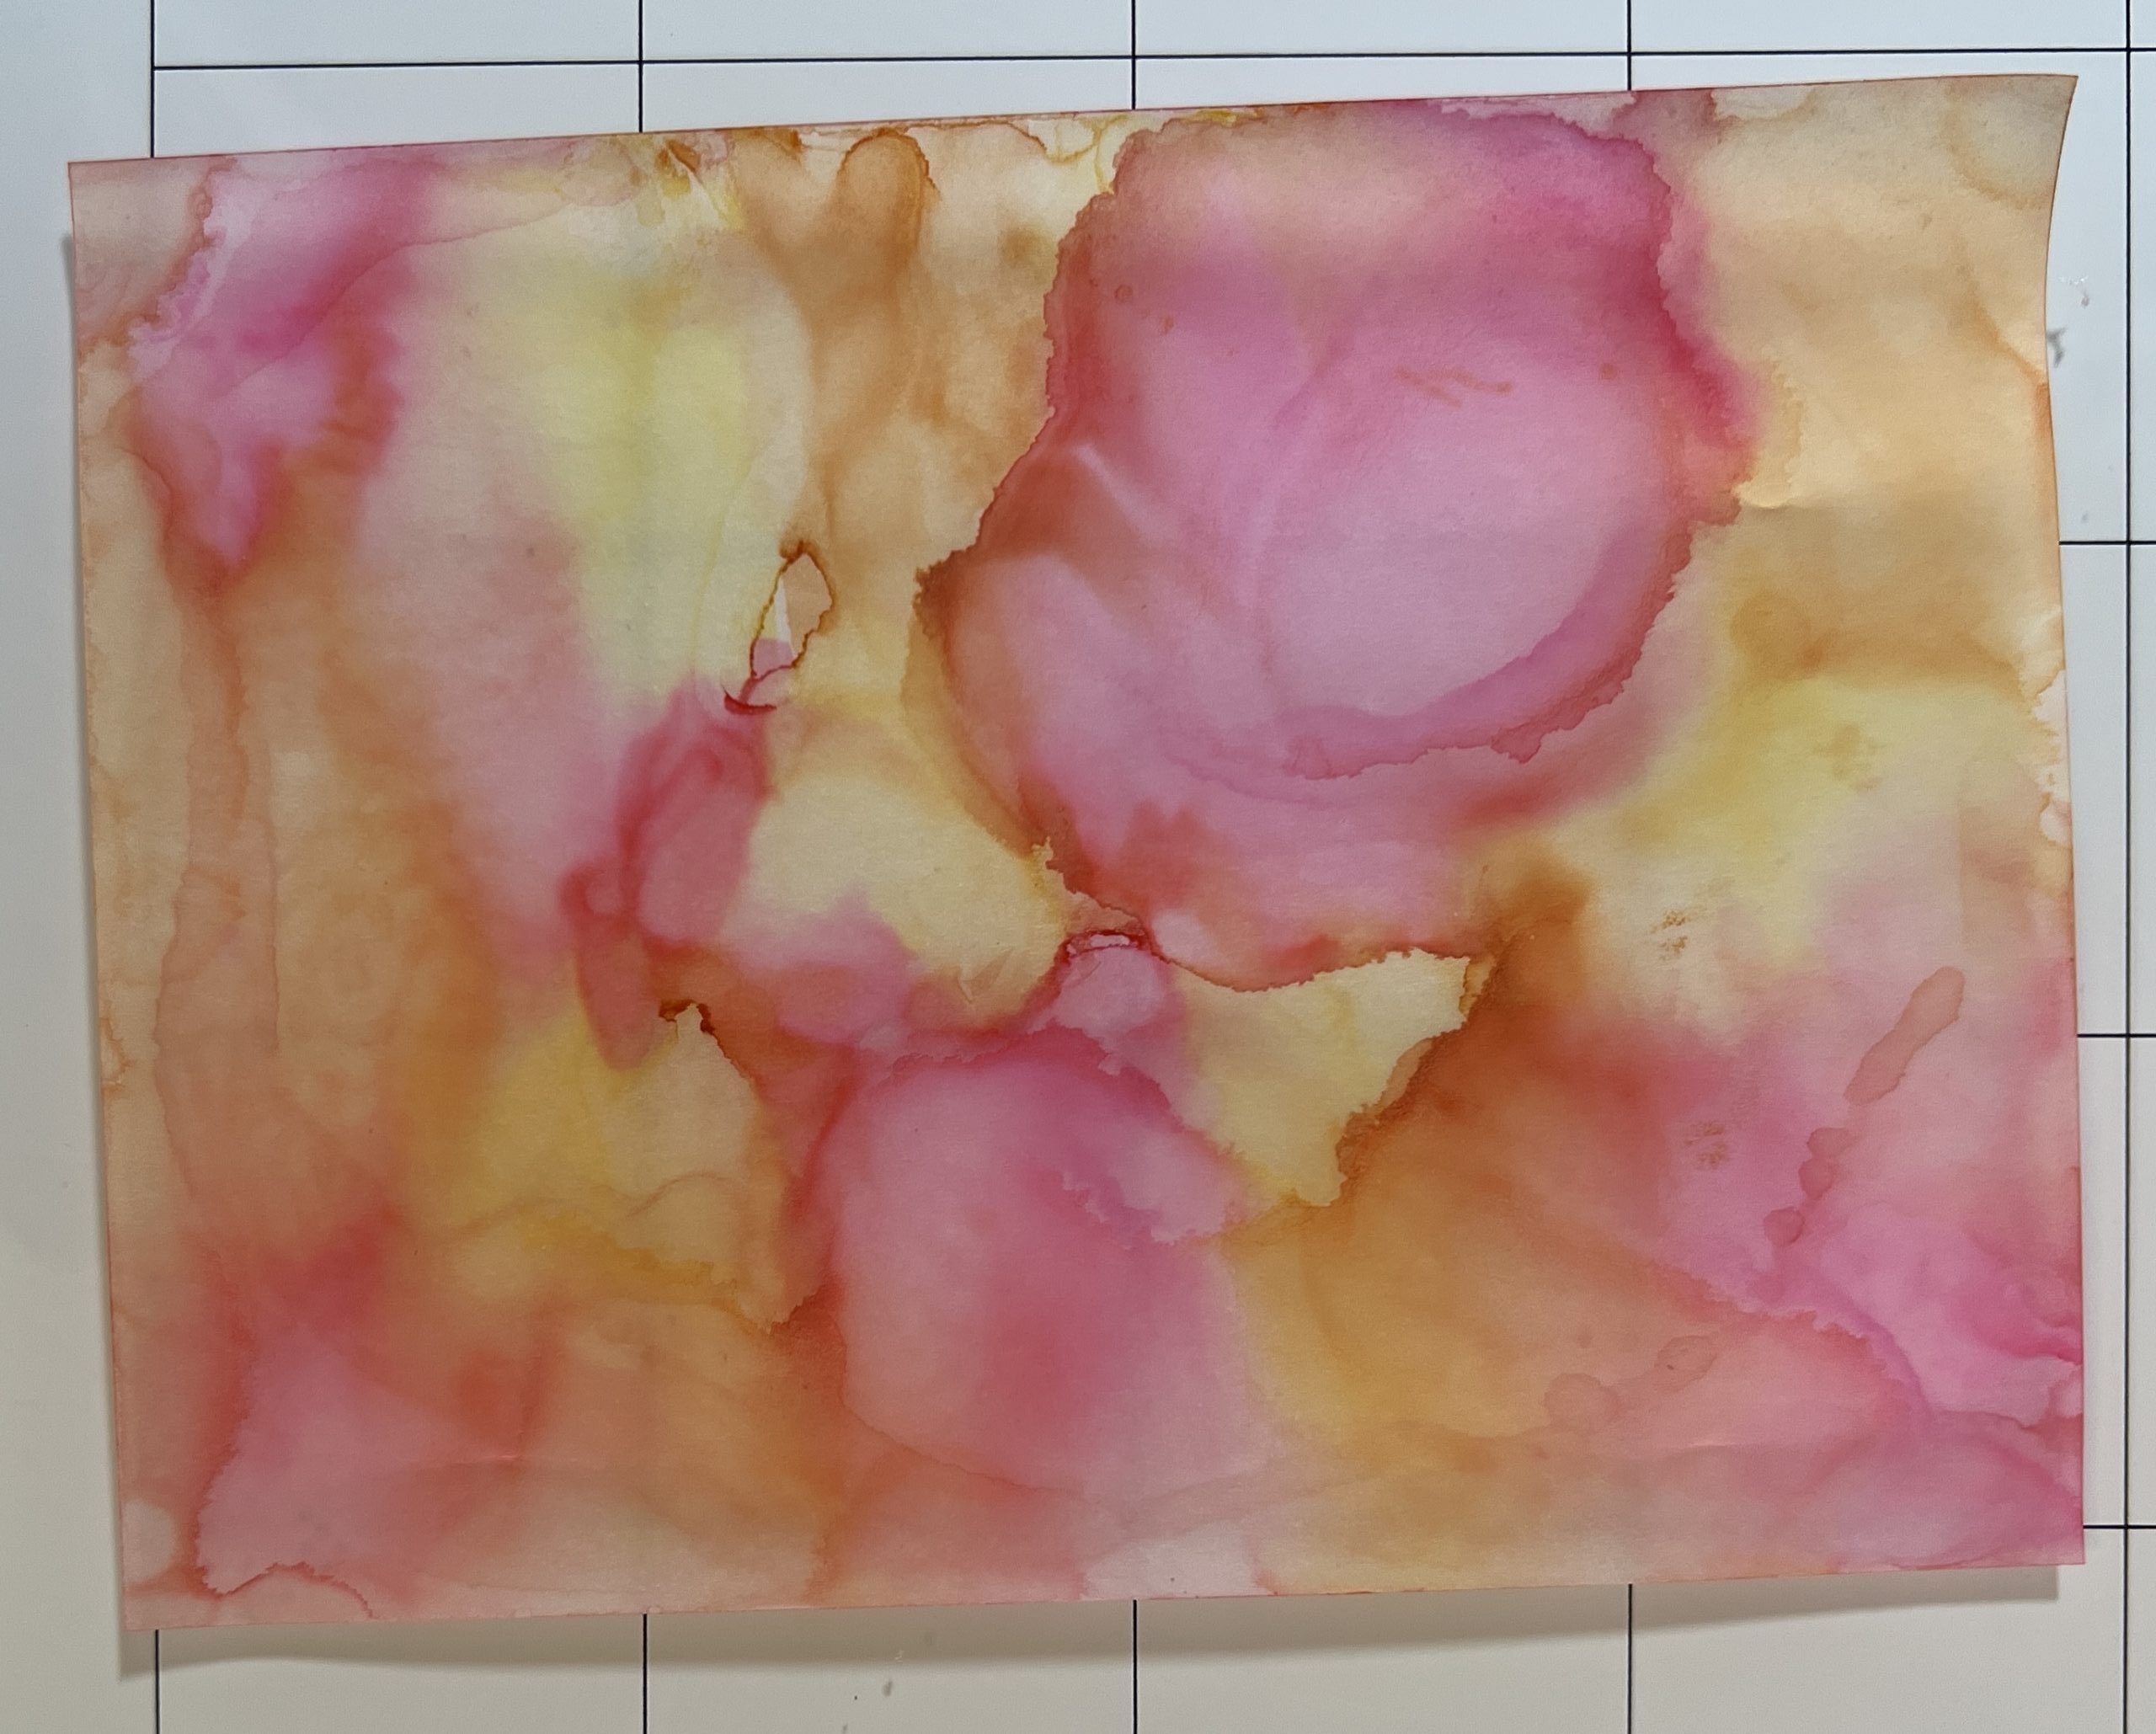

Using a straw blow the rubbing alcohol around till to achieve your desired look. Let air dry or us your heat gun. Once dry splash rubbing alcohol with your water painter or spray with a spritzer filled with rubbing alcohol for a spotted look.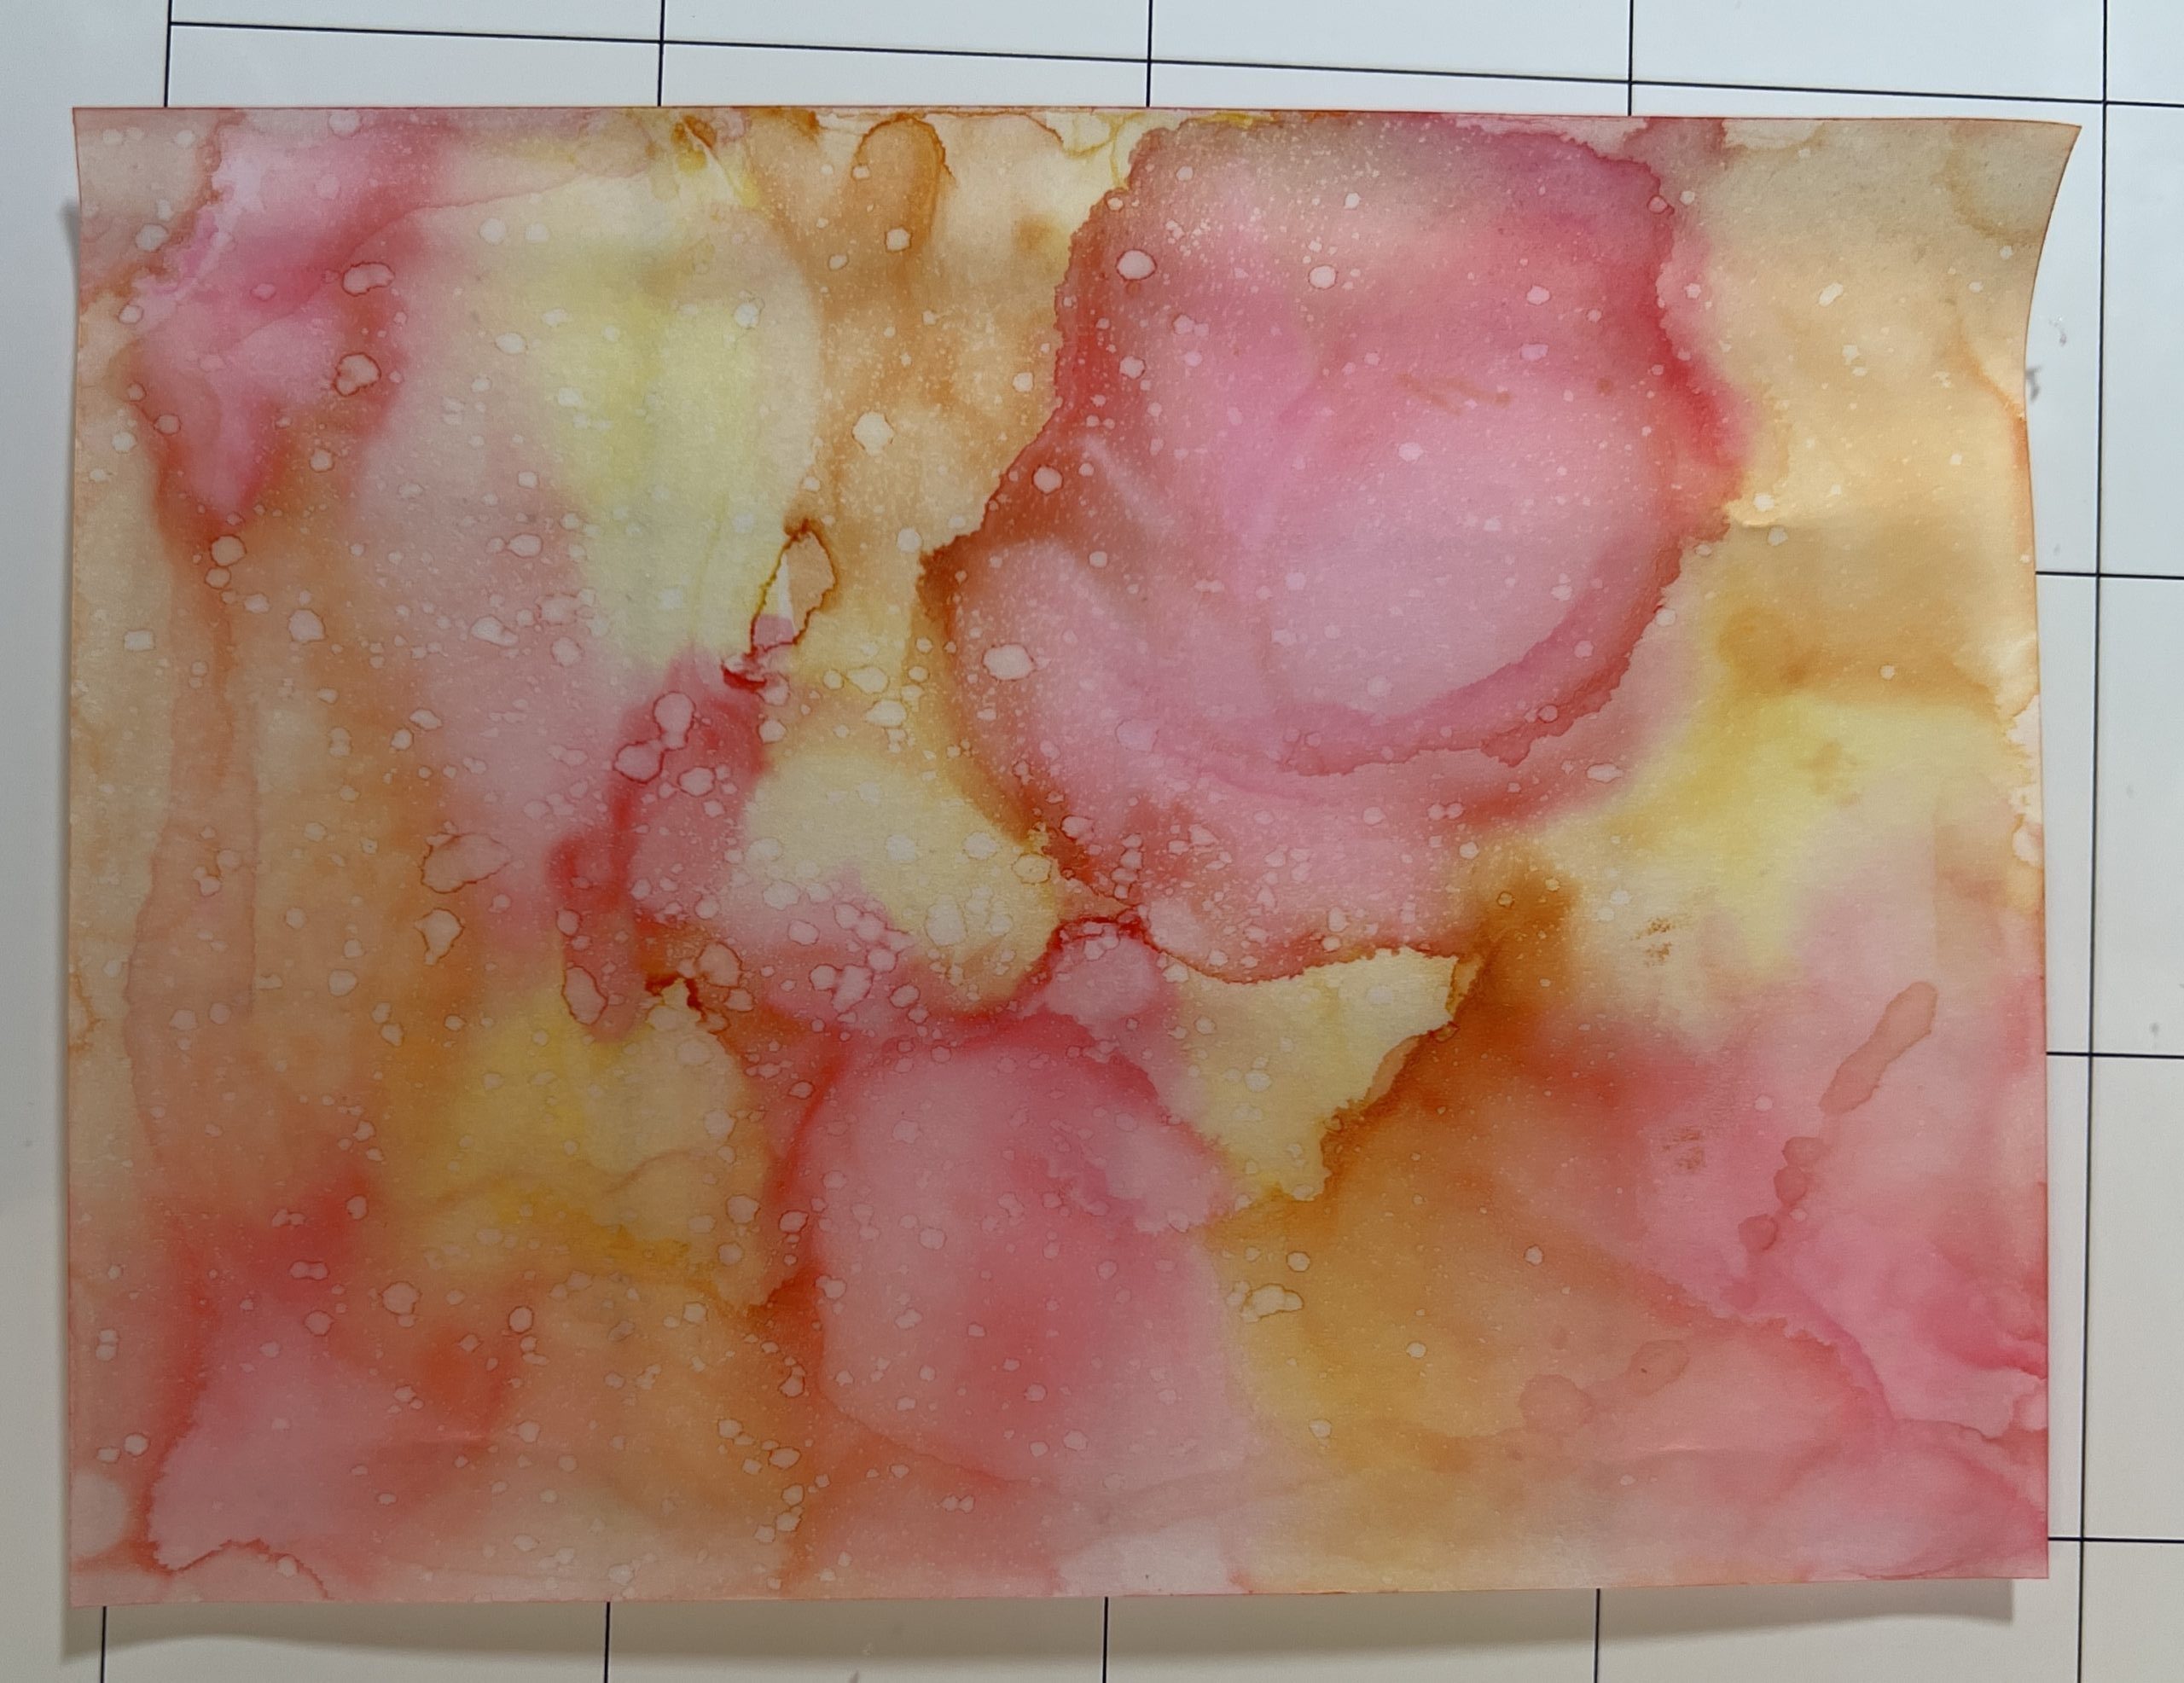
Apply tape to back of vellum once it is completely dry. I recommend using tape along all 4 sides to hold the vellum flat. Tape to a piece of basic white cardstock of the same size.
Apply the vellum/cardstock combination to your card base of basic white.
Using your Stampin Cut and Emboss machine, die cut out your frame with the 2nd largest Rectangle Dies on your polished pink cardstock. Tape or glue over your alcohol ink background.
Next cut the detail flower from the Artistic Dies out of foil. Glue onto your card front.
Finish the inside of the card with a piece of polished pink cardstock. Stamp a saying onto the basic white 3-3/4” x 5” cardstock and then attached to polished pink cardstock.
At this point you can add a greeting to your card. I would probably stamp it using Polished Pink ink onto white cardstock and cut it out using a shape with a curve to it. I elected to not use a greeting so that the person who receives this piece of art could enjoy the beauty of it year-round.
Add some bling to finish it off.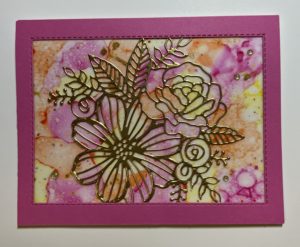
CLICK HERE FOR VIDEO
Card Recipe:
- Basic White Cardstock for card base: 5-1/2” x 8-1/2” scored at 4-1/4”
- Polished Pink: 4-1/4” x 5-1/2” (frame), 4” x 5-1/4” (inside)
- Vellum: 4” x 5-1/4”
- Basic White: 4” x 5-1/4”, 3-3/4” x 5” (inside)
- Gold Foil: 4-1/4” x 4-1/4” (detailed flower)
Supplies Used:
Vellum, Basic White Cardstock, Polished Pink Cardstock, Gold Foil Sheets, Stitched Rectangle Dies, Artistic Dies, Double Sided Tape or Stampin Seal, Stampin Blends for shown card: Polished Pink, Daffodil Yellow and Pumpkin Pie. In samples I used the previous plus: Pacific Point, Bermuda Bay and Granny Apple Green.
Tools used: Stampin Cut and Emboss Machine, Paper Trimmer, Bone Folder, Take your pick with brush attachment, Water Painter and Stampin Spritzer.