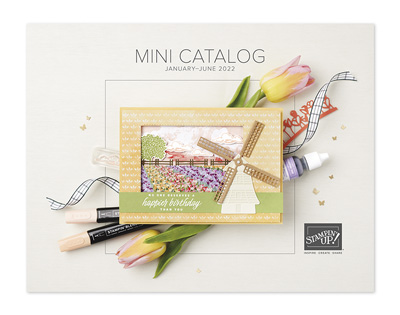
January – June Mini Catalog Plus SALE a-bration
Can you believe it’s already a New Year. Happy 2022. To Celebrate the New Year and the New January to June Mini Catalogue, Stampin’ Up is having a SALE a-bration. With every $50 in merchandise you order at one time between January 4th and February 28th you get to pick an item out of the SALE a-bration Catalog (Catalogues are attached below). Quantities are limited to stock on hand. Check out my card below using the Daffodil Afternoon Designer Series Paper that you can earn free with your order. I’m also featuring the Daffodil Daydream Bundle. I love this set.
Daffodil Daydreams
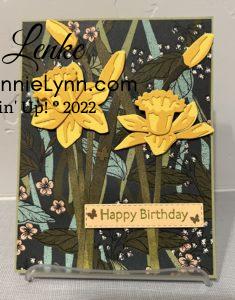
I used the Stampin’ Up! Daffodil Daydream stamp set and dies from the January – June 2022 Mini Catalog to create my card for you this week. I started by stamping one of the daffodil imagines on a 5-1/4″x 4″ piece of Basic White card stock with black memento ink. I then set it aside to dry good for coloring with the Stampin Blends.
I then attached the Daffodil Afternoon Designer Series Paper, measurements below, to the Pear Pizzazz card stock with Tear N Tape. At this point I cut out the images needed for the bottom layer daffodils out of Daffodil Delight card stock. Using the Crushed Curry card stock I cut out the top layer of the daffodils. I also cut the stems and leaves out of a piece of the Beauty of the Earth designer series paper. Glue the Crushed Curry pieces to their coordinating Daffodil Delight pieces.
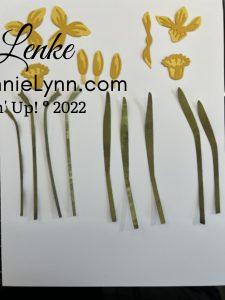
Lay the daffodils out on the card front and decide where you would like the stems and leaves out. You may wish to cut off an inch or two from the bottom of the stems and leaves to adjust for height. Glue the stems and leaves in place making sure you the end of stem free to attach the daffodil buds to. Using glue dots or dimensionals attached the daffodil flowers and bulbs as desired.
Sentiment is from the Art Gallery stamp set. Stamp the sentiment with Old Olive ink onto a piece of Pale Papaya card stock. Cut out with a Stitched Rectangle die thinlets. Attached to card front with Stampin dimensionals, I prefer to offset mine a little. You might want to try and get it a little straighter than I did :).
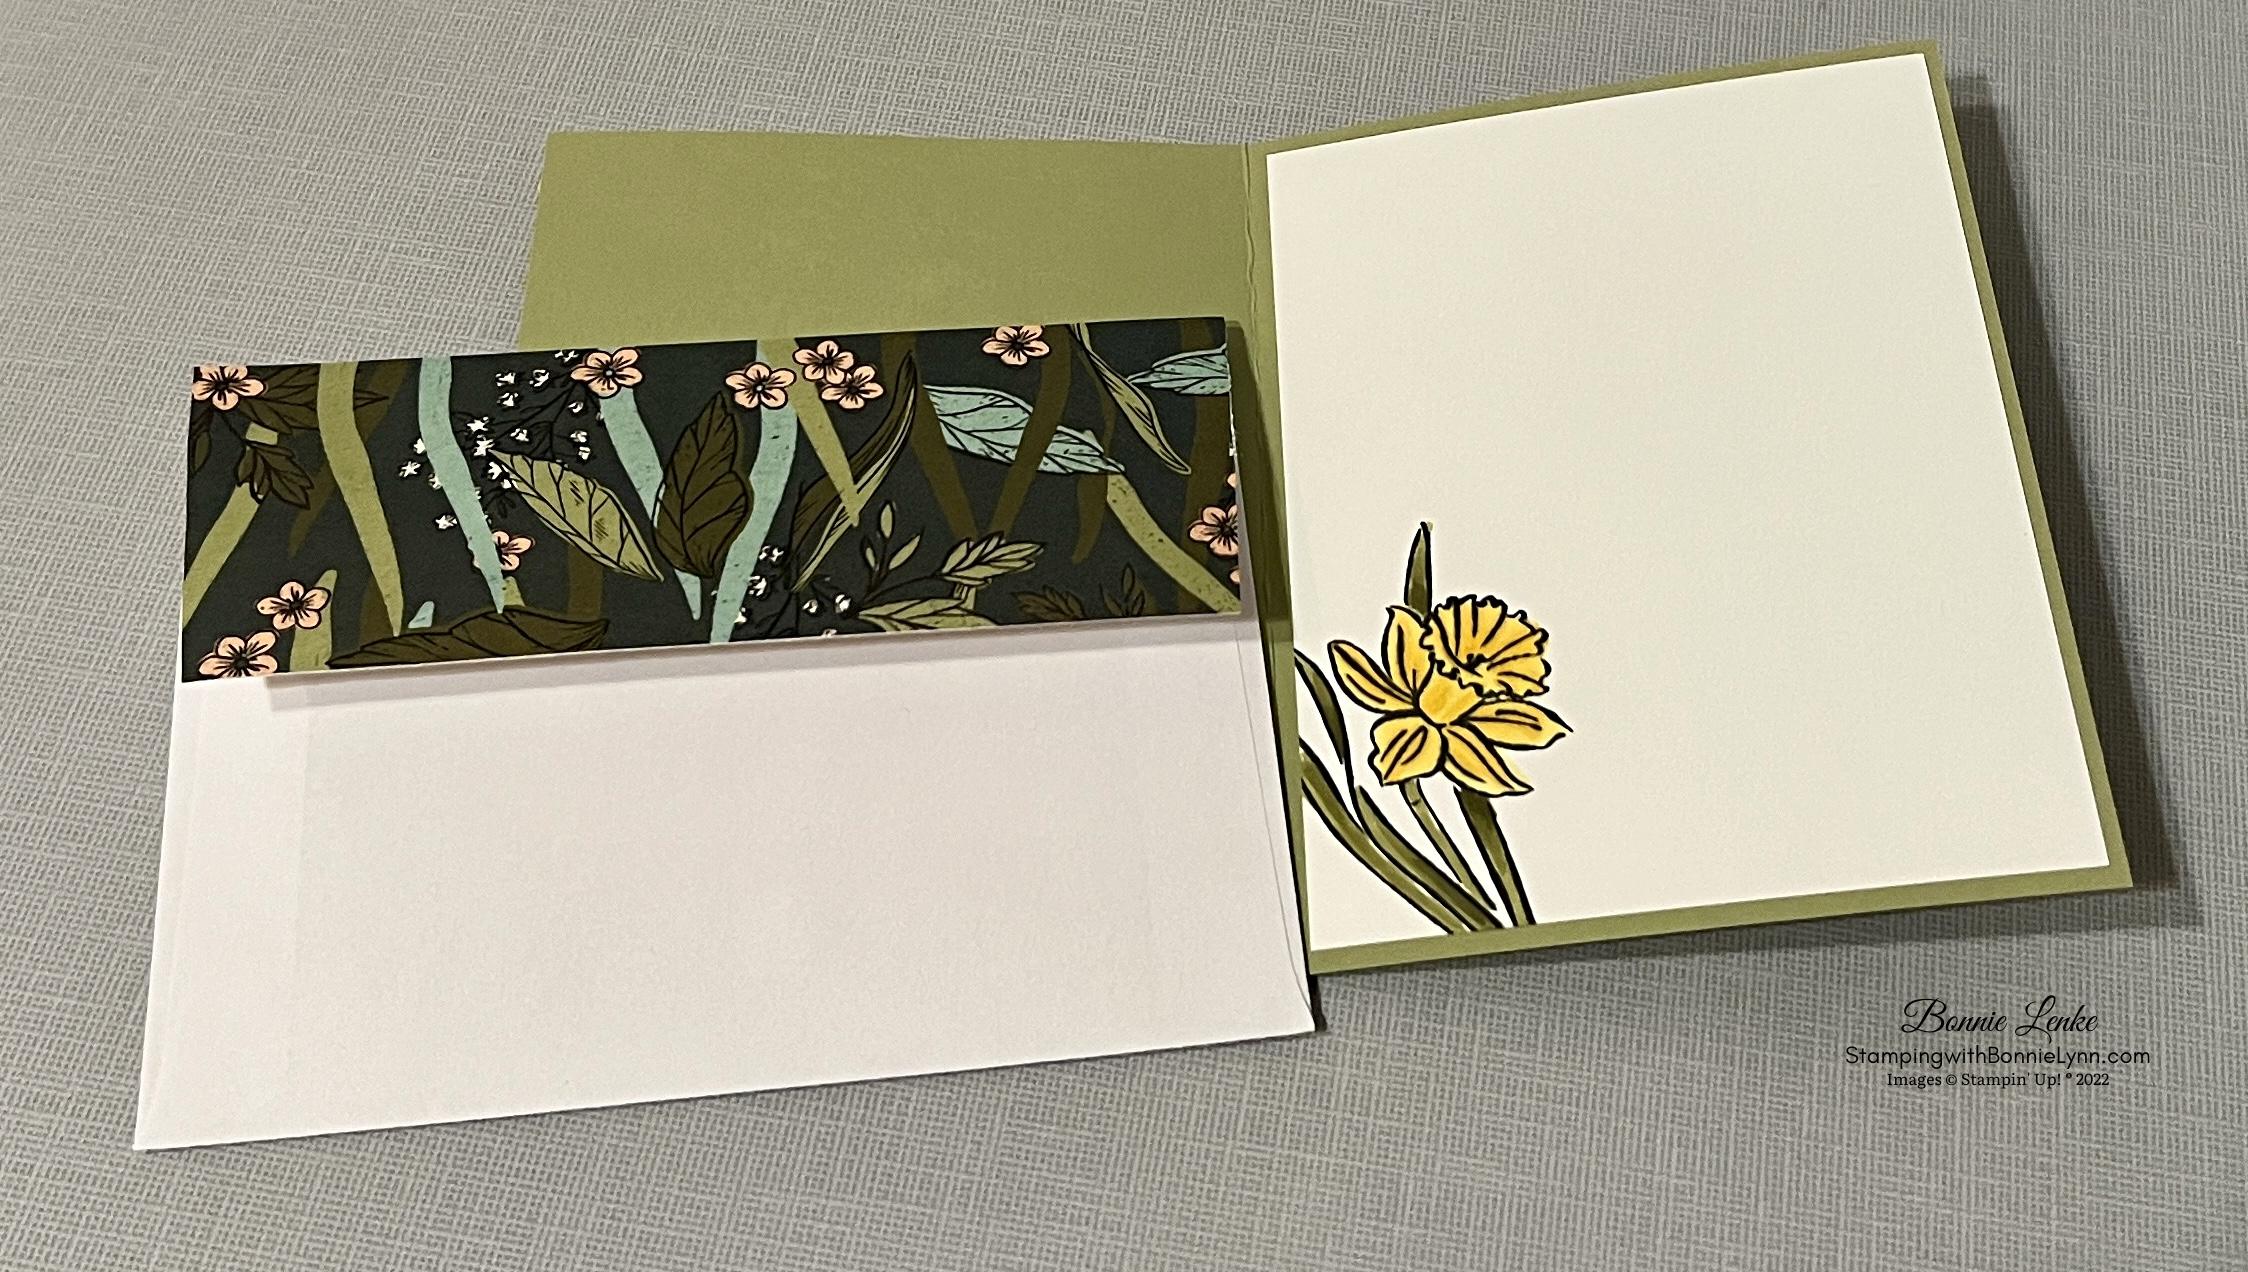
For the inside I colored the stamped imagine with Daffodil Delight and Old Olive Stampin Blends using both the dark and light shade of each. Using your favorite adhesive attached to card inside.
For the envelope I decided to add a piece of the Daffodil Afternoon designer series paper to the back flap with liquid glue. I then trimmed off any excess paper on the sides. You could also stamp an imagine on the front corner of envelope and color with your Stampin Blends. If you do remember to put a piece of paper on the inside so the ink doesn’t go through to back side.
Card Recipe:
- Mint Macaron or Old Olive – 5-1/2″ x 8-1/2″, scored at 4-1/4”
- Daffodil Afternoon Designer Series paper (DSP) 4-3/8″ x 5-3/8″ front, 2-1/4″ x 6″ for envelope flap
- Pale Papaya or Mint Macaron – Scrap for greeting
- Basic White (inside) – 4-1/4” x 5-1/4”
- Daffodil Delight and Crush Curry for daffodil flowers and buds
- Beauty of the Earth DSP for stems and leaves
Everything Else:
Daffodil Daydream Bundle, Art Gallery or Plentiful Plants Stamp Set, DSP and Card Stock as noted above, Brushed Brass Butterflies embellishment, Old Olive ink pad, Glue dots, 2 sided tape or Stampin Seal, Dimensionals, Tasteful Label or Stitched Rectangle Framelets, Stampin Cut & Emboss Machine, Take Your Pick tool, Paper Trimmer, Bone Folder, Glue, Silicone Craft Sheet, Stampin Pierce Mat. Extra stamp set and framelets where for the greeting.

Thinking of becoming a Stampin’! Up Demonstrator then please talk to me today. During SALE a-bration is the perfect time to join. The start up fee is just $99 and you get to select $125 of the merchandise of your choosing from any current catalog. Plus you get 2 stamp sets free. You also get a 20% discount off future orders. Contact me for all the details. I would love to have you become a part of my team.