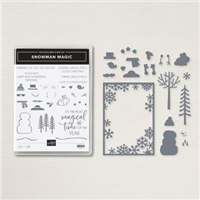
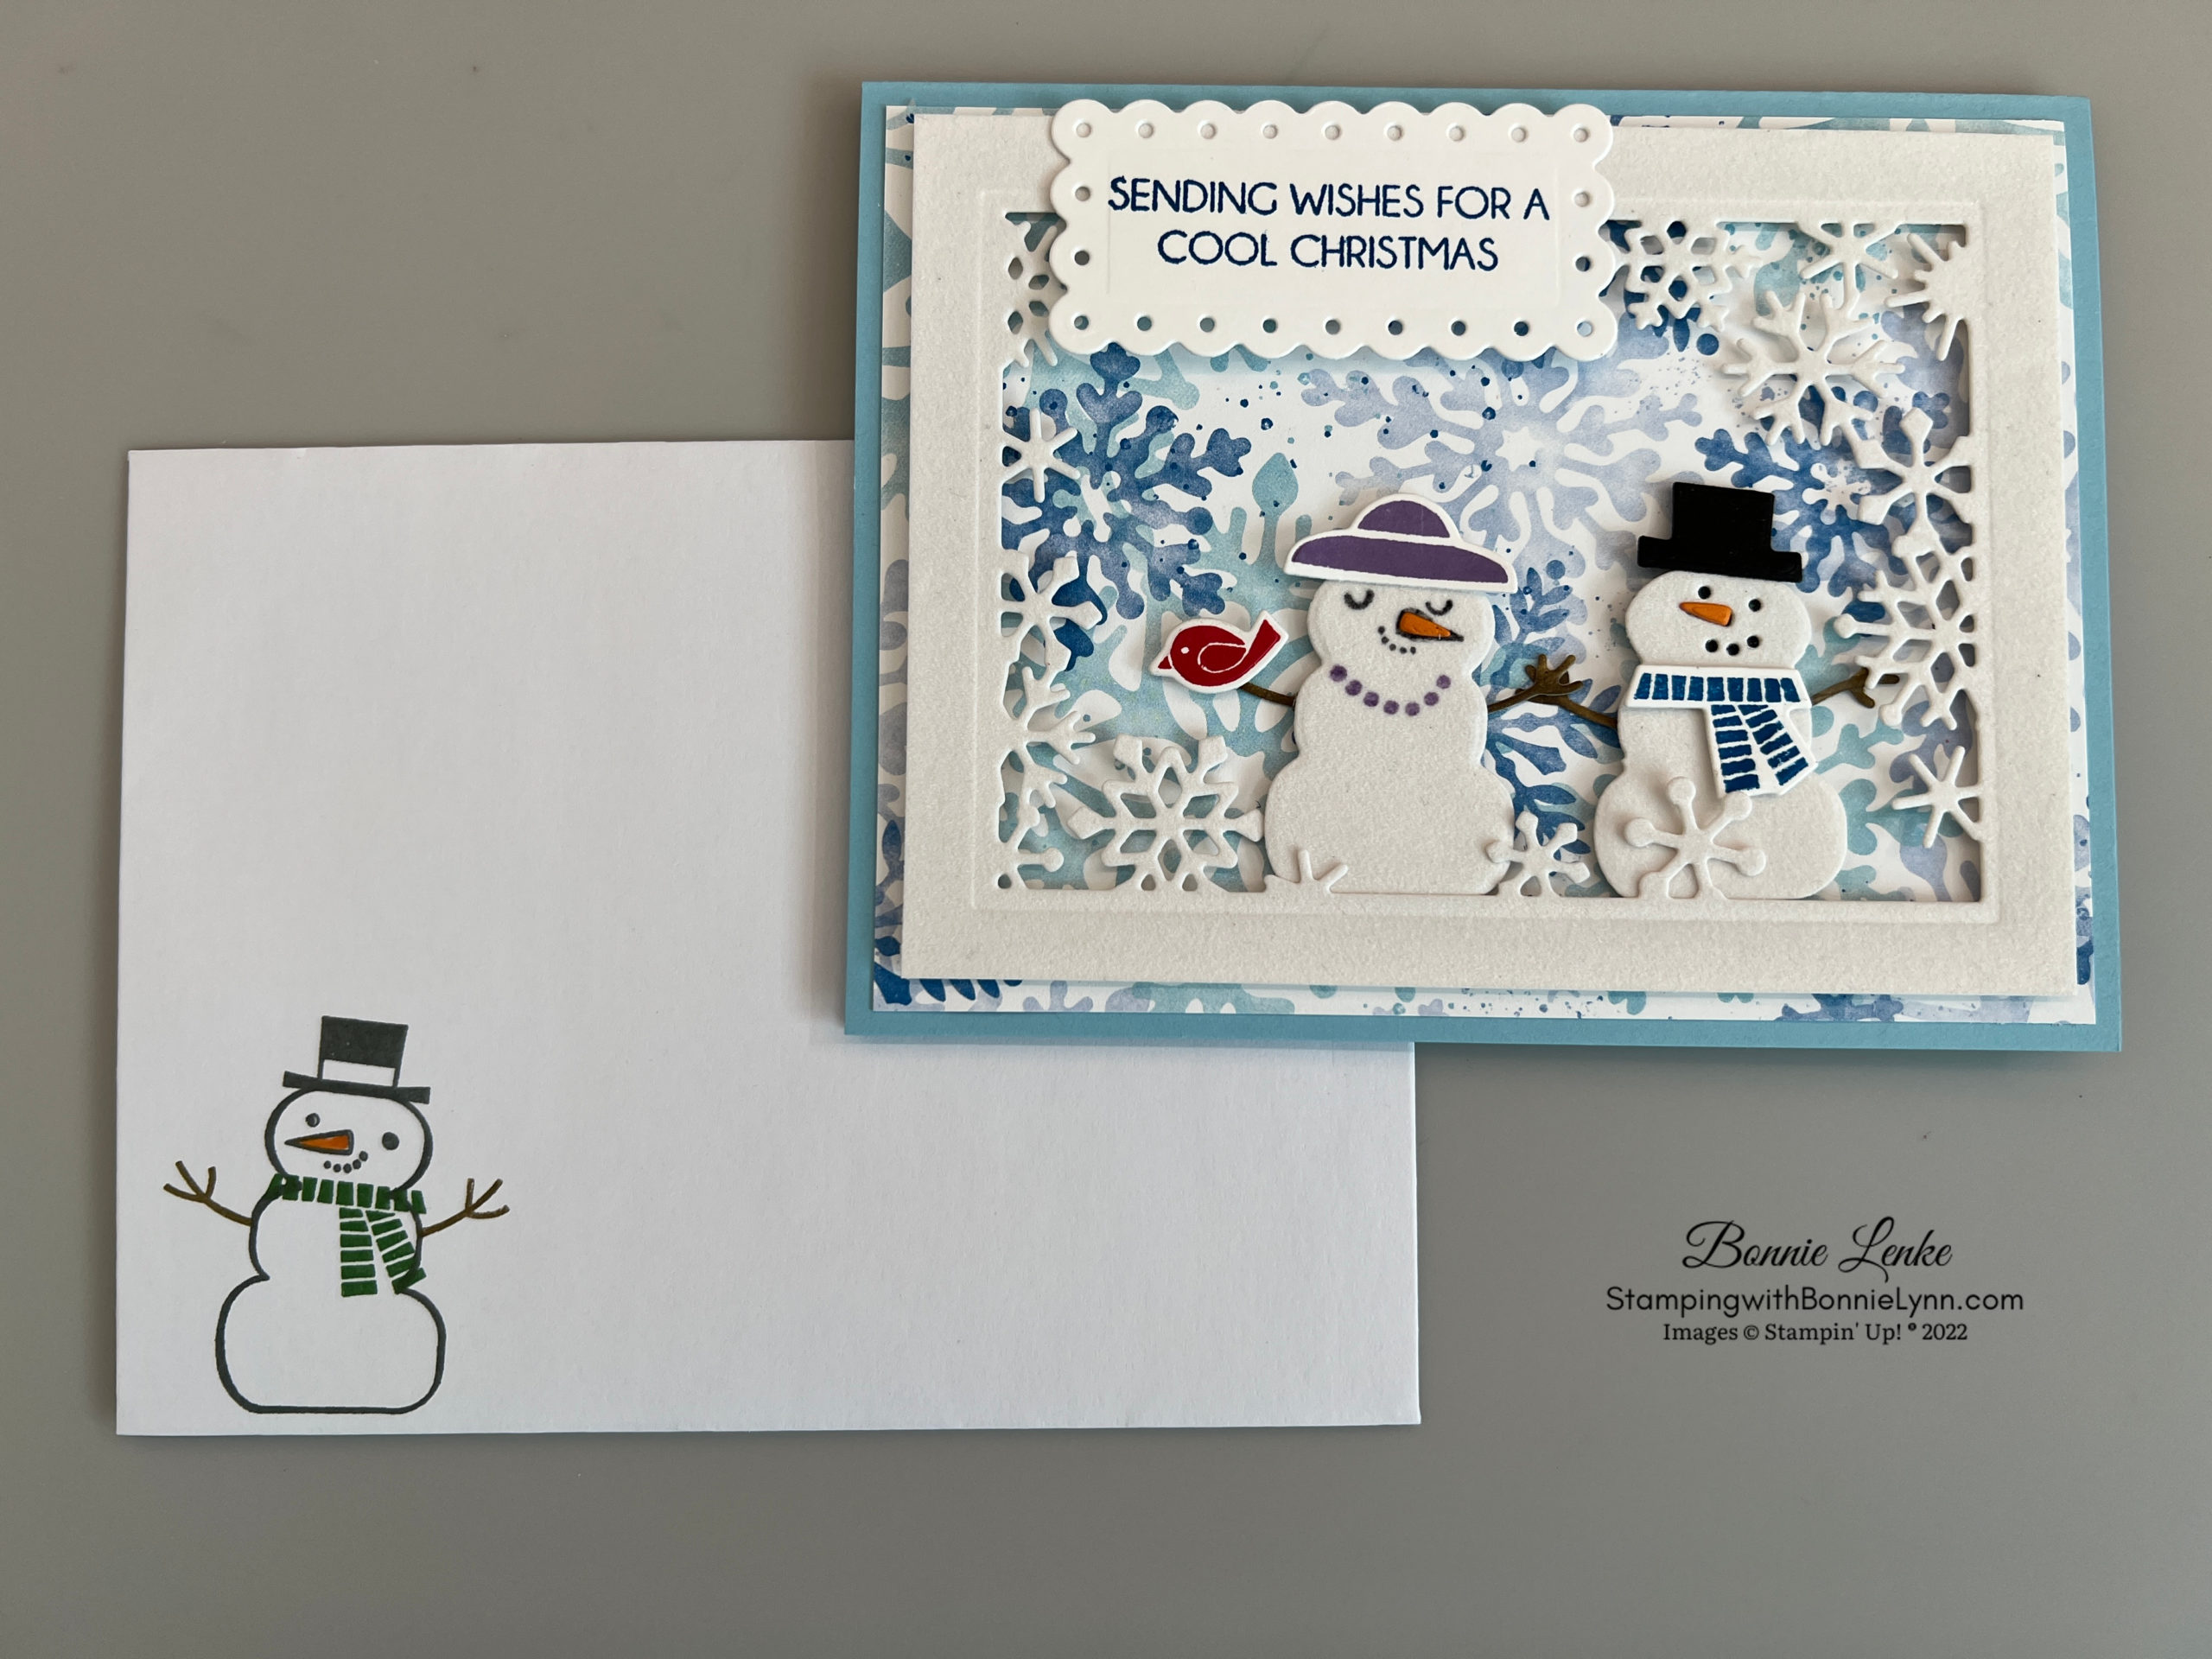
Snowman Magic “Cool Christmas” Card

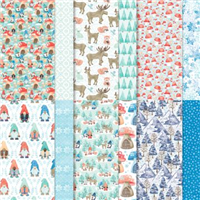
What better way to cool off than to build a Snowman? With the 100 degrees plus temperatures in Idaho I’m cool with the Snowman Magic Bundle. This set is definitely in my top 5 favorites of the season. I knew when I saw the Snowflake frame die that I was going to have to buy this set, it was the 3rd one on my list and I’m so glad it was that high. The Storybook Gnome Designer Series Paper has a couple different pieces that are wonderful with this stamp bundle.
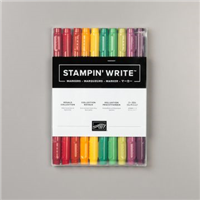
For the arms I used the same technique that I did for the poles in the Tree for Sale Happy Christmas Card. I used the Light & Dark Soft Suede Stampin’ Blends and streaked a piece of White Cardstock with them. Had I had Crumb Cake Blends I would had used one of those too. Prior to cutting the arms out I added a piece of Adhesive Sheet to the back of it, with them being so small the self-adhesive is really convenient. I hope you enjoy this card and the Sn as much as I do.
You might have noticed by now that I sometimes use retired items in my cards. I’ve been asked why I do that and the answer is simple. I want to remind you that you might have those items and to use them. I want to start doing a card maybe once a month with a retired stamp set so that you it might motivate you and myself to use it. It’s nice to see a fresh idea on a retired item.
Let’s Get Started
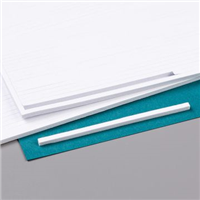
- Fold your Balmy Blue card base on the score line and burnish with Bone Folder.
- Adhere the Storybook Gnome DSP to card front.
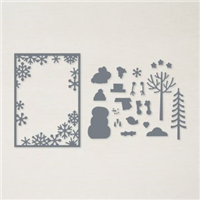
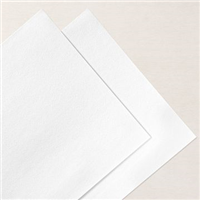
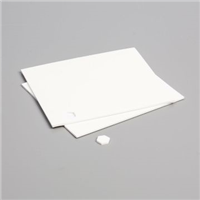
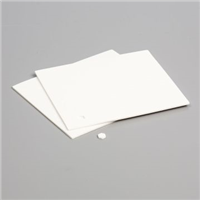
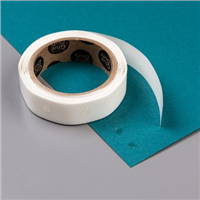
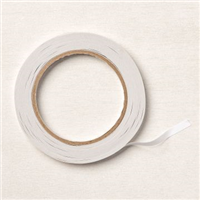
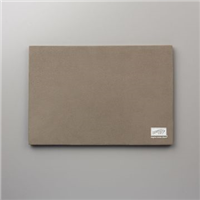
- Center the frame die on the Snowy White Velvet panel and cut out. Adhere to card front using the foam strips. (I used an amazon product that is Double Sided Foam Tape White PE Foam Tape Sponge Soft Mounting Adhesive Tape (1/4” inch by 50 Feet), Brand is Tatuo and it comes with 2 rolls).
- Using the left-over piece of Snowy White Velvet from the frame, cut out 2 Snowman adding the eyes and mouth die to one of the snowmen (this is my man snowman). With a snowman die cut out the head only on a scrap of Black Cardstock. You’ll trim this down a little bit and then glue on the back of the head of the snowman you cut the face out on.
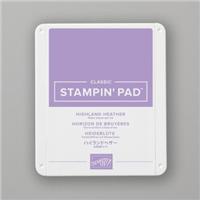
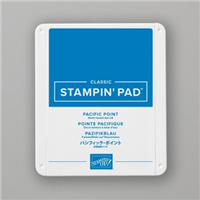
- Stamp the hat with the brim in Highland Heather for the lady snowman, Stamp the scarf for man snowman in Pacific Point, Stamp the bird in Real Red. Cut all items out with the coordinating dies.
- With the Black Cardstock cut out one Top Hat.
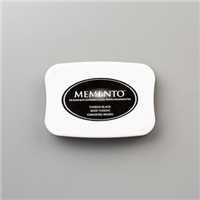
- Use Memento Black Ink to stamp a Face onto the lady snowman. Next stamp a Necklace on her using Highland Heather Ink to match the hat.
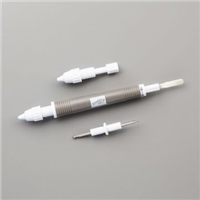
- Cut the noses out with the die that is 3 noses out of Pumpkin Pie Cardstock. Using glue add a nose to each snowman. The one for man will be set down in the hole that was die cut out. The lady’s nose will set within the stamped nose. Using your Take You Pick Tool makes this much easier.
- For the arms you need to cut out 4 Arms. The Snowman Dies comes with 2 different set of Arms. Cut the arms out of the paper you made out of the Soft Suede Stampin’ Blends. Add the arms directly to the snowmen by using a Glue Dot on the arm round circle then position on the back. I somehow arranged just right so that they would be holding hands. (HINT: When using tiny dies it’s best to tape them to the paper. Not only does the tape hold them in place but it keeps the die so it won’t fly up if it’s near an edge and get lost. Use washi tape, purple tape or removable tape.)
- Now add Dimensionals to the Snowmen and adhere to card front. I did put the man snowman arm on the right side under the snowflake on purpose. I removed the protective paper on the adhesive sheets on the arms and pushed the arms to stick to the DSP.
- Time for the accessories. Use Dimensionals to add the hats and bird. Use a Glue Dot or two to adhere the scarf.
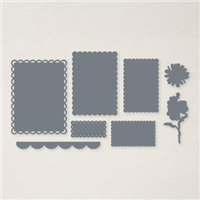
- Stamp the Greeting in Pacific Point Ink using your Stamparatus. I did about 3 layers of ink to get the crispness of the lettering. Cut out using the smallest Scalloped Contour Die. Add to card front using both Tear-N-Tape and Dimensionals.
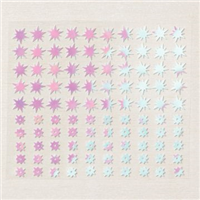
- Add some embellishments to your card using the Adhesive Backed Stars. (Disclaimer – I didn’t have the stars so I used some snowflakes I had left-over from last year)
- Inside the card I stamped the Saying in Misty Moonlight Ink (retired) Pacific Point Ink would also look nice. Stamp a Snowman, Face and a Hat in Basic Grey Ink on the bottom left corner. The scarf is Misty Moonlight (retired) or whatever color you use on the Saying. Arms are stamped in Soft Suede ink. The Nose was colored in with a Pumpkin Pie Marker.
- For the Envelope repeat with the same Snowman you stamped on the card inside.
And now you have a beautiful Christmas Card to brighten someone’s Christmas Season.
Happy Stamping!


Card Recipe
Cardstock:
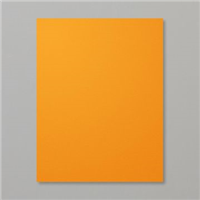
- Balmy Blue: 8-1/2” x 5-1/2”, scored at 4-1/4” This is your card base
- Basic White: 4” x 5-1/4” card inside
- Pumpkin Pie: Scrap
- Basic Black: Scrap
- Snowy White Velvet: 5” x 3-3/4”
- Storybook Gnomes DSP: 5-1/4” x 4”
Supplies Used:
- Stamps: Snowman Magic
- Dies: Snowman Dies, Scalloped Contour Dies
- Cardstock/Paper: Balmy Blue, Basic White, Pumpkin Pie, Storybook Gnomes Designer Series Paper, Snowy White Velvet
- Stampin Pads: Highland Heather, Pacific Point, Real Red, Basic Grey, Misty Moonlight (retired), Black Memento Ink
- Embellishments: Adhesive Backed Stars
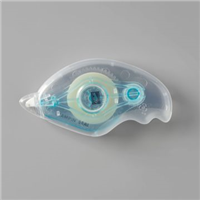
- Adhesives: Dimensionals, Glue Dots, Liquid Glue, Tear N Tape, Stampin Seal
- Tools: Paper Trimmer, Cut & Emboss Machine, Stamparatus, Clear Blocks, Take Your Pick, Bone Folder, Stampin Pierce Mat, Paper Snip Scissors
SWEET SUNFLOWERS AUGUST 2022 PAPER PUMPKIN KIT
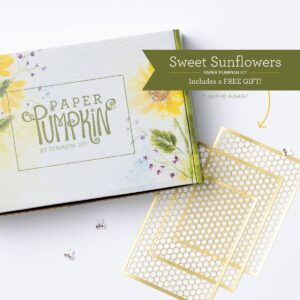
Subscribe July 11 – August 10 | August 2022 Sweet Sunflowers Paper Pumpkin Kit
Here comes the sun(flower) for a crafting experience you won’t forget! The Sweet Sunflowers Paper Pumpkin Kit has so much in store—elegant watercolor designs hand-crafted by our in-house artists, TWO Classic Stampin’ Spots for a Two-Step stamping experience, and the all-new twist technique to make your floral designs come alive with depth and detail!
Plus earn free Sale-a-bration merchandise with a qualifying order through August 31st, 2022.
CLICK HERE FOR MORE PAPER PUMPKIN INFORMATION
Current Host Code: W9AGNGQR
Use this host code when you order $50 or greater of merchandise and receive a free gift from me. If your order is over $150, please do not use this code, but you’ll still get the free gift.
*****Make sure that you can see my name on the final checkout page listed as your Demonstrator when you order so that you know that you’re ordering with me and you’ll get my rewards. Please also check that the Current Host Code is in the box when checking out.*****