Trees for sale Happy Christmas Card & Video
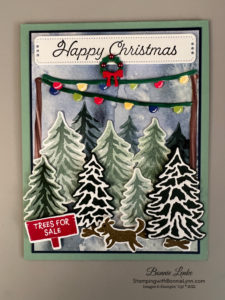
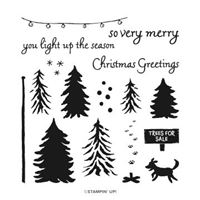
Stampin’ Up Trees for Sale stamp set is fun to use. I enjoy the two-part stamping for the trees and just the plain old fun of making my tree lot. To make it even better, you can get the Tree Lot Dies from the Sale-a-bration catalog with a qualifying order along with the Rings of Love Designer Series Paper. I was going to pass on this stamp set, I am so glad that I didn’t. It is definitely one of my top 5 favorites for the season and when you earn the dies to go with it you can’t lose. I think maybe some pink or maybe blue trees might be interesting to make. There are many different ways to make your trees and I imagine that you might come up with even more ways. I made a video of this card to show you how I did the trees, the lights and a layout. There are tips on different steps to make it easy such as what to use the adhesive sheets on. The video is a little longer than my normal ones, I think it’s worth the time. I hope you enjoy this card and video.
CLICK HERE FOR “TREES FOR SALE” VIDEO
Let’s Get Started
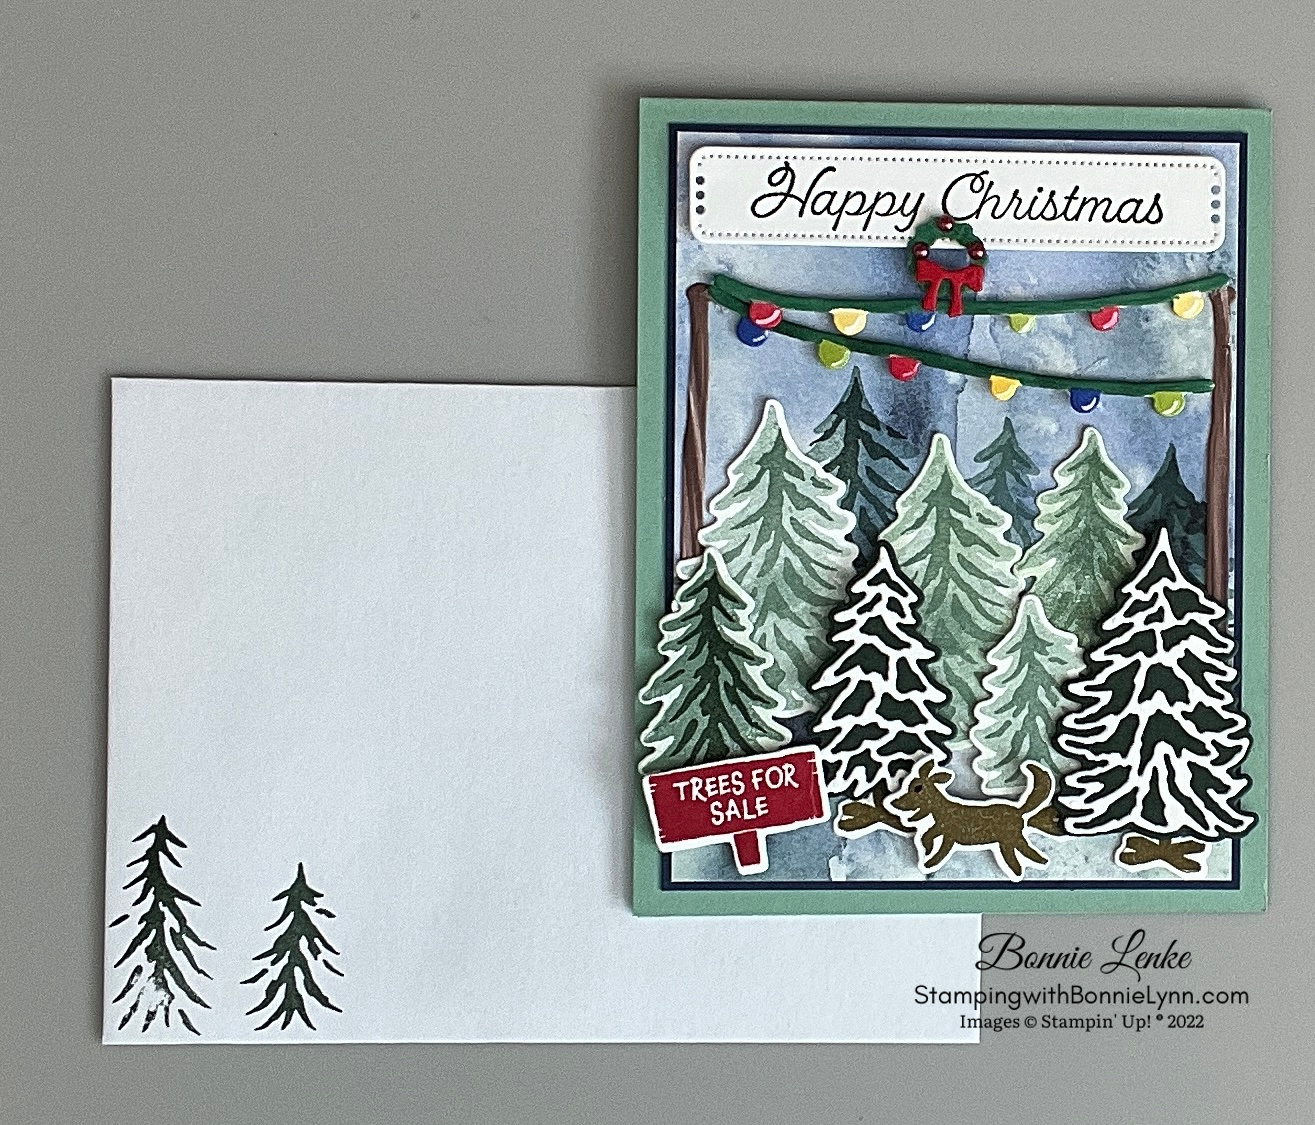
- Fold your Card base on the score line and burnish with Bone Folder.
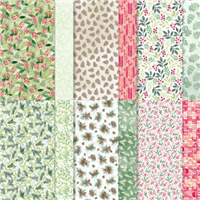
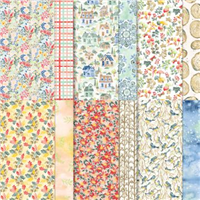
- Stamp trees Rings of Love DSP in Soft Succulent and Evening Evergreen Ink. If using only Soft Succulent Ink then stamp off once on the full tree then stamp onto DSP. Follow with the branches in full strength Soft Succulent. Play with the colors on scratch paper to get the combinations you like best. Adhere this to the Night of Navy Cardstock panel. Adhere this to Card Front.
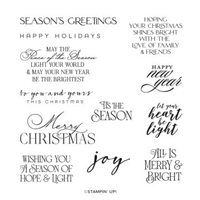
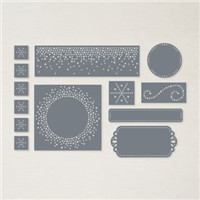
- Stamp your greeting in Night of Navy Ink onto White Cardstock. The “Happy Christmas” Stamp if from the Retired Happy Holly Days stamp set from last year. The video shows the “Seasons Greeting” stamp from Brightest Glow stamp set. Cut out with the die from the Labels Aglow Dies. Adhere to top of Card Front
- Stamp you trees onto White Cardstock and Painted Christmas DSP the light green paper with Soft Succulent and Evening Evergreen Ink. Cut out with corresponding dies from the Tree Lot Dies.
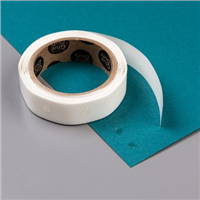
- Using the full tree framelits, cut trees out in various sized of the Evening Evergreen and Soft Succulent Cardstock. Cut the corresponding fine dies out of White Cardstock with a Adhesive Sheet on the back side. Adhere to trees.
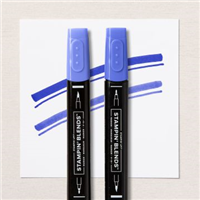
- Cut out 2 Poles to hang the lights on. I added the adhesive sheets to the paper first. I colored white paper with both the light and dark Soft Suede Stampin’ Blends in long strokes. I suggest using either Crumb Cake or Sahara Sand with the soft Suede to give it some added dimension. After cutting out the poles put one on each side so the top of pole is where you want the light at.
- Attached the Trees to Card Front. Use Tape/Seal for the back row and Dimensionals for the top row.
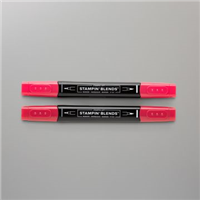
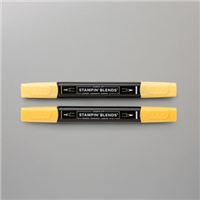
- Cut out 2 of the light dies. Color the string part with Shaded Spruce Stampin’ Blends. Color the lights with Stampin’ Blends, Light Real Red, Light Daffodil Delight, Light Orchid Oasis and Light Granny Apple Green. Use a White Gel Pen and make a little half moon on the bottom right of each light color (I forgot to put this in the video). Attach the first string with Glue Dots. Use Mini Dimensionals to attach the second string of lights.
- Stamp the “Tree for Sale” sign in Real Red Ink onto White Cardstock, cut out with coordinating die. Adhere to Card Front with Dimensionals.
- With Soft Suede Ink, stamp the dog and the tree stand onto White Cardstock and cut out with coordinating die. Adhere the dog to Card Front with Dimensionals. Adhere the tree stands with Glue Dots. Don’t forget to give the dog an eye with a black marker.
- Cut out the wreath and bow out of White Cardstock. Color the wreath with the 2 Shaded Spruce Stampin’ Blends. Color the bow with the Real Red Stampin’ Blends. Use a Glue Dot to add bow to wreath. Cut Dimensionals down to fit on the lower half of wreath and add a Glue Dot to top of wreath. Add to Card front with top part of wreath on the greeting. Add some of the Festive Pearls to your wreath. If you don’t want to color your wreath and bow cut the wreath out of Garden Green or Shaded Spruce Cardstock and the bow out of Real Red or Cherry Cobbler Cardstock.
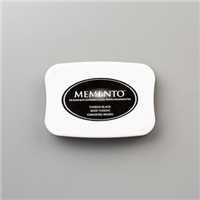
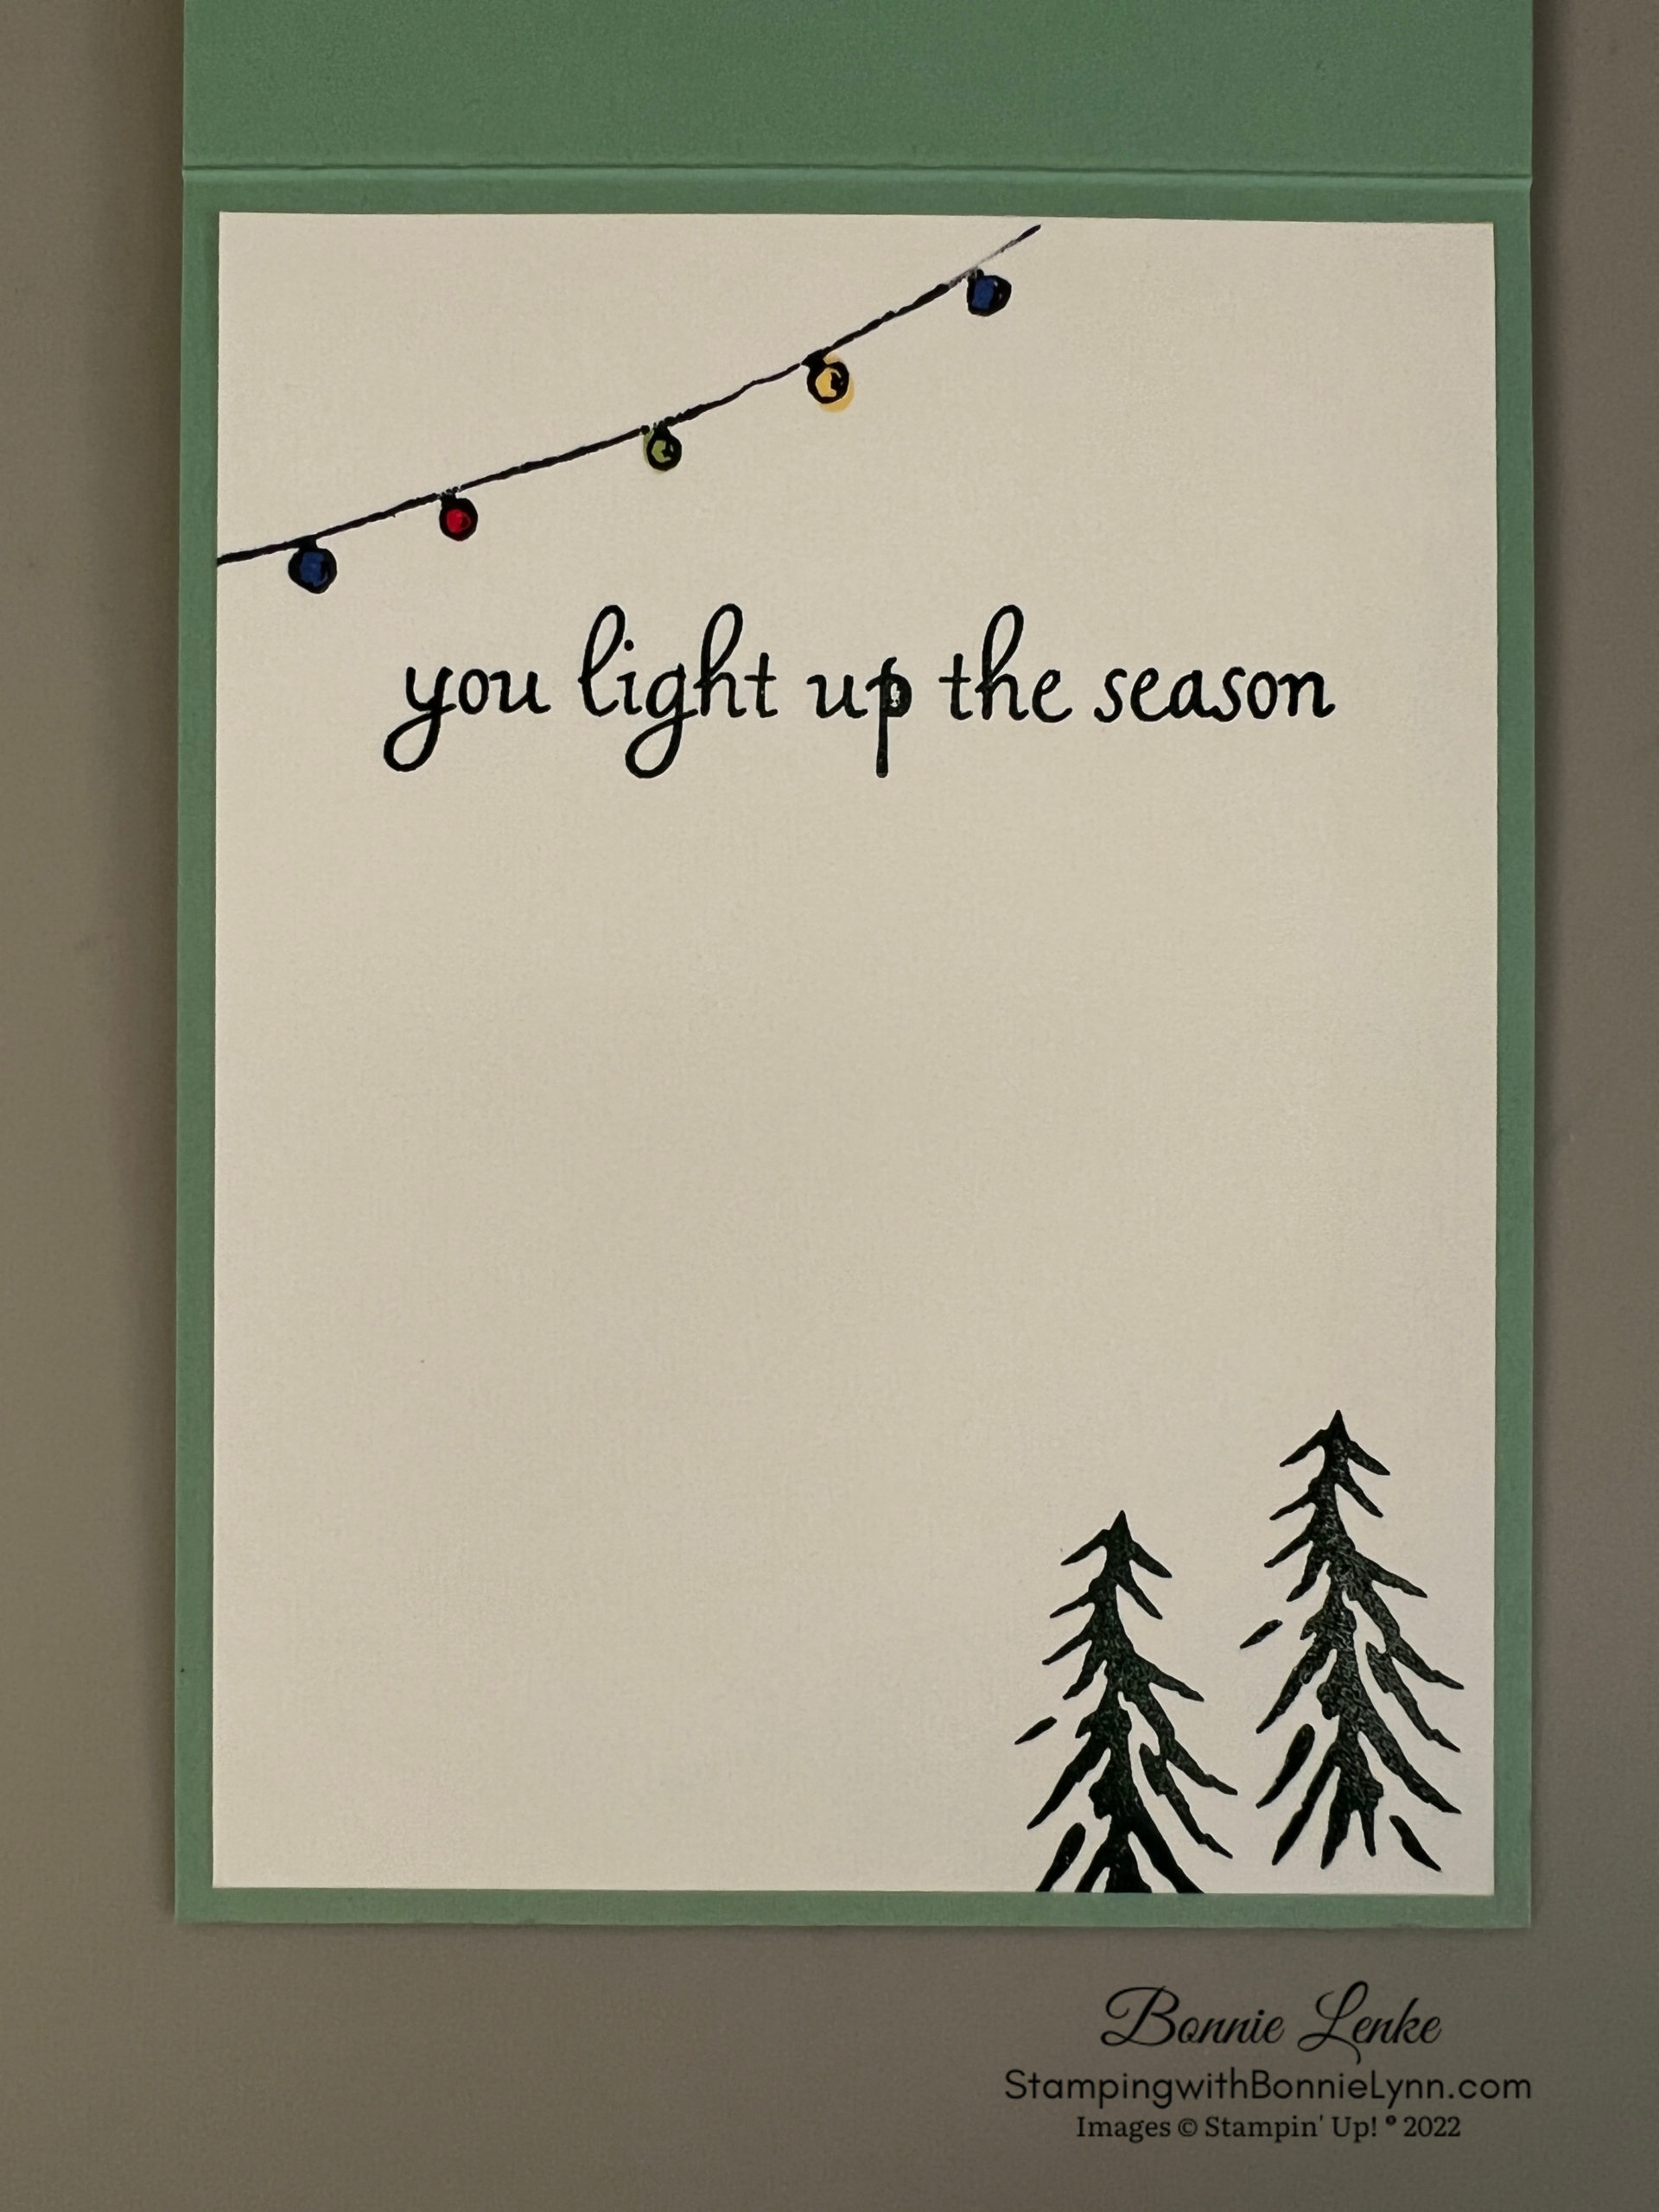
- For the inside of the card I stamped the light string in Memento Black Ink and colored the bulbs with the same Stampin’ Blends as I used on the front. The greeting is from the Trees for Sale stamp set and stamped in Evening Evergreen. I also stamped the large and medium tree branches in Evening Evergreen Ink.
- The envelope front is finished with the large and medium tree branched stamped in Evening Evergreen Ink in the bottom left corner.
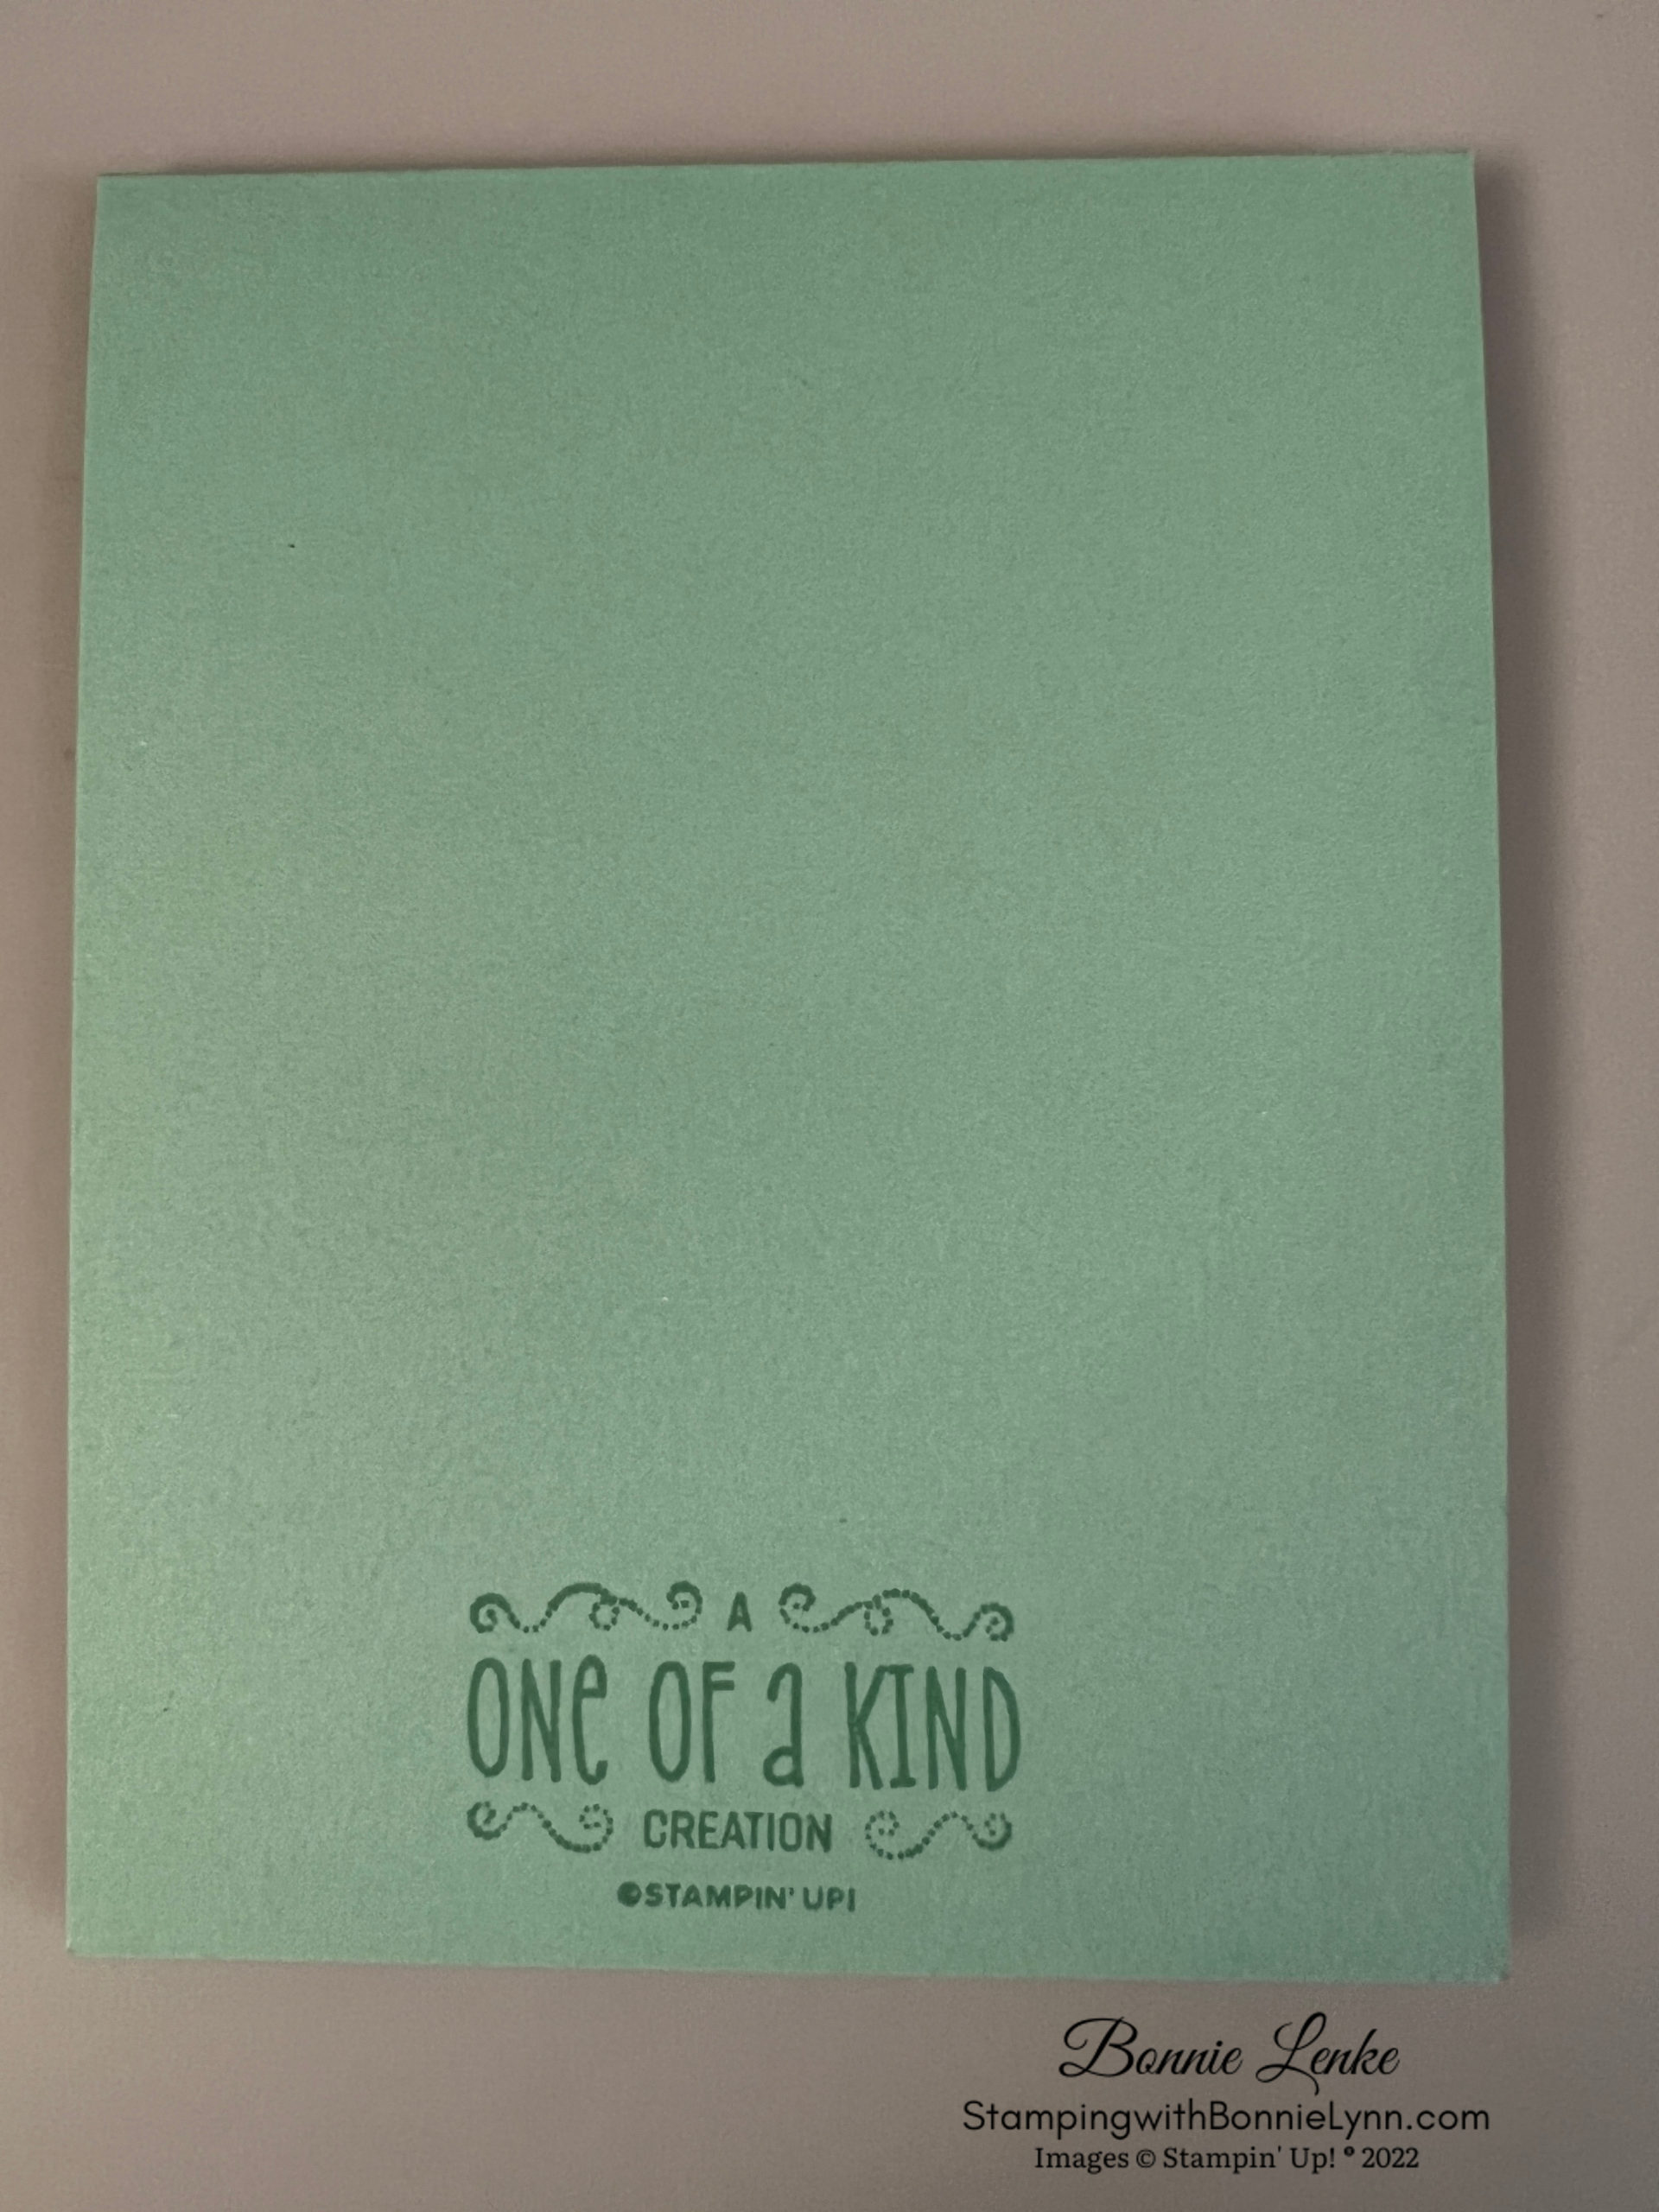
- Stamp back of card in Mint Macaron with a stamp from the Limited-Edition Stamp Set.
And now you have a beautiful card to brighten someone’s day.
Happy Stamping!
Card Recipe
Cardstock:
- Mint Macaroon: 4-1/4” x 11”, scored at 5-1/2” This is your card base.
- Night of Navy: 3-7/8” x 5-1/8”
- Basic White: 4” x 5-1/4”, 5-1/2” x 8-1/2” for stamping and cutting
- Rings of Love DSP: 3-3/4” x 5”
- Painted Christmas DSP: Scraps for trees
Supplies Used:
- Stamps: Trees for Sale, Brightest Glow or Happy Holly-Days (retired) for front greeting
- Dies: Tree Lot Dies, Labels Aglow
- Cardstock/Paper: Mint Macaron, Night of Navy, Basic White, Rings of Love and Painted Christmas Designer Series Paper
- Stampin Pads: Evening Evergreen, Soft Succulent, Night of Navy, Memento Black
- Stampin’ Blends: Real Red light, Granny Apple Green light, Daffodil yellow light, Orchid Oasis light, Shaded Spruce combo
- Embellishments: Festive Pearls
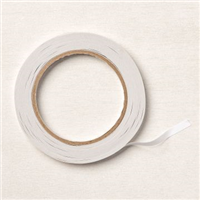
- Adhesives: Dimensionals, Glue Dots, Liquid Glue, Tear N Tape, Stampin Seal, Adhesive Sheets
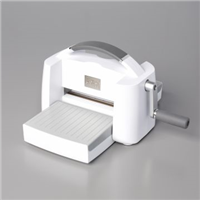
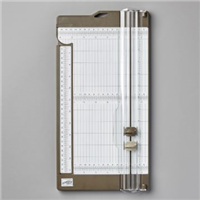
- Tools: Paper Trimmer, Cut & Emboss Machine, Stamparatus, Clear Blocks, Take Your Pick, Bone Folder, Stampin Pierce Mat, Paper Snip Scissors
- Markers: Pumpkin Pie Marker, White Gel Pen (non Stampin’ Up)
July to December Mini Catalog Plus Sale-a-bration
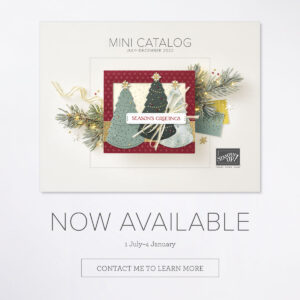

The July to December Mini Catalog is my favorite Catalog of the year and now you can share in the excitement of it. Not only that it’s Sale-a-bration time. With every $50 of Merchandise you order during July & August you get to select FREE ITEMS from the Sale-a-bration Catalog. It doesn’t get more exciting than this. Click Here to Shop the Mini Catalog.
Current Host Code: W9AGNGQR
Use this host code when you order $50 or greater of merchandise and receive a free gift from me. If your order is over $150, please do not use this code, but you’ll still get the free gift.
*****Make sure that you can see my name on the final checkout page listed as your Demonstrator when you order so that you know that you’re ordering with me and you’ll get my rewards. Please also check that the Current Host Code is in the box when checking out.*****
SWEET SUNFLOWERS AUGUST 2022 PAPER PUMPKIN KIT
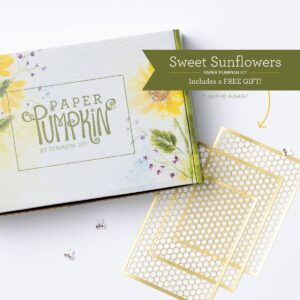
Subscribe July 11 – August 10 | August 2022 Sweet Sunflowers Paper Pumpkin Kit
Here comes the sun(flower) for a crafting experience you won’t forget! The Sweet Sunflowers Paper Pumpkin Kit has so much in store—elegant watercolor designs hand-crafted by our in-house artists, TWO Classic Stampin’ Spots for a Two-Step stamping experience, and the all-new twist technique to make your floral designs come alive with depth and detail!
Plus earn free Sale-a-bration merchandise with a qualifying order through August 31st, 2022.
CLICK HERE FOR MORE PAPER PUMPKIN INFORMATION