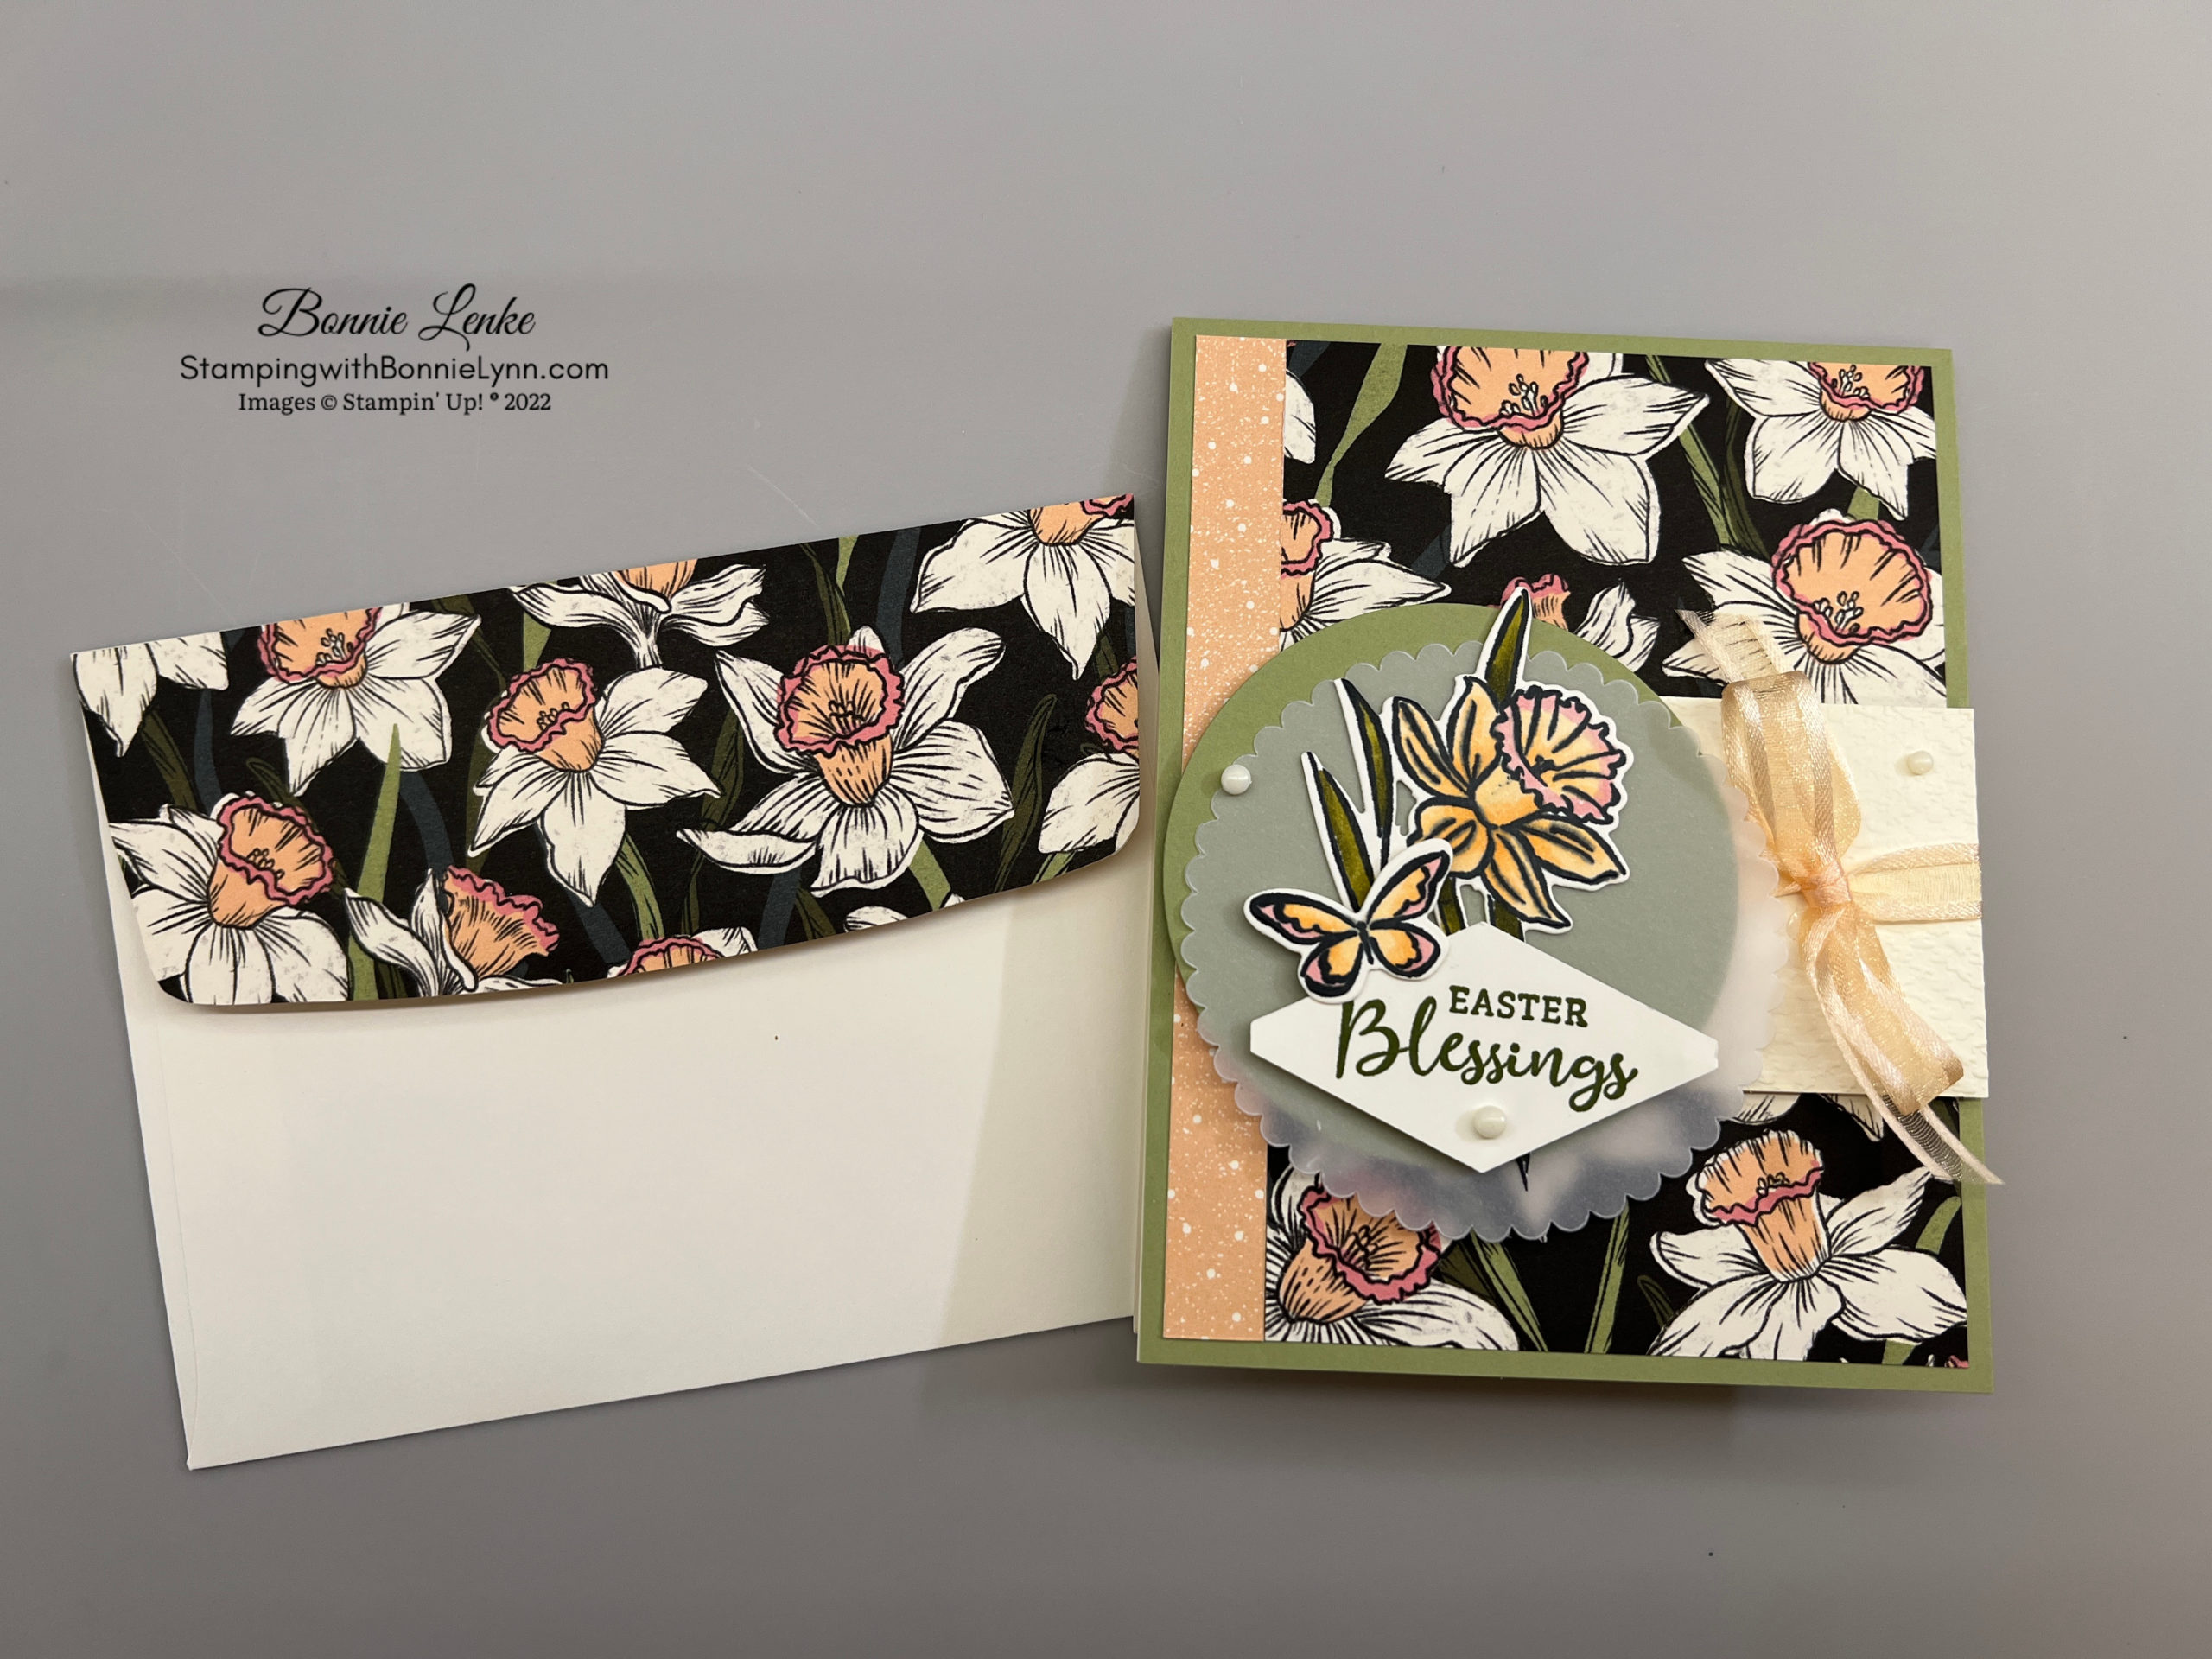
Lights Aglow Fun Fold Card & Video

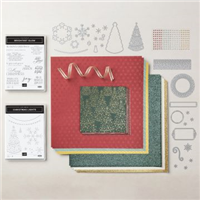
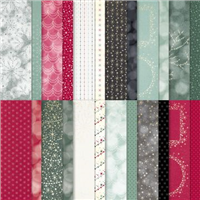
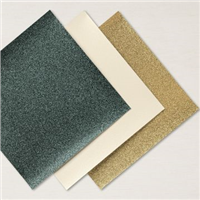
Lights Aglow Designer Series paper is Stunning and no matter what card design you make it with it, it will be Beautiful. I wanted to make this Fun Fold card as I really like it. What better to go on it than the Snowflake from the Lights Aglow Suite Collection. The dies are unique and different from other most Suite Collections. The dies cut out tiny little holes in the designs. Adding Glitter Paper behind these cutouts adds a shiny dimension to the look. Who wouldn’t love receiving this card for Christmas!
I’m thinking that this Suite would also make a beautiful shadow box with lights behind the cut out pieces. This is really a fun Collection to use with many possibilities. I hope you enjoy this card.
Let’s Get Started
- Fold the Card Base on all the Score lines, burnish each one with Bone Folder.
- Adhere 3-3/4” x 5-1/4” DSP to right side of Card Base.
- Attached the 1-1/4” x 5-1/4” DSP to the first four section on the left side of Card Base.
- Using the 6” x 3-3/4” Soft Succulent Cardstock, fold on score line and burnish with Bone Folder. Adhere Vanilla & Gold DSP to left front side. For the right side center the larger circle die from the Labels Aglow Dies on the Evergreen DSP from the Lights Aglow DSP and cut it out on the Cut & Emboss Machine. Adhere this to a piece of Gold Glimmer Specialty Paper and attach to right side of the Soft Succulent cardstock.
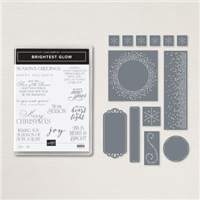
- Heat emboss the “Joy” stamp in Gold Embossing Powder from the Brightest Glow Stamp Set onto Very Vanilla cardstock. Cut out with small circle die from the Labels Aglow Die set. Adhere with Dimensionals to circle area on the right-hand side of the Soft Succulent section.
- Now adhere the Soft Succulent section to the Card Base. Adhere the right side first using Stampin’ Seal or Tear N Tape, you will put 2 strips of tape on each side as you adhere that side. The best way is to center the right side on the back piece, open it up and fold down the section that adheres to it. Add the adhesive to the left side now, fold the sections so they are closed up and fold the soft succulent left side over onto the top section. The video is very helpful if you’re having trouble understanding this.
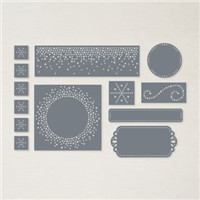
- Cut the Snowflake out of Gold Glitter Paper using the two piece die from the Labels Twinkling Lights Dies. The detailed die will fit inside the outer die to cut at the same time. Adhere to card front using Glue Dots.
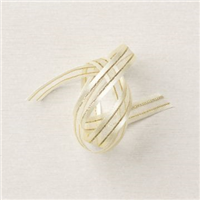
- Tie the Gold & Vanilla Satin Edge Ribbon around the 1st section of Card Base positioning the bow near the top.
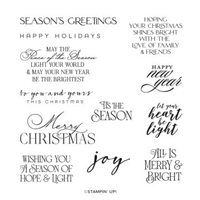
- Stamp the “Season Greetings” stamp in Evening Evergreen Ink and cut out with the corresponding die. Adhere to Card Front with Mini Dimensionals.
- Stamp inside Greeting in Evening Evergreen Ink onto Very Vanilla Cardstock. Adhere to Soft Succulent panel. Adhere to right side of card positioning it so the Soft Succulent piece on card front covers it.
- Add Festive Pearls to Card Front.
Now you have a beautiful Christmas card to brighten someone’s Season.
Happy Stamping!


Card Recipe
Cardstock:
- Evening Evergreen: 11” x 5-1/2”, scored at 1-3/4”, 3-1/2”, 5-1/4” & 7”. This is your card base. 3” x 3-3/4” card inside
- Soft Succulent: 6” x 3-3/4”, score at 3”
- Very Vanilla: 2-3/4” x 3-1/2” card inside, 2” x 2” “joy” stamp circle, 4” x 1” front greeting
- Glimmer Specialty Paper: 2-3/4” x 3-1/2”
- Lights Aglow DSP: 4 Strips 1-1/2” x 5-1/4”, 3-3/4” x 5-1/4”, 2-3/4” x 3-1/2” (2 different patterns), 6” x 2-1/4” envelope flap
Supplies Used:
- Stamps: brightest Glow, Christmas Lights (for envelope stamp)
- Dies: Labels Aglow Dies, Twinkling Lights Dies
- Cardstock/Paper: Evening Evergreen, Soft Succulent, Very Vanilla, Lights Aglow Designer Series Paper
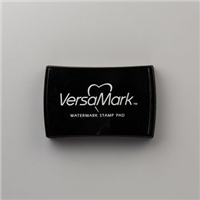
- Stampin Pads: Evening Evergreen, VersaMark
- Embellishments: Festive Pearls, Gold & Vanilla Satin Edged Ribbon
- Others: Stampin Emboss Powders – Metallic (Gold, Silver & Copper)
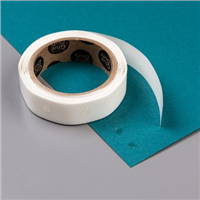
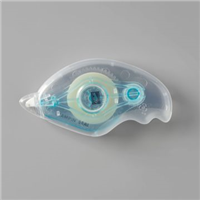
- Adhesives: Dimensionals, Glue Dots, Tear N Tape, Stampin Seal
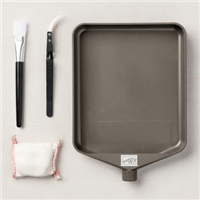
- Tools: Paper Trimmer, Cut & Emboss Machine, Clear Blocks, Take Your Pick, Bone Folder, Stampin Pierce Mat, Paper Snip Scissors, Heat Tool, Embossing Additions Tool Kit
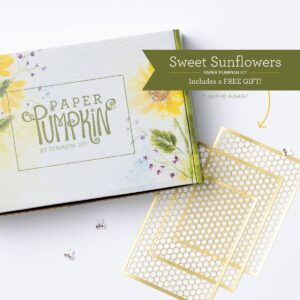
SWEET SUNFLOWERS AUGUST 2022 PAPER PUMPKIN KIT
Last Day to Subscribe is August 10th, 2022
Subscribe July 11 – August 10 | August 2022 Sweet Sunflowers Paper Pumpkin Kit
Here comes the sun(flower) for a crafting experience you won’t forget! The Sweet Sunflowers Paper Pumpkin Kit has so much in store—elegant watercolor designs hand-crafted by our in-house artists, TWO Classic Stampin’ Spots for a Two-Step stamping experience, and the all-new twist technique to make your floral designs come alive with depth and detail!
Plus earn free Sale-a-bration merchandise with a qualifying order through August 31st, 2022.
CLICK HERE FOR MORE PAPER PUMPKIN INFORMATION
Host Code is located on right hand side of web page
NEW REWARDS PROGRAM
To show you how much I appreciate you I want to let you know that I’ll be announcing a reward program soon. I need to finish figuring out all the details and what to call the reward points. I’m telling you this now because it will be retroactive to August 1st, 2022.
It will work something like this: Rewards are my way of saying thank you to my frequent shoppers. You earn a one reward point for every $25 increment you spend on Stampin’ Up! products (does not include shipping and taxes) through me and can redeem for up to a $25 shopping spree when you reach 10 reward points. You must use my monthly Host Code to earn the reward points.
By the end of the month I’ll have full details for you. I’m telling you now so you don’t miss out on rewards when you use my Host Code. You’ll always find the current Host Code on the right hand side of my blog midway down. Make sure you keep track of your order amount and merchandise total.
I’m looking for suggestions on what to call my reward points that I can also find clip art work to represent it. If I use you idea I’ll give you a choice of a Sale-A-Bration item that I have. I’ll be accepting suggestions through August 15th. Please email me at Bonnie@bonniestamps.com.
*****Make sure that you can see my name on the final checkout page listed as your Demonstrator when you order so that you know that you’re ordering with me and you’ll get my rewards. Please also check that the Current Host Code is in the box when checking out.*****