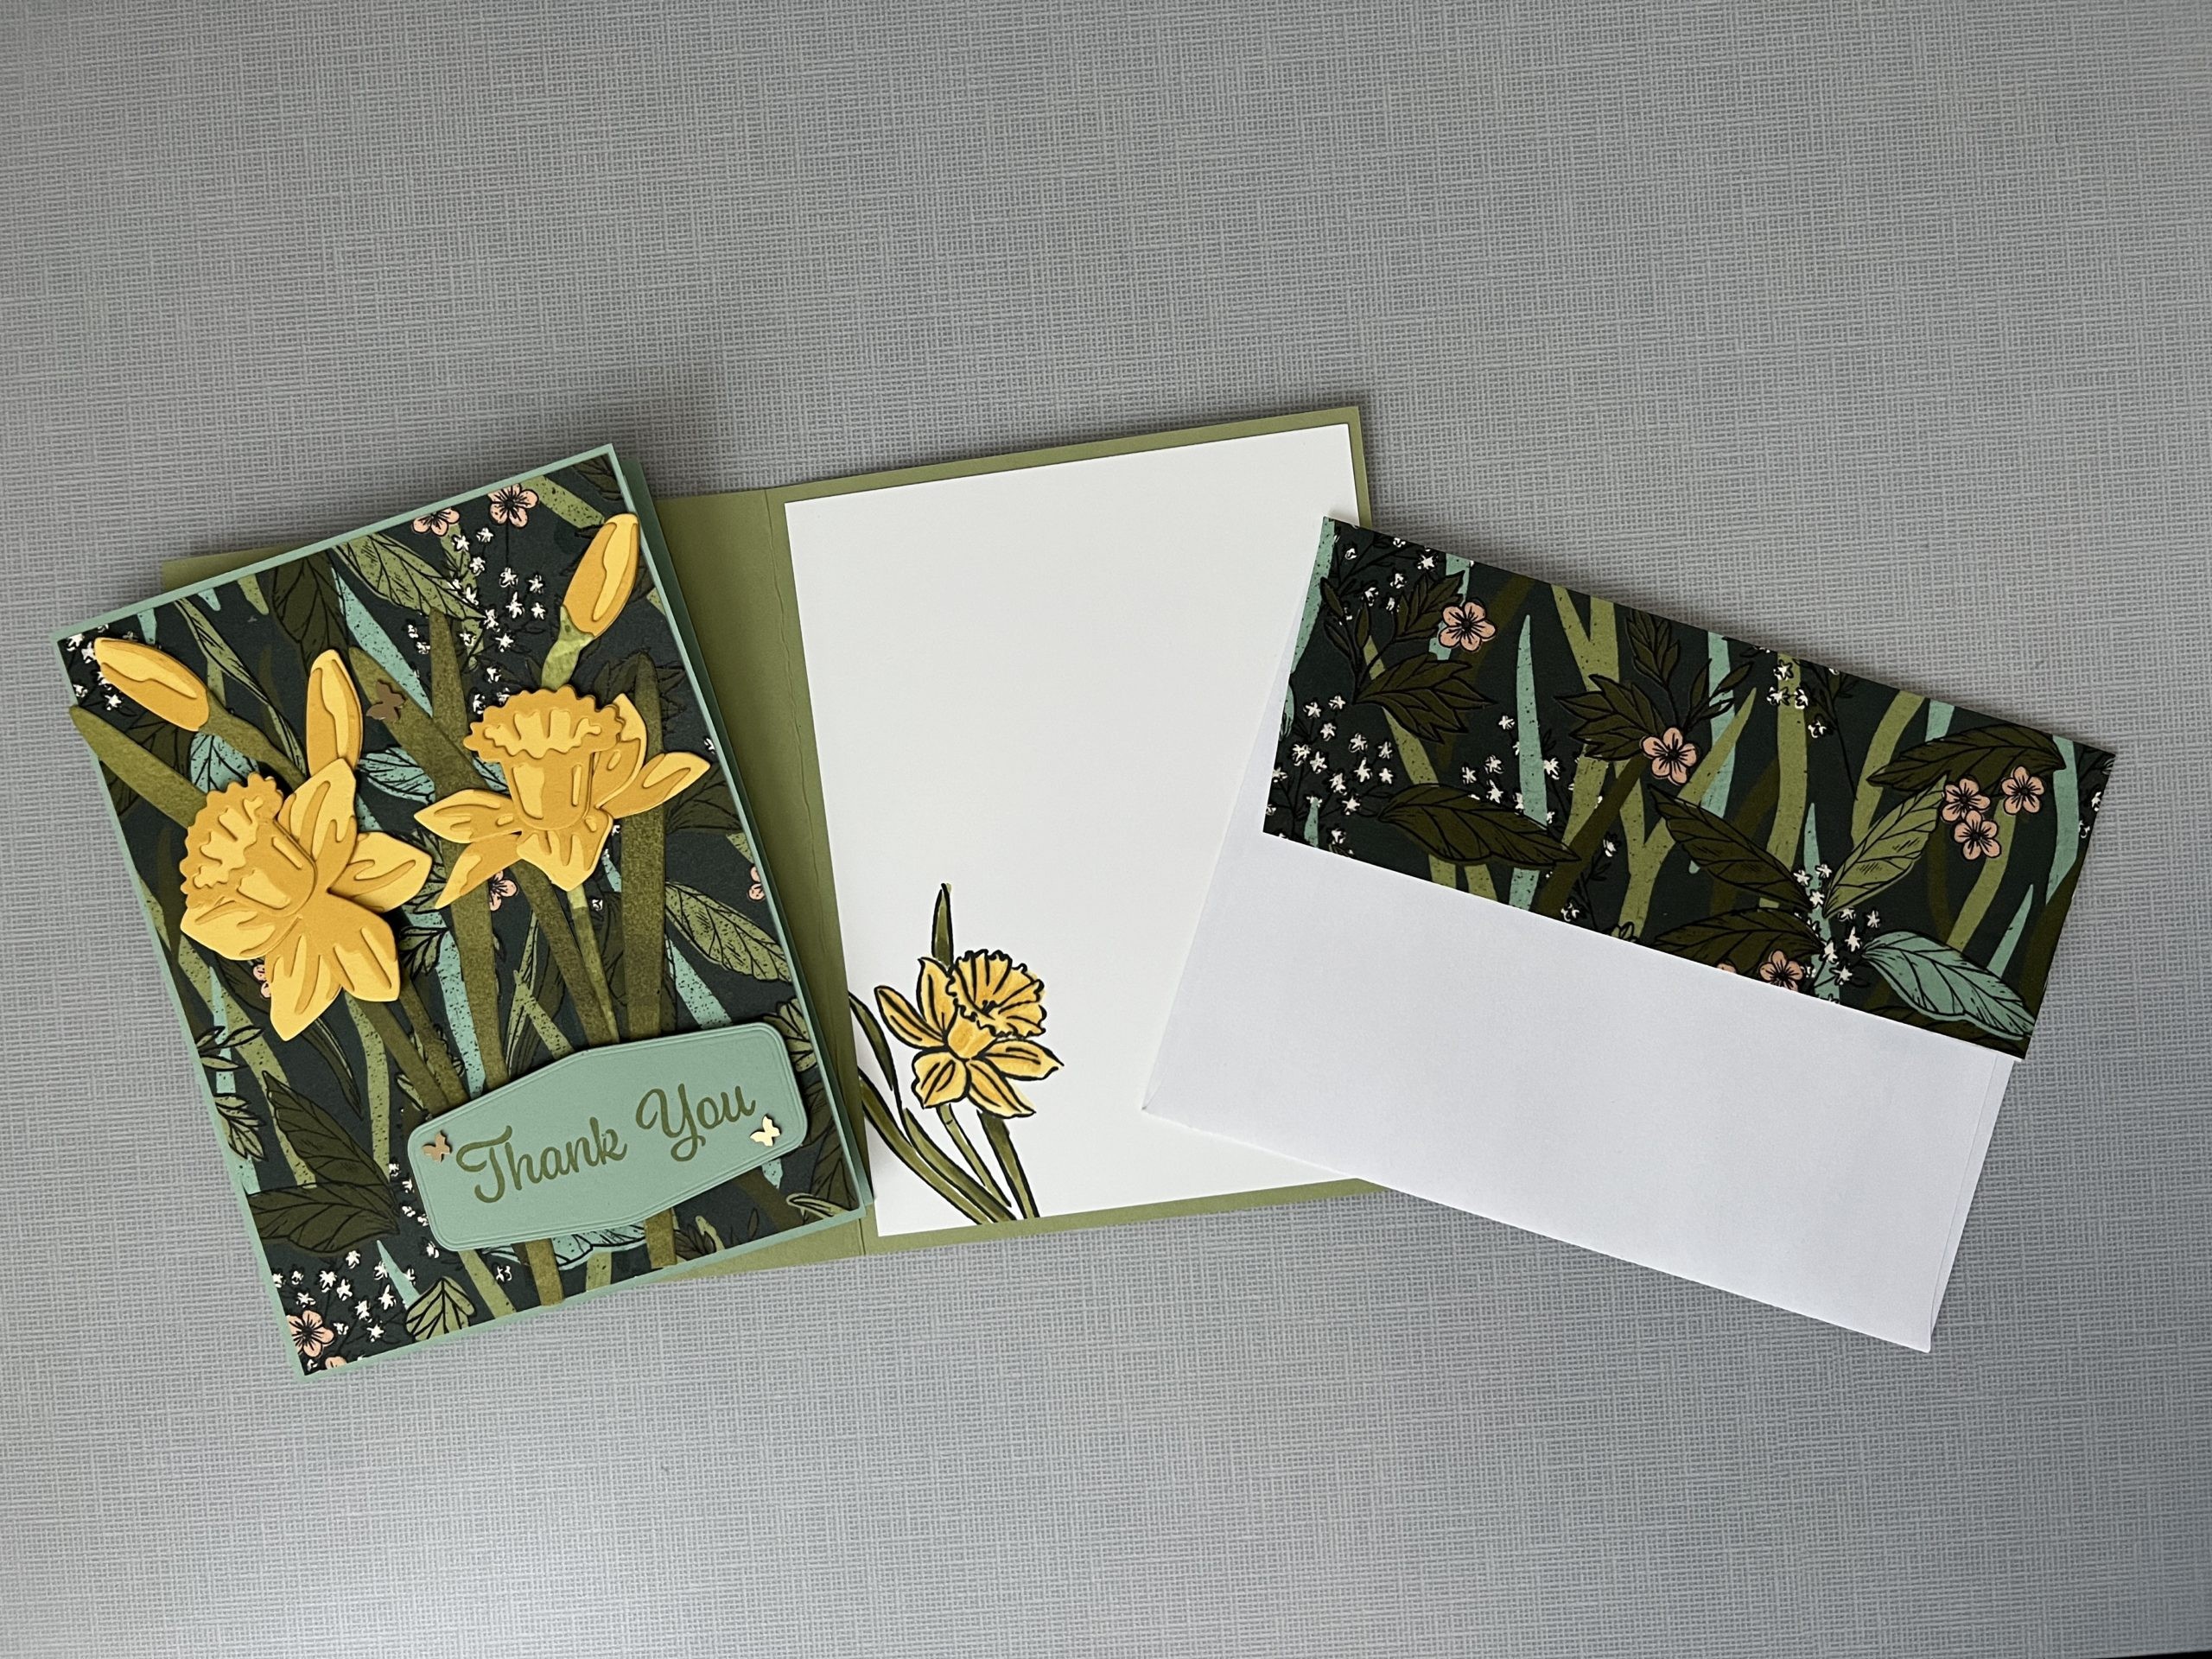
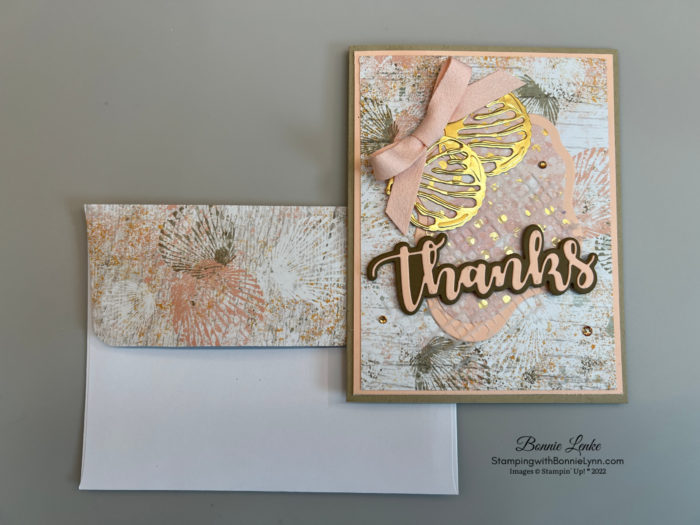
Stampin’ Up Season of Chic Thank You Card

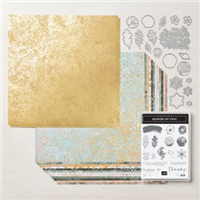
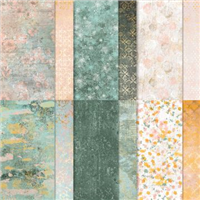
Today I’m sharing with you the Lovely Stampin’ Up Suite, Season of Chic. This beautiful set will let you make the perfect card for any season of the year. And the Tropical Chic Designer Series Paper is absolutely stunning. One side has foil highlights and the reverse side is just as stunning. An extra pack or two of this DSP is a must have . The paper alone will make a gorgeous card with just a greeting on the front. You can easily make a card out of any left-over scraps. Next time I believe I’ll use the Distressed Gold Specialty Paper instead of the Gold Foil for the Seashells. Disclaimer: I used a “Thanks” that is not Stampin’ Up as I had this one prior to Stampin’ Up releasing there dies and the two where so similar that I couldn’t justify the expense. I hope you enjoy this Stampin’ Up Season of Chic Card.
Let’s Get Started on the Stampin’ Up Season of Chic Thank You Card
Fold Card Base on the score line and burnish with Bone Folder.
Using the 4th largest Layering Diorama Die cut out the middle of the Petal Pink panel. Adhere what’s left of the panel to card front (the designer series paper will cover the hole.)
Cut the middle out of your Texture Chic Designer Series Paper with the 5th largest Layering Diorama Die (make sure you cut exactly where you want to place your cutouts so that you cover the hole). Adhere this panel to the card front.
Layer the 2 Layering Diorama cut outs together with your favorite adhesive. Now adhere these dioramas to Card Front with Liquid Glue around the edge of the Petal Pink layer.
With the Chic Dies cut your Vellum paper out with the “net” die (what do you call it?). Adhere to card front by sponging a little Liquid Glue on the netting.
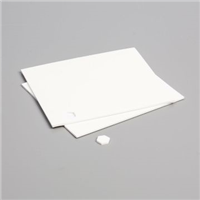
The “Thanks” die from the Amazing Thanks Framelets are two pieces. The top piece you want to cut out of Petal Pink Cardstock (suggest you use the Adhesive Sheet Backing on the back of the Pink Petal cardstock prior to cutting) and the bottom layer out of Soft Suede Cardstock. Layer the two pieces together and adhere to Card Front with Dimensionals.
The two fine detailed Sea Shells are cut out of Gold Foil with the Chic Dies. I suggest using the Adhesive Sheet Backing on the Gold Foil. Adhere to Card Front.
Add a Ribbon made out of the Petal Pink 3/8” Soft Polyester Ribbon.
Add 3 Champagne Rhinestone Basic Jewels to Card Front.
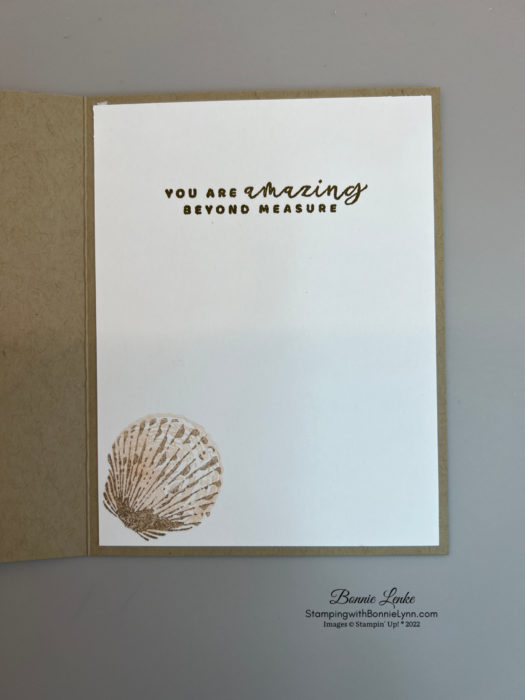
For the inside stamp the greeting from the Season of Chic stamp set in Soft Suede Ink onto the White Cardstock panel. Stamp the 2-part Sea Shell stamp by stamping the shell with the lines first in Crumb Cake Ink, stamp off one time before stamping the panel. Then using Petal Pink ink stamp the second stamp also stamping off once before stamping over the shell. Adhere this panel to card inside.
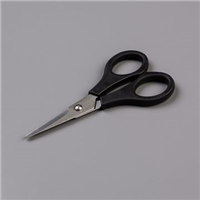
The envelope is finished with a 6” x 2-1/2” piece of Designer Series Paper glued to flap then cut off the excess with Paper Snip Scissors.
And now you have a beautiful card to brighten someone’s day.
Happy Stamping!

Card Recipe
Cardstock:
- Crumb Cake: 8-1/2” x 5-1/2”, scored at 4-1/4” This is your card base
- Petal Pink: 4-1/16” x 5-5/16”, Scrap
- Soft Suede: Scrap
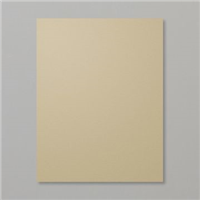
- Basic White: 4” x 5-1/4” card inside
- Gold Foil: 2” x 3-1/2”
- Texture Chic DSP: 3-7/8” x 5-1/8”, 3-1/4” x 4”
Supplies Used:
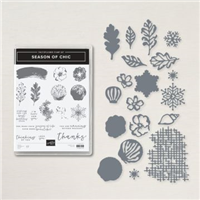
- Stamps: Season of Chic
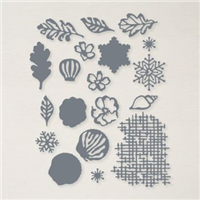
- Dies: Chic Dies, Layering Diorama Dies, Amazing Thanks
- Cardstock/Paper: Crumb Cake, Petal Pink, Soft Suede, Gold Foil, Texture Chic Designer Series Paper
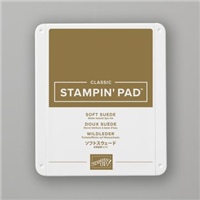
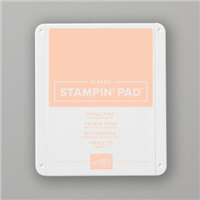
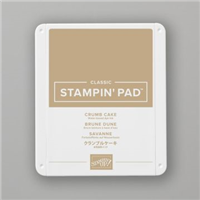
- Stampin Pads: Soft Suede, Petal Pink, Crumb Cake
- Embellishments: Champagne Rhinestone Basic Jewels, Petal Pink 3/8” Soft Polyester Ribbon
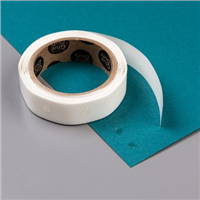
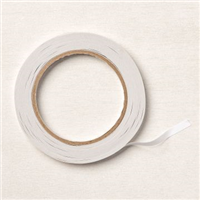
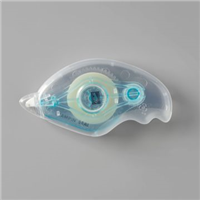
- Adhesives: Dimensionals, Glue Dots, Liquid Glue, Tear N Tape, Stampin Seal
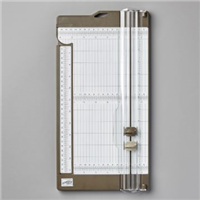
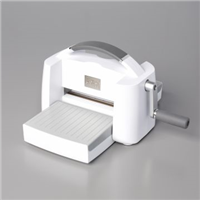
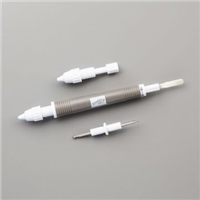
- Tools: Paper Trimmer, Cut & Emboss Machine, Stamparatus, Clear Blocks, Take Your Pick, Bone Folder, Stampin Pierce Mat, Paper Snip Scissors
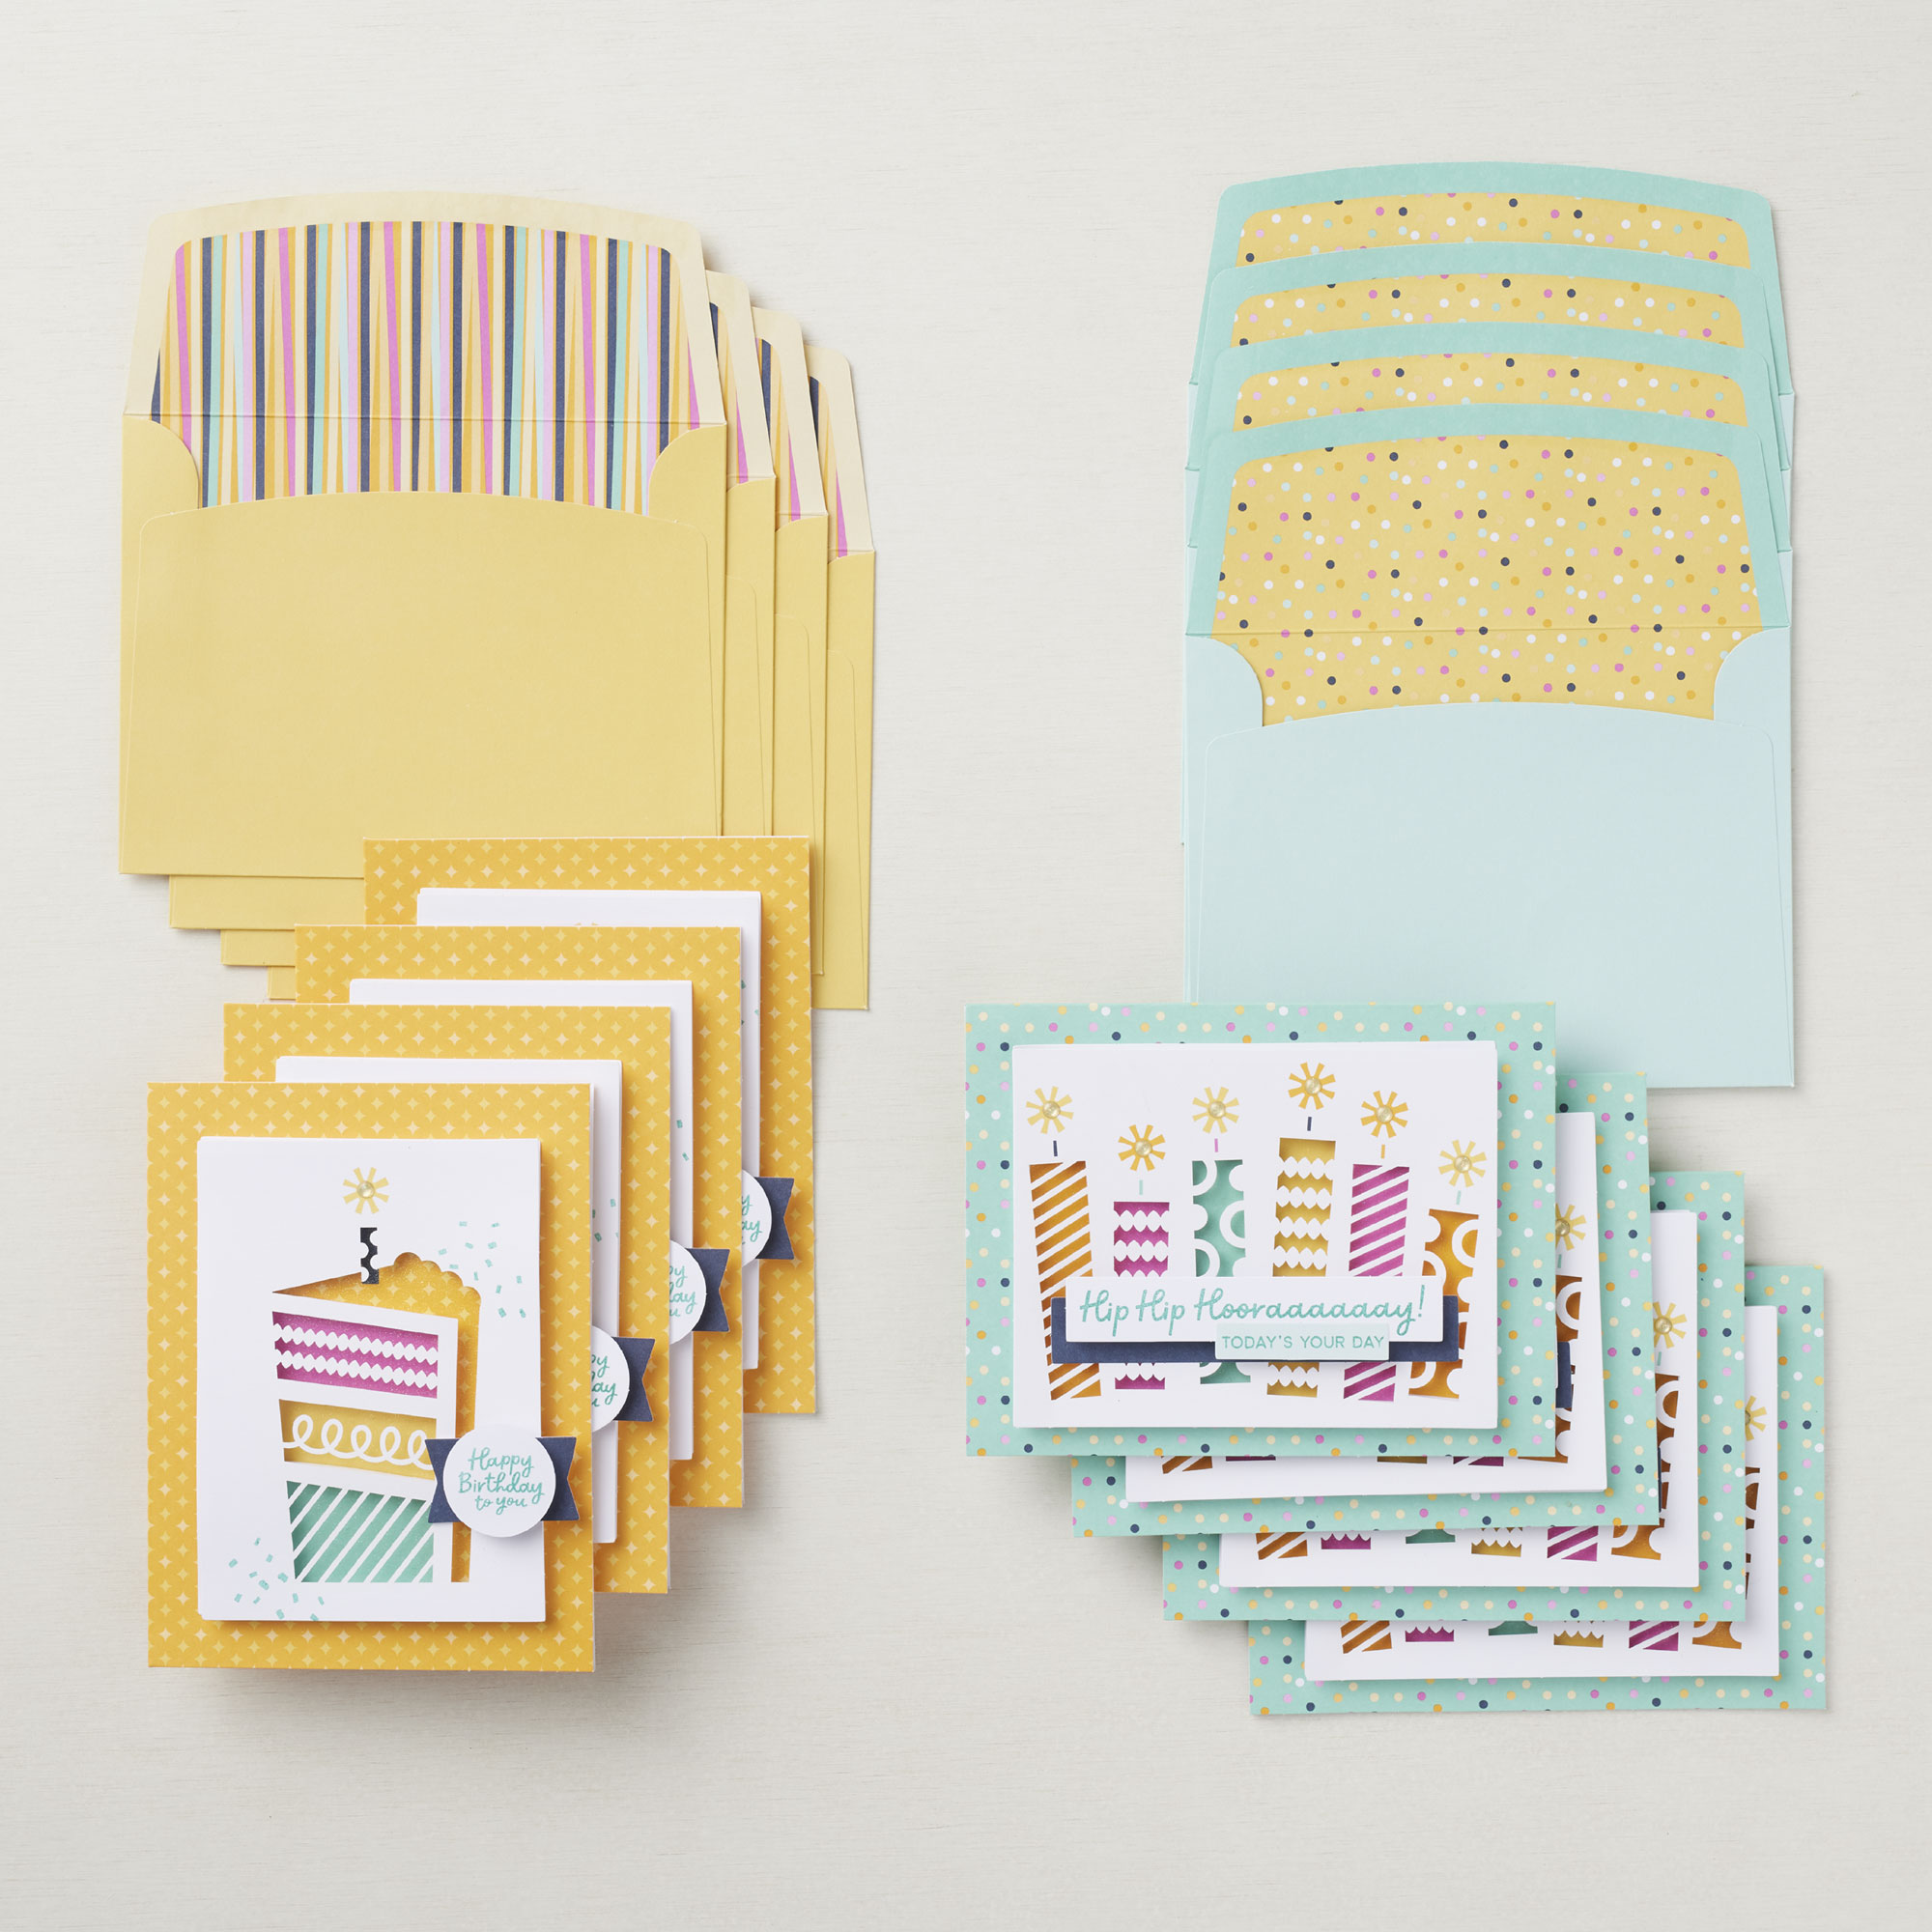
July to December Mini Catalog Plus Sale-A-Bration
Sale-A-Bration Ends August 31st
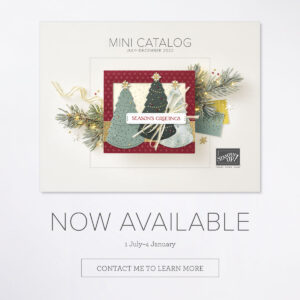

The July to December Mini Catalog is my favorite Catalog of the year and now you can share in the excitement of it. Not only that it’s Sale-a-bration time. With every $50 of Merchandise you order during July & August you get to select FREE ITEMS from the Sale-a-bration Catalog. It doesn’t get more exciting than this. Click Here to Shop the Mini Catalog.
Host Code is located on right hand side of web page
NEW REWARDS PROGRAM
To show you how much I appreciate you I want to let you know that I’ll be announcing a reward program soon. I need to finish figuring out all the details and what to call the reward points. I’m telling you this now because it will be retroactive to August 1st, 2022.
It will work something like this: Rewards are my way of saying thank you to my frequent shoppers. You earn a one reward point for every $25 increment you spend on Stampin’ Up! products (does not include shipping and taxes) through me and can redeem for up to a $25 shopping spree when you reach 10 reward points. You must use my monthly Host Code to earn the reward points.
By the end of the month I’ll have full details for you. I’m telling you now so you don’t miss out on rewards when you use my Host Code. You’ll always find the current Host Code on the right hand side of my blog midway down. Make sure you keep track of your order amount and merchandise total.
I’m looking for suggestions on what to call my reward points that I can also find clip art work to represent it. If I use you idea I’ll give you a choice of a Sale-A-Bration item that I have. I’ll be accepting suggestions through August 15th. Please email me at Bonnie@bonniestamps.com.
*****Make sure that you can see my name on the final checkout page listed as your Demonstrator when you order so that you know that you’re ordering with me and you’ll get my rewards. Please also check that the Current Host Code is in the box when checking out.*****