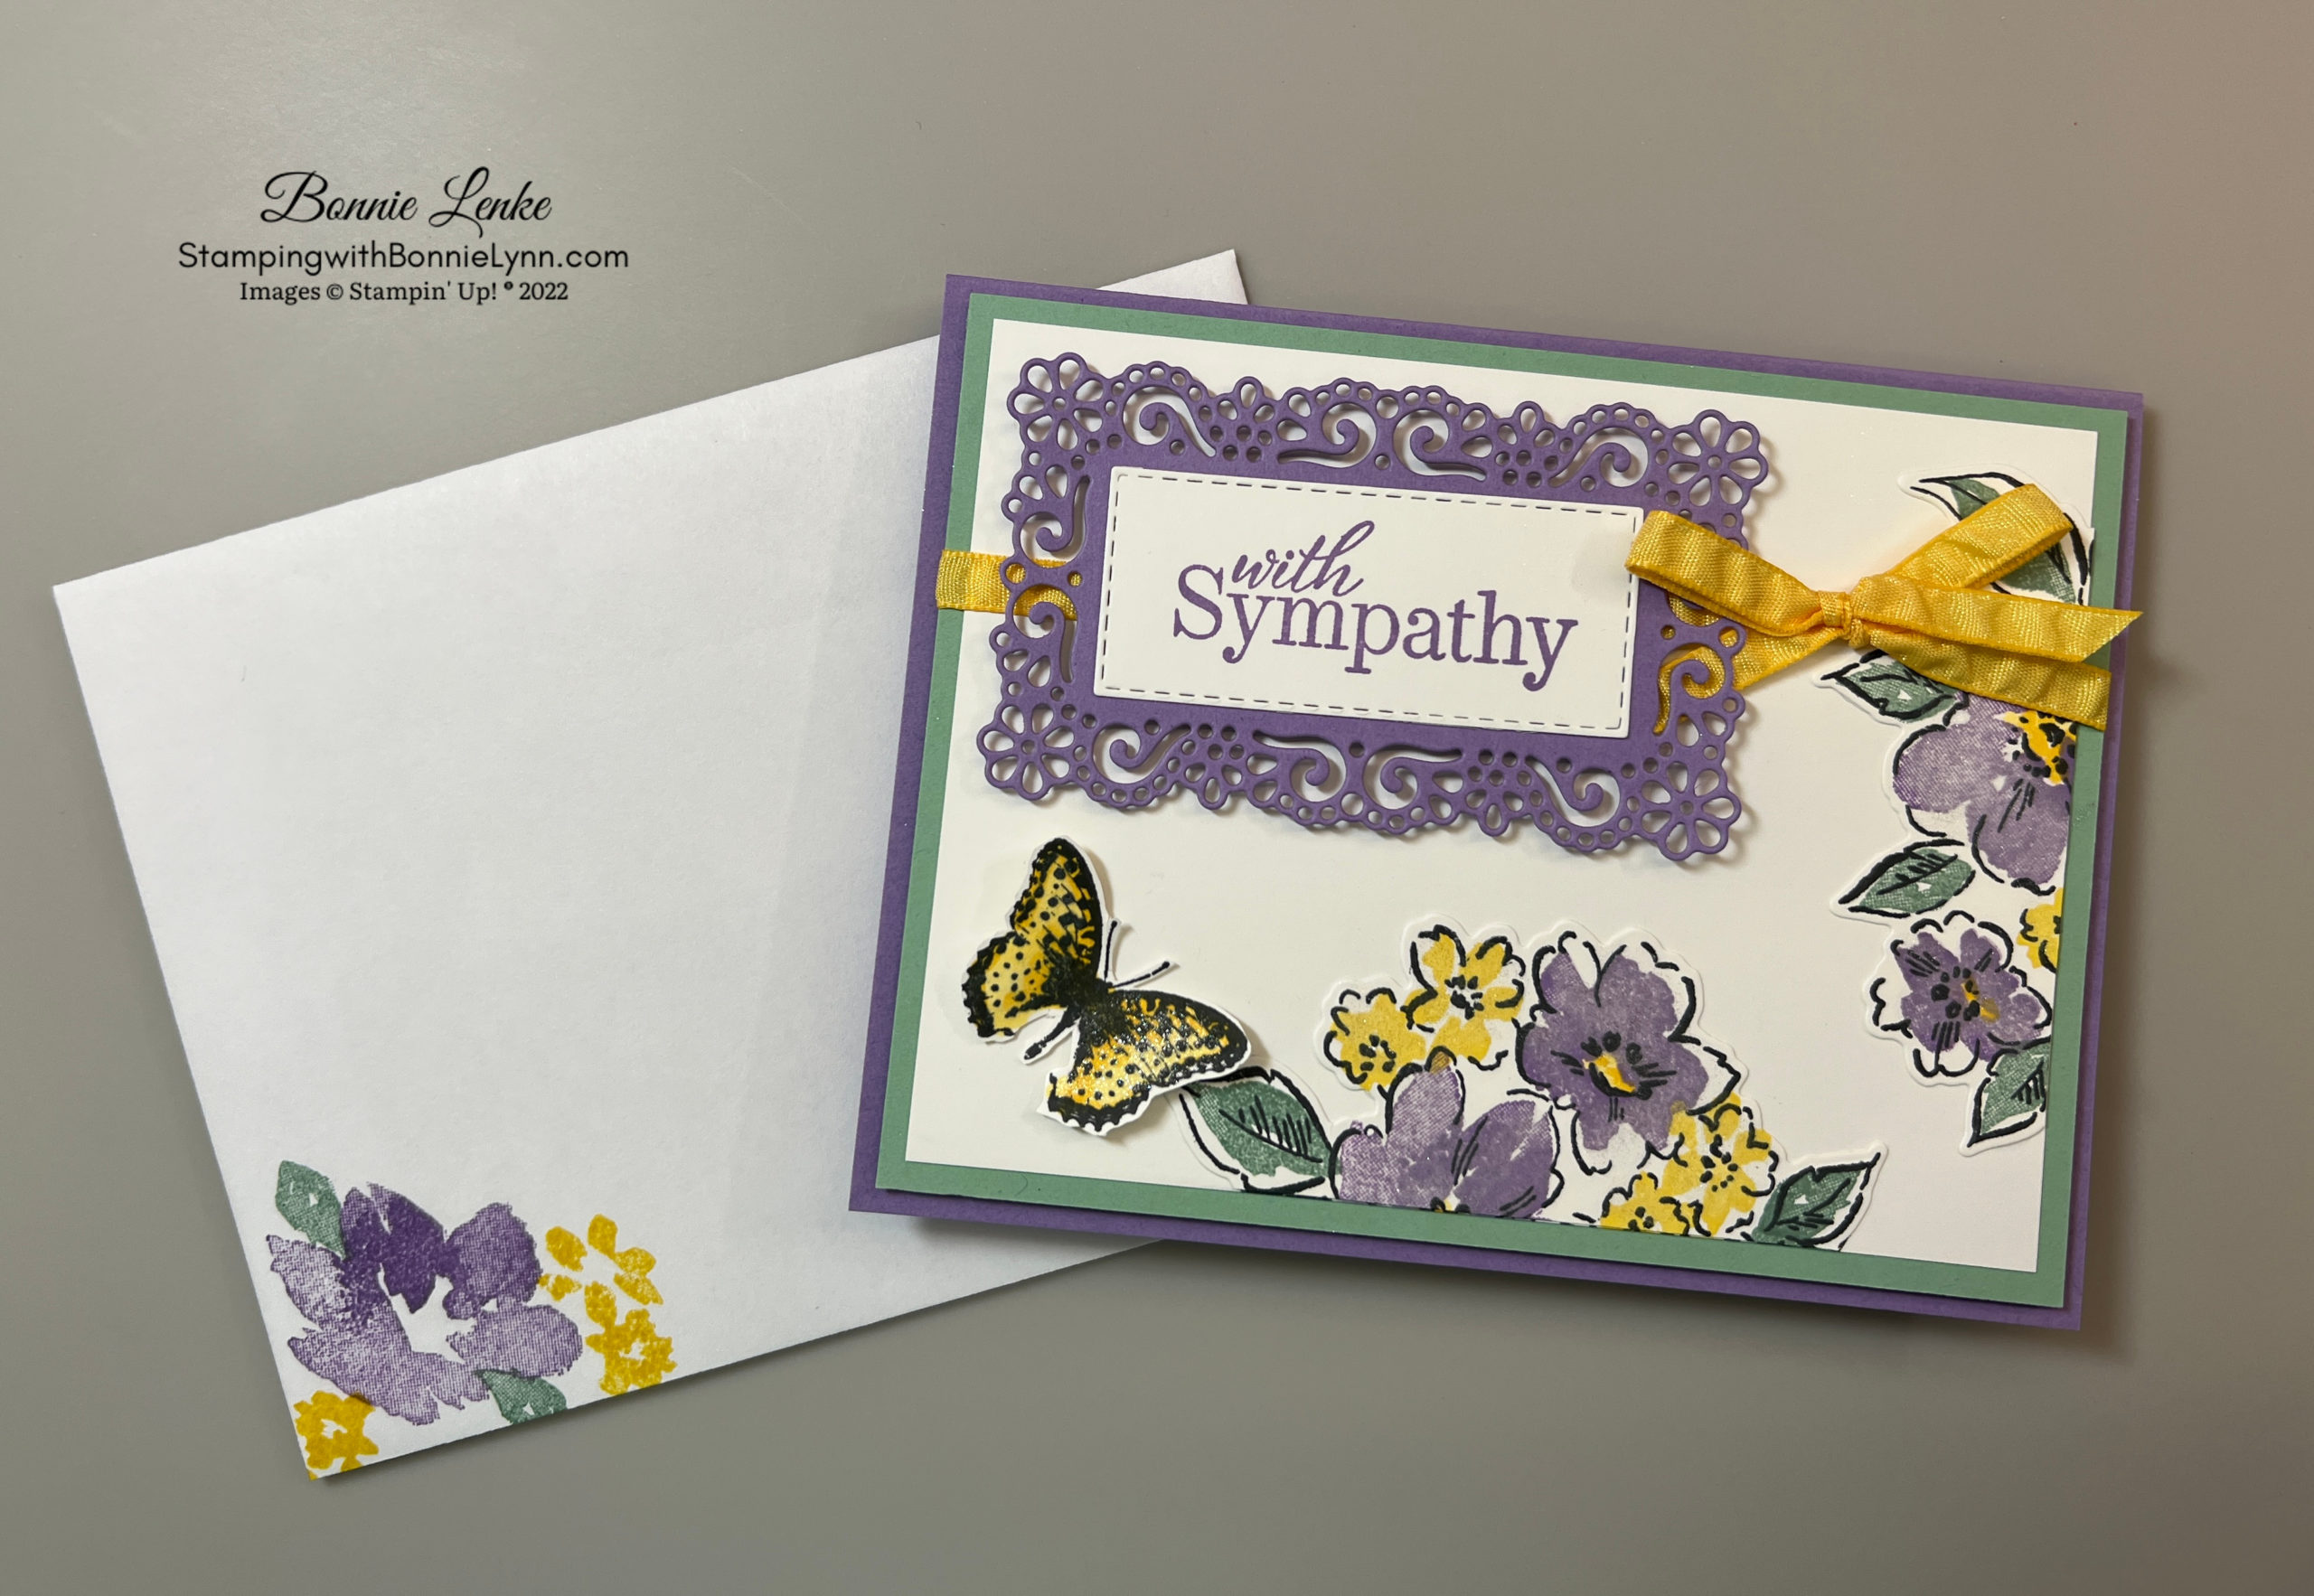
Wonderful World Sympathy Card

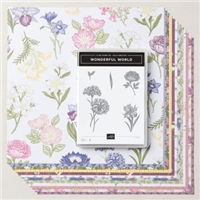
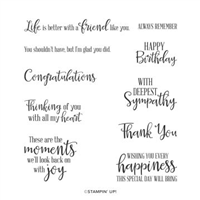
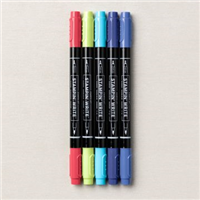
Wonderful World is a Stamp Set and Designer Series Paper you can select as your Free Item on a qualifying order during Sale-a-bration while supplies last. The flower stamps in this stamp set are so pretty and I thought this particular flower would make a warm and beautiful Sympathy Card. The Wonderful World Designer Series Paper is also wonderful and stunning, just as the name of it suggests. Who wouldn’t love to receive card made with a combination of these two items? For the flower I used Stampin’ Write Markers to ink the stamp so I could add both colors at the same time, such an easy thing to do, just remember to “huff” some warm air on it to moisten the ink right before stamping.
Let’s Get Started
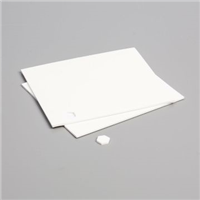
- Fold your Basic White Thick Card Base on the score line and burnish with Bone Folder.
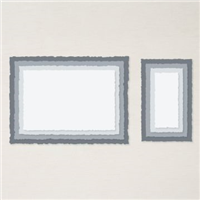
- Cut out both Starry Sky 4” x 5-1/2” panels with largest Deckled Rectangle. One will be used for the card inside.
- Use the 2nd largest Deckled Rectangle to cut out Wonderful World Designer Series Paper, adhere to Starry Sky from Step 2. Tie Pear Pizzazz Ribbon around this panel and tie into a bow off to left side. Adhere to Card Front.
- Stamp your Wonderful World Flower Stamp onto the 3” x 4-1/2” Basic White Cardstock. To do this color the stems and leaves with the Pear Pizzazz Stampin’ Write Marker and the flower with the Orchid Oasis Stampin’ Write Marker. Huff the stamp right before stamping to moisten ink. Hold stamp in place for 3 to 5 seconds without rocking when applying to paper. Cut this out with the 4th largest Deckled Rectangle Die.
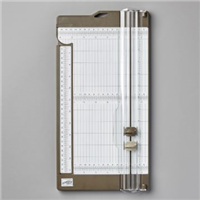
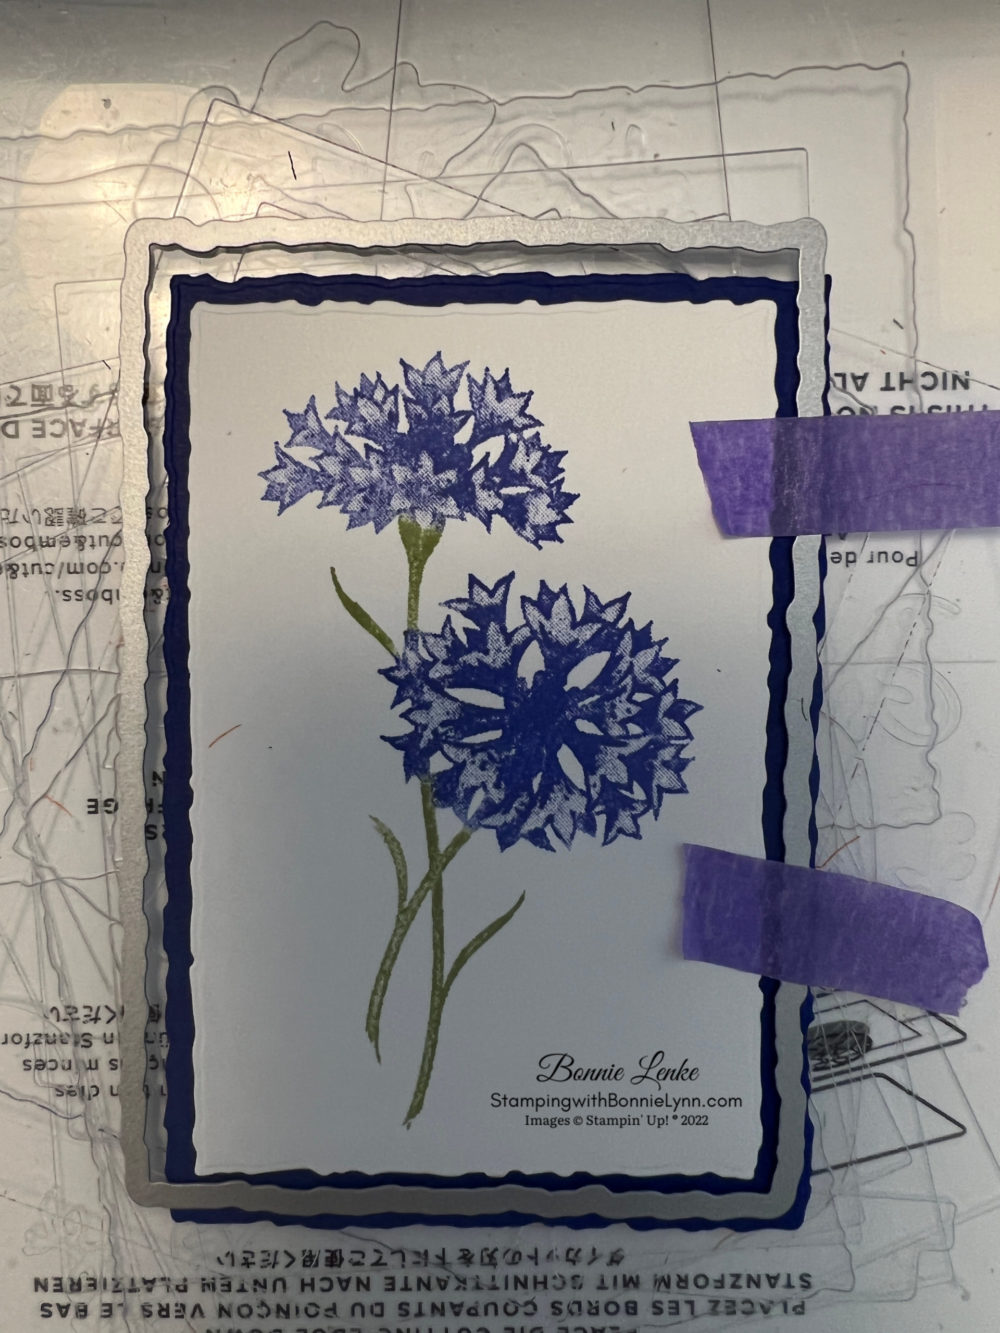
- With the 3rd largest Deckled Rectangle cut out the smaller Starry Sky panel. This piece is still a little too big for the panel and is taking up too much of the Wonderful World DSP so we are going to cut some more off so we only have an 1/8” border. To do this position the stamped flower piece on this Starry Sky piece with an 1/8” border on the top and left side with removeable tape. Now position the 3rd largest Deckled Rectangle Die to have an 1/8” border on the bottom and right-hand side. Tape the die in place so it doesn’t move when running through the Cut & Emboss Machine (see picture below).
- Adhere the Stamped Flower panel to the re-sized Starry Sky pane. Using Dimensionals adhere this panel to Card Front.
- Stamp the “With Sympathy” stamp from the Well Said (retired) Stamp Set to a piece of Basic White Cardstock in Orchid Oasis Ink. Cut out with the Stitched so Sweet Dies (retired) 2nd smallest die and adhere to card front with Dimensionals.
- Add Embellishments to stamped flower panel. I used the Rhinestone Waves Basic Jewels (retired). If you don’t have any blue or orchid oasis rhinestones use your Orchid Oasis Stampin’ Blend to color a clear rhinestone. Alcohol markers are excellent for coloring your gems, they are also good for coloring white ribbons.
- For the Card Inside, cut Basic White Cardstock with the 2nd largest Deckled Rectangle. Stamp your saying in Pear Pizzazz Ink. I used 2 stamps, one from Peaceful Moments and the other from Special Moments (retired). Stamp the flower the same way you did for card front.

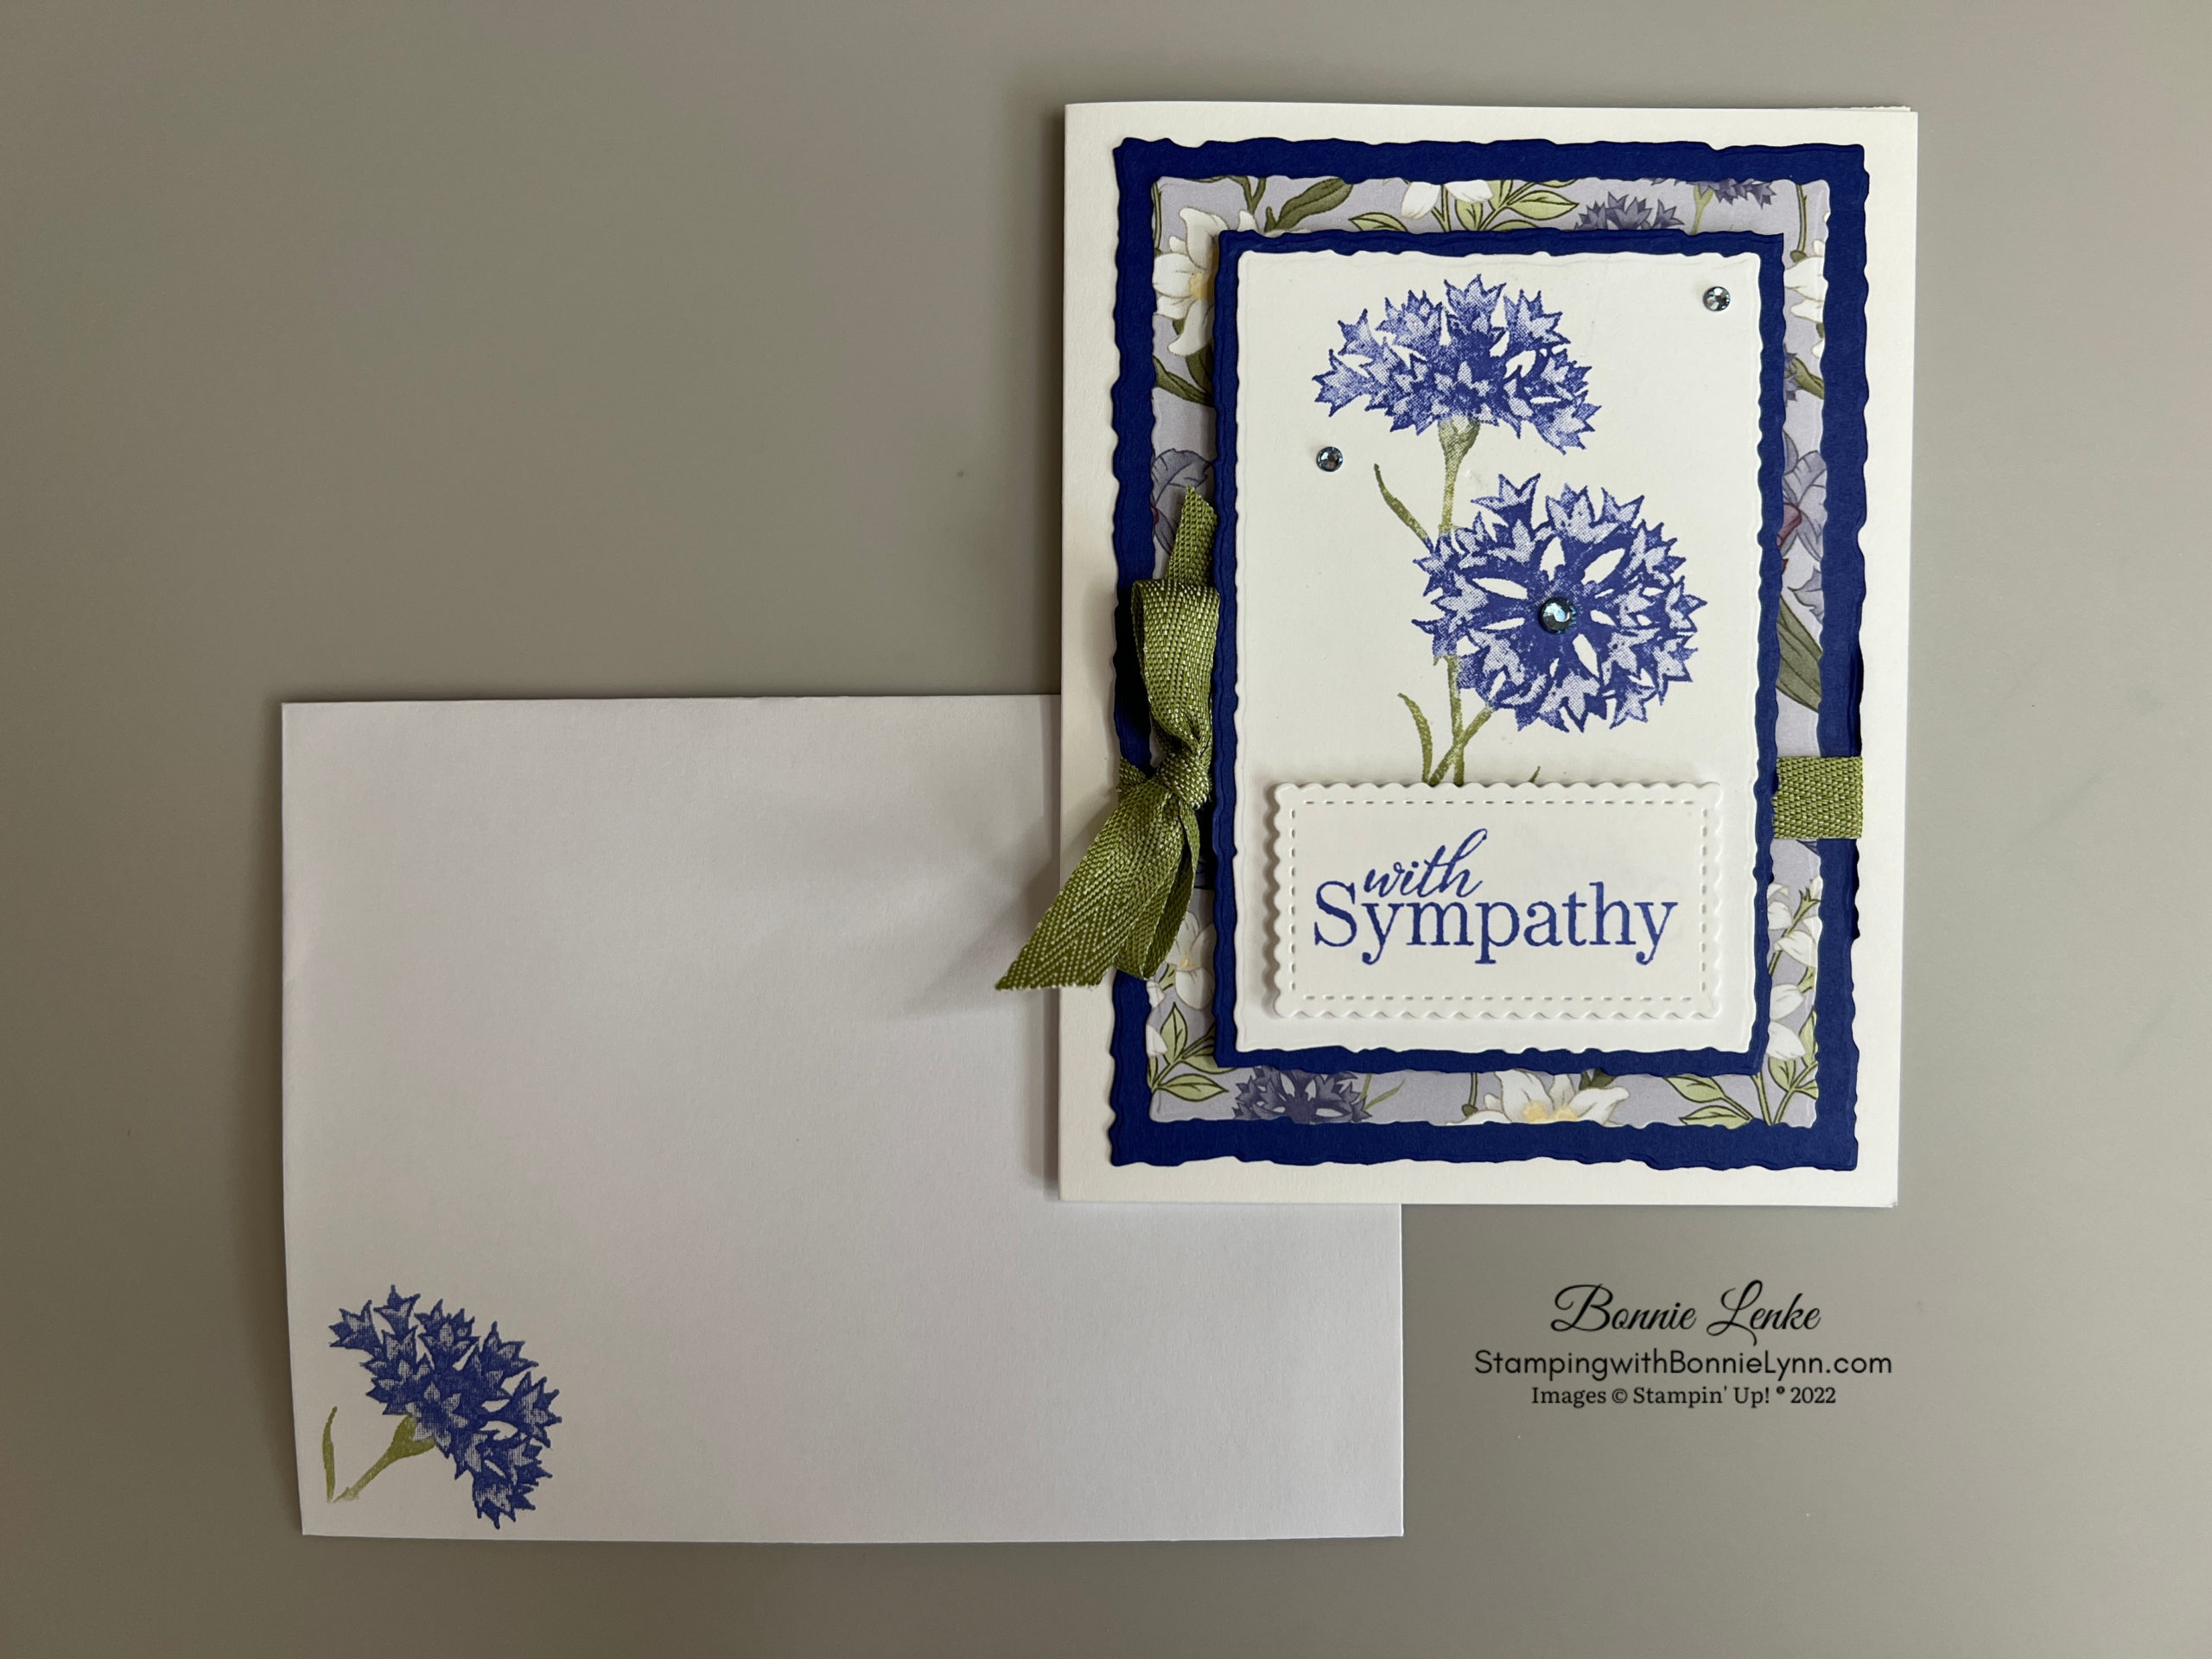
Don’t forget the stamp a flower in the bottom left corner of your Envelope front using the same method as for card front.
And now you have a beautiful Sympathy card when you need one.
Happy Stamping!
Card Recipe
Cardstock:
- Basic White Thick: 8-1/2” x 5-1/2”, scored at 4-1/4” This is your card base
- Basic White: 3”x 4-1/2” flowers, 2-3/4” x 1-3/4” saying, 3-3/4” x 5” card inside
- Starry Sky: 4” x 5-1/2” (2), 3” x 4-1/2”
- Wonderful World Designer Series Paper: 3-3/4” x 5”
Supplies Used:
- Stamps: Wonderful World, Peaceful Moments, Well Said (retired), Special Moments (retired)
- Dies: Deckled Rectangles, Stitched so Sweet (retired)
- Cardstock/Paper: Basic White Thick, Basic White, Starry Sky, Wonderful World Designer Series Paper
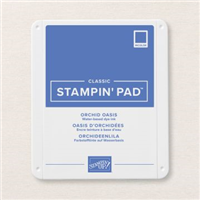
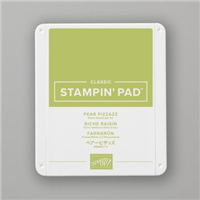
- Stampin Pads: Orchid Oasis, Pear Pizzazz
- Embellishments: Rhinestone Waves Basic Jewels (retired), Pear Pizzazz Ribbon 3/8”
- Adhesives: Dimensionals, Glue Dots, Liquid Glue, Tear N Tape, Stampin Seal
- Tools: Paper Trimmer, Cut & Emboss Machine, Stamparatus, Clear Blocks, Take Your Pick, Bone Folder, Stampin Pierce Mat, Paper Snip Scissors
SWEET SUNFLOWERS AUGUST 2022 PAPER PUMPKIN KIT
Last Day to Sign Up is August 10th, 2022
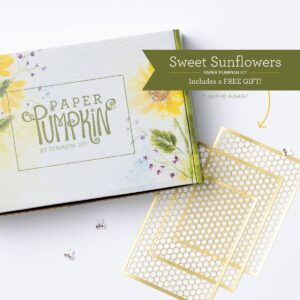
Subscribe July 11 – August 10 | August 2022 Sweet Sunflowers Paper Pumpkin Kit
Here comes the sun(flower) for a crafting experience you won’t forget! The Sweet Sunflowers Paper Pumpkin Kit has so much in store—elegant watercolor designs hand-crafted by our in-house artists, TWO Classic Stampin’ Spots for a Two-Step stamping experience, and the all-new twist technique to make your floral designs come alive with depth and detail!
Plus earn free Sale-a-bration merchandise with a qualifying order through August 31st, 2022.
CLICK HERE FOR MORE PAPER PUMPKIN INFORMATION
Current Host Code: SHHR333X
Use this host code when you order $25 or greater of merchandise and receive reward point(s). If your order is over $150, please do not use this code, but you’ll still earn the reward points.
*****Make sure that you can see my name on the final checkout page listed as your Demonstrator when you order so that you know that you’re ordering with me and you’ll get my rewards. Please also check that the Current Host Code is in the box when checking out.*****