
Christmas Banners & Sweet Candy Canes Gatefold Card with Video
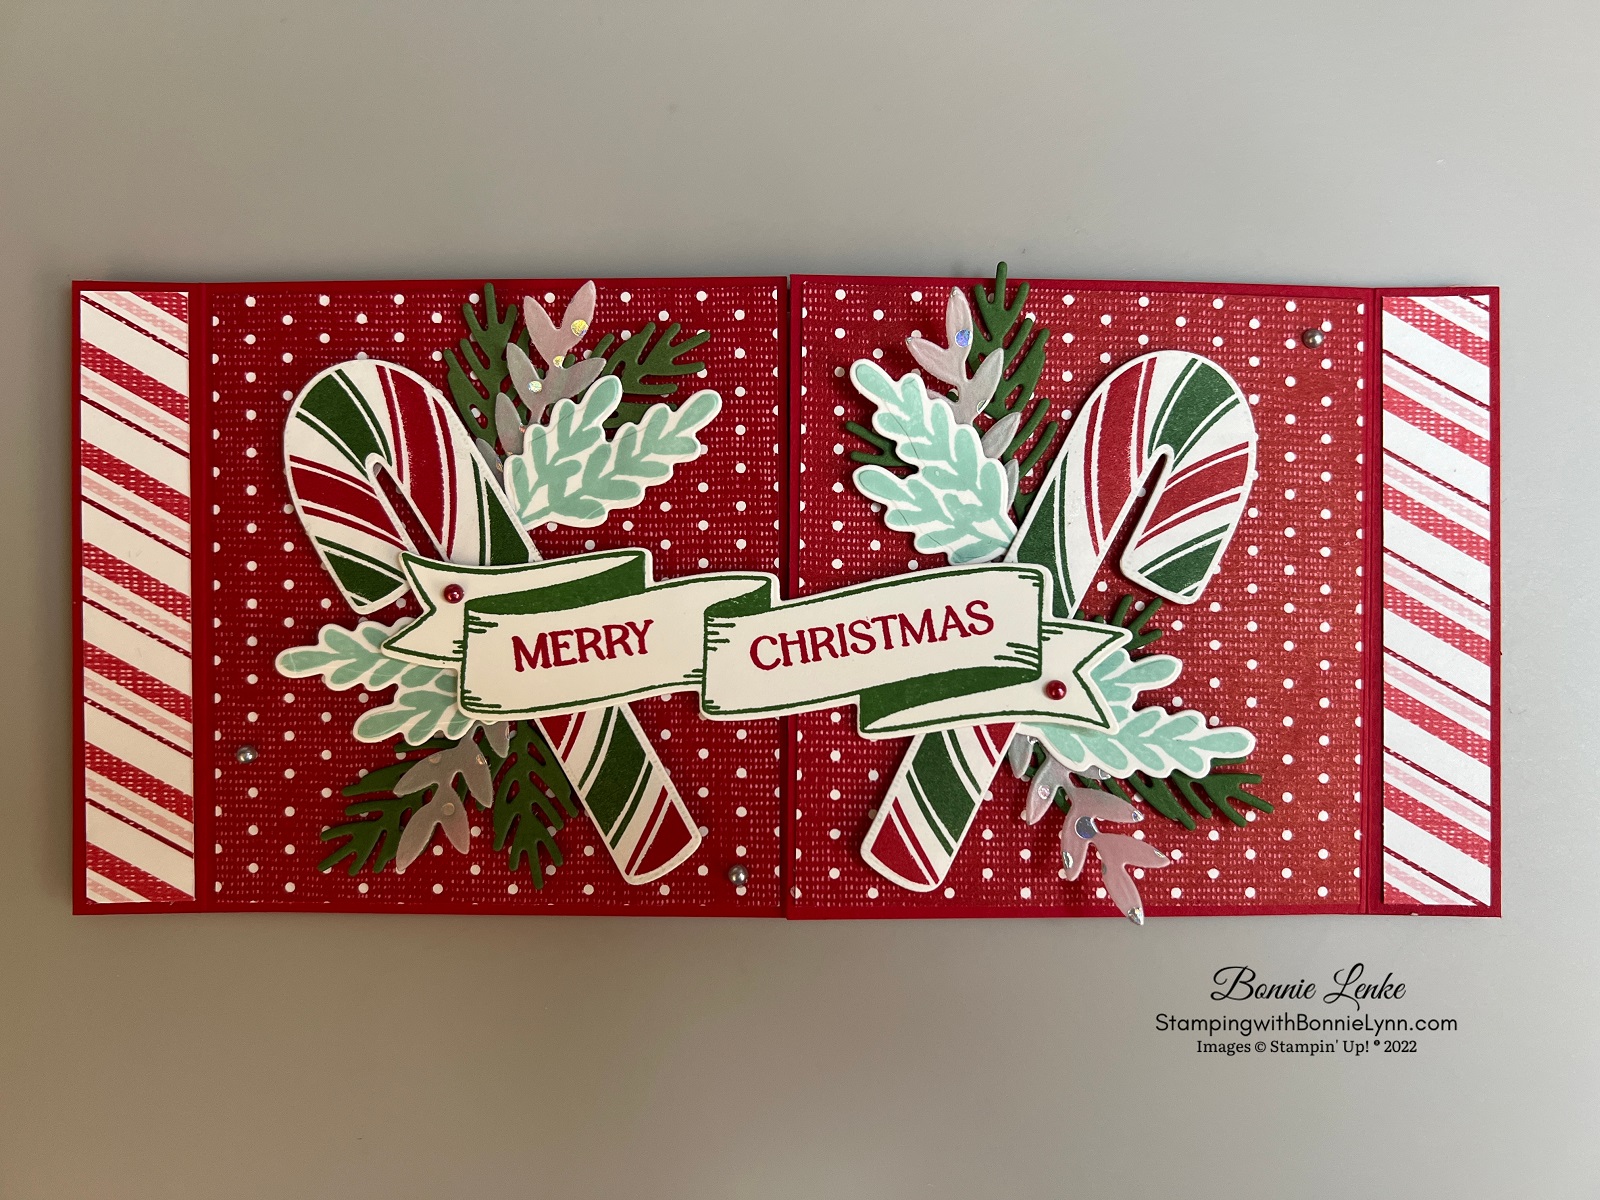
I wanted to try something different so since I like making Slimline Cards and Fun Fold Cards, I decided to combine the two. Plus, it was time to do another Christmas Banners & Sweet Candy Cane. What you see is my outcome of it all. A Gatefold was the first Fun Fold Card I ever made and here it is as my first Slimline Fun Fold card. I did a video so I could show those who are not familiar with the Stamparatus how to use it. The Stamparatus is a time saving tool, especially when making multiples of the same card. It also gives you a cleaner and stronger stamp most of the time. Some days we can all be a little messy 😊. I hope you enjoy the card and will make a Gatefold Slimline Card and please share it on my Facebook Page, Stamping With Bonnie-Lynn.
CLICK FOR SLIMLINE FUN FOLD VIDEO
Let’s Get Started
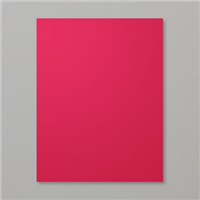
- For your Card Base cut TWO 8-1/2” x 3-3/4” pieces of Rea l Red Cardstock. Take one and cut in half at 4-1/4” and then score each piece at ¾”. Adhere these two pieces to the other piece of Real Red Cardstock by Taping or Gluing the ¾” section of the 4-1/4” wide Real Red to the ends of the 8-1/2” Real Red piece of Cardstock. This is your Card Base.
- Adhere the 5/8” x 3-5/8” Sweetest Christmas Designer Series Paper to each end of the front of your Card Base. Attach the other 2 pieces of Designer Series Paper to the other sides of the Card Front.
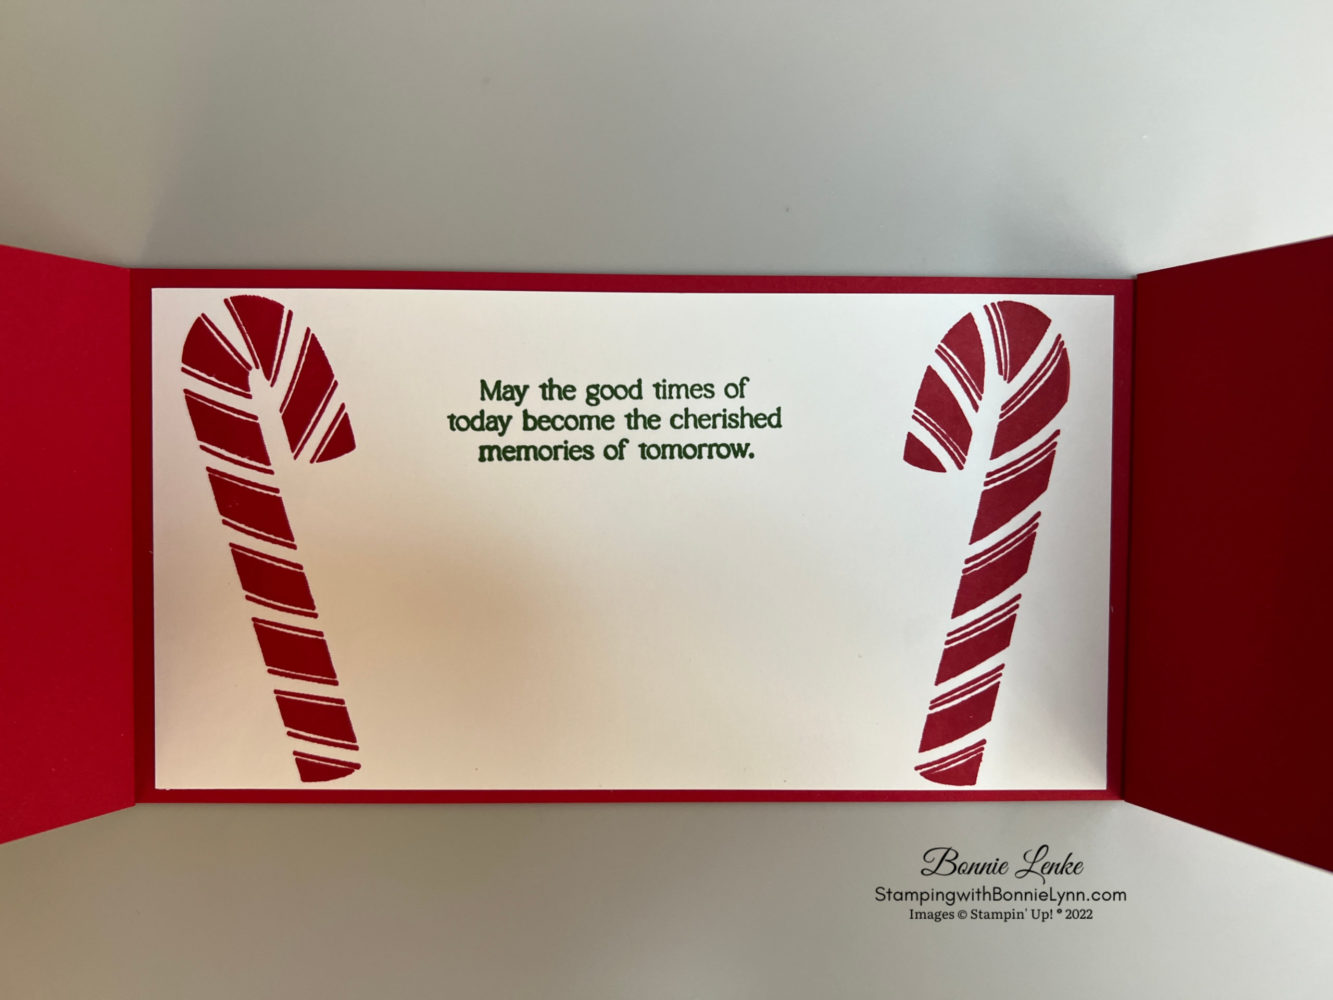
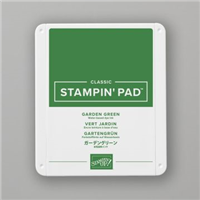
- For the inside of your card use the piece of White Cardstock and stamp your Candy Cane Stamps on each end of the Cardstock in Real Red Ink. Stamping your Saying in Garden Green Ink. Adhere to inside of the card.
- Using the Sweet Candy Cane Dies cut out 4 pieces of the Boughs from the Snowflake Specialty Vellum with the silver dots on it.
- From your Garden Green scraps of Cardstock die cut out 4 pieces using the pine needle Die from the Sweet Candy Cane Dies.
- Stamp 4 of the double boughs from the Sweet Candy Cane Stamp Set in Pool Party Ink onto White Cardstock and cut out with the Coordinating Die.
- Cut 2 Candy Canes out of the Sweetest Christmas Designer Series Paper with the Coordinating Dies. Tip: Adhere White Cardstock to back of DSP with Adhesive Sheets prior to cutting out the candy canes. This will make the candy canes stronger and not flimsy. The other way to do it is to cut out 2 candy cane of plain White cardstock and glue to back of DSP Candy Canes.
- With the Christmas Banners Stamp Set stamp the Banner Die in Garden Green Ink. Next stamp your Greeting, one word at a time, in Real Red Ink. Cut out with Coordinating Die. I really suggest you use the Stamparatus for this step.
- Next, we will build up the Card Front. First arrange your candy cane and other pieces on the card front to see how you want them to lay out. Once you decide go ahead and attach your pine branches with Glue Dots. Attach your vellum with Glue Dots. Now using Dimensionals attach your Candy Canes to the card front. Next using Glue Dots add your boughs under your Candy Canes.
- To adhere your Greeting use Glue Dots (to adhere to candy cane) and/or Dimensionals and only adhere on the left side of Card front.
- Add Festive Pearls to Card Front.
- Card will fit into a standard business envelope. To decorate stamp a Candy Cane on the left-hand side of envelope in Real Red Ink or maybe add a 5/8” strip of DSP to left side of Envelope.

And now you have a beautiful card to brighten someone’s day.
Happy Stamping!
Card Recipe
Cardstock:
- Real Red: 8-1/2” x 3-3/4” cut 2. Now take one and cut in half at 4-1/4” then score each one at ¾”. This is your card base
- Basic White: 6-3/4” x 3-1/2” for card inside. 4-1/4” x 2”, and a scrap
- Garden Green: Scraps
- Sweetest Christmas DSP: (2) 5/8” x 3-5/8”, (2) 3-3/8” x 3-5/8”, 5/8” x 4-1/8” strip to adhere to side of envelope
- Vellum: Snowflake Specialty Vellum
Supplies Used:
- Stamps: Christmas Banners, Sweet Candy Canes
- Dies: Christmas Banner, Sweet Candy Cane Dies
- Cardstock/Paper: Real Red, Basic White, Garden Green, Snowflake Specialty Vellum, Sweetest Christmas Designer Series Paper
- Stampin Pads: Real Red, Garden Green, Pool Party
- Embellishments: Festive Pearls
- Adhesives: Dimensionals, Glue Dots, Liquid Glue, Tear N Tape, Stampin Seal
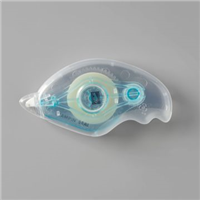
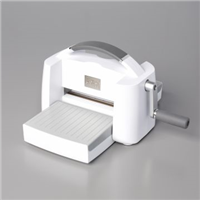
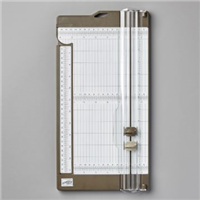
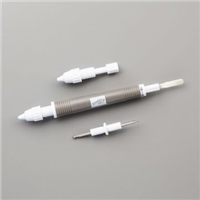
- Tools: Paper Trimmer, Cut & Emboss Machine, Stamparatus, Clear Blocks, Take Your Pick, Bone Folder, Stampin Pierce Mat, Paper Snip Scissors
CURRENT HOST CODE
CGFCKGEF
When placing an order please use the current Host Code and earn REWARD POINTS. Once you earn 10 reward points you will receive a $25 shopping credit from me. CLICK HERE for more details.
WEEKLY DEALS FROM STAMPIN’ UP!
SEPTEMBER 1 – 28TH

Every week in the month of September we’re offering a selection of discounted products. Discounts and product selection will vary from week to week.
PROMOTIONAL DETAILS:
- New products added each week on 1, 8, 15, and 22 September
- Promotion ends 28 September.
- Product options and discounts vary based on inventory availability.
- All order types qualify for this promotion (customer, demonstrator, workshop, and online).
- Discounted items can be added to a Starter Kit.
- Get the most up-to-date product information on the online store beginning 1 September.
CLICK HERE TO SHOP WEEKLY DEALS


please send me your newsletters