Ever Wanted to Visit Amsterdam to see the Tulip Fields?
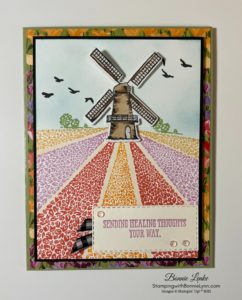
With this new stamp set, Tulip Fields, in the January to June mini Stampin’ Up! catalog, you can make cards as beautiful as the Amsterdam tulip fields and all without leaving the comfort of your craft area.
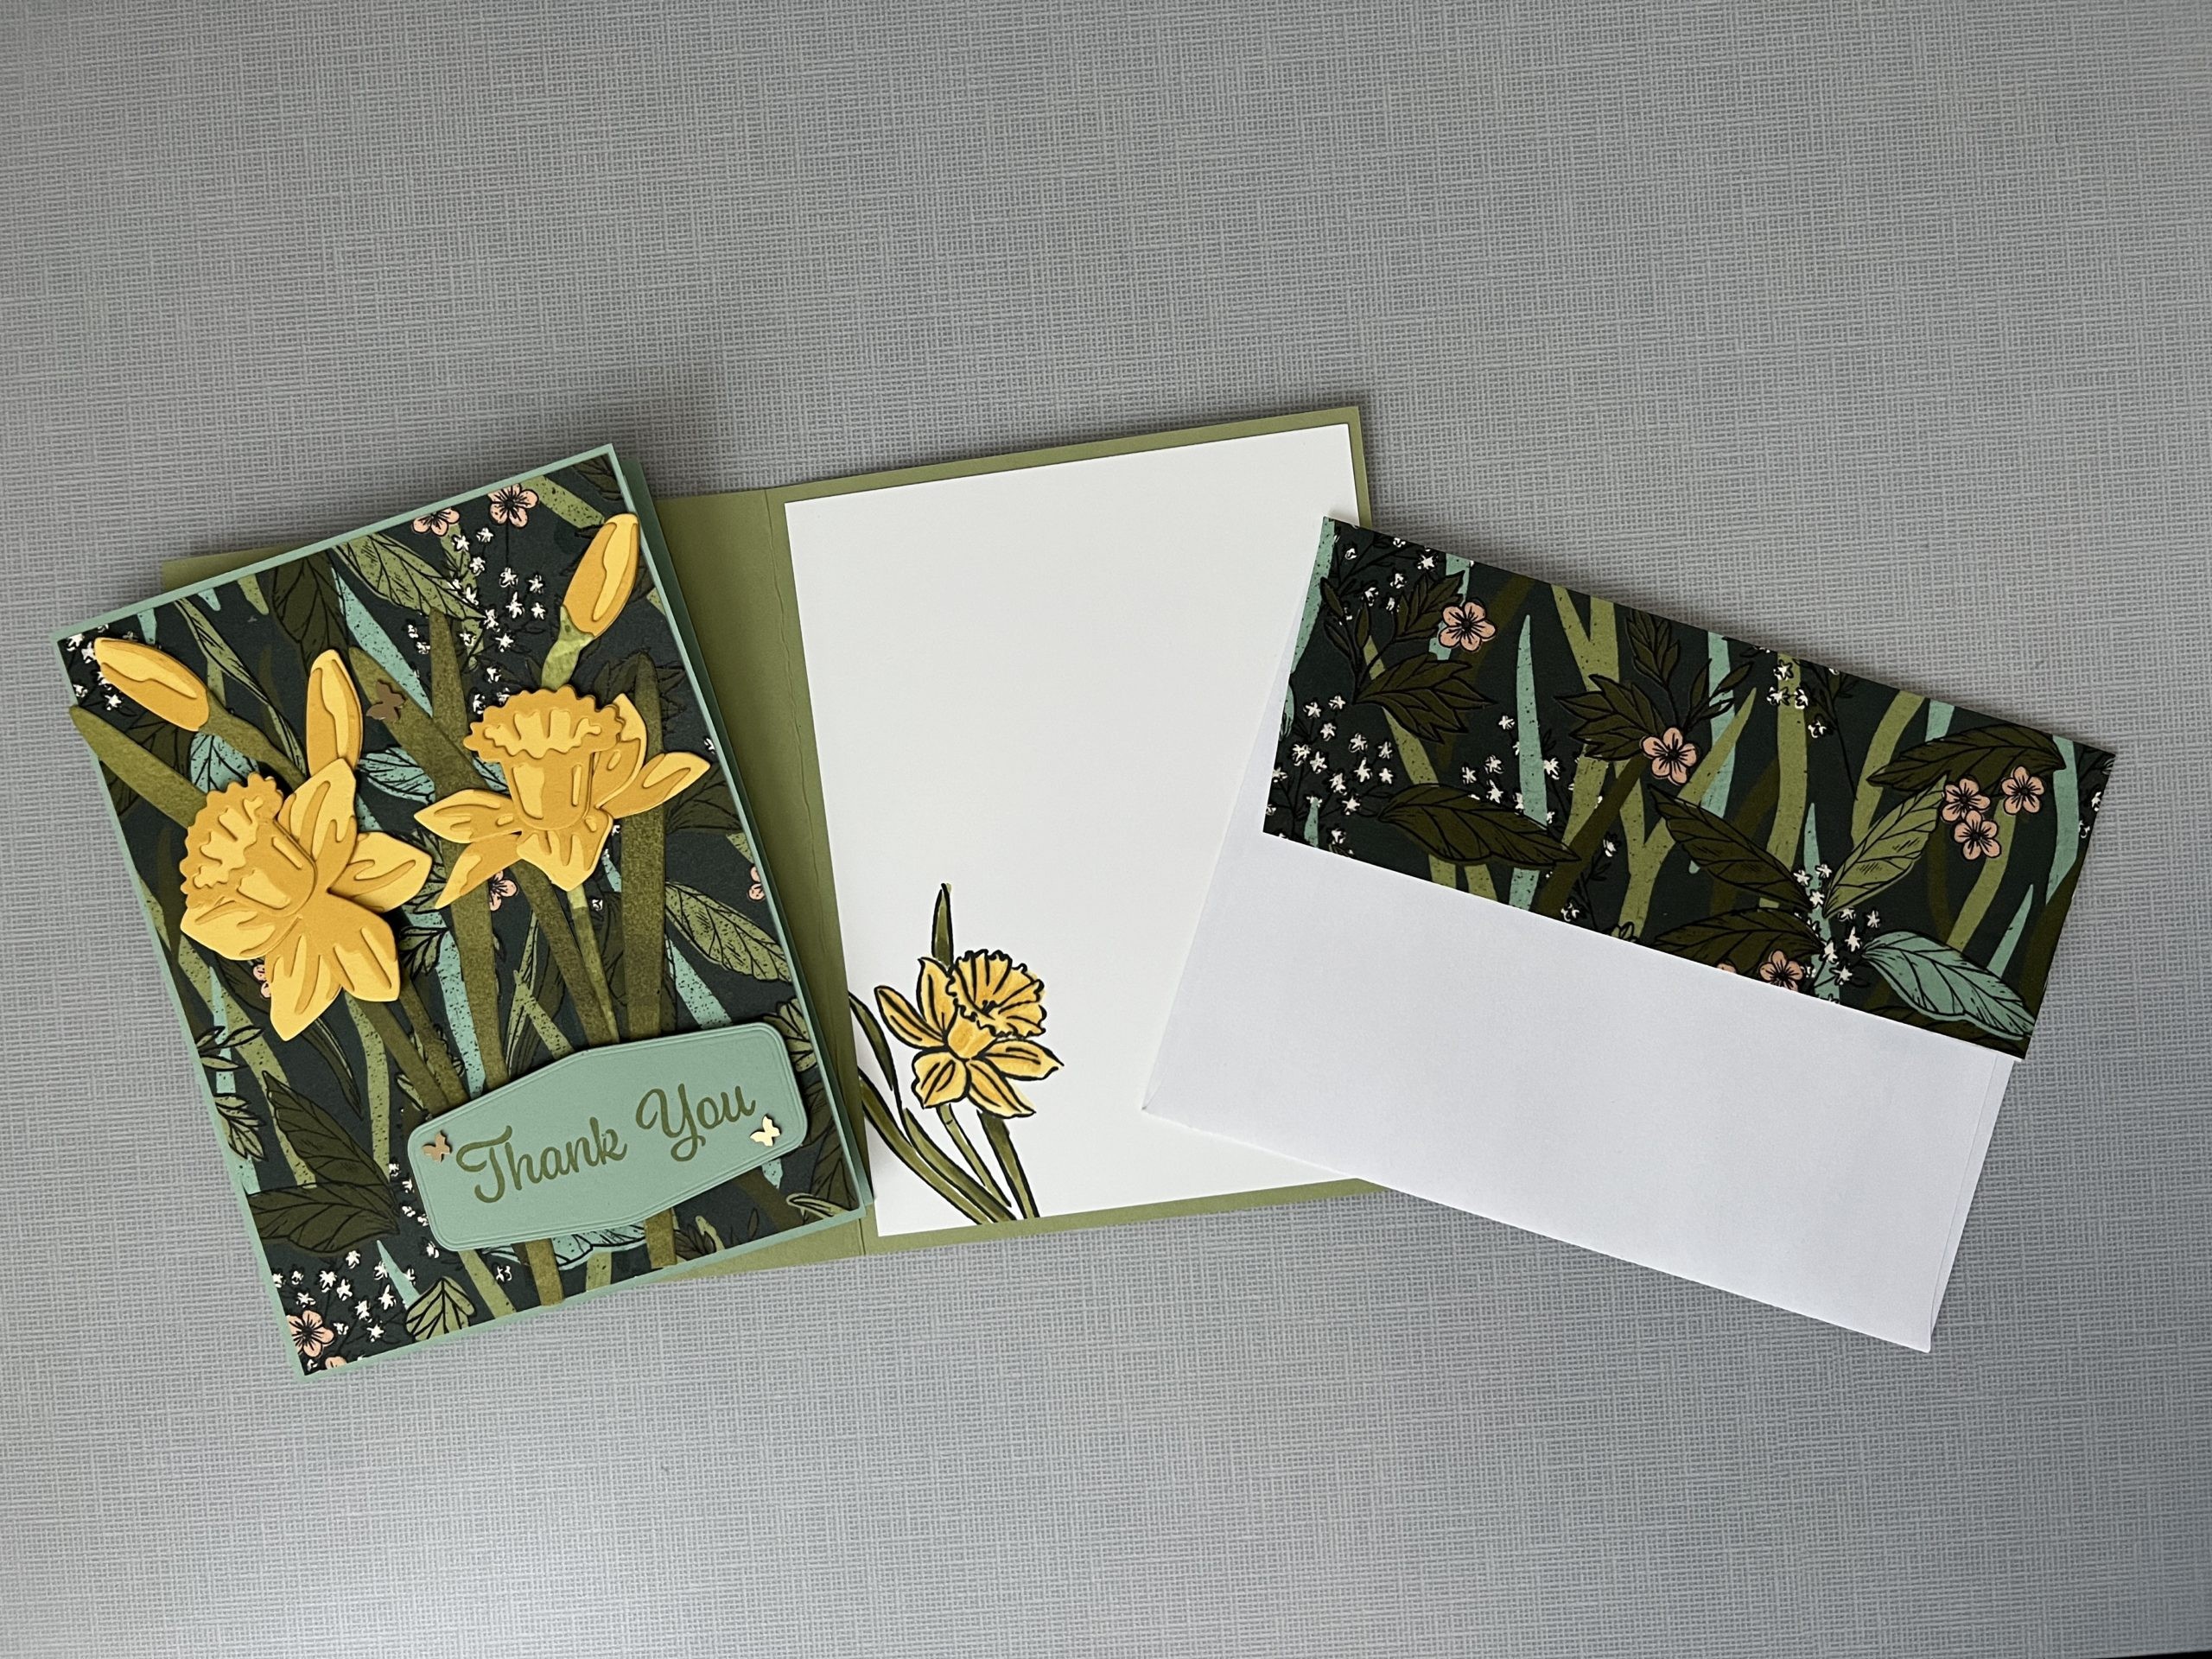
I started with a card base of Pear Pizzazz cardstock, fold on the 4-1/4” score line and crease with bone folder. Add layer of the Flowering Fields Designer Series paper (DSP) with glue or tape.

With your piece of Basic White cardstock decide where you want your Flowers to start and mask the flower portion off with a piece of paper or post it notes work great. Using a Blending Brush add Balmy Blue ink lightly to the sky area (I left some whiter areas on my card).
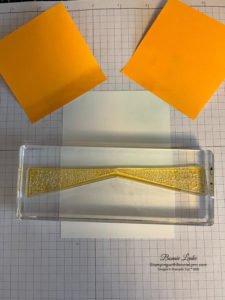
Next take the flower stamp that goes in both directions and ink each side in the color(s) you desire. I did both sides in So Saffron. Stamp so flowers are against the bottom of your sky. Then take the large triangle flower stamp and stamp in the middle of the bottom part. Stamp the on the side left next to the So Saffron flowers, then stamp on the right next to those So Saffron flowers. Then stamp on either side of your middle row. My other colors used where Fresh Freesia and Calypso Coral. If you click on my photo right below it will take you to a short 2 minute video Stampin’ Up! did on how to stamp the flower fields. It will make it all very clear.
After I was done stamping my flower rows, I took a Blending Brush and lightly went over the white areas with Sahara Sand (let the ink dry before doing this so it doesn’t smear) using a very light hand when doing this so it doesn’t get too dark. Had my rows been closer together I might not had done this. You could also use an ivory Stampin Blend but test it out for color before using on your picture.
Stamp small trees above the field of flowers in Pear Pizzazz Ink. Stamp the birds from On the Horizon Stamp Set in Memento black ink or Early Espresso Ink. I inked up only 4 birds for one side and then the other 3 birds for the other side. Next adhere this to the piece of black cardstock using double sided tape or glue. Using dimensionals attached this to your card base/designer series paper.
Stamp your windmill on a piece of basic white cardstock. I used black memento ink as I want to color mine using the Stampin Blends/Copics. I used Copic E42 and E44. Stampin Blends I would suggest Soft Suede and Crumb Cake Combo or Soft Suede and Ivory. You could also use a dauber to sponge your ink on or color pencils. Using your Windmill Field Dies cut out the windmill. Adhere to card front using dimensionals.
Stamp your greeting onto a scrap of Very Vanilla cardstock and cut out with Stitched Rectangle Die. My greeting is from the retired set Well Said. The Special Moments stamp set in the Sale A-bration catalog would had worked too if I had a better memory 😊.
Cut a small piece of Black and White Gingham ribbon and double fold it so the ends are peeking out of left side of greeting, adhere with tape or glue dots. Adhere greeting to front of card with dimensionals.
Add your BLING. I used polished dots.
Card inside is Very Vanilla cardstock stamped with a saying from Encircled in Friendship stamp set. Tape or glue a piece of the Designer Series Paper at the bottom on page.

Envelope – stamp the windmill onto the front bottom corner in Soft Suede ink.
And now you have a beautiful card to brighten someone’s day.
Happy Stamping!
Card Recipe:
- Pear Pizzazz Cardstock for card base 8-1/2” x 5-1/2” scored at 4-1/4”
- Flowering Fields designer series paper: 4-1/8” x 5-3/8”, 4” x 7/8” for inside card at bottom
- Very Vanilla Cardstock (inside) 4” x 5-1/4”, scrap for greeting
- Black Cardstock: 3-3/4” x 5”
- Basic White Cardstock: 3-5/8” x 4-7/8”, scrap for windmill
- Approximately 3” of black & white gingham ribbon
Supplies Used:
Cardstock in Pear Pizzazz, Basic Black, Basic White and Very Vanilla. Stamp Sets: Tulip Fields, On the Horizon, Encircled in Friendship and (Well Said – retired). Dies: Windmill Fields and Stitched Rectangle Dies. Inks – Soft Suede, Pear Pizzazz, So Saffron, Calypso Coral, Fresh Freesia, Balmy Blue, Sahara Sand and Black Memento. Ribbon – Black & White Gingham. Embellishments – Polished Dots.
Tools used: Stampin Cut and Emboss Machine, Paper Trimmer, Bone Folder, Take Your Pick, Blending Brush and Scissors.
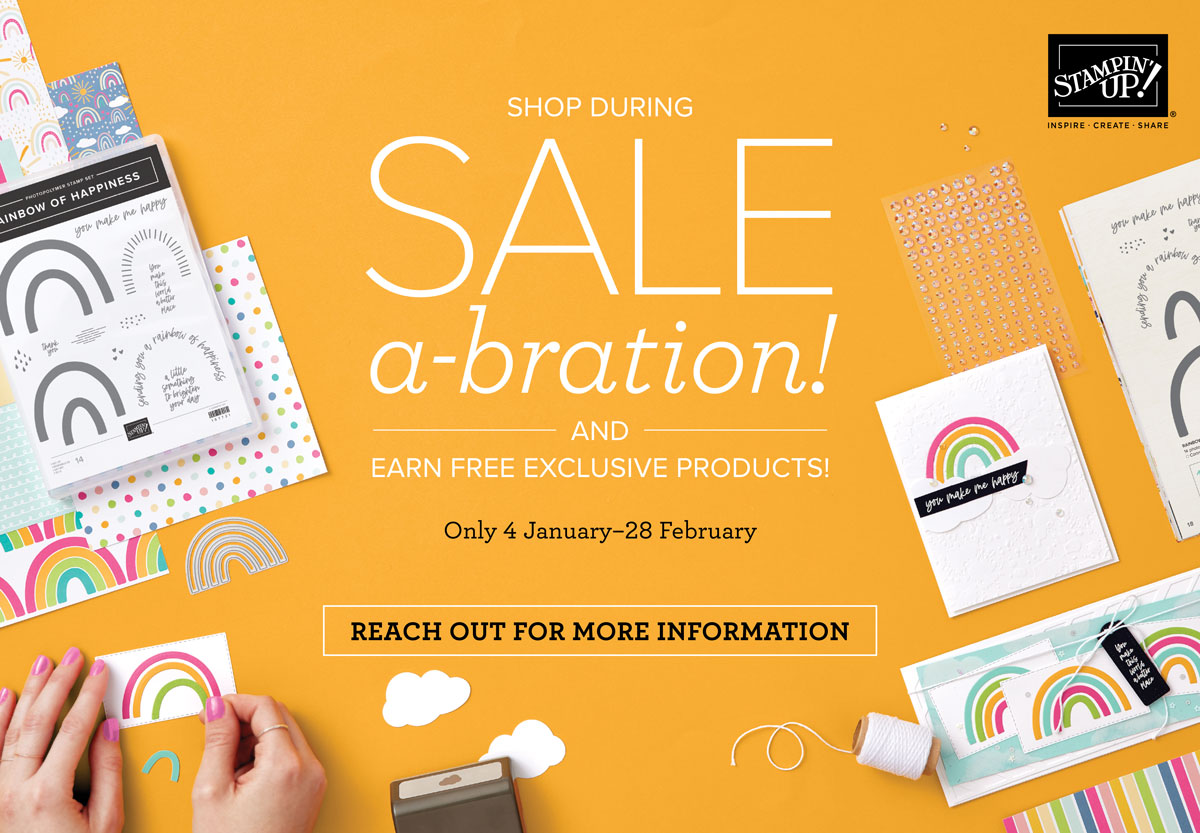
SALE a-bration Going on Now!
The January-February Sale-a-bration event from Stampin’ Up! is going on now. There are some awesome new products that you can earn for FREE with orders of $50+ and orders of $100+ placed between January 4 and February 28.
SHOP
- Spend $50 or more and pick from 7 new products (4 stamp sets and 3 paper packs!) that are available as free items!
- Spend $100 or more and pick from 2 new items (1 stamp set and paper bundle and 1 stamp set) that are available as free items!
- Let me know if you have questions about how SALE-a-bration works.
I would love to be your Stampin’ Up! Demonstrator. To shop with me just click on the link to go to my Stampin’ Up! Store here: https://bonnielenke.stampinup.net/
HOST
- There is a new host exclusive stamp set, Calming Camellia, that will be available for FREE with either a personal order of $300 plus or a party with sales totaling $300 plus.
- Drop me an email at Bonnie@bonniestamps.com if you’re interested in setting up a personal host code for you and your friends to see if you can collect orders to reach the $300 point to get that free stamp set.
JOIN
- There is an AWESOME joining promotion happening! If you purchase the Starter Kit between January 4 and February 28, you’ll get to pick a TWO FREE stamp sets with your Starter Kit!! All stamp sets except for host exclusive and Sale-a-bration stamp sets are can be picked as your free sets!!
- When you purchase the Starter Kit for $99 + taxes (if applicable) before the end of Sale-a-bration, the kit ships for FREE and you get to pick $125 in Stampin’ Up! merchandise and you’ll get TWO additional FREE stamp sets with your kit! Yay!! Two free stamp sets in addition to $125 in merchandise for $99, yes please!
- If you have any questions about joining, please drop me a note at bonnie@bonniestamps.com, I would be happy to talk with you. You can also see additional information on my blog at https://bonnielenke.stampinup.net/join_now