Sending Smiles & 2 New Designer Series Papers
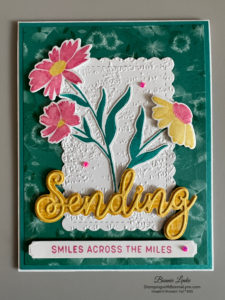
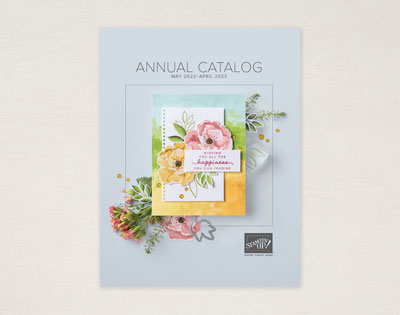
Today I’m sharing a card made with the new Sending Smiles Bundle. I love the flowers in this set and the “Sending” dies are fantastic. I’m really pleased with this Bundle which is in the New 2022 – 2023 Annual Catalog launching May 3rd.
This Sending Smiles card also features 2 of the new Designer Series Papers, Pretty Prints and Tea Bouquet. The paper designers at Stampin’ Up have outdone themselves this year, they are all really nice. I can’t name just one that is my favorite as there are many that are must haves for me. As a demonstrator we are allowed to order from a limited list a month early for the annual catalog and the papers I’ve gotten are fantastic. Pictures do not do them justice. There is still time to get in on my Paper Share to receive a 6” x 6” piece of 213 different papers. Details below under the Paper Share link. For now, let’s make a card…
Let’s Get Started
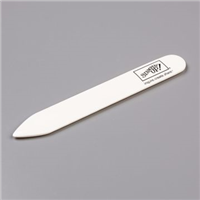
- Fold Basic White Thick Card base in half on the score line and burnish with Bone Folder.
- Adhere the Pretty Prints Designer Series Paper to the Bermuda Bay Cardstock. Attach to card front.
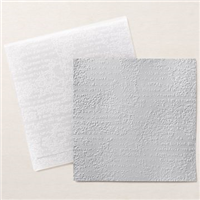
- With the Scallop Dies cut the third largest one out of Basic White Cardstock. Emboss this with the Timeworn Type 3D Embossing Folder. Adhere to card front.
- On Basic White Cardstock stamp the two stems from the Sending Smiles Stamp Set in Bermuda Bay Ink. Stamp two flowers in Polished Pink Ink with a Daffodil Delight Center and one flower in Daffodil Delight Ink and a Polish Pink center. Cut all pieces out with the coordinating Sending Dies.
- Attach the stems to card front and then pop the flowers up with Dimensionals.
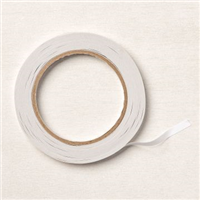
- Using the “Sending” Die cut it out of Daffodil Delight Cardstock. Hint: put a 4” x 1-1/2” strip of the double side adhesive sheet on the Cardstock prior to cutting out the “sending”. Makes it simple to attach.
- Take a piece of the Crushed Curry paper from the Tea Bouquet Designer Series Paper and cut the Sending Shadow Die out. Adhere the word “Sending” to this and attach to card front with Dimensionals.
- Stamp the greeting in Polished Pink Ink on Basic White Cardstock and cut out with coordination die from the Sending Dies. Attach to card front with Dimensionals.
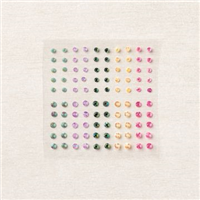
- Add 3 gems to card front.
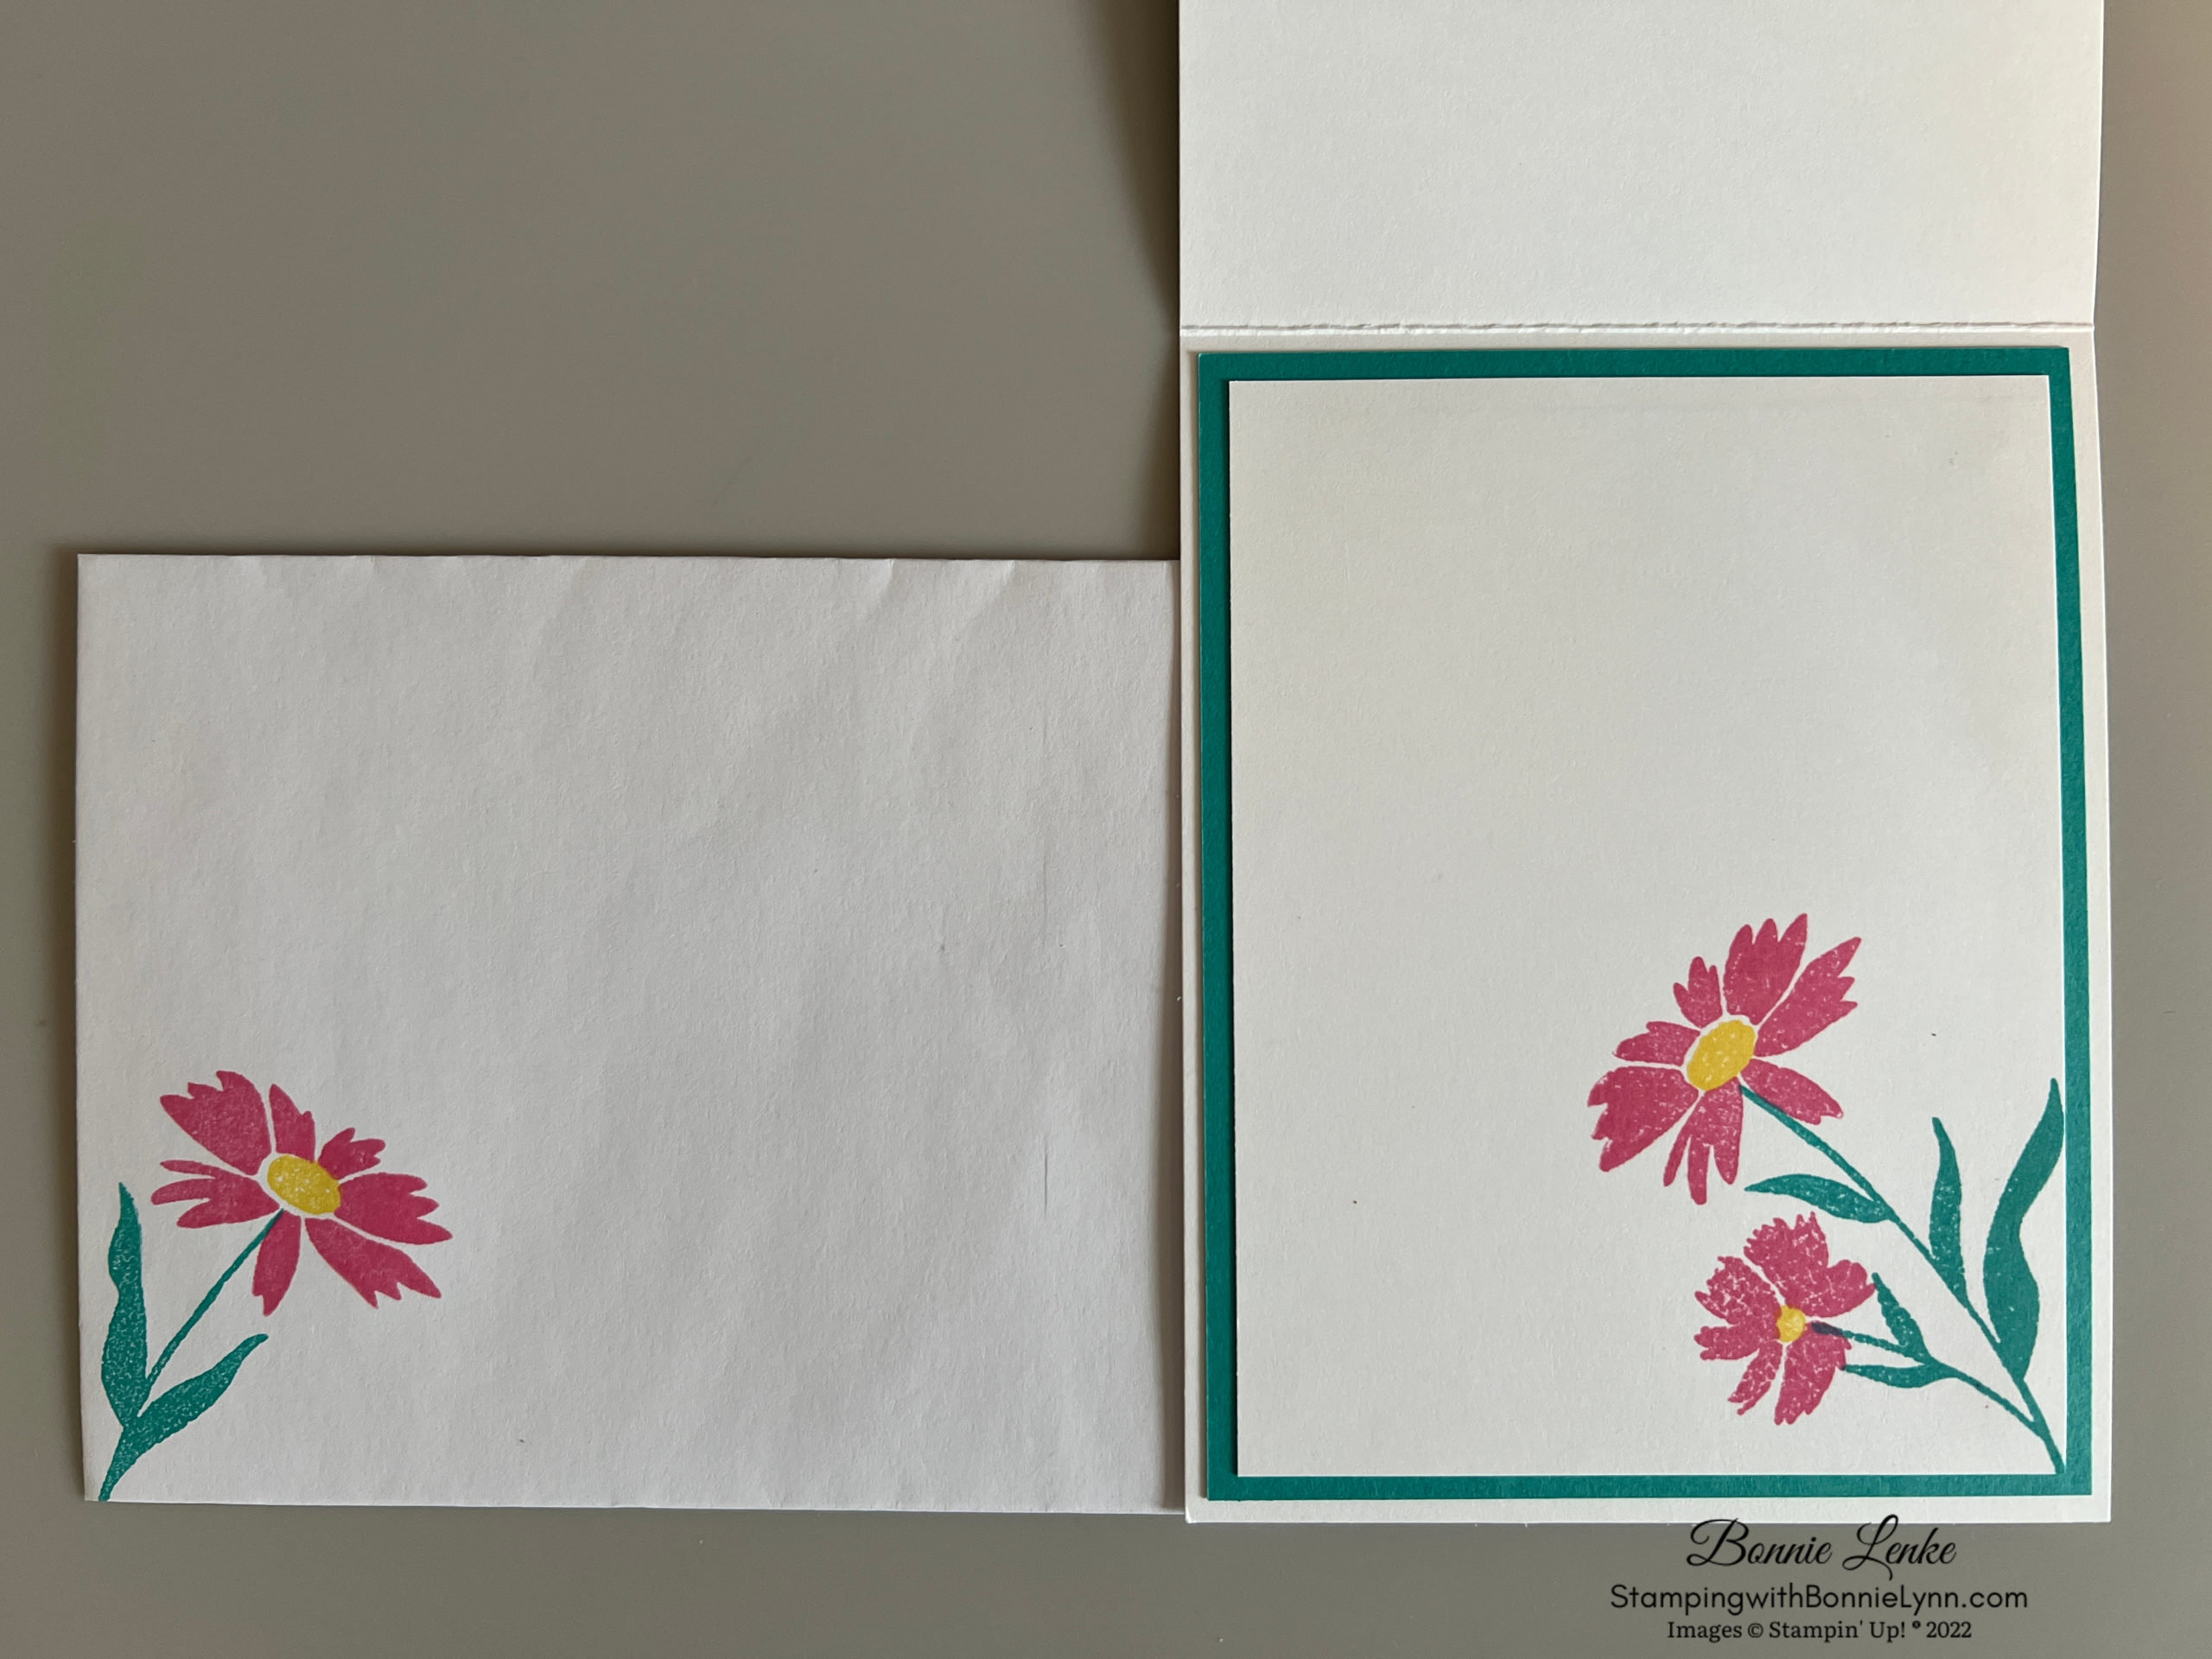
- Take the Basic White Cardstock for the card inside and stamp the stem in Bermuda Bay Ink in the lower corner. Stamp the flowers in Polished Pink Ink with Daffodil Delight Centers. Adhere to card inside.
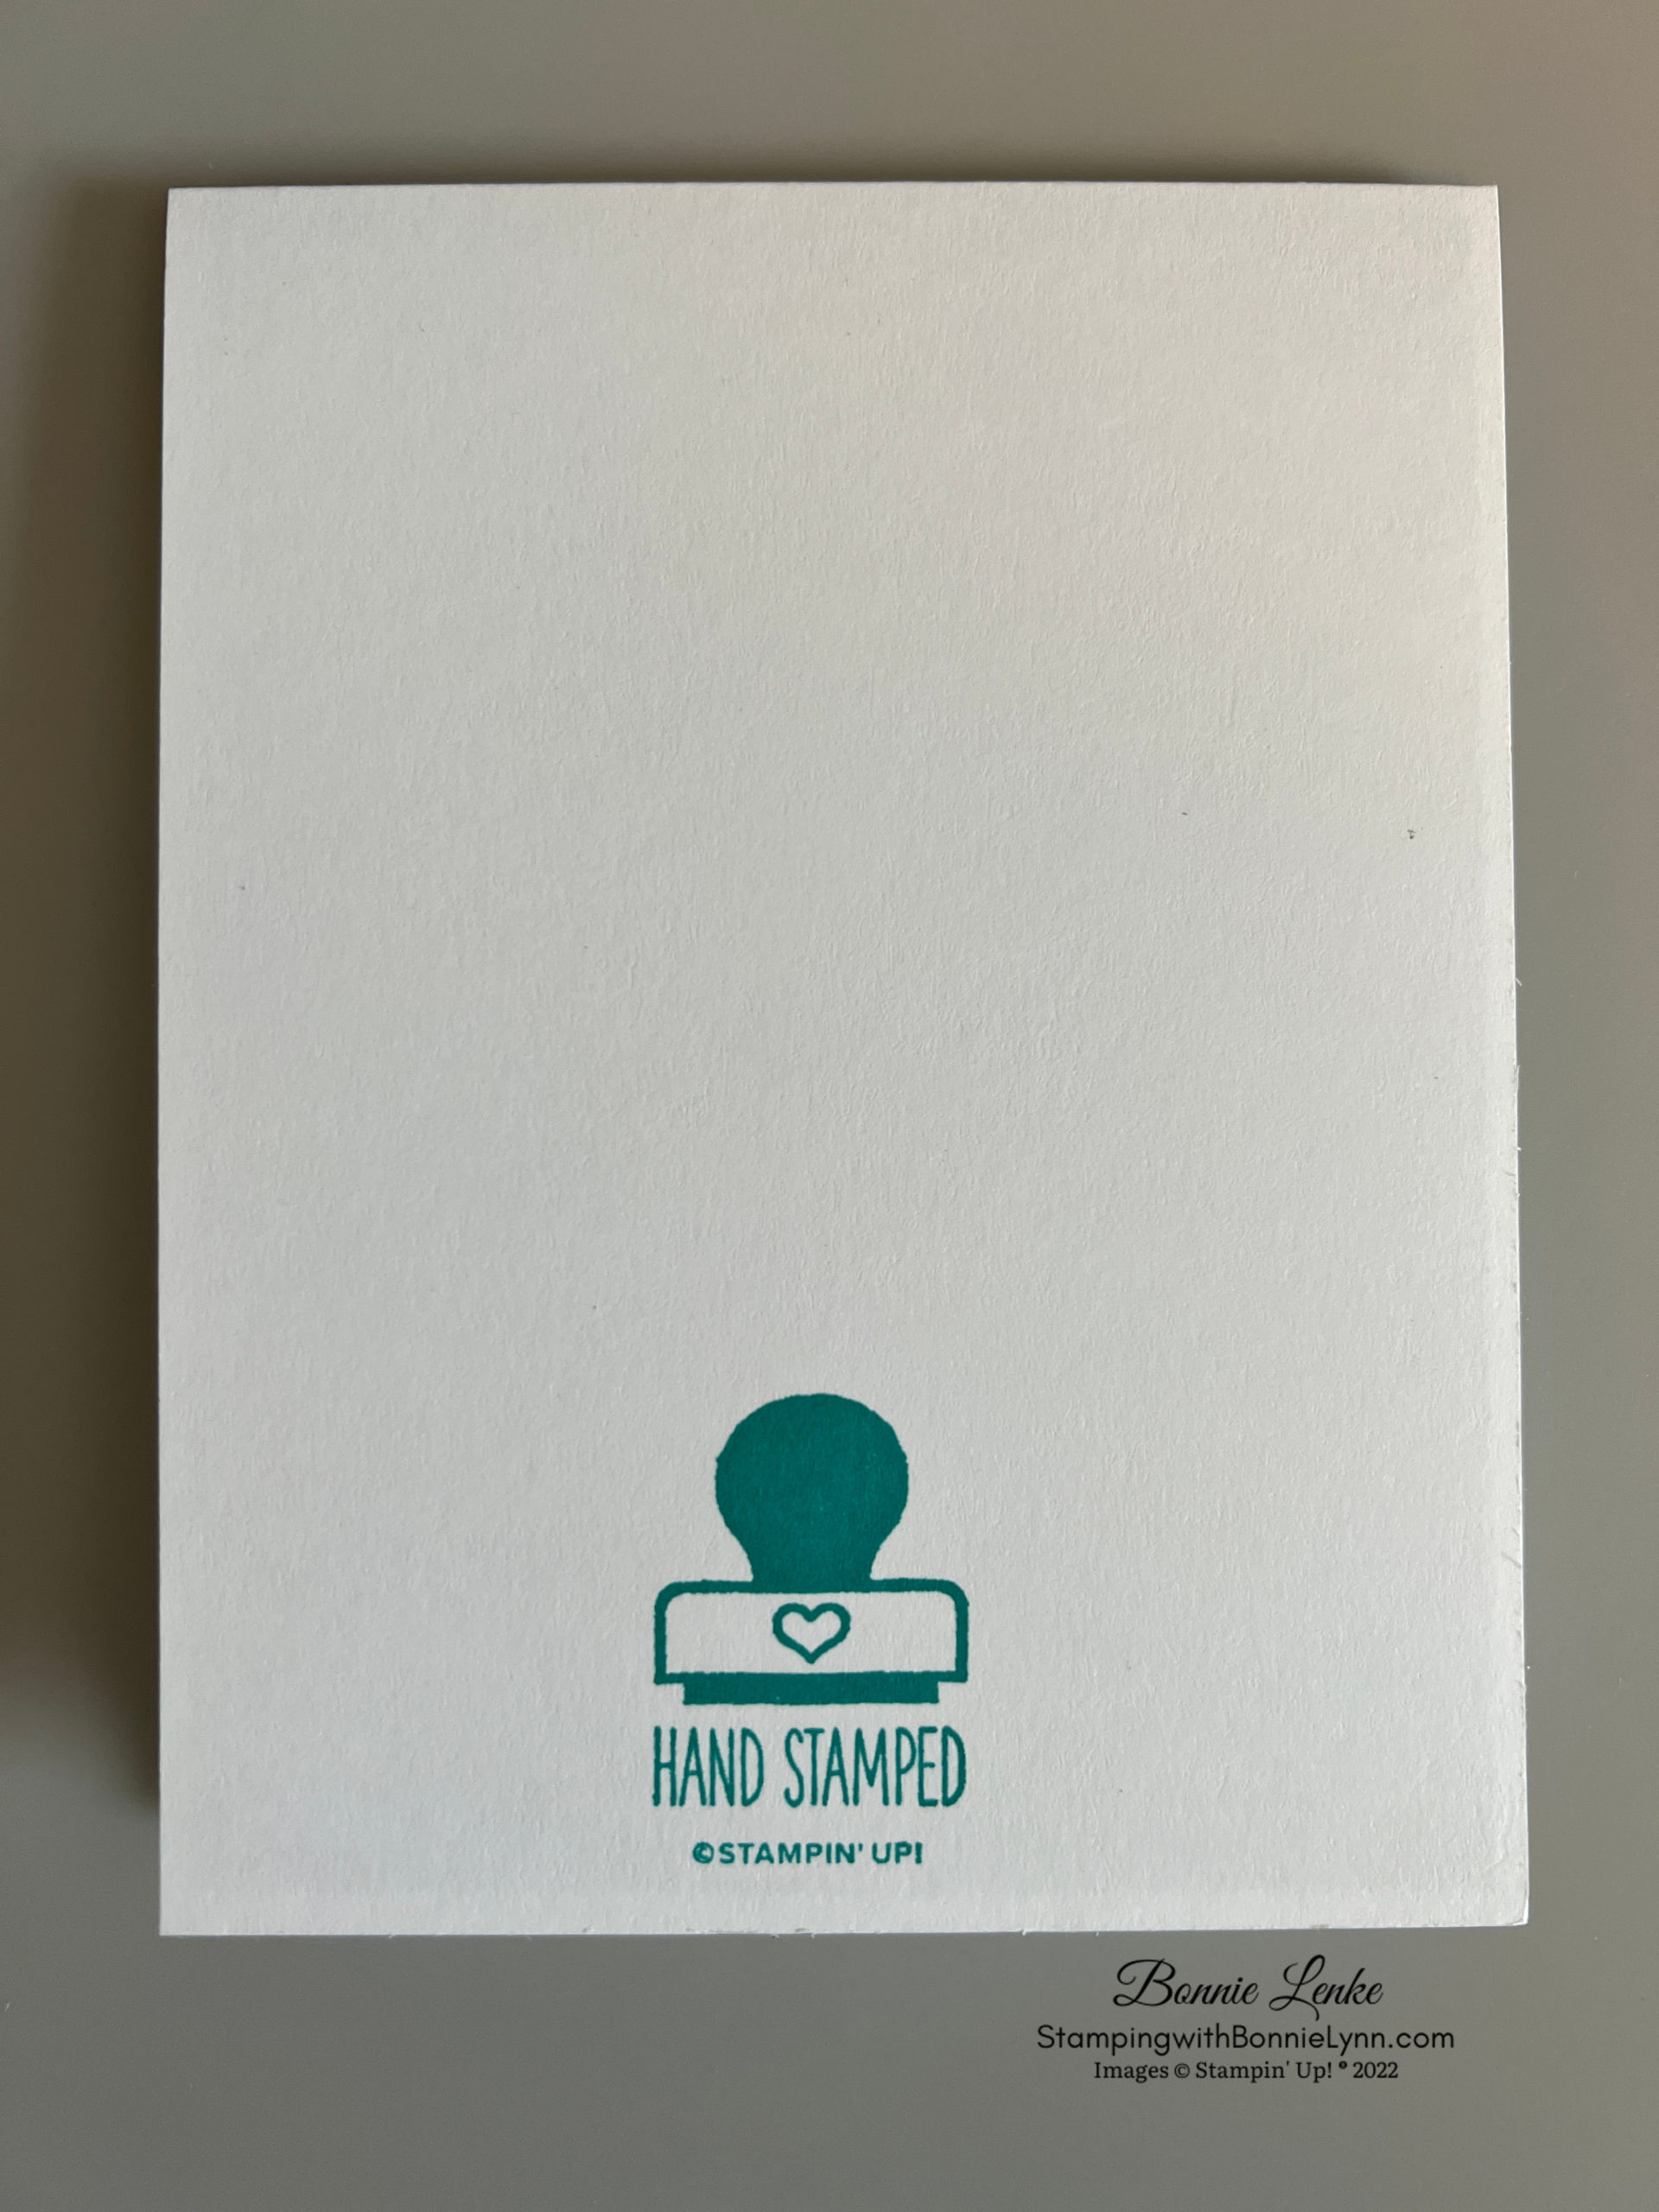
- Flip card so the back of card base is up and stamp with one of the stamps from the Limited-Edition Stamp Set.
- Don’t forget to dress your envelope by stamping a flower with stem in the lower front corner and maybe add a piece of Designer Series Paper to envelope flap.
And now you have a beautiful card to brighten someone’s day.
Happy Stamping!
Card Recipe
Cardstock:
- Basic White Thick: 4-1/4” x 11” scored at 5-1/2”
- Bermuda Bay: 4–1/8” x 5-3/8”, 4” x 5-1/4” for inside
- Basic White: 3” x 4” for scallop cut, scraps for stamping and then die cutting, 3-3/4” x 5” for inside
- Daffodil Delight: Scrap
- Pretty Prints DSP: 4” x 5-1/4”
- Tea Bouquet DSP:
Supplies Used:
- Stamps: Sending Smiles, Limited-Edition
- Dies: Sending Dies
- Cardstock/Paper: Basic White Thick, Basic White, Bermuda Bay, Daffodil Delight, Pretty Prints Designer Series Paper (DSP) and Tea Bouquet DSP
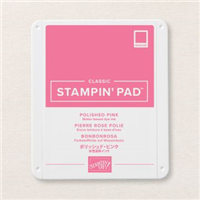
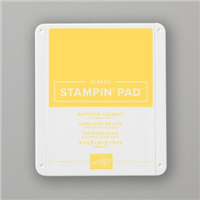
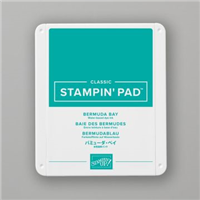
- Stampin Pads: Polished Pink, Daffodil Delight, Bermuda Bay
- Embossing Folder: Timeworn Type 3D
- Embellishments: 2021 – 2023 In Color Jewels
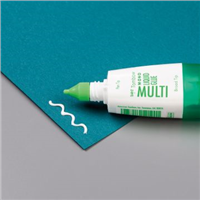
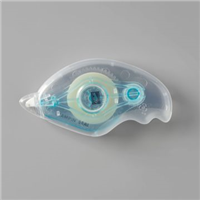
- Adhesives: Dimensionals, Glue Dots, Liquid Glue, Tear N Tape, Stampin Seal, Double Sided Adhesive Sheets
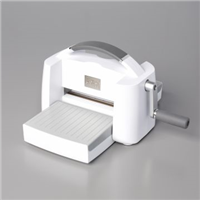
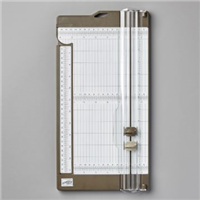
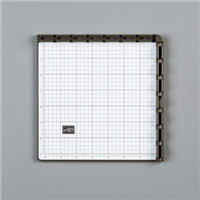
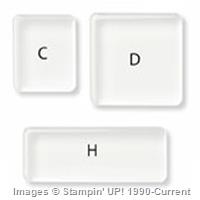
- Tools: Paper Trimmer, Take Your Pick, Stampin Cut & Emboss Machine, Stamparatus, Clear Blocks, Bone Folder, Paper Snip Scissors
Current Host Code: 4WXGACVY
Use this host code when you order $50 or greater of merchandise and receive a free gift from me. If your order is over $150, please do not use this code, but you’ll still get the free gift.
*****Make sure that you can see my name on the final checkout page listed as your Demonstrator when you order so that you know that you’re ordering with me and you’ll get my rewards. Please also check that the Current Host Code is in the box when checking out.*****
Annual Paper Share – Still Time To Get One
I’m offering a Designer Series Paper Share from the 2022 – 2023 Annual Catalog and I would love to have you join me.
What is a Catalog share? It is where you get to sample all the new Designer Series Paper from the new catalog without having to buy them all. This way you see what you love and then you can purchase a full pack later if you want. In all, you’ll receive 213 – 6” x 6” (Note vellum size in description) sheets of designer or specialty paper, PLUS a FREE gift from me.
ANNUAL CATALOG PAPER SHARE INFORMATION
PAPER PUMPKIN
Create magic with the NEW 2022–2024 In Colors with this Paper Pumpkin kit! With vivid pops of green and red and a range of blues, these colors are perfect for fun festivities. Send your best wishes or happy moments with the large bold lettering and gorgeous gold foil details. Plus, you can also send gift cards with the included coordinating gift card holders!
GET A CHANCE TO WIN A GOLDEN VOUCHER!
As an added bonus, every May Paper Pumpkin subscriber will get the chance to win a GOLDEN Voucher worth $25 USD | $34 CAD in Stampin’ Up! products! The winners will find their Golden Voucher in their May 2022 Paper Pumpkin box. This is the perfect time to snag coordinating In Color products from the 2022–2023 Annual Catalog that will go live on 3 May 2022 in the online store! Make sure to open your box when it arrives to see if you are a winner!
GIFT CARD HOLDERS AS WELL? YES PLEASE!
That’s right! Not only does this kit come with 10 stunning cards and coordinating envelopes, it also includes 10 coordinating gift card holders as well. That means you can send your friends, family, or coworkers congratulatory words alongside a well-earned gift card to really show your appreciation for them.

