
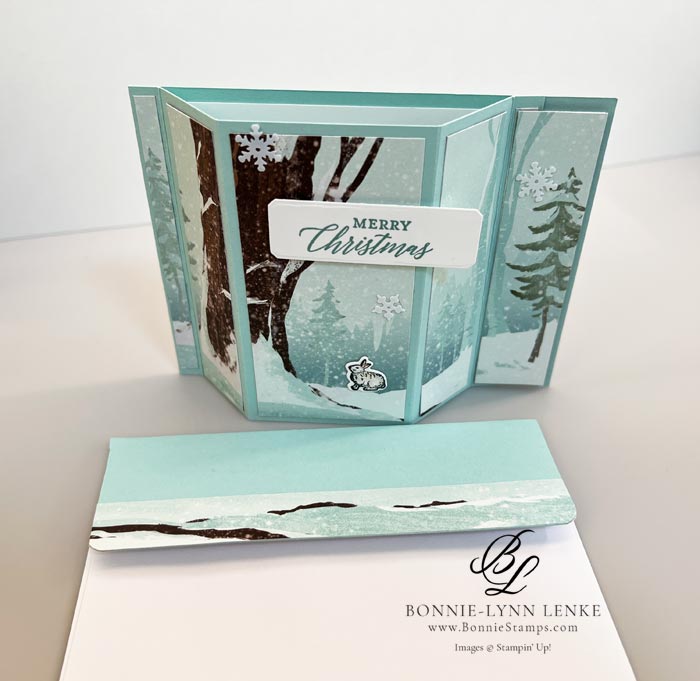
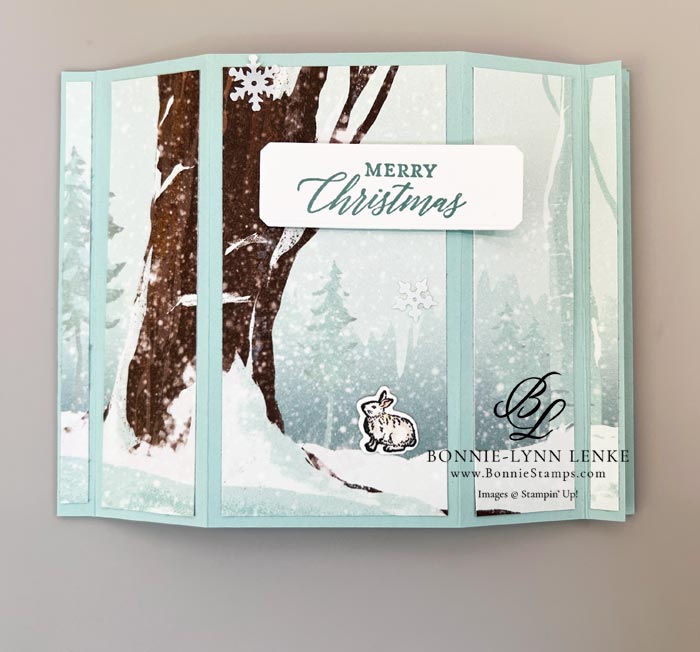
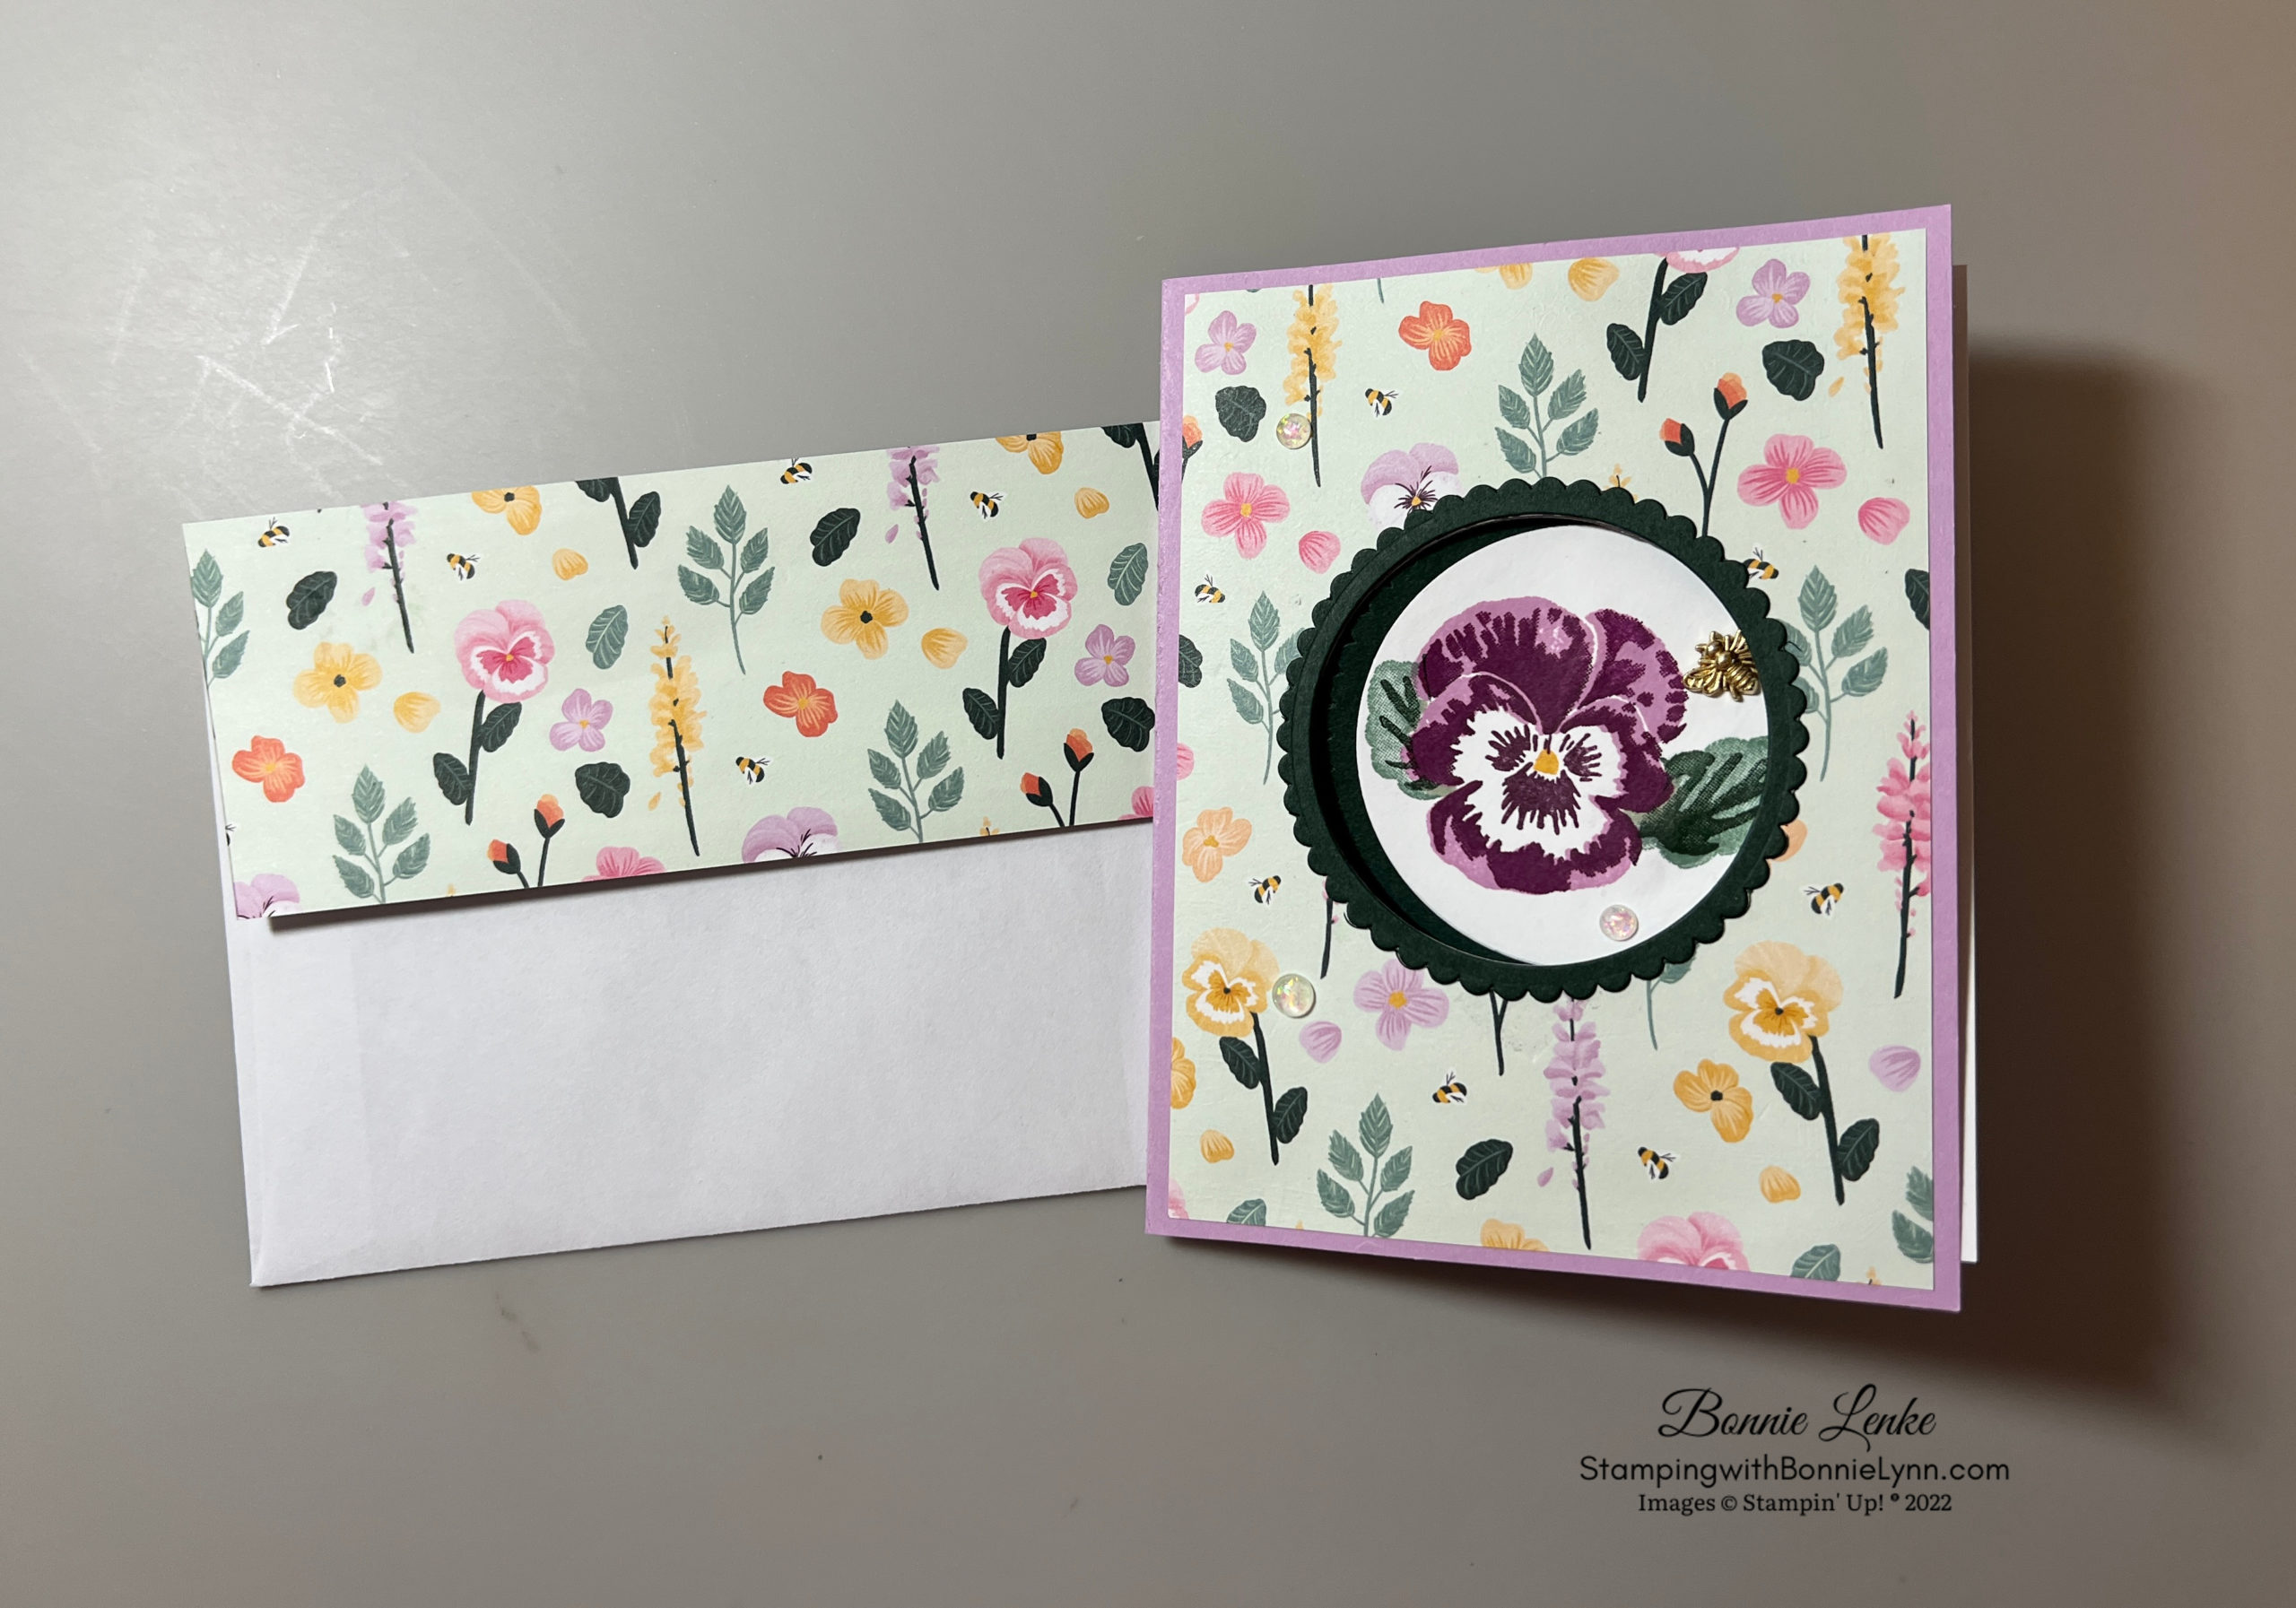
Bay Window Fun Fold Card

Created for you is this Christmas Bay Window One Horse Open Sleigh Fun Fold Card. Pictured below is a card I received in the mail from one of my team members, Marjorie Koval. She was my inspiration to make this Bay Window card as I have never made one before. I did change the dimensions some so that you have a larger middle window. You may reach Marjorie by email at kovalmarjorie@yahoo.com.
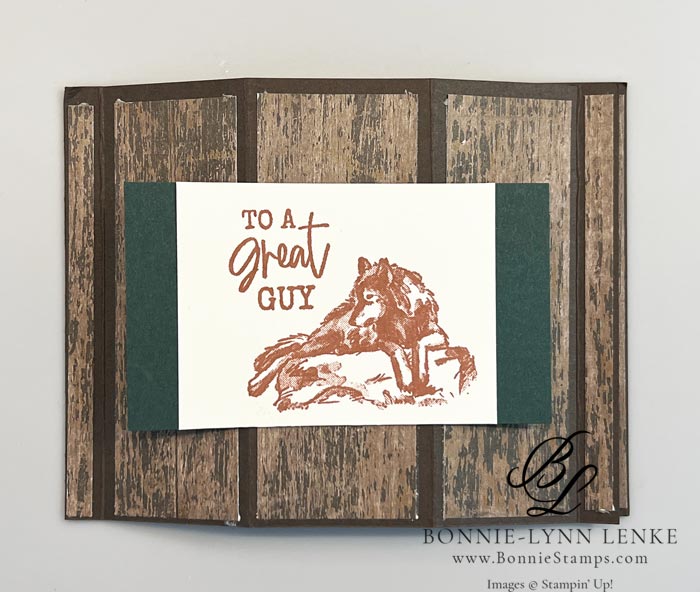
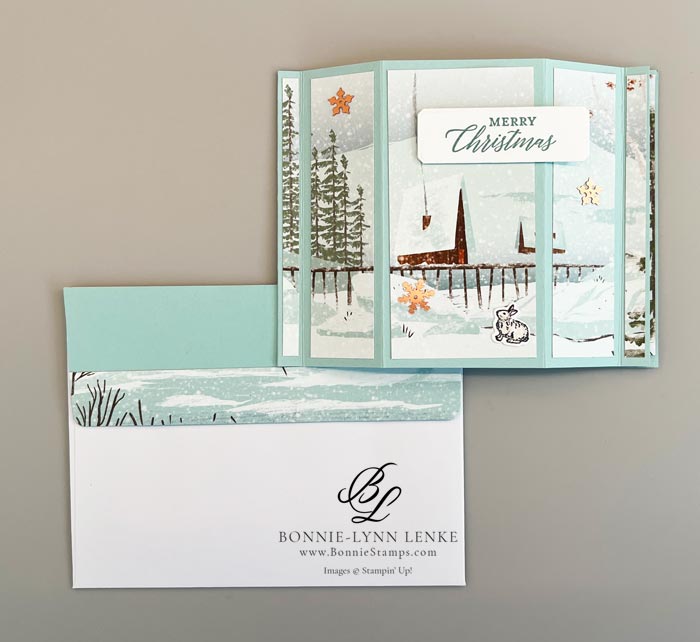
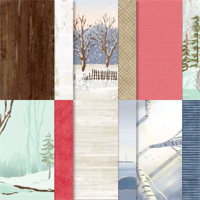
The One Horse Open Sleigh designer series paper is the star of my card. This paper is an online exclusive and I cannot say often enough, this paper is gorgeous. Pictures do not do it justice. I just ordered much more of it. Also used is the Countryside Corner dies to cut out the greeting. I hope you enjoy this card and will give it a try. Happy Stamping!
Card Directions
- See the cutting directions below for the paper sizes. For the designer series paper start by cutting the paper to a 4” height by cutting some off of top and bottom to get the scene you want. Turn paper so the top is facing towards the bottom of paper trimmer so that you’re cutting the right side first. The 1” piece, the first cut, will go on the inside. Keep all the other pieces in order for adhere to card front.
- Score the card base according to the cutting instructions. View the video for folding instructions, burnish folds with Bone Folder.
- Glue the 3/8” wide section at fold to card bottom.
- Adhere the designer series paper to card front in the order it was cut starting with the 1/4” x 4” strip.
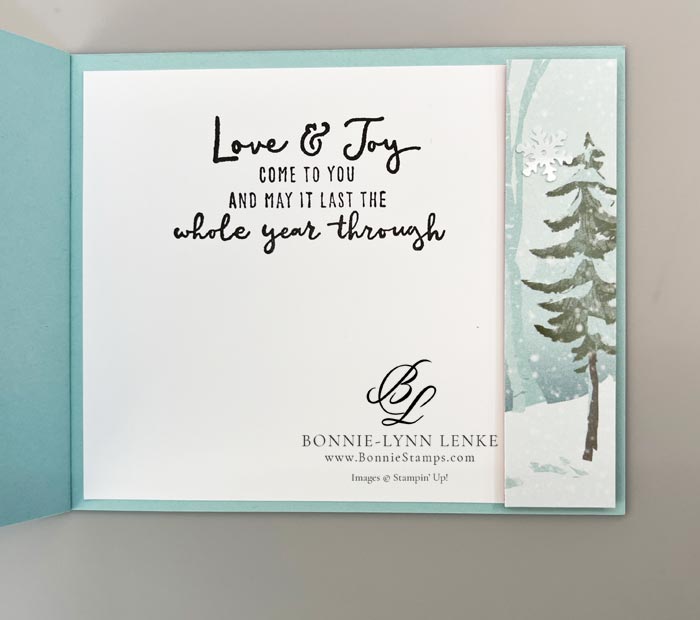
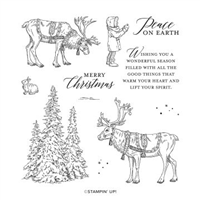
- For the inside, stamp saying from Regal Reindeer stamps set in Early Espresso Ink on White Cardstock. Adhere to inside.
- Using the 1” x 4” strip, first piece of DSP cut, apply Dimensionals straight down leaving 1/4 space on the inside edge (the front will tuck under this strip).
- Stamp greeting in Lost Lagoon Ink on White Cardstock. Die cut out with the smallest Countryside Corner Die. Adhere to card front with Dimensionals.
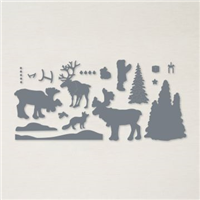
- Stamp a rabbit in Basic Grey or Black Memento Ink on White Cardstock. Color partly with Light Crumb Cake Stampin Blend and then use Blender Pen to smooth out and lighten color. Color ears with Light Bubble Bath Stampin Blend. Die cut out with coordinating die. Adhere to card front with a Glue Dot.
- Write directions on a separate piece of paper to insert with card so recipient knows how to assemble.
Card Recipe
Cutting Directions:
- Pool Party: 11” x 4-1/4”, scored at 3/8”, 1-5/8”, 3-7/8” 5-1/8” and 5-1/2” (card base)
- Basic White: 4-3/4” x 4” (inside), 2-3/4” x 1” (greeting), scrap for stamping
- One Horse Open Sleigh Designer Series Paper: 1” x 4”, 1/4” x 4”, 1” x 4”, 2” x 4”, 1” x 4”, 1/4” x 4”. *Note: before cutting refer to step #1.
Supplies Used:
- Stamps: Regal Reindeer
- Dies: Countryside Corner Dies, Reindeer Die
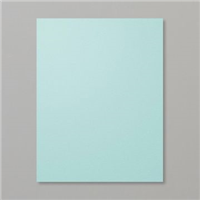
- Cardstock/Paper: Pool Party, Basic White, One Horse Open Sleigh designer series paper
- Stampin Pads: Early Expresso, Lost Lagoon
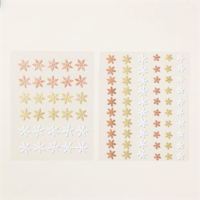
- Embellishments: Adhesives Backed Snowflake Assortment
- Adhesives: Dimensionals, Glue Dots, Stampin Seal
- Tools: Paper Trimmer, Cut & Emboss Machine, Clear Blocks A & D, Take Your Pick, Bone Folder
Earn Reward Points quickly for a $25 Credit
When placing an order please use the current Host Code* and earn REWARD POINTS. Once you earn 10 reward points you will receive a $25 shopping credit from me. CLICK HERE for more details.
*NEWEST HOST CODE is always located on the right side near the top


Hi Bonnie,
I love this Bay window card but I’m kind of scratching
my head on the card base dimensions should they not be
4 1/4 x 11 not 8 1/2 x 5 1/2 ? With 4 1/4 tall all of your DSP
dimensions seem to fit according to your pictures.
Thank you for the video, your instructions are easy to follow
I just think maybe you have a typo on the card base size.
Ronelle NIchols
Mt. Shasta, CA
Ronell Nichols, thank you so much for bringing that error to my attention.I have fixed it on the blog, YouTube and the instructions you can either download or print. You’re right it was a typo because my brain must had been taking a nap. Good eye.