Timeless Tropical Meets Waves of The Ocean
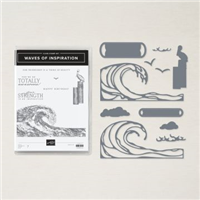
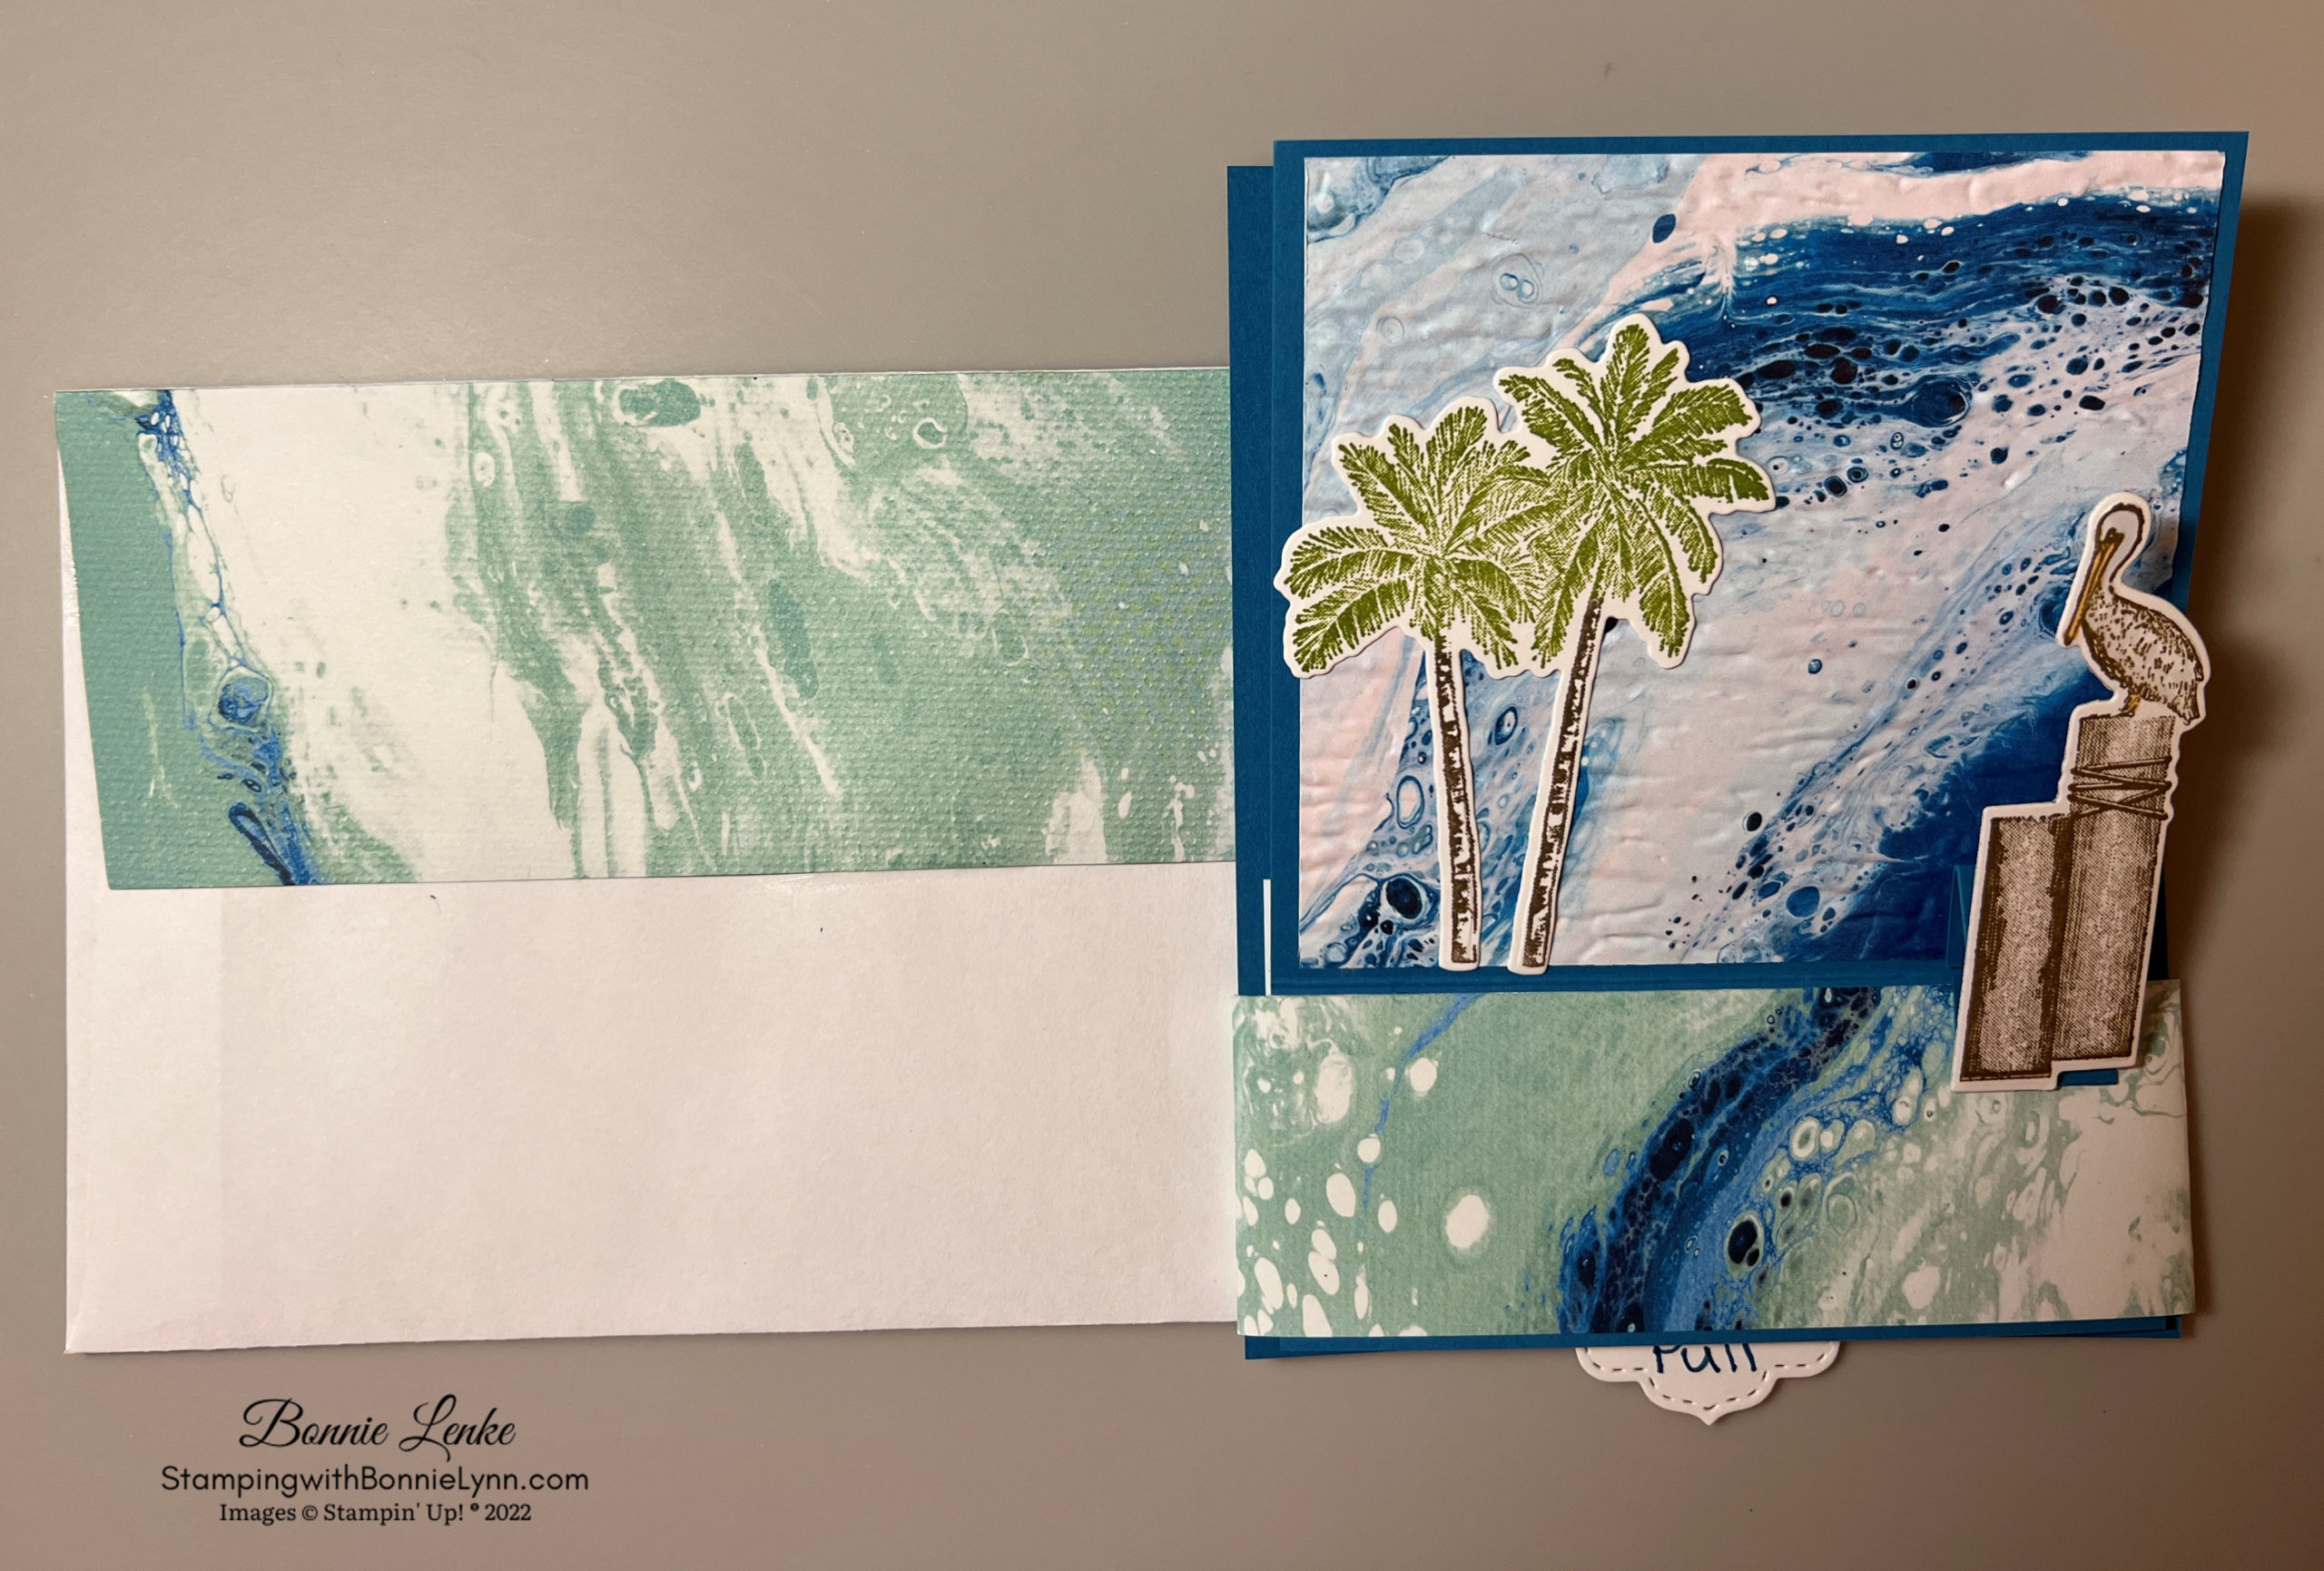
I’m sharing with you today a Slider Card using my new favorite, Wave of Inspiration, and the Timeless Tropical Stamp Bundles with the Waves of The Ocean Designer Series Paper. I found the slider pattern from Linda Bauwin and put my own touch to it.
I’m also sharing a video I made on how to assemble this card. It really is a fun card and moderately easy to do. I think a beginner can assemble this card. Remember you can always contact me if you have questions and/or need help, that’s what I’m here for.

Let’s Get Started
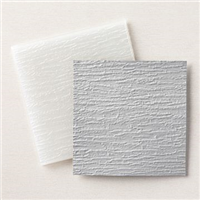
- Using the Bark 3D Embossing Folder, emboss your 3-3/4” x 3-1/2” DSP. The bark looks like waves to me.
- Adhere the 3-3/4” x 3-1/2” DSP to the 4” x 5-1/4” Pacific Point cardstock leaving a 1/8” at the top and both sides.
- Adhere the strip of DSP to the bottom of paper from step 2 making sure you center it. Fold on score line so that the DSP folds onto one another.
- Take the 4-1/4” x 5-3/8” Pacific Point cardstock and set it behind the piece you added the DSP to. Working from the back side wrap the ends of the strips around so they overlap. Adhere them together so that the back piece of Pacific Point slides up and down.
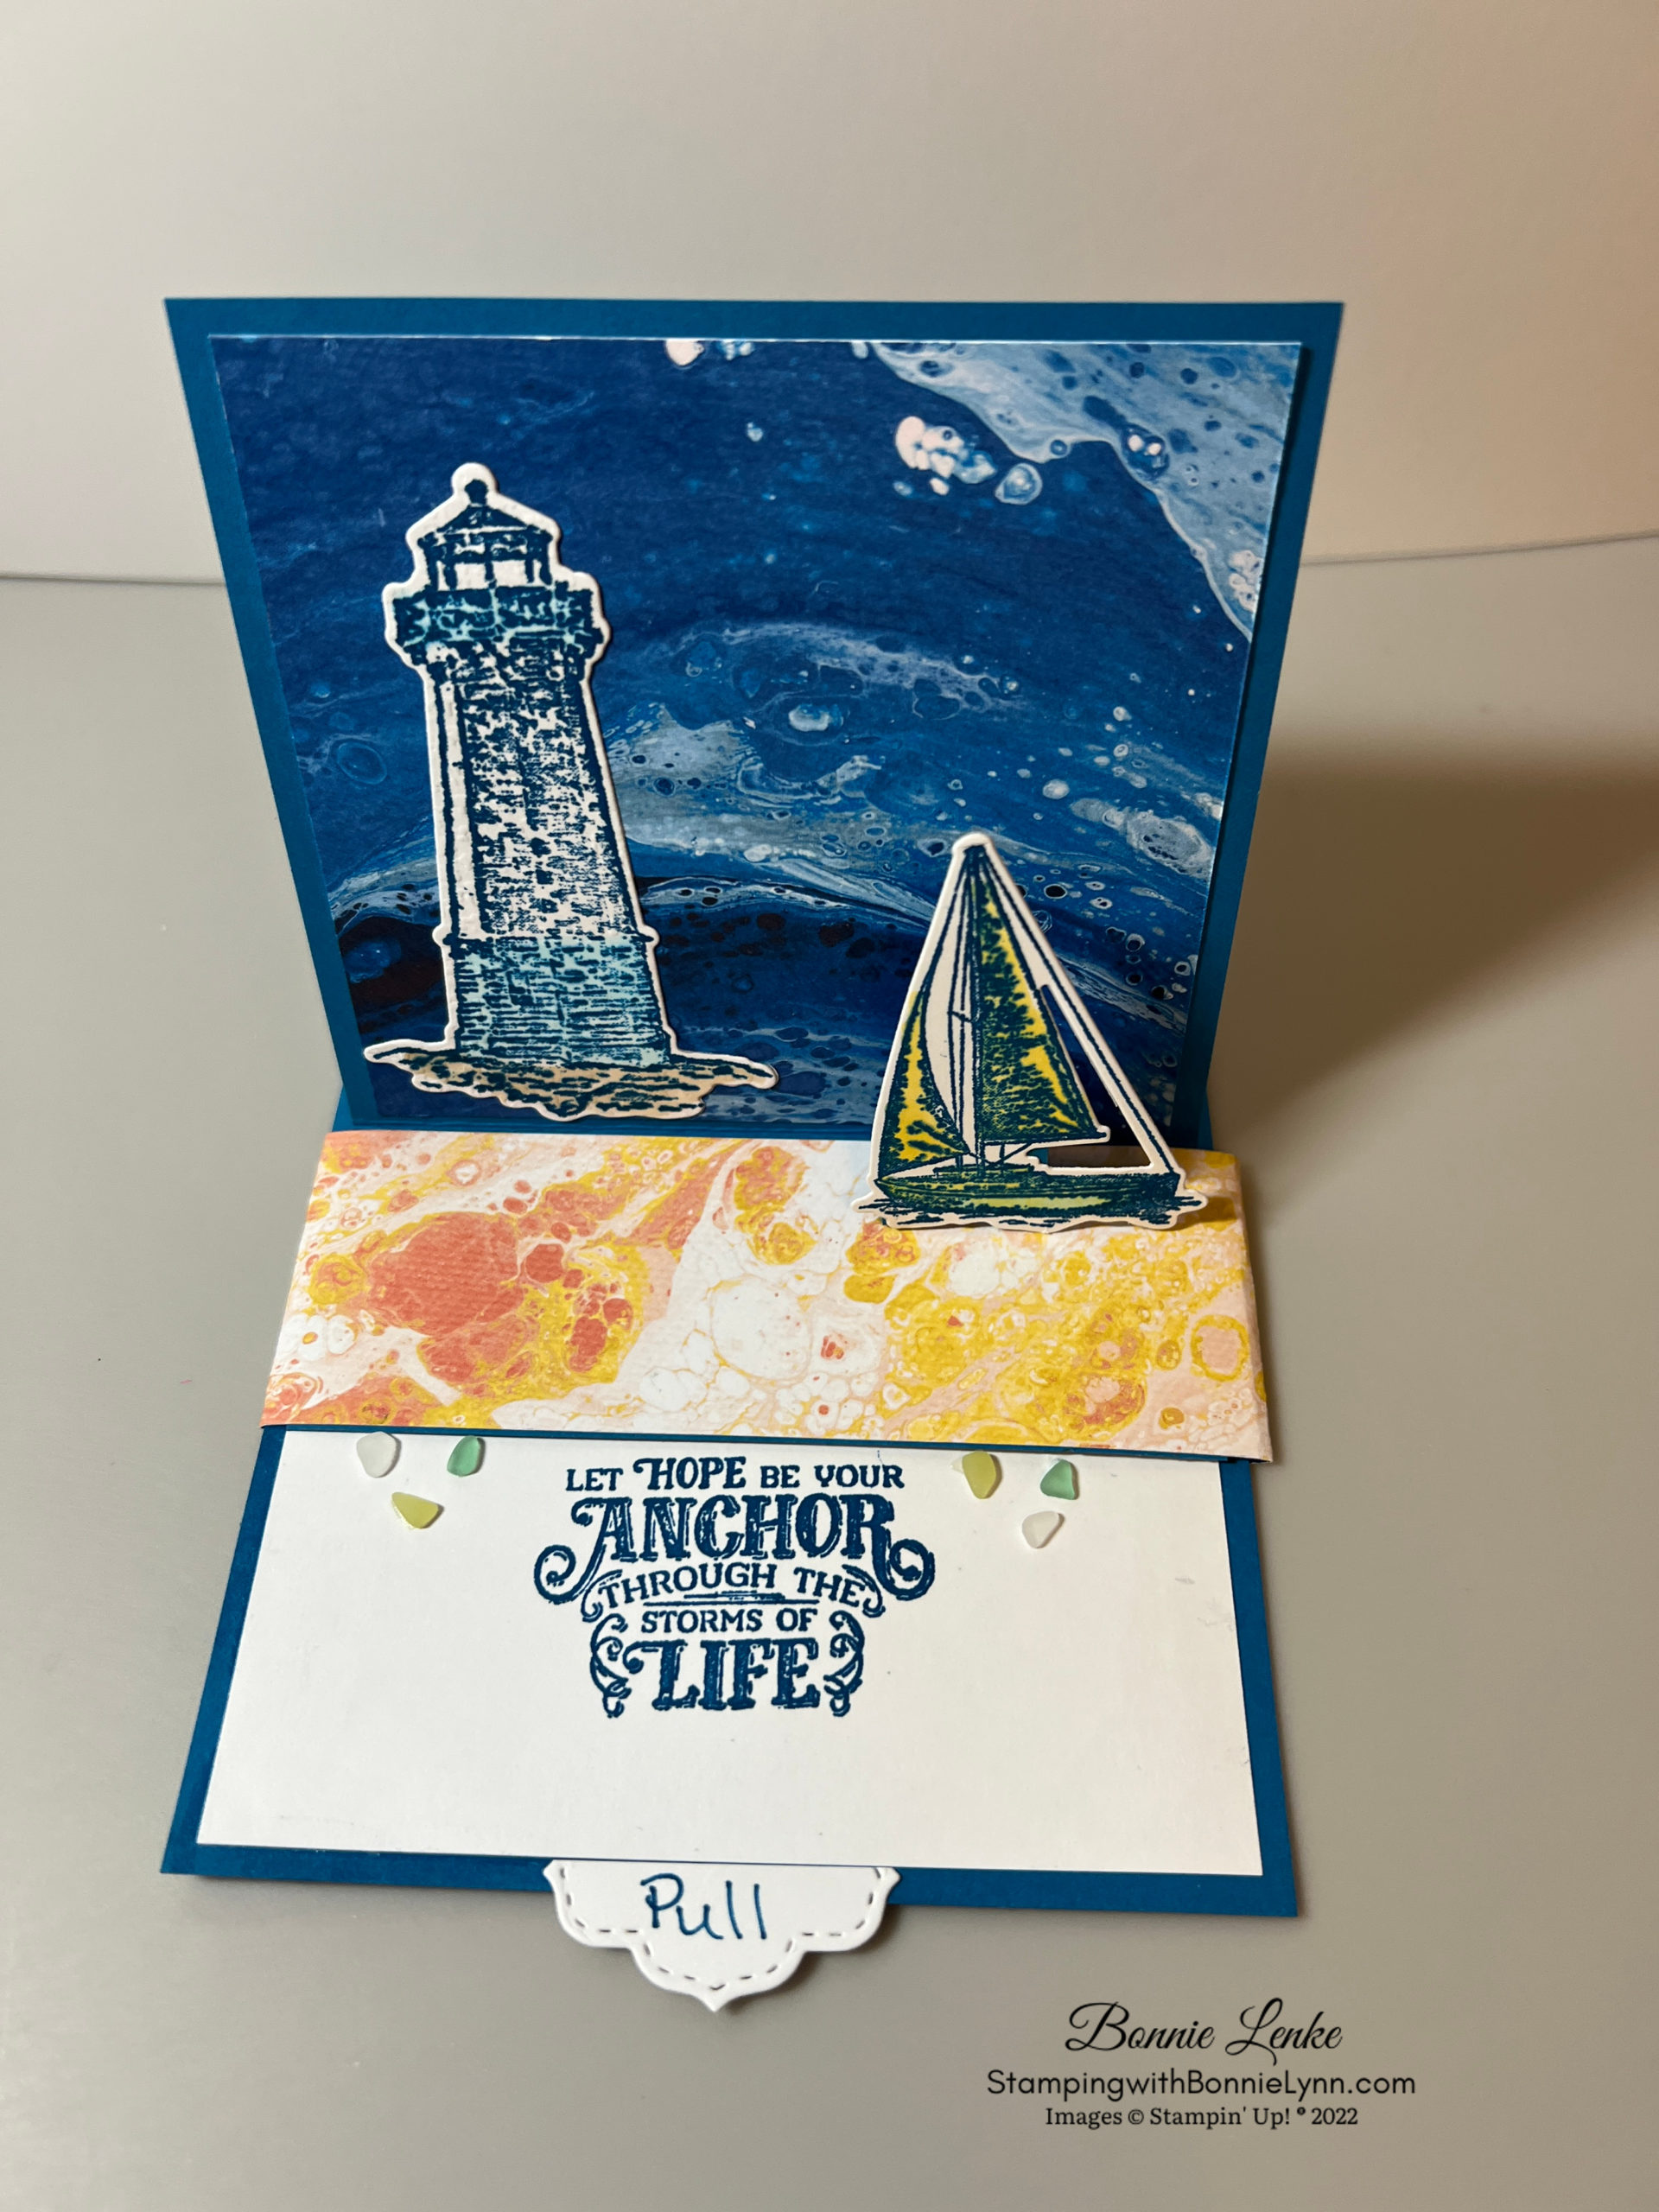
- Stamp your greeting in Pacific Point Ink on the Basic White cardstock and Adhere to bottom of the 4-1/4” x 5-3/8” Pacific Point cardstock. Center on bottom leaving a 1/8” on sides and bottom.
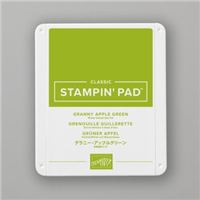
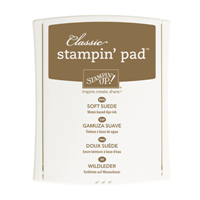
- Using the Stamparatus stamp your palm tree by applying your Granny Apple Green Ink first to the palms without getting any ink on the tree trunks. Without moving the stamp or the paper, apply Soft Suede Ink to the tree trucks and stamp under the palms. Cut out with coordinating die. Adhere to the top DSP with your favorite adhesive.
- Stamp the pelicans from Wave of Inspiration in Soft Suede Ink. Cut out with coordinating die.
- Using the 1” x 4” piece of Pacific Point cardstock, fold on score line. Trace the shape of the pelican onto the paper making sure the bottom of pelican is on the score line. Trim the paper so it will be hidden behind the pelican then adhere the two together. Adhere this to the bottom piece of DSP by applying seal or glue to the bottom of the ½” scored area and place that piece flat down.
- Using the ½” x 1-1/2” Pacific Point cardstock apply ½” end to the back of pelican so the edge is at the bottom edge of pelican. Now apply the opposite end to the bottom edge/fold of the top piece of DSP. See top and side view of pictures below.
- With you card closed so that both pieces are together with the back piece wrapped in the strip and the bottoms even, take your last piece of Pacific Point cardstock 1” x 2-3/4” folded on each of the score lines. Add adhesive to the end on one side and then the opposite side of the other end.
- Now lift up the top piece so it bends on the score line. Place the Pacific Point strip with the adhesive end down ½” from top and centered. Now put the strip so it’s flat with the adhesive at the other end facing up, close the top piece down so it will adhere to the strip. Make sure that the bottoms are even of the two Pacific Point panels and that the top panel is cover the Basic White cardstock of the bottom panel.
- Using the smallest die of the Stitched So Sweet Dies, cut out one in Basic White then cut in half lengthwise. Write “Pull” on it and adhere to bottom panel so it butts up to Basic White cardstock.
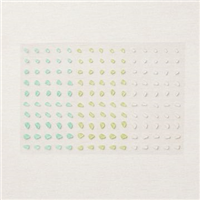
- Adhere Faux Sea Glass Shapes, 3 to each side just on each side of the greeting at or above the top line of greeting. The Sea Glass will hold the card open when you pull it out and set it to catch the edge.
- You might want to put directions on how to set it up in with your card if mailing it.
- Don’t forget to add a piece of Waves of the Ocean DSP to the back of the envelope or maybe stamp the pelican or palm tree to from of the envelope in the corner. Your slider card is so beautiful so shouldn’t the envelope be too.


And now you have a beautiful slider card to brighten someone’s day.
Happy Stamping!
Print Instructions
Card Recipe
Cardstock:
- Pacific Point: 4-1/4” x 5-3/8”, 4” x 5-1/4” scored at 1-5/8”, ½” x 1-1/2” scored at ½” & 1”, 1” x 2-3/4” scored at ½” & 2-1/4”, 1” x 4” scored at ½” along the 4” side, this piece you’ll trim to fit behind the pelican
- Basic White: 2” x 3-7/8”
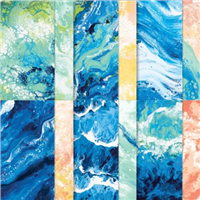
- Waves of the Ocean DSP: 1-1/2” x 9-1/2”, 3-3/4” x 3-1/2”
Supplies Used:
- Stamps: Timeless Tropical, Wave of Inspiration
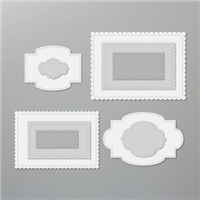
- Dies: Timeless Tropical, Wave Dies, Stitch So Sweet
- Cardstock/Paper: Pacific Point, Basic White, Waves of The Ocean Designer Series Paper (DSP)
- Stampin Pads: Pacific Point, Granny Apple Green, Soft Suede
- Stampin Blends: So Saffron (Color Pelican Bill and Feet)
- Embellishments: Faux Sea Glass Shapes
- Adhesives: Dimensionals, Liquid Glue, Tear N Tape, Stampin Seal, Glue Dots
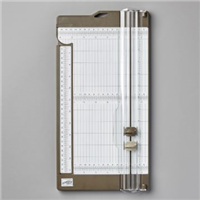
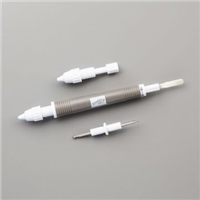
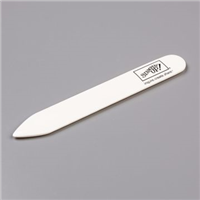
- Tools: Paper Trimmer, Take Your Pick, Stampin Cut & Emboss Machine, Stamparatus, Bone Folder, Paper Snip Scissors
Note – Supplies for the other cards pictured where the Sailing Home Bundle for the lighthouse and sailboat and both where colored with the Stampin Blends. The DSP for the card with the seashell paper is
Current Host Code: HTWC7MQJ
Use this host code when you order $50 or greater of merchandise and receive a free gift from me. If your order is over $150, please do not use this code, but you’ll still get the free gift.
*****Make sure that you can see my name on the final checkout page listed as your Demonstrator when you order so that you know that you’re ordering with me and you’ll get my rewards. Please also check that the Current Host Code is in the box when checking out.*****
SAVE 20%
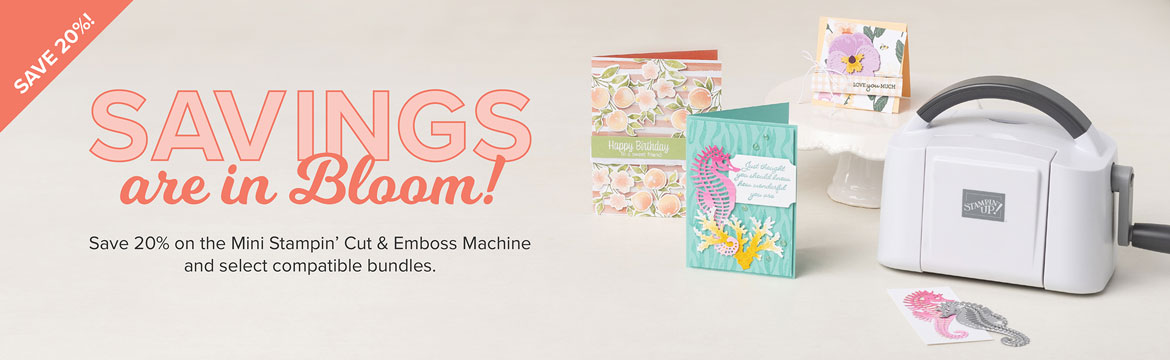
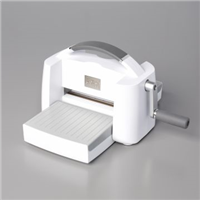
During the month of March, you can snag the Mini Stampin’ Cut & Emboss Machine at a 20% discount!This miniature machine is compatible with a large selection of Stampin’ Up! embossing folders and dies.Build your craft collection and combine the Mini Stampin’ Cut & Emboss Machine with any (or all!) of the select stamp-and-die bundles that are also available for 20% off during the month of March!Check out the flyer by clicking the “View The Flyer” below to get all the details!
CHANGE IS BEAUTIFUL – APRIL’S PAPER PUMPKIN KIT
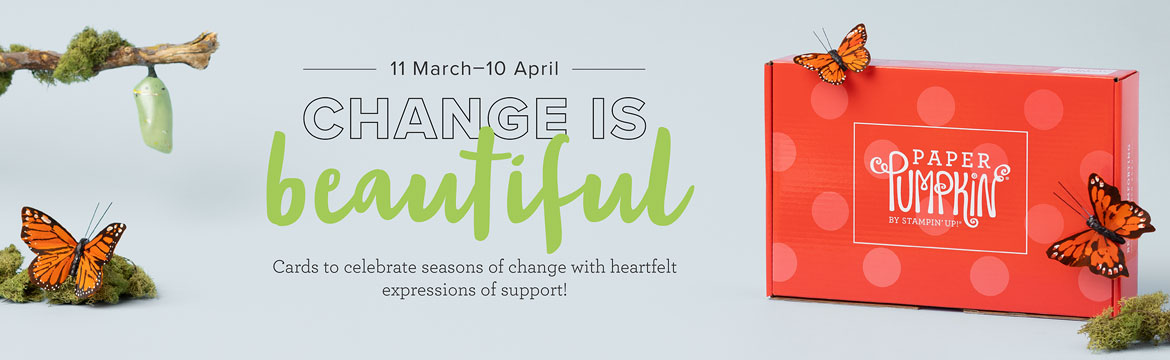
ABOUT THIS MONTH’S KIT
Name: Change is Beautiful:
This kit includes:
- Number of projects: 9 cards; 3 each of 3 designs; 9 envelopes
- Change is Beautiful Photopolymer Stamp Set
- Melon Mambo Classic Stampin’ Spot®
- Printed card bases
- Printed envelopes
- Printed, shaped die cuts
- Iridescent sea glass
- Dimensionals
Card size: 4-1/4″ x 5-1/2″ (10.8 x 14 cm)
Coordinating Stampin’ Up! colors: Balmy Blue, Basic Black, Bermuda Bay, Crushed Curry, Evening Evergreen, Granny Apple Green, Melon Mambo
WHAT ARE PAPER PUMPKIN KITS?
Paper Pumpkin is our monthly One-Stop Box™ that offers a unique variety of paper projects for subscribers of any skill level to enjoy! These thoughtfully themed and all-inclusive craft kits encourage Stampin’ Up! customers to explore their creativity, try new techniques, and discover their potential in papercrafting.