As summer fades, Autumn beckons with the versatile Autumn Expressions stamp bundle and the stunning Autumn Splendid Designer Series Paper. With the Deckled Circle Dies, you can unleash your creativity to craft unique circle cards, achieving the perfect round shape with a fun edge.
The Autumn Expressions Stamp Set allows you to create and share beautifully thoughtful cards with loved ones and friends. The elegant script and strong serif fonts pair perfectly to make friendly, heart-warming sentiments suitable for card fronts and inside messages. Use the nature-inspired images for timeless accents or repeatedly stamp them to create textured backgrounds. Let the joy of crafting and sharing begin! Happy Stamping!
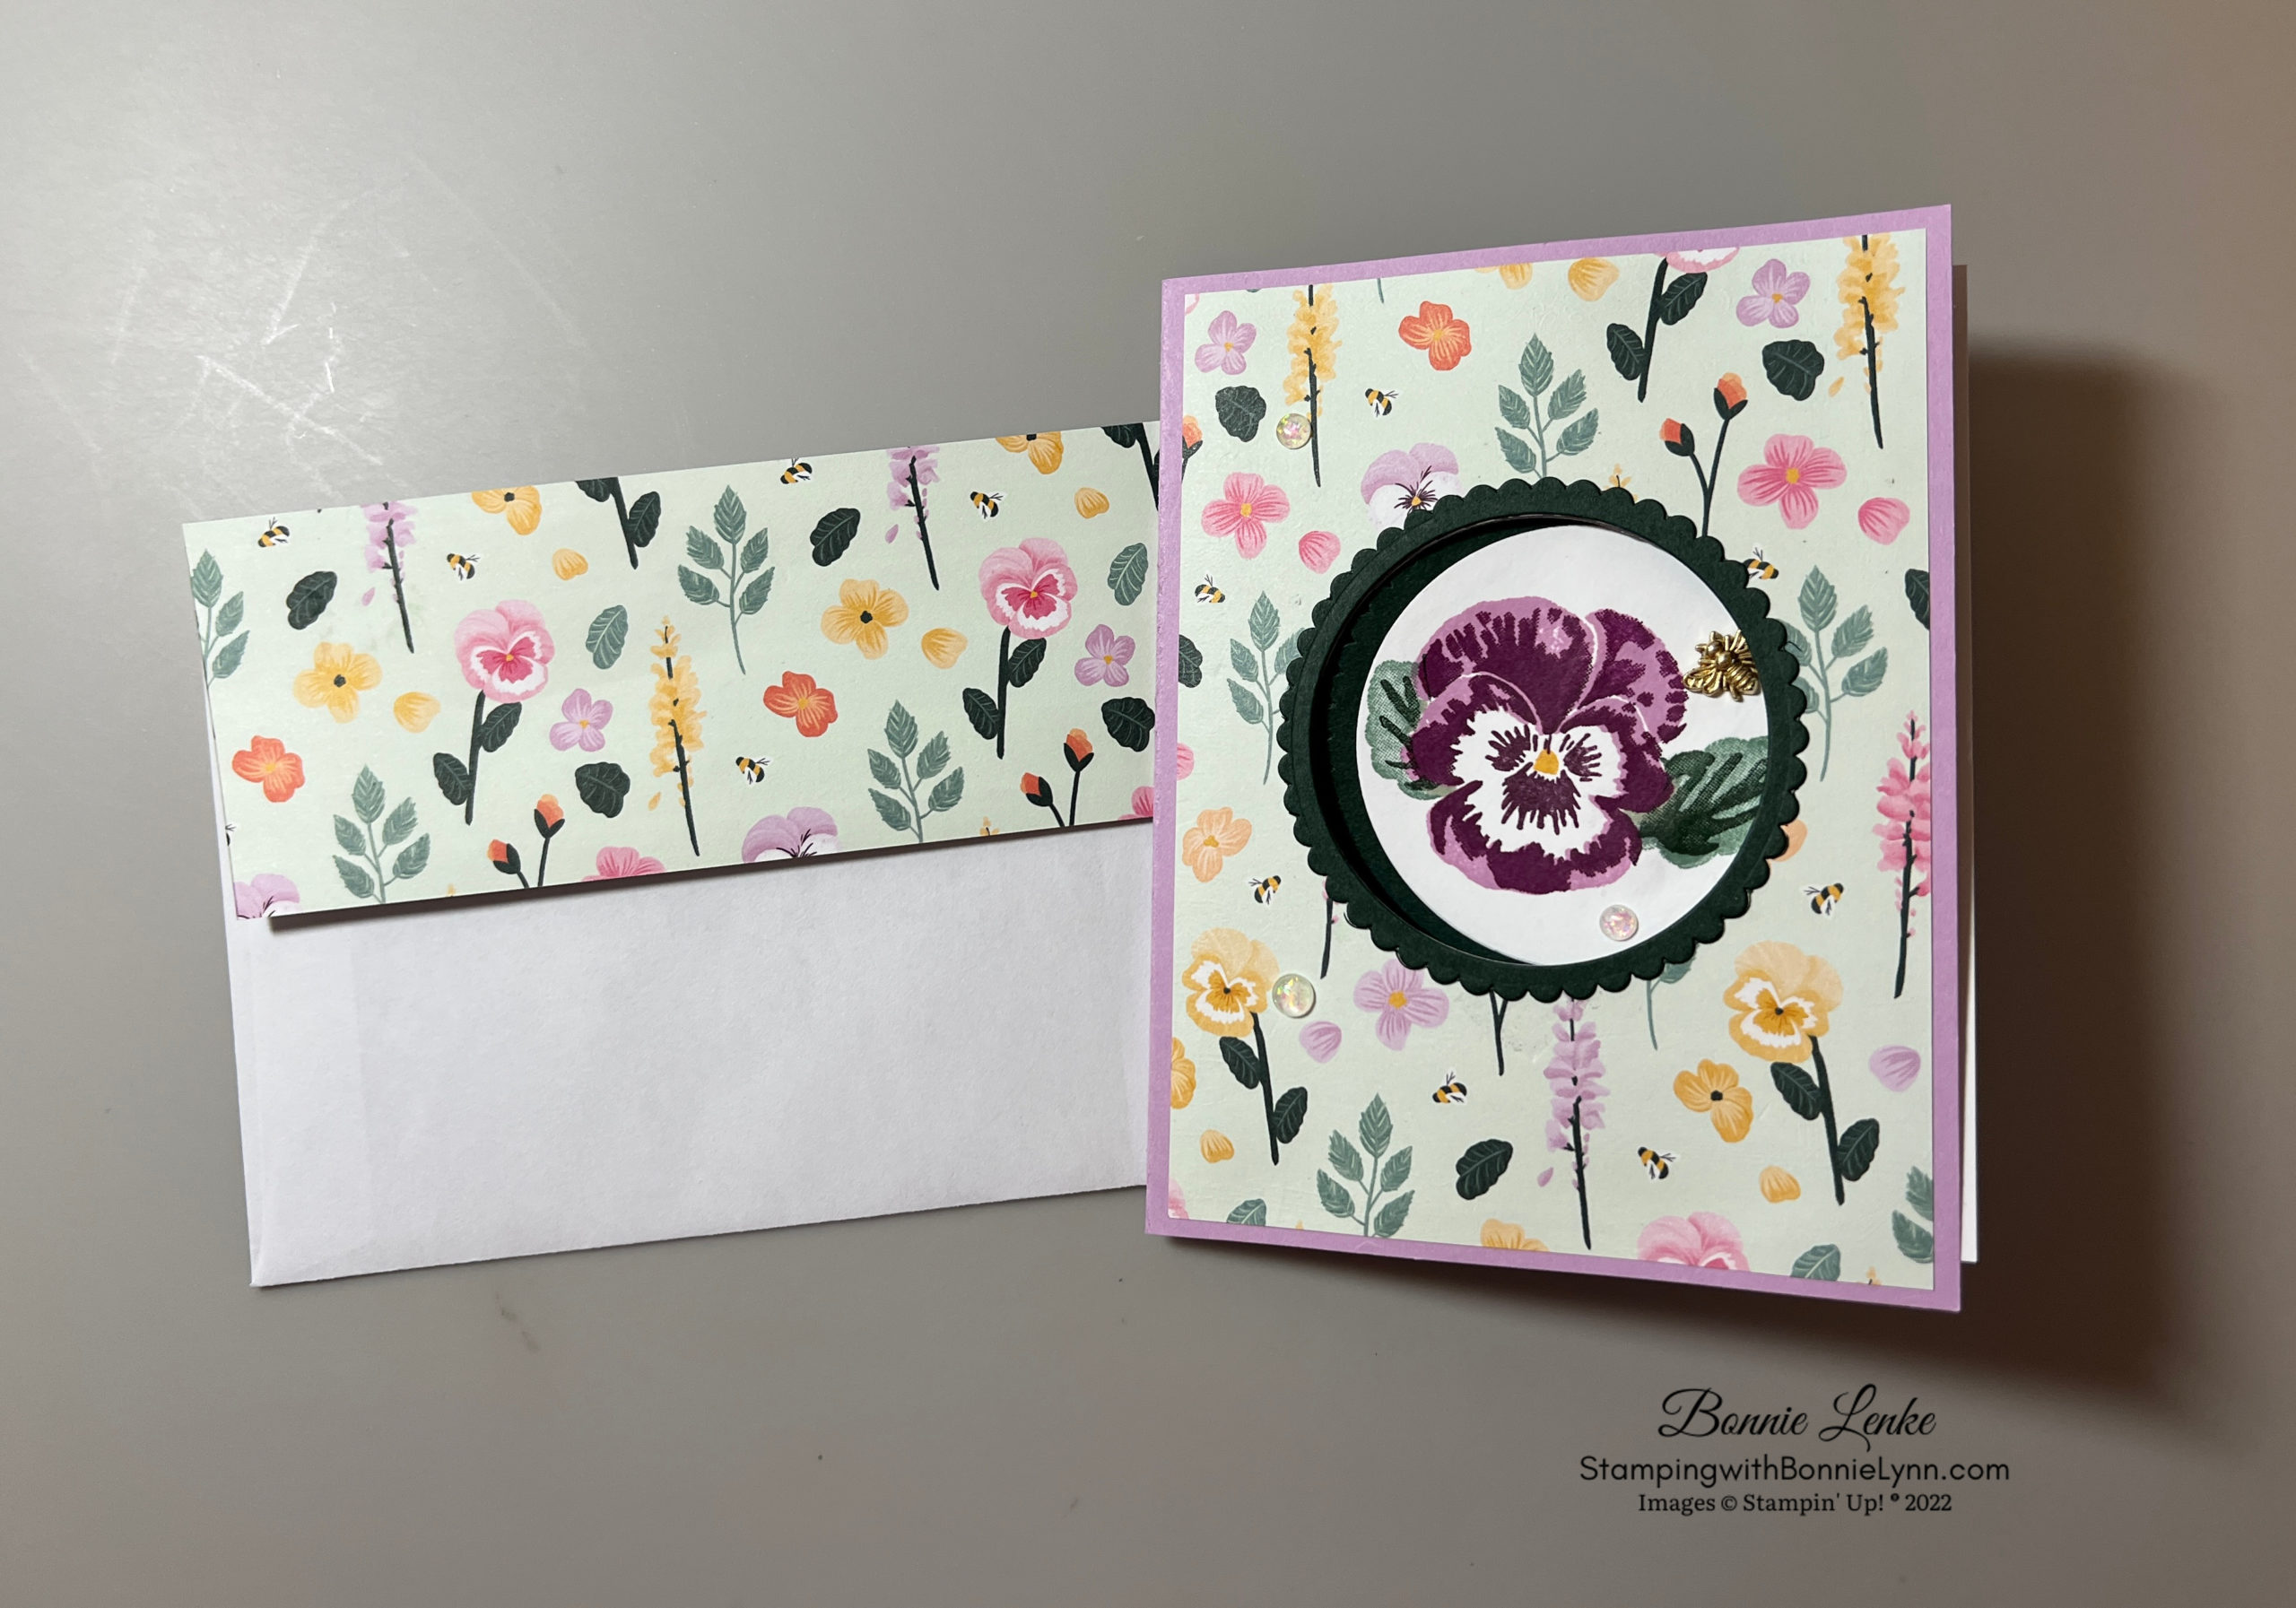
Card Directions
- Die-cut a 6” x 6” piece of Basic White Cardstock with the largest Deckled Circle die.
- Mark the largest Deckled Circle Die with a pencil at the halfway mark on both sides.
- Using the 6” x 3-1/4, place the circle die so the pencil halfway marks are on the top cut of the DSP, tape in place, and die-cut the half circle out. Line the paper with the White Cardstock circle and adhere with Liquid Glue. Fold the bare White Cardstock in half and burnish it with a Bone Folder.
- Die-cut a Perennial Postage Stamp out of Basic White Cardstock. Stamp the greeting in Mossy Meadow Ink on this die-cut. Adhere the bottom part of the greeting at an angle to the right side of the card, using Dimensionals, with the top going off the card.
- From Fall color Cardstock, die cut the fern/leaf and the solid leaf in three or four different colors and insert them on the left side and the bottom of the greeting using Glue Dots.
- Embellish with the Pecan Pie & Clear Ribboned Adhesive-Backed Dots.
- On the inside, I stamped the sentiment in Mossy Meadow Ink. Stamp the wheat-looking and the leaf stamp in Wild Wheat Ink on Basic White Cardstock. After coloring the leaf with Stampin’ Blends, crop both items with the coordinating dies and adhere to the inside of the card.
- For the envelope, use the unused half of the Designer Series paper from the front of the card on the envelope flap, adhering it with liquid glue and trimming off any excess.


Card Recipe
Cutting Directions:
- Basic White: 6” x 6” (card base), 3-1/4” x 2-1/2” (greeting/die-cut)
- Copper Clay: Scraps
- Crushed Curry: Scraps
- Old Olive: Scraps
- Pumpkin Pie: Scraps
- Splendid Autumn 6” x 6” Designer Series Paper: One piece of paper 6” x 3-1/4 (circle die-cut), 6” x 2-3/4” (envelope flap)
Supplies Used:
- Stamps: Autumn Expressions
- Dies: Autumn Expressions, Deckled Circles, Perennial Postage
- Cardstock/Paper: Basic White, Copper Clay, Crushed Curry, Old Olive, Pumpkin Pie, Splendid Autumn 6” x 6” Designer Series Paper
- Stampin Pads: Mossy Meadow, Wild Wheat
- Embellishments: Pecan Pie & Clear Ribboned Adhesive-Backed Dots
- Adhesives: Dimensionals, Glue Dots, Stampin Seal, Liquid Glue
- Tools: Paper Trimmer, Cut & Emboss Machine, Clear Blocks, Take Your Pick, Bone Folder, Stampin Pierce Mat, Paper Snip Scissors
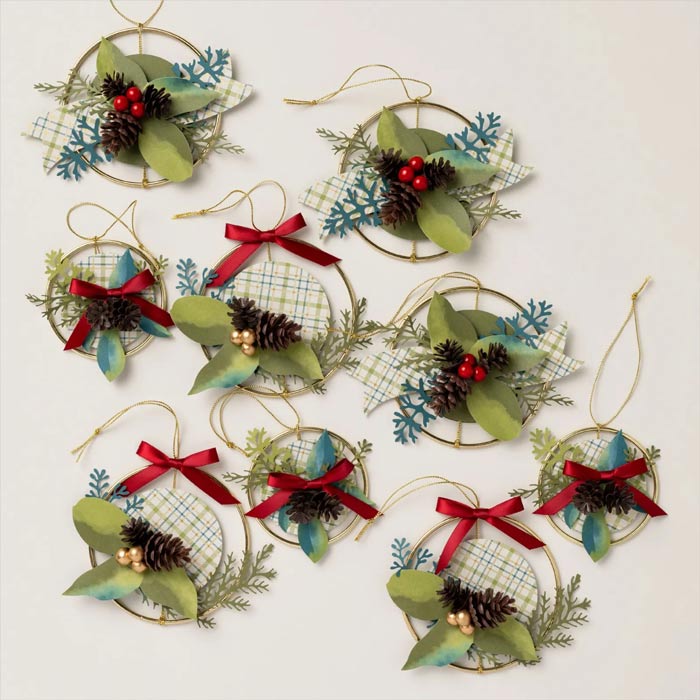
Check out this month’s Specials:
Click on an image for more information…
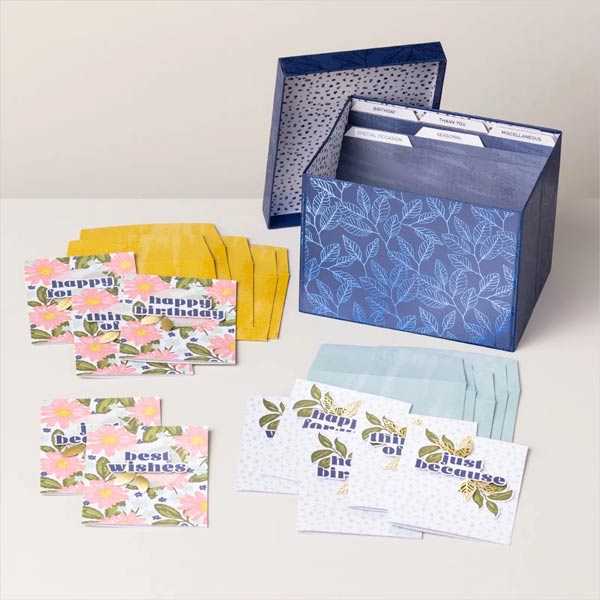
Card Keeper Kit