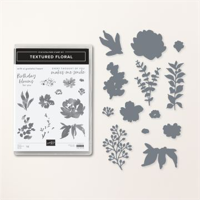
Today I’m sharing with you the Textured Floral stamp set to make a fun stamped card that’s just as pretty as any designer series paper. Plus it is a lot of fun! Don’t have a Stamp-N-Cut Machine? Then you can either fussy cut out a large flower or leave it off. Either way it will be perfect.
One suggestion for when you are stamping, stamp the card front, inside and envelope all at the same time. Just don’t do what I did on the video, forgetting what one you are stamping, lol. I hope you try stamping a floral card and have fun doing so and don’t forget to mail your card to someone and make their day. Happy Stamping!
Card Directions
Note: Don’t forget to use the Stampin’ Pierce Mat when stamping with Photopolymer Stamps. The cushion will give a better stamp and hold in place for 5 seconds for best coverage.
- Cut and score cardstock/papers according to Cutting Directions below.
- Fold card base in half on the score line, burnish with Bone Folder.
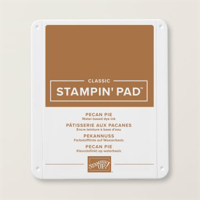
- On the 3-3/4” x 5” Basic White Cardstock stamp the greeting in Pecan Pie Ink in upper right hand corner.
- Next we start with stamping the largest flower in Bubble Bath Ink. Then stamp the broken curbed stems in Granny Apple Green Ink followed by the coordinating flowers in Lemon Lolly Ink. See Pictures below.
- Before stamping any more flowers stamp the big wide leafy stamp on the bottom in Old Olive Ink and a partial on the left side. Stamp the other leaf stamp above the large flower. Stamp the smaller flower in Highland Heather Ink. Go back and stamp the centers into the flowers with Pecan Pie Ink.
- Fill in with more leafs in Granny Apple Green. Stamp the dotted stamp in Crumb Cake Ink where needed, stamp off once before stamping.
- Adhere the stamped panel to a panel of the Bubble Bath Cardstock then adhere to card front.
- Stamp the large flower in Bubble Bath Ink onto a piece of Basic White Cardstock then stamp center with Pecan Pie Ink. Crop with coordinating die. Add to card front with Dimensionals over the pink flower on the cardstock (the bubble bath stamped flower on panel to keep the portions straight in case you didn’t do this last step).
- Die cut out the 3 stem leaf from Old Olive Cardstock, add to card front with Glue Dots or Liquid Glue, slide under the flower.
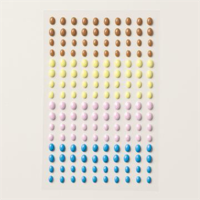
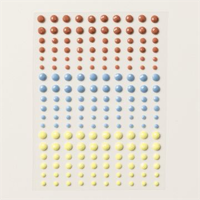
- Add Adhesive-Backed Solid Gems or Opaque Ovals Embellishments to card front.
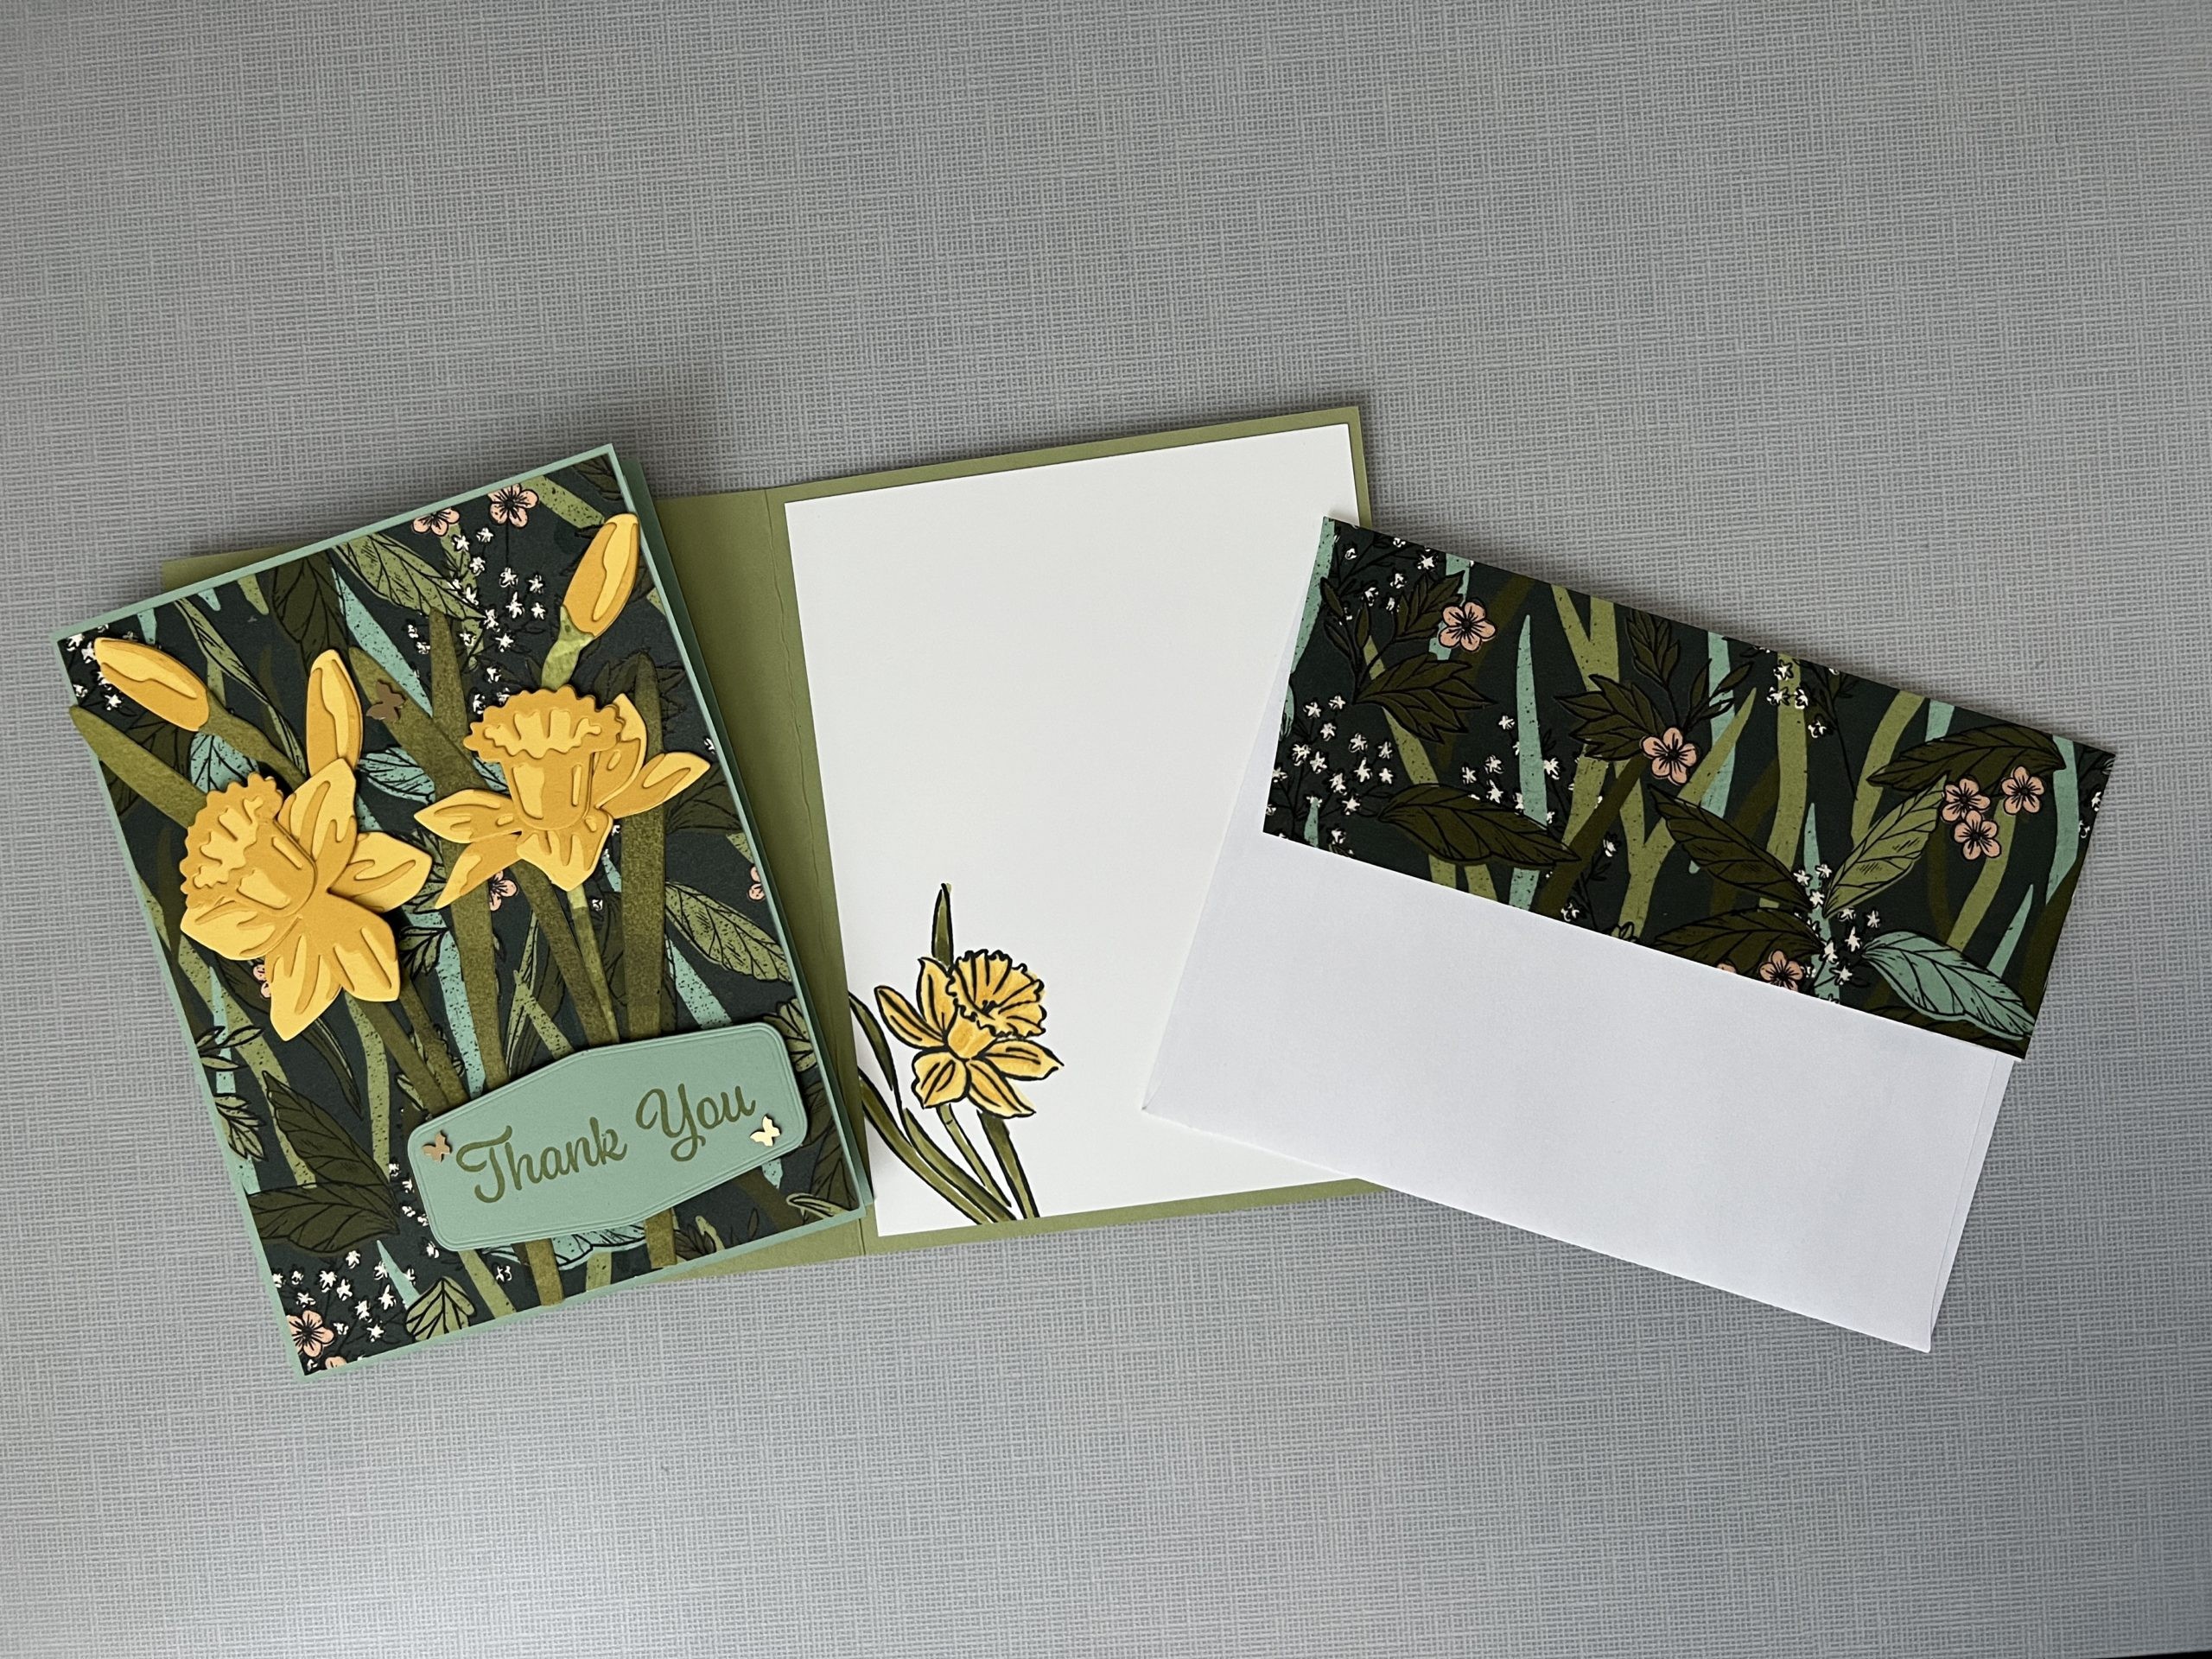
- The inside was completed by stamping sentiments in Pecan Pie Ink on White Cardstock panel. Small flowers were stamped in Bubble Bath Ink, one in upper left corner and two on right side. Adhere to Bubble Bath panel and then to card inside.
- For the Envelope I stamped the flowers and stamps on a piece of White Cardstock measured to fit the envelope flap while I was stamping my card front. Glue panel to flap and trip off excess. You could also stamp the flower and leaves directly to the envelope flap.


Card Recipe
Cutting Directions:
- Basic White Thick: 8-1/2” x 5-1/2”, scored at 4-1/4” (card base)
- Basic White: (2) 3-3/4” x 5” (card front & inside), 2-1/2” x 2-1/2” (stamping flower)
- Bubble Bath: (2) 4” x 5-1/4” (card front & inside)
- Old Olive: Scrap for leaves
Supplies Used:
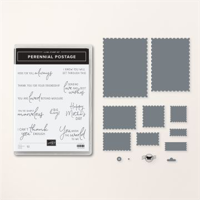
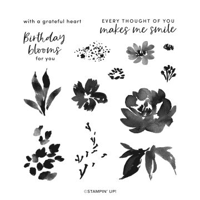
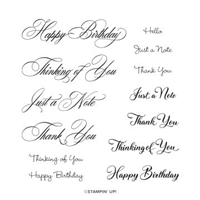
- Stamps: Textured Floral, Go To Greetings, Perennial Postage
- Dies: Textured Floral
- Cardstock/Paper: Basic White Thick, Basic White, Bubble Bath, Old Olive
- Stampin Pads: Bubble Bath, Lemon Lolly, Highland Heather, Pecan Pie, Crumb Cake, Old Olive, Granny Apple Green
- Embellishments: Adhesive-Backed Solid Gems or Opaque Ovals
- Adhesives: Dimensionals, Glue Dots, Stampin Seal, Liquid Glue, Tear & Tape
- Tools: Paper Trimmer, Cut & Emboss Machine, Clear Blocks, Take Your Pick, Bone Folder, Stampin Pierce Mat, Paper Snip Scissors
February’s Thoughtful Expressions Card Tutorial

This tutorial is available free to all who place a $35 merchandise order in my online store. My team members all receive my tutorials for being on my Starlight Crafters team. The tutorials are also available for sale on my website by clicking on the Shop Tutorials heading. Included are 4 Fun Fold card tutorials with video instructions.
Check out this month’s Specials:
Click on an image for more information…
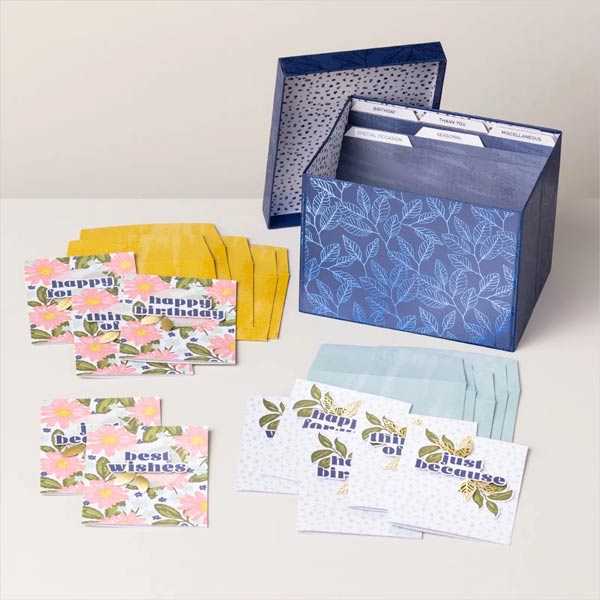
Card Keeper Kit