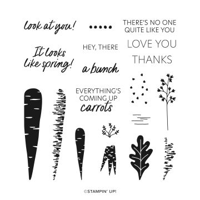
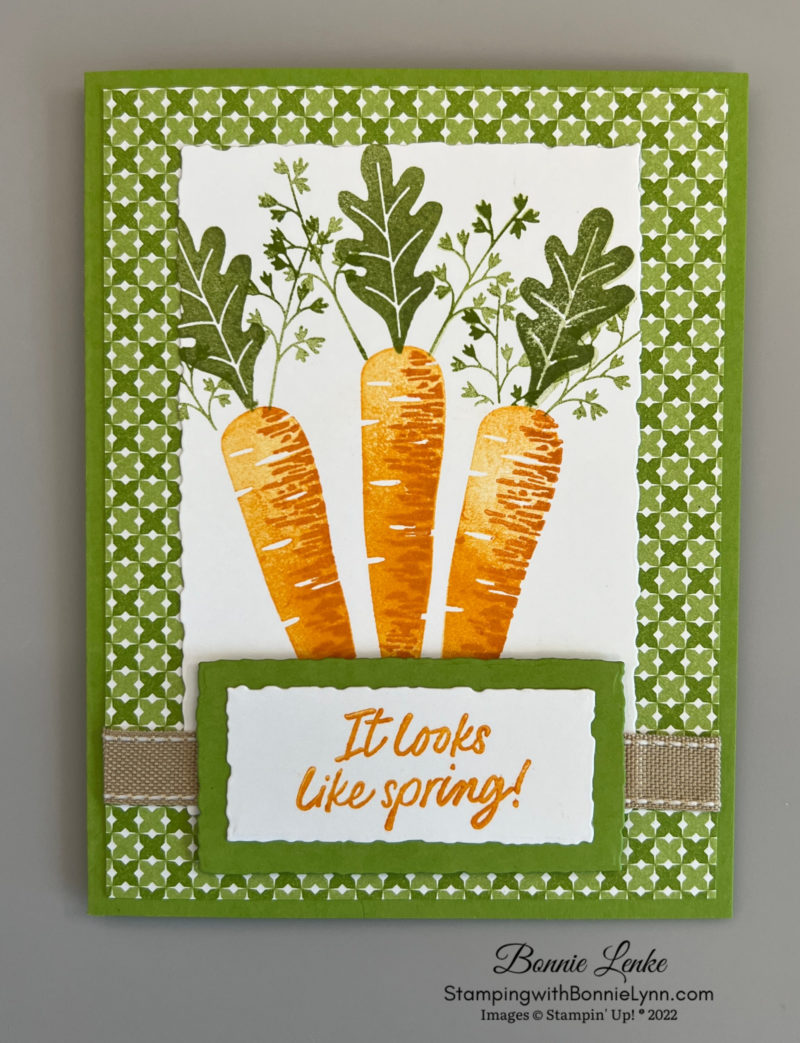
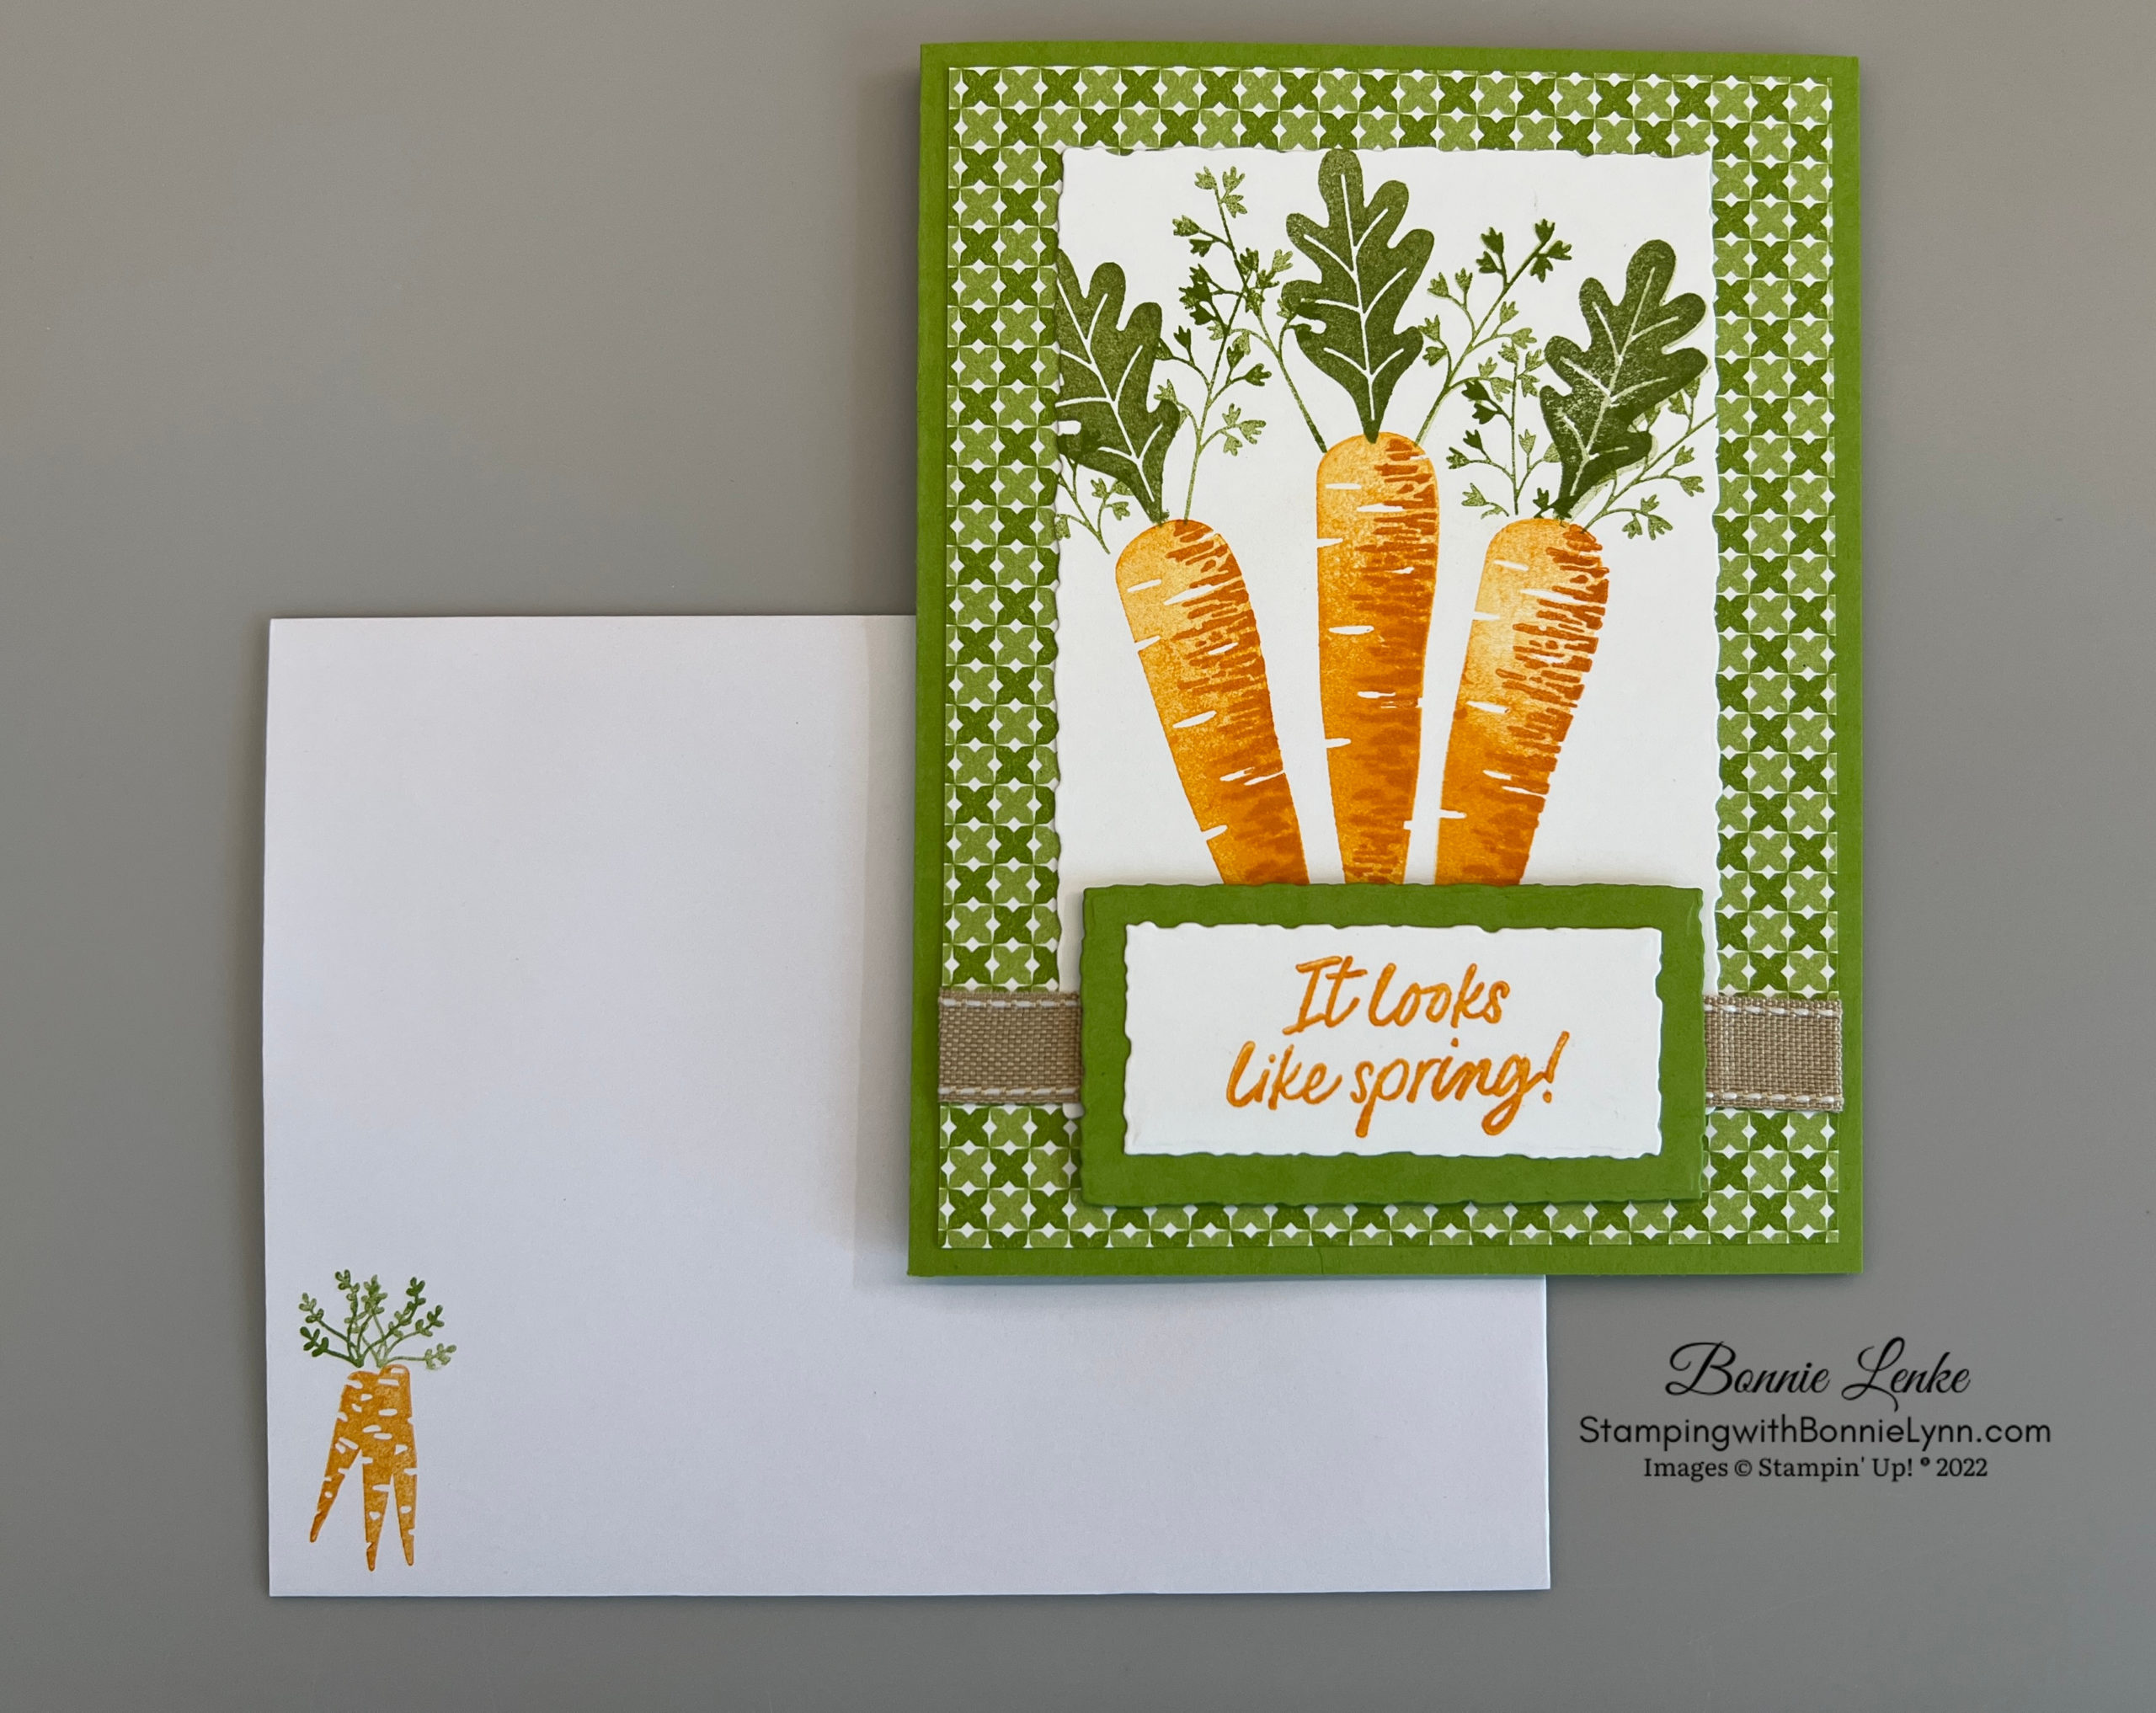
Thanks A Bunch Birthday Card
Stampin’ Up! Thanks A Bunch Card is made with the Thanks A Bunch stamp set which is free through Sale-A-Bration during the rest of February. It’s one of the items you can select when purchasing at least $50 of merchandise.
I finally well enough and had some energy so I took this window of opportunity to make a card to share with you before Sale-A-Bration was over. I enjoyed being back in my studio, even if it took me longer to do anything. Thank you all for your kind words and prayers while I have been under the weather. Hopefully, the good days will start outnumbering the hard ones.
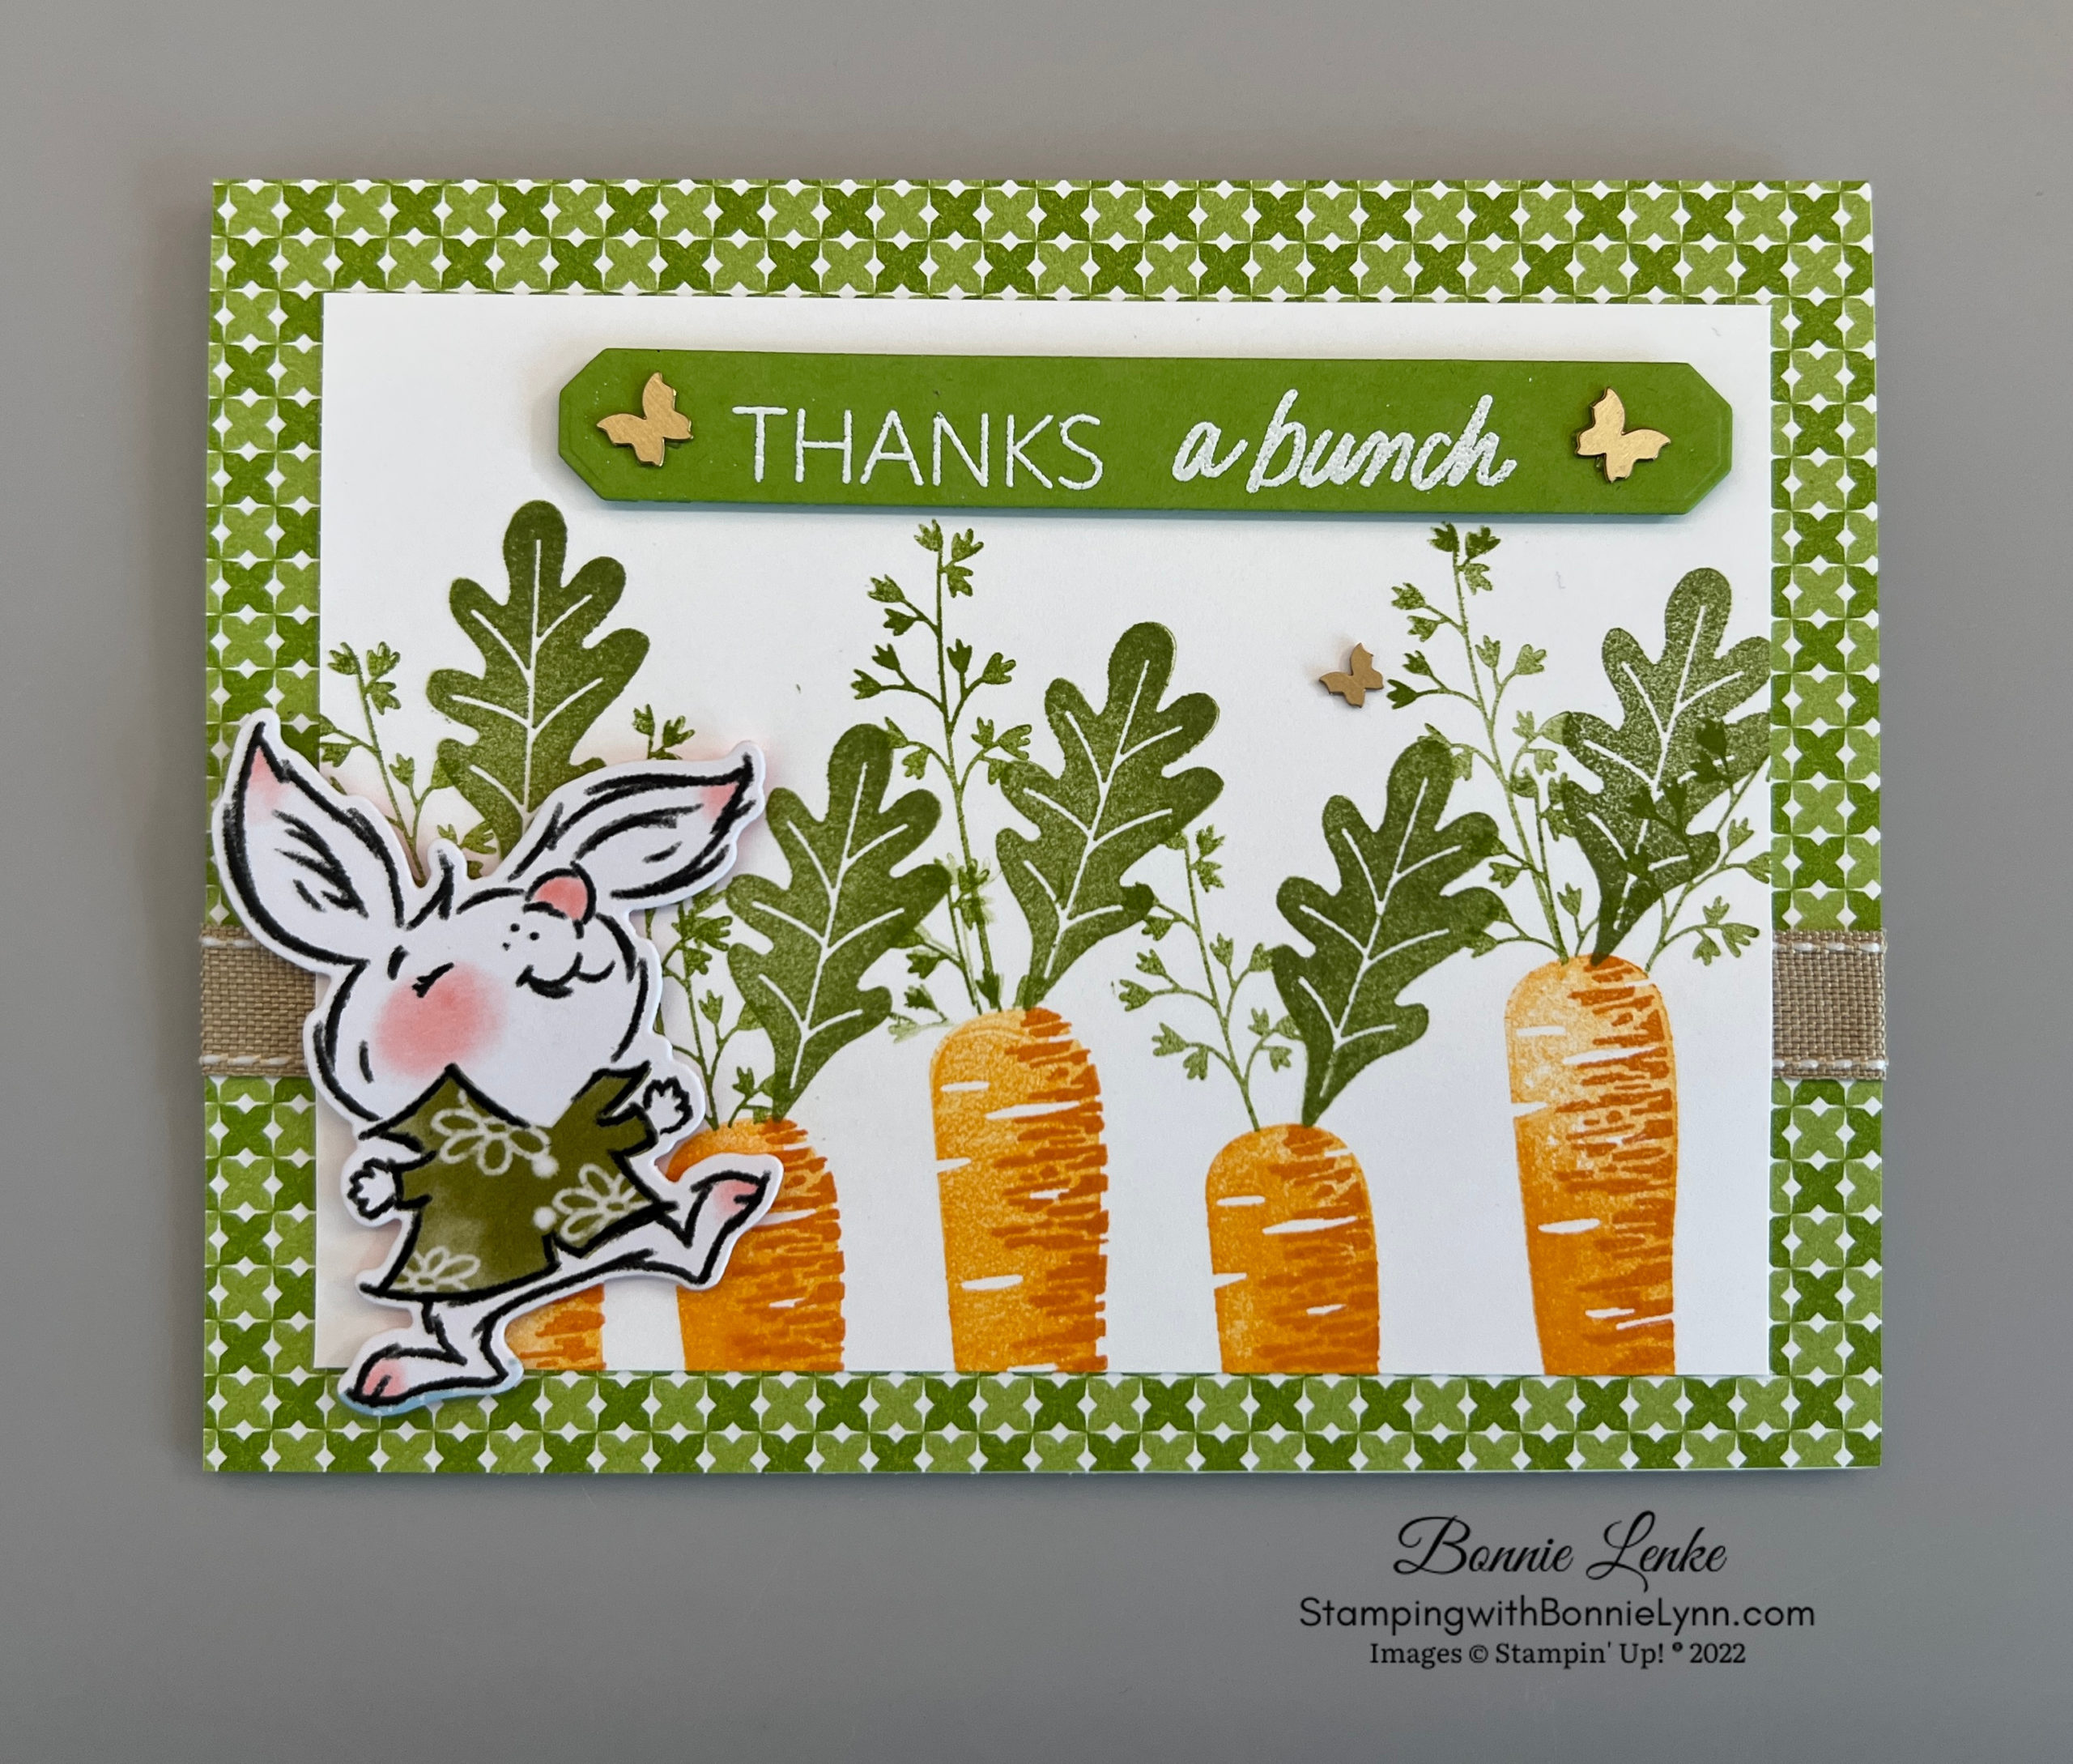
This is a fun stamp set, especially for Springtime. Plus it makes such a cute and quirky card to share with family and friends. Right after the written directions is a picture of a second card I made out of the same stamp set. Down below the “supplies used” you’ll find what I used on this “Thank You” card and the measurements.
I hope you enjoyed this card as much as I enjoyed making and sharing it with you.
Let’s Get Started
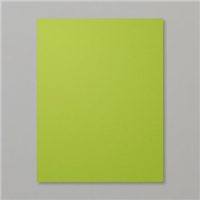
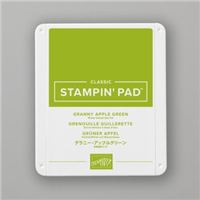
- Fold you Granny Apple Green card base in half on the score line and burnish with Bone Folder.
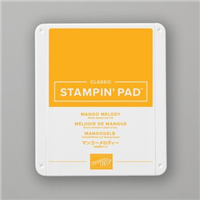
- Before this next step keep in mind you will be cutting this piece of cardstock out with a die so your canvas is not quite as large as the 3-1/4” x 4-1/2” White panel is. If you want cut your panel first. On you Basic White cardstock stamp the full carrot in Melody Mango Ink, repeat 2 more time for 3 carrots. Next, use the long thin stamp with lines (on long side of the stamp sheet) and stamp it in Pumpkin Pie Ink lining it up to right side and top of carrot, repeat on the other 2 carrots. This is called 2 step stamping.
- Stamp the wide leaf in Old Olive Ink on top of each carrot.
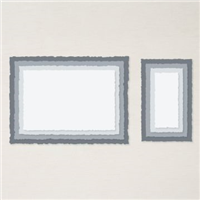
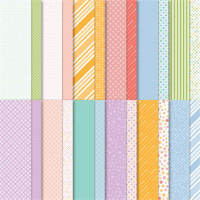
- With Granny Apple Green Ink stamp the larger leafy stamp coming out of the top of carrot on each side of the wide leaf. Use a mask, post it note or scratch paper to cover carrot so you don’t get green ink on the carrots so you can shorten the think stem. Use the 4th largest Deckled Rectangle Die to cut this out. Adhere to Dandy Designs Designer Series Paper with your favorite adhesive.
- Cut a 5” Burlap Ribbon and adhere to card front near the bottom of the White Cardstock bottom and wrap ends around to back of card. To do this a added a piece of Tear & Tape to the entire length of the back of ribbon. Adhere to Granny Apple Green card base.
- Stamp you Greeting from the Thanks A Bunch Stamp Set to a piece of Basic White Cardstock with Mango Melody Ink and cut out with smallest Deckled Rectangle Die. Using the next to smallest Deckled Rectangle Die and cut one out of Granny Apple Green card stock. Adhere greeting to this and adhere to card front over the ribbon.
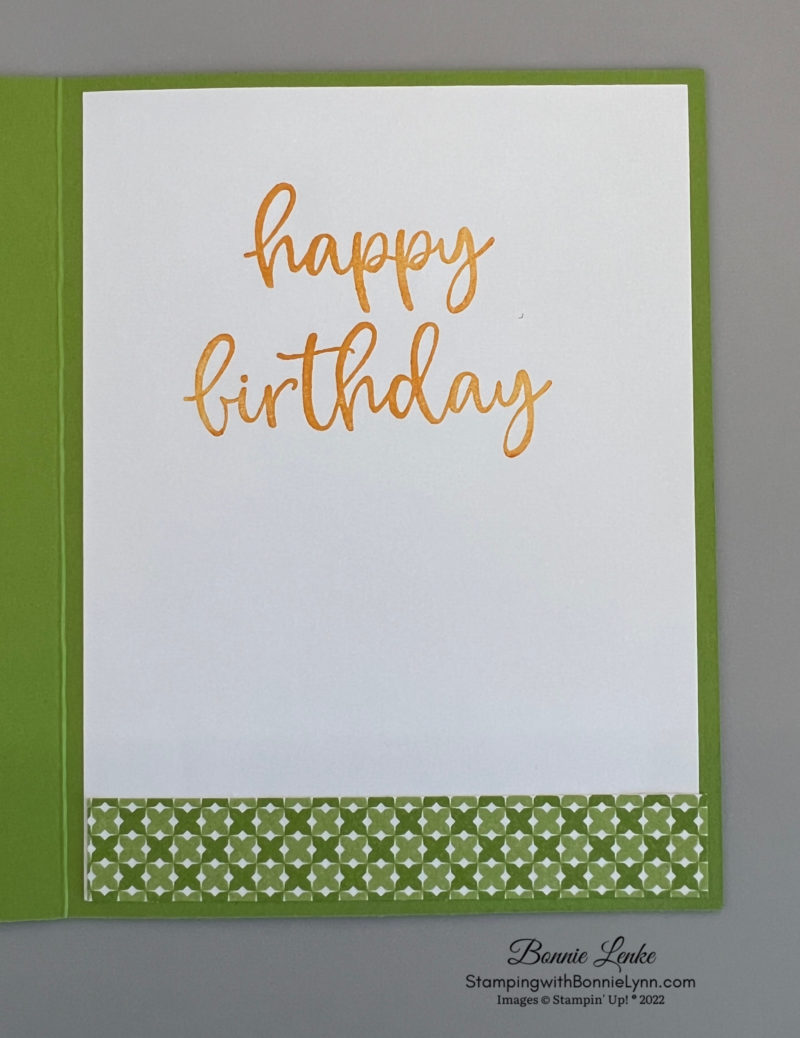
- The inside was finished by stamping “Happy Birthday” from the Biggest Wish Stamp Set in Mango Melody Ink onto White Cardstock. Adhere to card inside. Add a piece of Dandy Designs DSP to bottom on White Cardstock.
- For the Envelope I took the small bunch of 3 carrots stamp and stamped it Mango Melody Ink to the left hand bottom corner. Then stamp the small leaf cluster two time on top of the carrots.
And now you have a beautiful card to brighten someone’s day. Don’t forget to give it to someone.
Happy Stamping!
Card Recipe
Cardstock:
- Granny Apple Green: 8-1/2” x 5-1/2”, scored at 4-1/4” (card base), 3” x 1-1/4” (greeting back layer)
- Basic White: 3-1/4” x 4-1/2” (front panel), 2-3/4” x 1-1/2” (greeting), 4” x 5-1/4” (inside)
- Designer Series Paper: 4” x 5-1/4” (card front), 4” x 5/8” (inside)
Supplies Used:
- Stamps: Thanks A Bunch, Biggest Wishes
- Dies: Deckled Rectangle
- Cardstock/Paper: Granny Apple Green, Basic White, Dandy Designs Designer Series Paper
- Stampin Pads: Mango Melody, Pumpkin Pie, Granny Apple Green, Old Olive
- Ribbon: Real Red & Burlap Ribbon
- Adhesives: Dimensionals, Liquid Glue, Tear N Tape, Stampin Seal
- Tools: Paper Trimmer, Cut & Emboss Machine, Clear Blocks, Take Your Pick, Bone Folder, Stampin Pierce Mat, Paper Snip Scissors
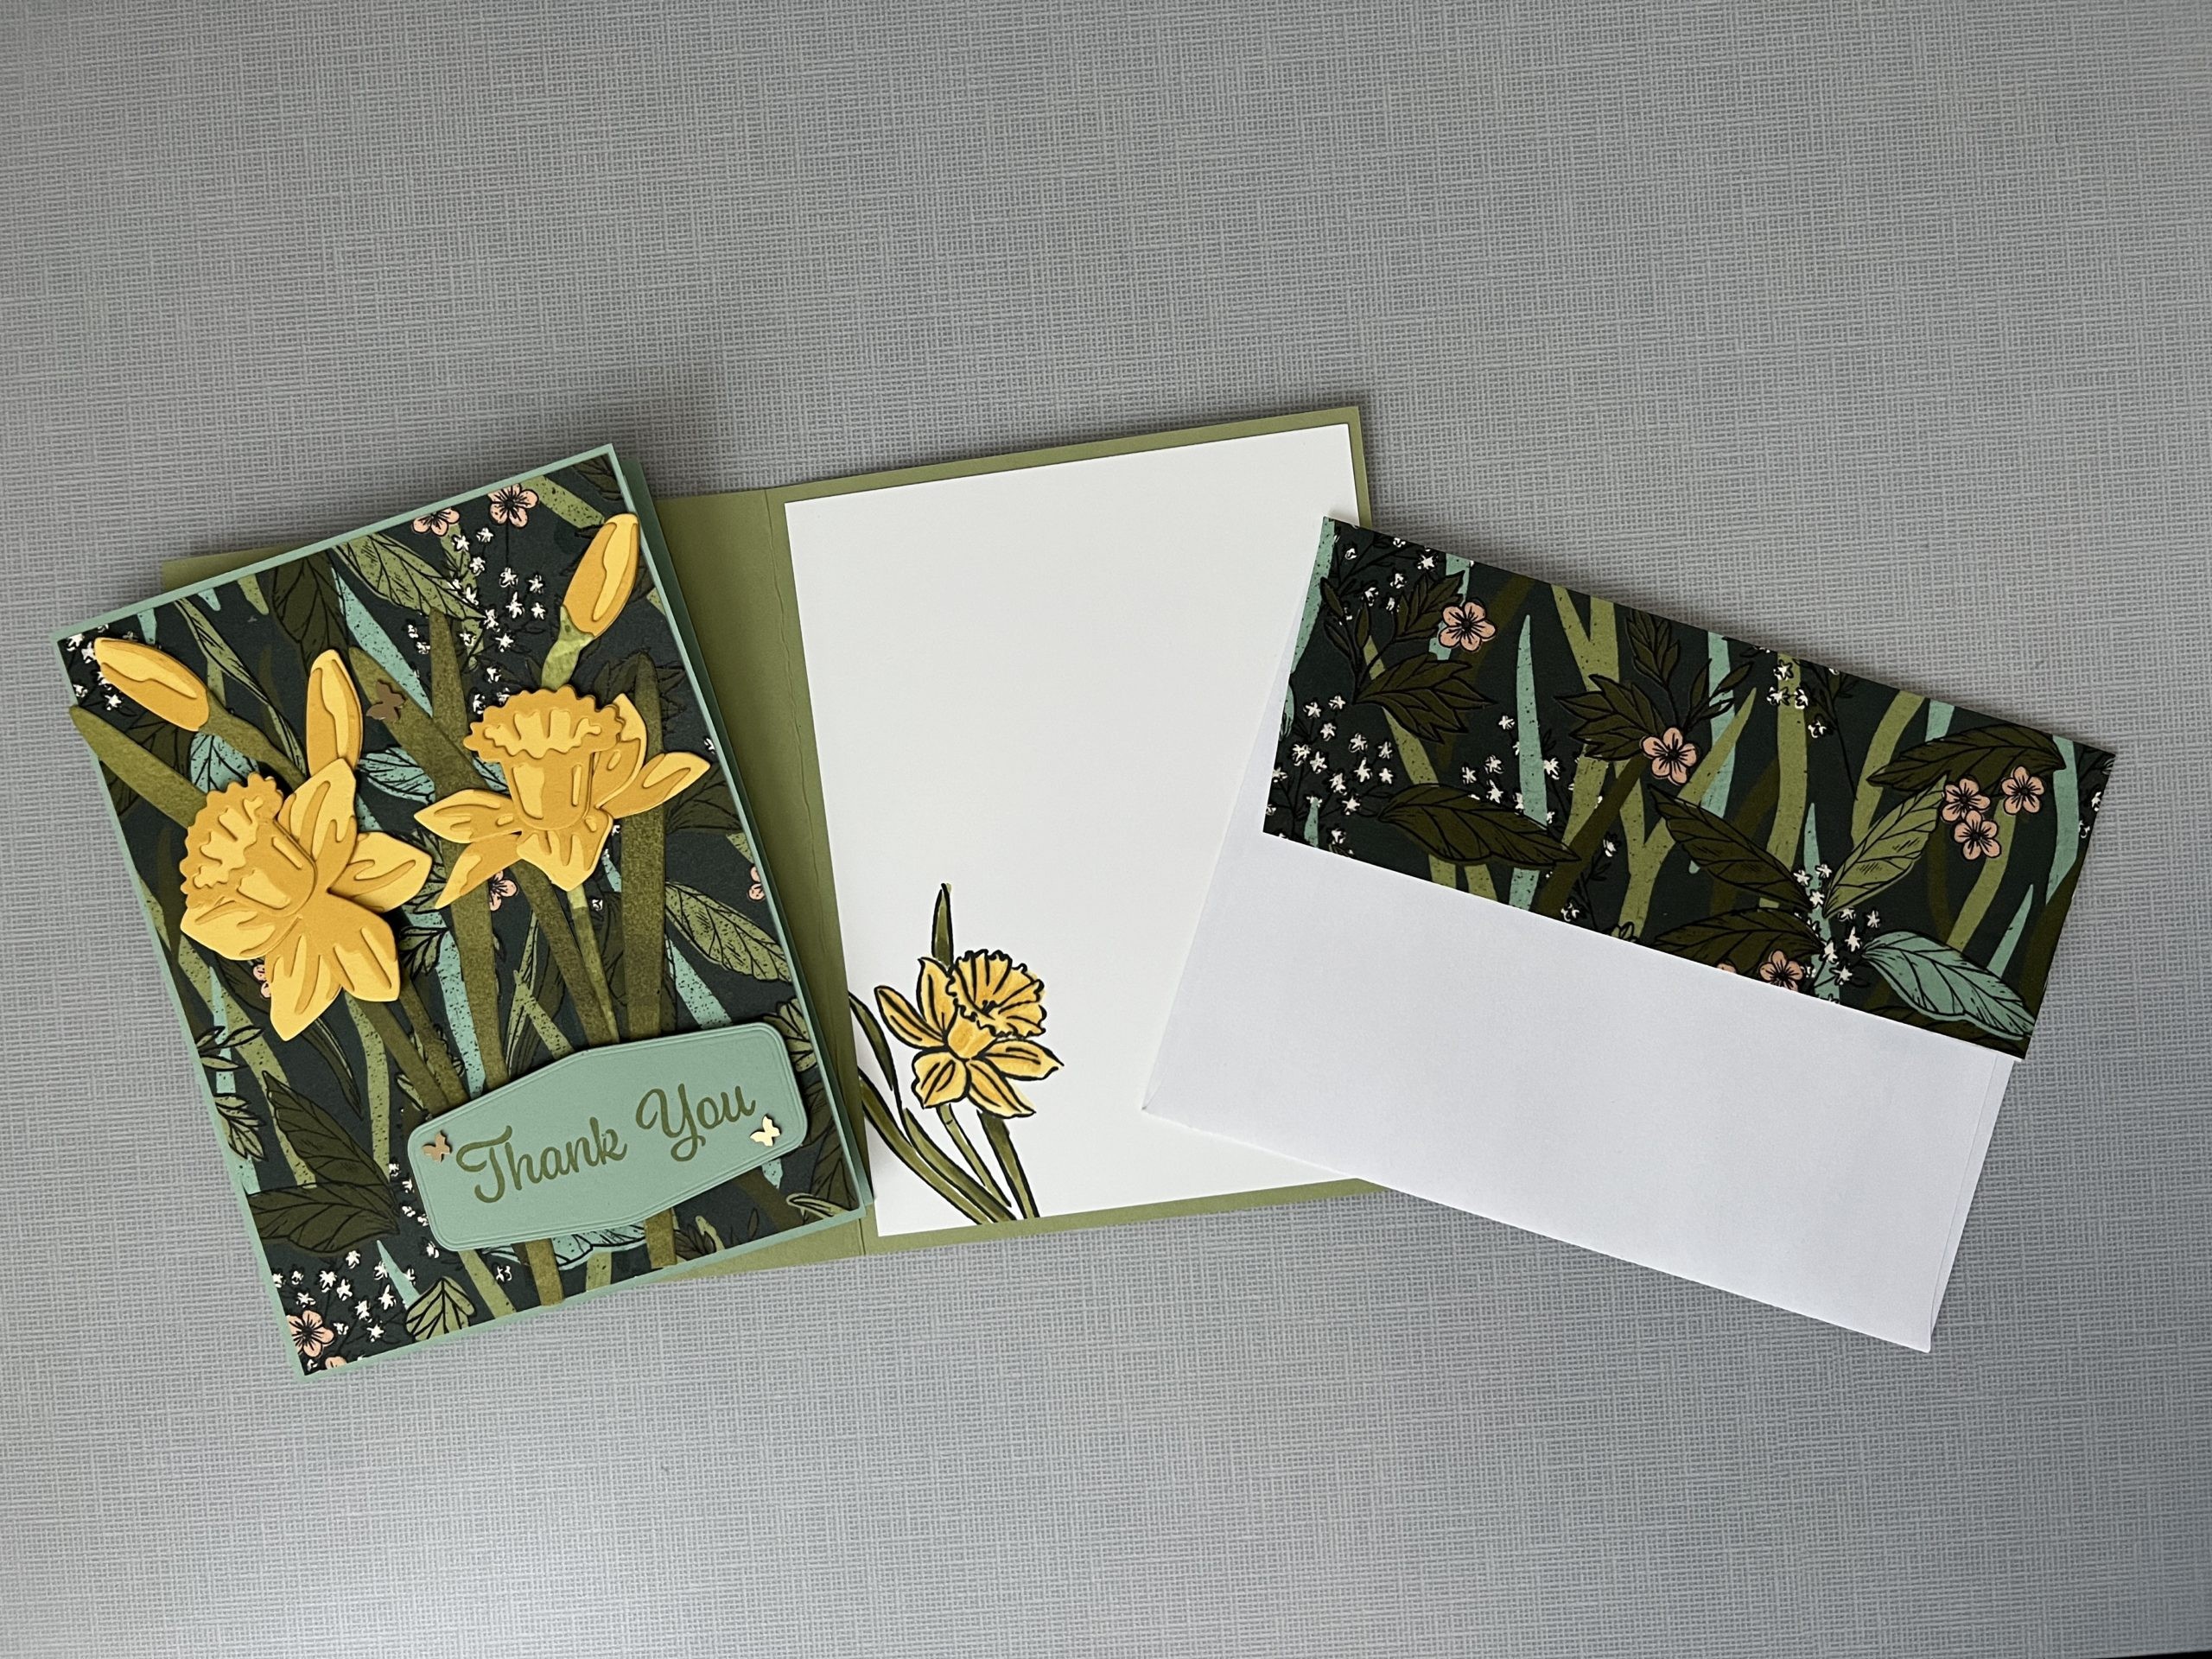
Thank You Card Supplies
Thanks A Bunch Stamp Set, Playing in the Rain Dies, Dandy Designs DSP 5-1/2” x 4-1/4”, Basic White Thick Cardstock see card base size up above, Basic White 4-1/2” x 3-1/4”, Granny Apple Green a long scrap, Burlap Ribbon, White Embossing Powder with all the tools to heat emboss. All the same inks as used above. Brushed Brass Butterflies. Rain or Shine Designer Series Paper for the rabbit. Inside I left blank for someone to handwrite a thank you note.
SALE-A-BRATION
ENDS MONDAY FEBRUARY 28TH
Shop and Earn Free Products

I hope that you’re as excited about SALE-A-BRATION as I am. I love when it’s Sale A-bration time. Enjoy a FREE product from the Sale-a-bration Brochure for EVERY $50/$100 order you place now through February 28, 2023. No limit!
CLICK HERE TO SHOP
Ever Thought About Joining Stampin Up?
Sale-A-Bration is an excellent time to join Stampin’ Up! Family and my Team.
When you Stampin’ Up! You join an an Independent Demonstrator. There is only one requirement and the is meet your quarterly minimum. You can achieve this as a hobbies Demonstrator or by selling the products as a business. The choice is yours.
By becoming a Demonstrator you get early assess to all new products and even receive a discount on the product. There is a Demonstrator only Facebook page which is wonderful to see what other Demonstrators are making around the world.

When you sign up during Sale-A-Bration you can choose from three incredible options:
- Option 1: The exclusive Boho Blue Mini Machine ($63 USD value) + your choice of $175* of Stampin’ Up! products for only $129.
- Option 2: The original white Mini Machine ($63 USD value) + your choice of $175 USD* of Stampin’ Up! products for only $129.
- Option 3: Your choice of $175 USD* of Stampin’ Up! products for only $99 USD.
*That’s $50 more product than the standard Starter Kit offer!
I would love to have you on my Team. If you have any questions or need more information please email me at Bonnie@Stampingwithbonnielynn.com. I would love to share all the details. If you’re ready to sign up now then click on the button.
Earn Reward Points quickly for a $25 Credit
When placing an order please use the current Host Code* and earn REWARD POINTS. Once you earn 10 reward points you will receive a $25 shopping credit from me. CLICK HERE for more details.
*NEWEST HOST CODE is always located on the right side of webpage midway down.