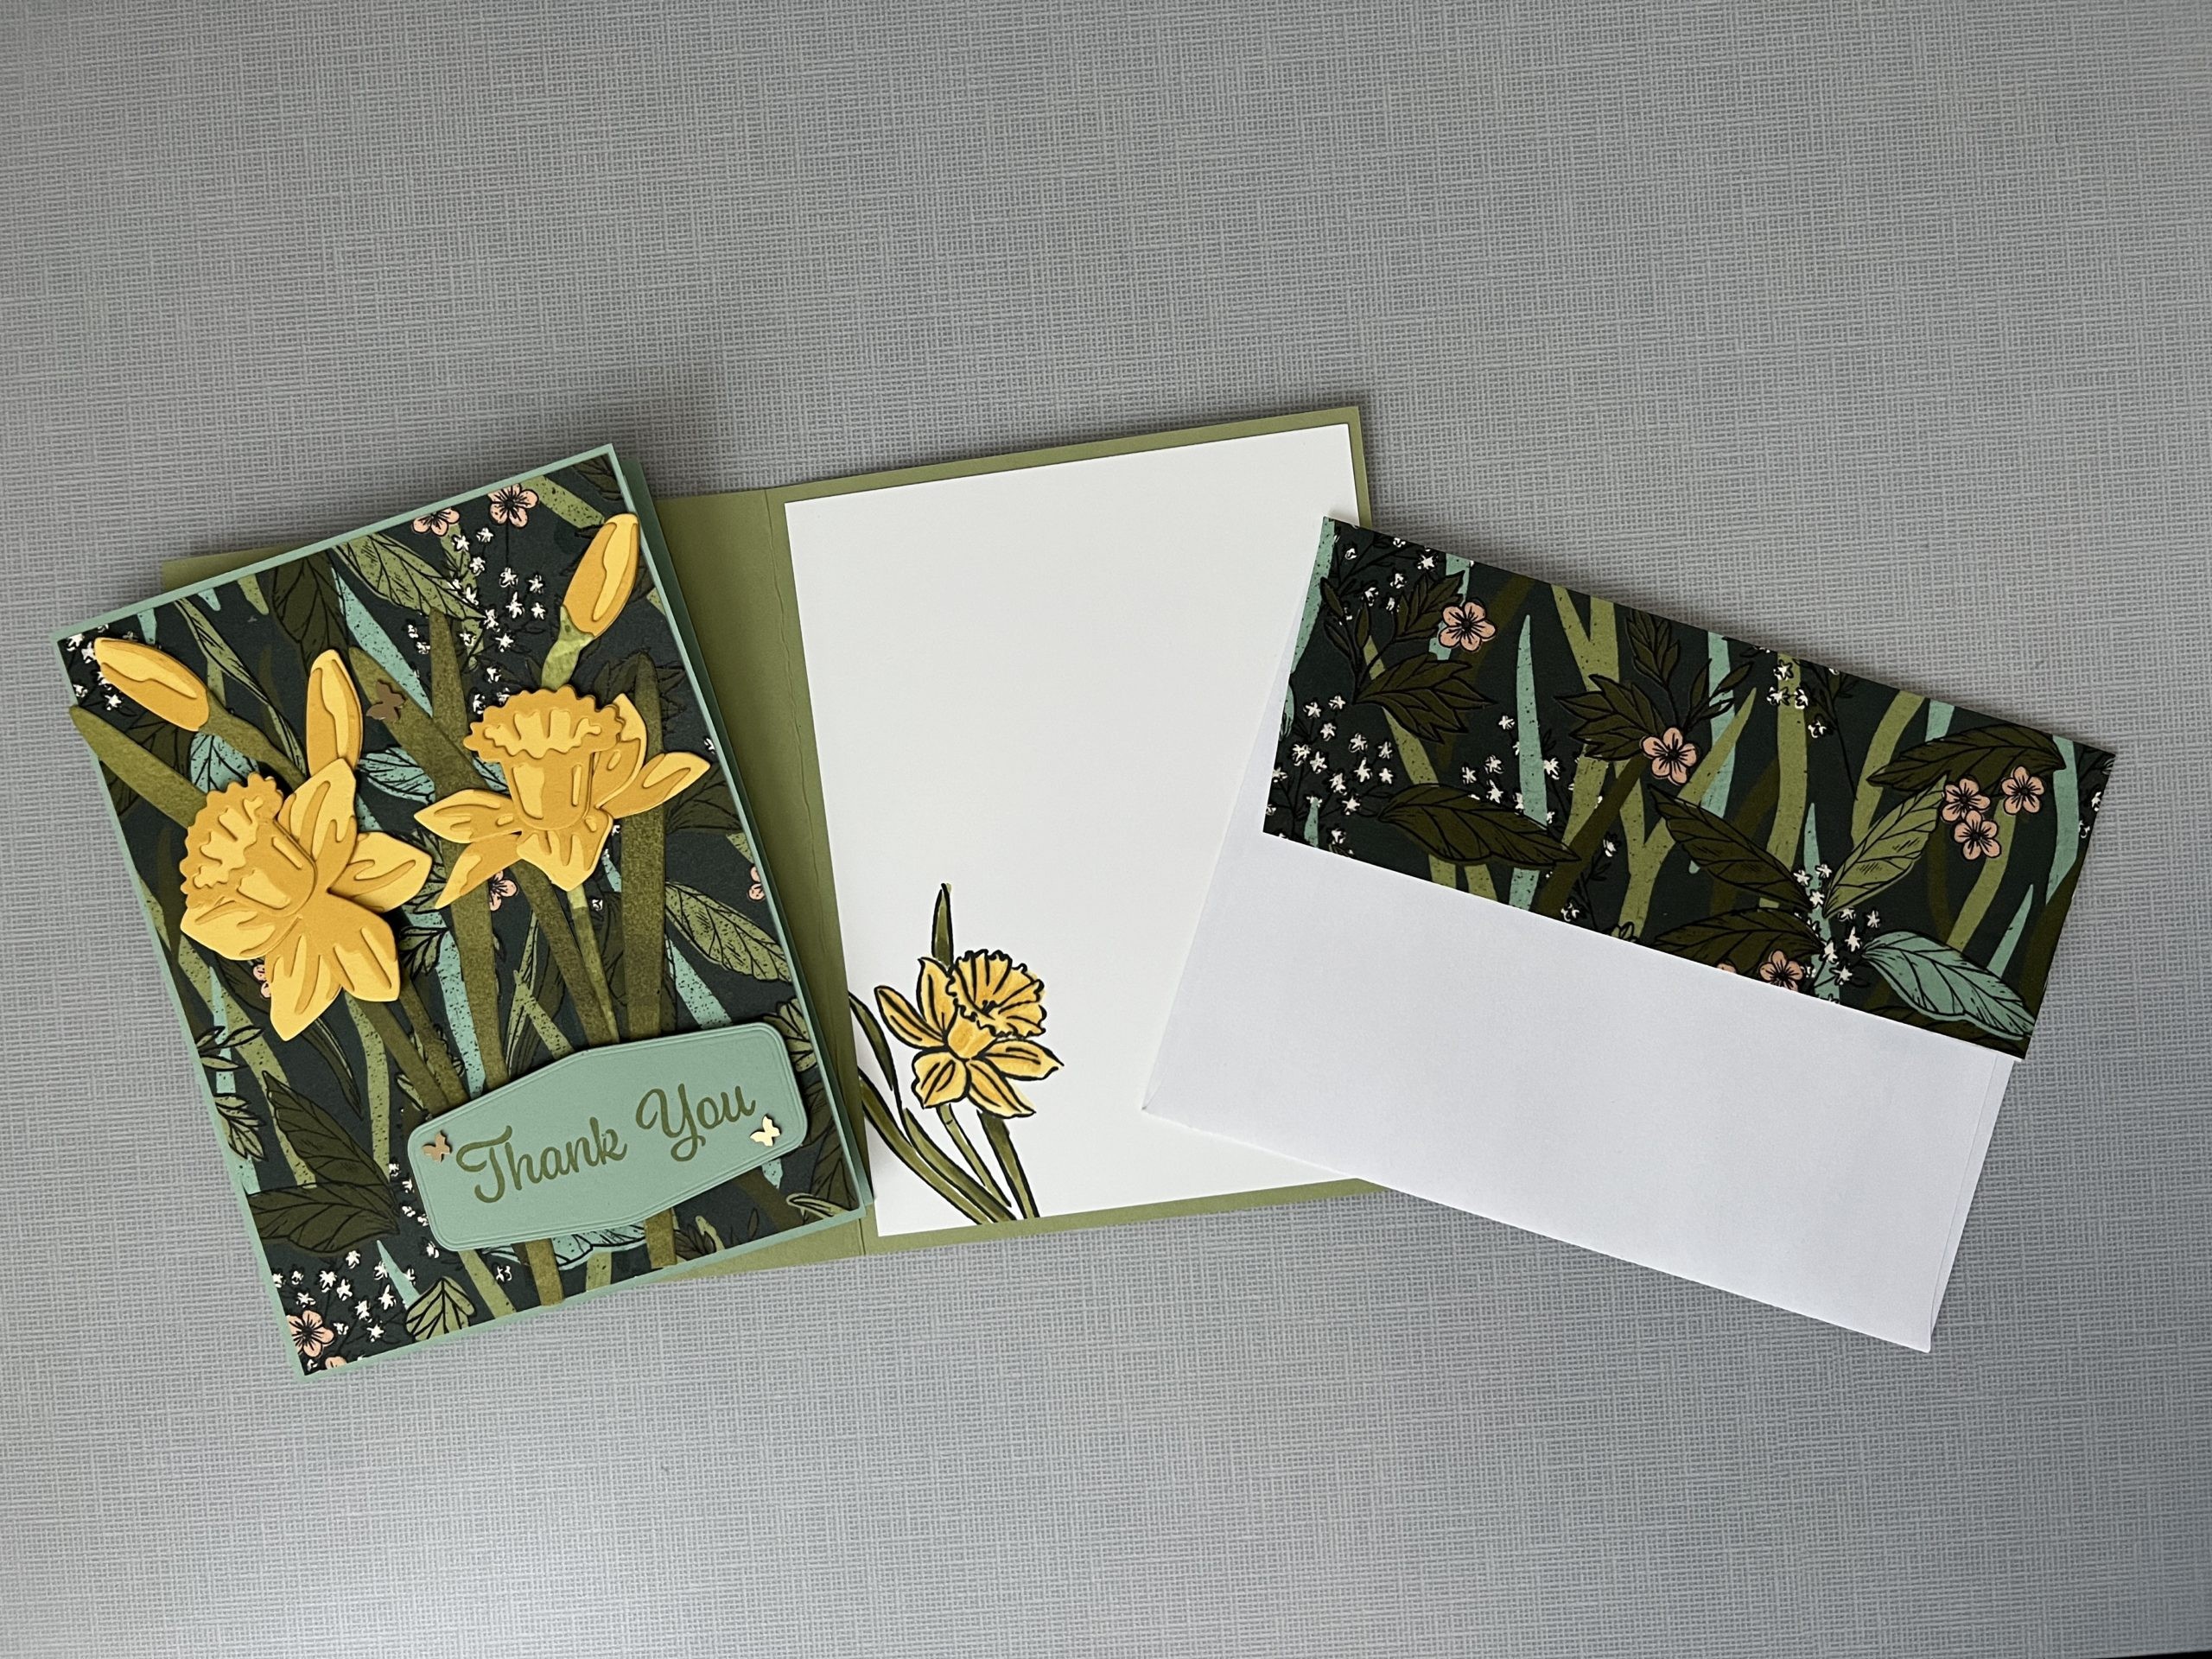
Marigold Moments Mother’s Day Card & Video
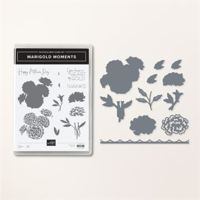
Stampin’ Up! Marigold Moments is an awesome stamp bundle. I enjoy doing the two step stamping and this set is easy to do this technique with. I hope you’ll give it a try if you haven’t done it before. You can always reach out to me if you need extra help.
I hope you enjoyed this card as much as I enjoyed making and sharing it with you.
CLICK FOR MARIGOLD MOMENTS VIDEO
Let’s Get Started
- Fold you Thick Basic White Cardstock in half on the score line and burnish with Bone Folder.
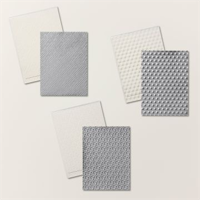
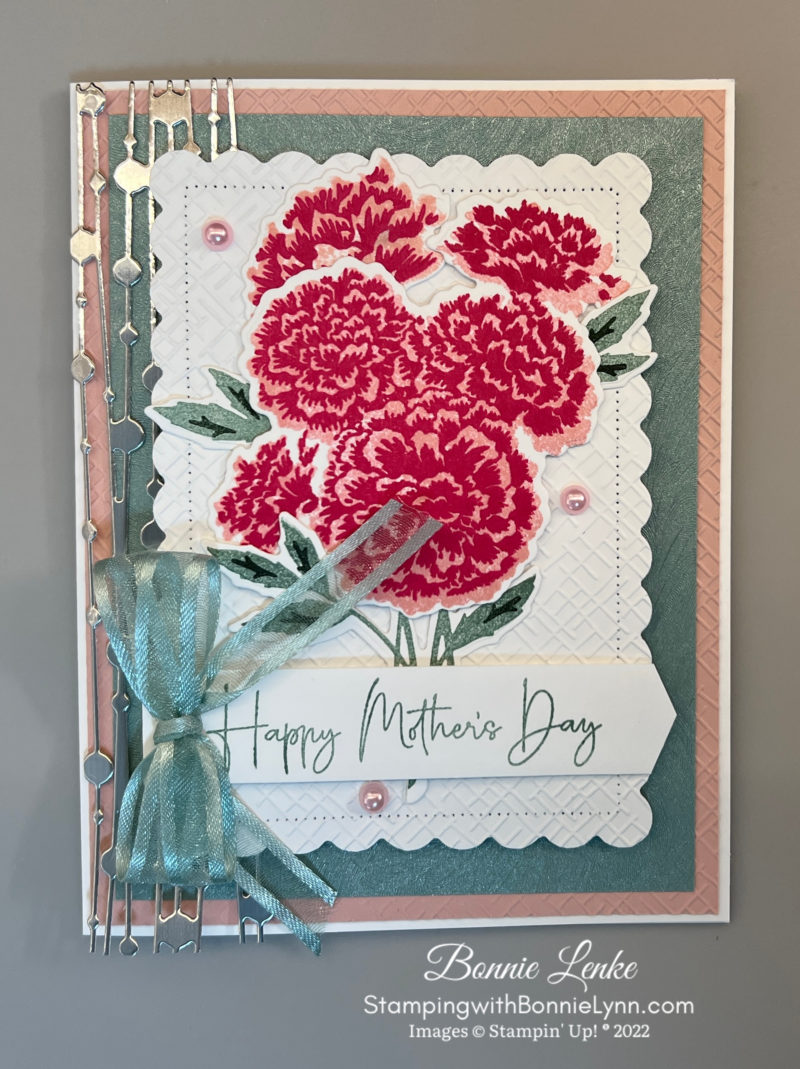
- Using the Basic 3D Embossing Folders with all the lines, emboss the 4-1/8” x 5-3/8” Blushing Bride and adhere to card base.
- Adhere the Soft Succulent Brushstroke Speciality Paper to the card front.
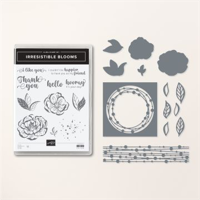
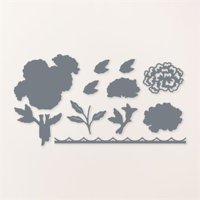
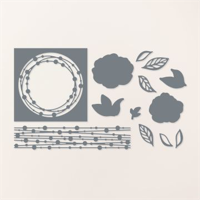
- On your Silver Foil, die cut with the Irresistible Blooms border/line die. Adhere to card front with Glue Dots or drops of Liquid Glue.
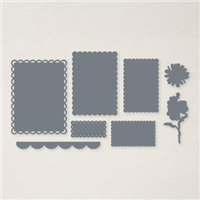
- Use the 2nd largest Scalloped Contour die and die cut the 3-1/2” x 4-3/4” Basic White Cardstock. Emboss with the same 3D Basic Embossing Folder. Adhere to card front with Dimensionals.
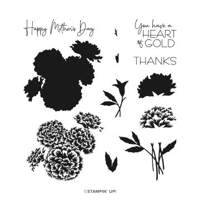
- Stamp the solid large Marigold stamp in Blushing Bride Ink onto White Cardstock. Use the detailed large Marigold stamp and stamp over the solid imagine in Melon Mambo Ink, lining up the imagines before stamping. Repeat these steps with the smaller Marigold flower. Cut out with coordinating Marigold Moments dies.
- Stamp the large leave in Soft Succulent Ink. Use the little stamp to stamp lines in the leaves with Evening Evergreen Ink. Stamp the little 2 leaf stamp in Soft Succulent Ink and stamp the little stamp inside each leaf for lines. Cut out with coordinating dies.
- To arrange the flowers and leaves, start by adhering the stem/leaf first. Then add the flowers to the card front with Seal just over the top of the stem. Add the smaller flower with seal. Use Glue dots to add the smaller leaves.
- Stamp the greeting in Soft Succulent Ink onto a piece of 3/4” x 3-1/2” White Cardstock. Punch the right side of greeting using the Banners Pick A Punch. Adhere to card front with Dimensionals.
- Tie a double bow out of the Soft Succulent Open Weave Ribbon and adhere to left side of greeting with a Glue Dot.
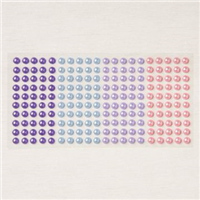
- Add Pastel Pearls to card front.
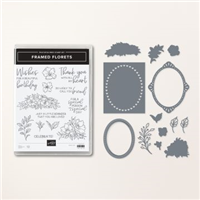
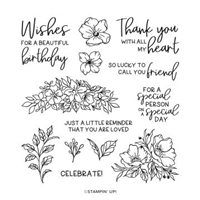
- For the inside adhere Blushing Bride Cardstock to inside. Stamp saying from Framed Florets in Soft Succulent Ink. Stamp the small Marigold flower as you did above. Stamp the smaller 3 leaf stamp next lining the leaves to fit the two lower white dents on the lower part of flower. Repeat the flower and leaf on the lower left hand corner of Envelope.

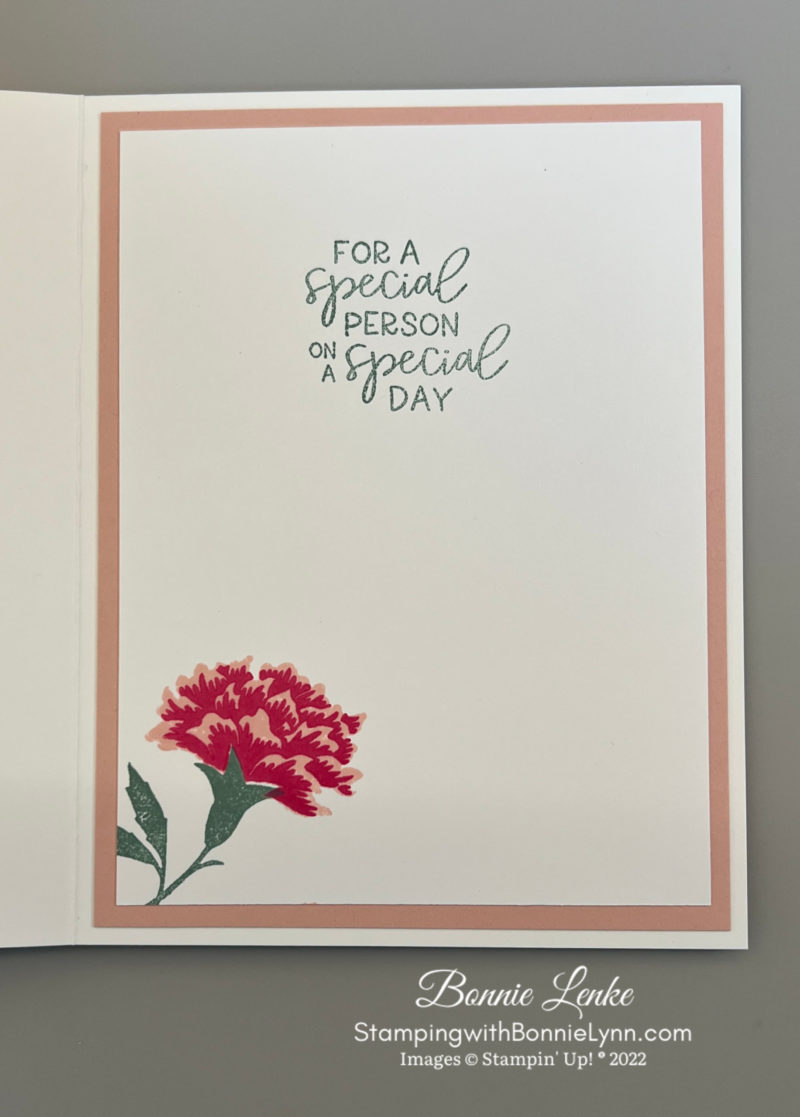
And now you have a beautiful card to brighten someone’s Mother’s Day. Happy Stamping!
PRINT MARIGOLD MOMENTS CARD DIRECTIONS
Card Recipe
Cardstock:
- Basic White Thick: 8-1/2” x 5-1/2”, scored at 4-1/4” (card base)
- Blushing Bride: 4-1/8” x 5-3/8” (card front), 4” x 5-1/4” (inside)
- Basic White: 3-1/2” x 4-3/4” (scalloped contours), 3/4” x 3-1/2” (greeting), 3-3/4” x 5” (inside)
- Silver Foil: 1-1/2” x 5-1/2”
- Brushstroke Speciality Paper: 3-3/4” x 5” (card front)
Supplies Used:
- Stamps: Marigold Moments, Framed Florets
- Dies/Punches: Marigold Moments, Irresistible Blooms, Scalloped Contours, Banners Pick A Punch
- Cardstock/Paper: Basic White Thick, Blushing Bride, Basic White, Silver Foil, Brushstroke Speciality Designer Paper
- Stampin Pads: Blushing Bride, Melon Mambo, Soft Succulent, Evening Evergreen
- Embellishments: Pastel Pearls
- Embossing Folder: Basic 3D Embossing Folder
- Ribbon: Soft Succulent Open Weave Ribbon
- Adhesives: Dimensionals, Glue Dots, Liquid Glue, Tear N Tape, Stampin Seal
- Tools: Paper Trimmer, Cut & Emboss Machine, Stamparatus, Clear Blocks, Take Your Pick, Bone Folder, Stampin Pierce Mat, Paper Snip Scissors