Decorated With Happiness & Whimsical Woodland Card

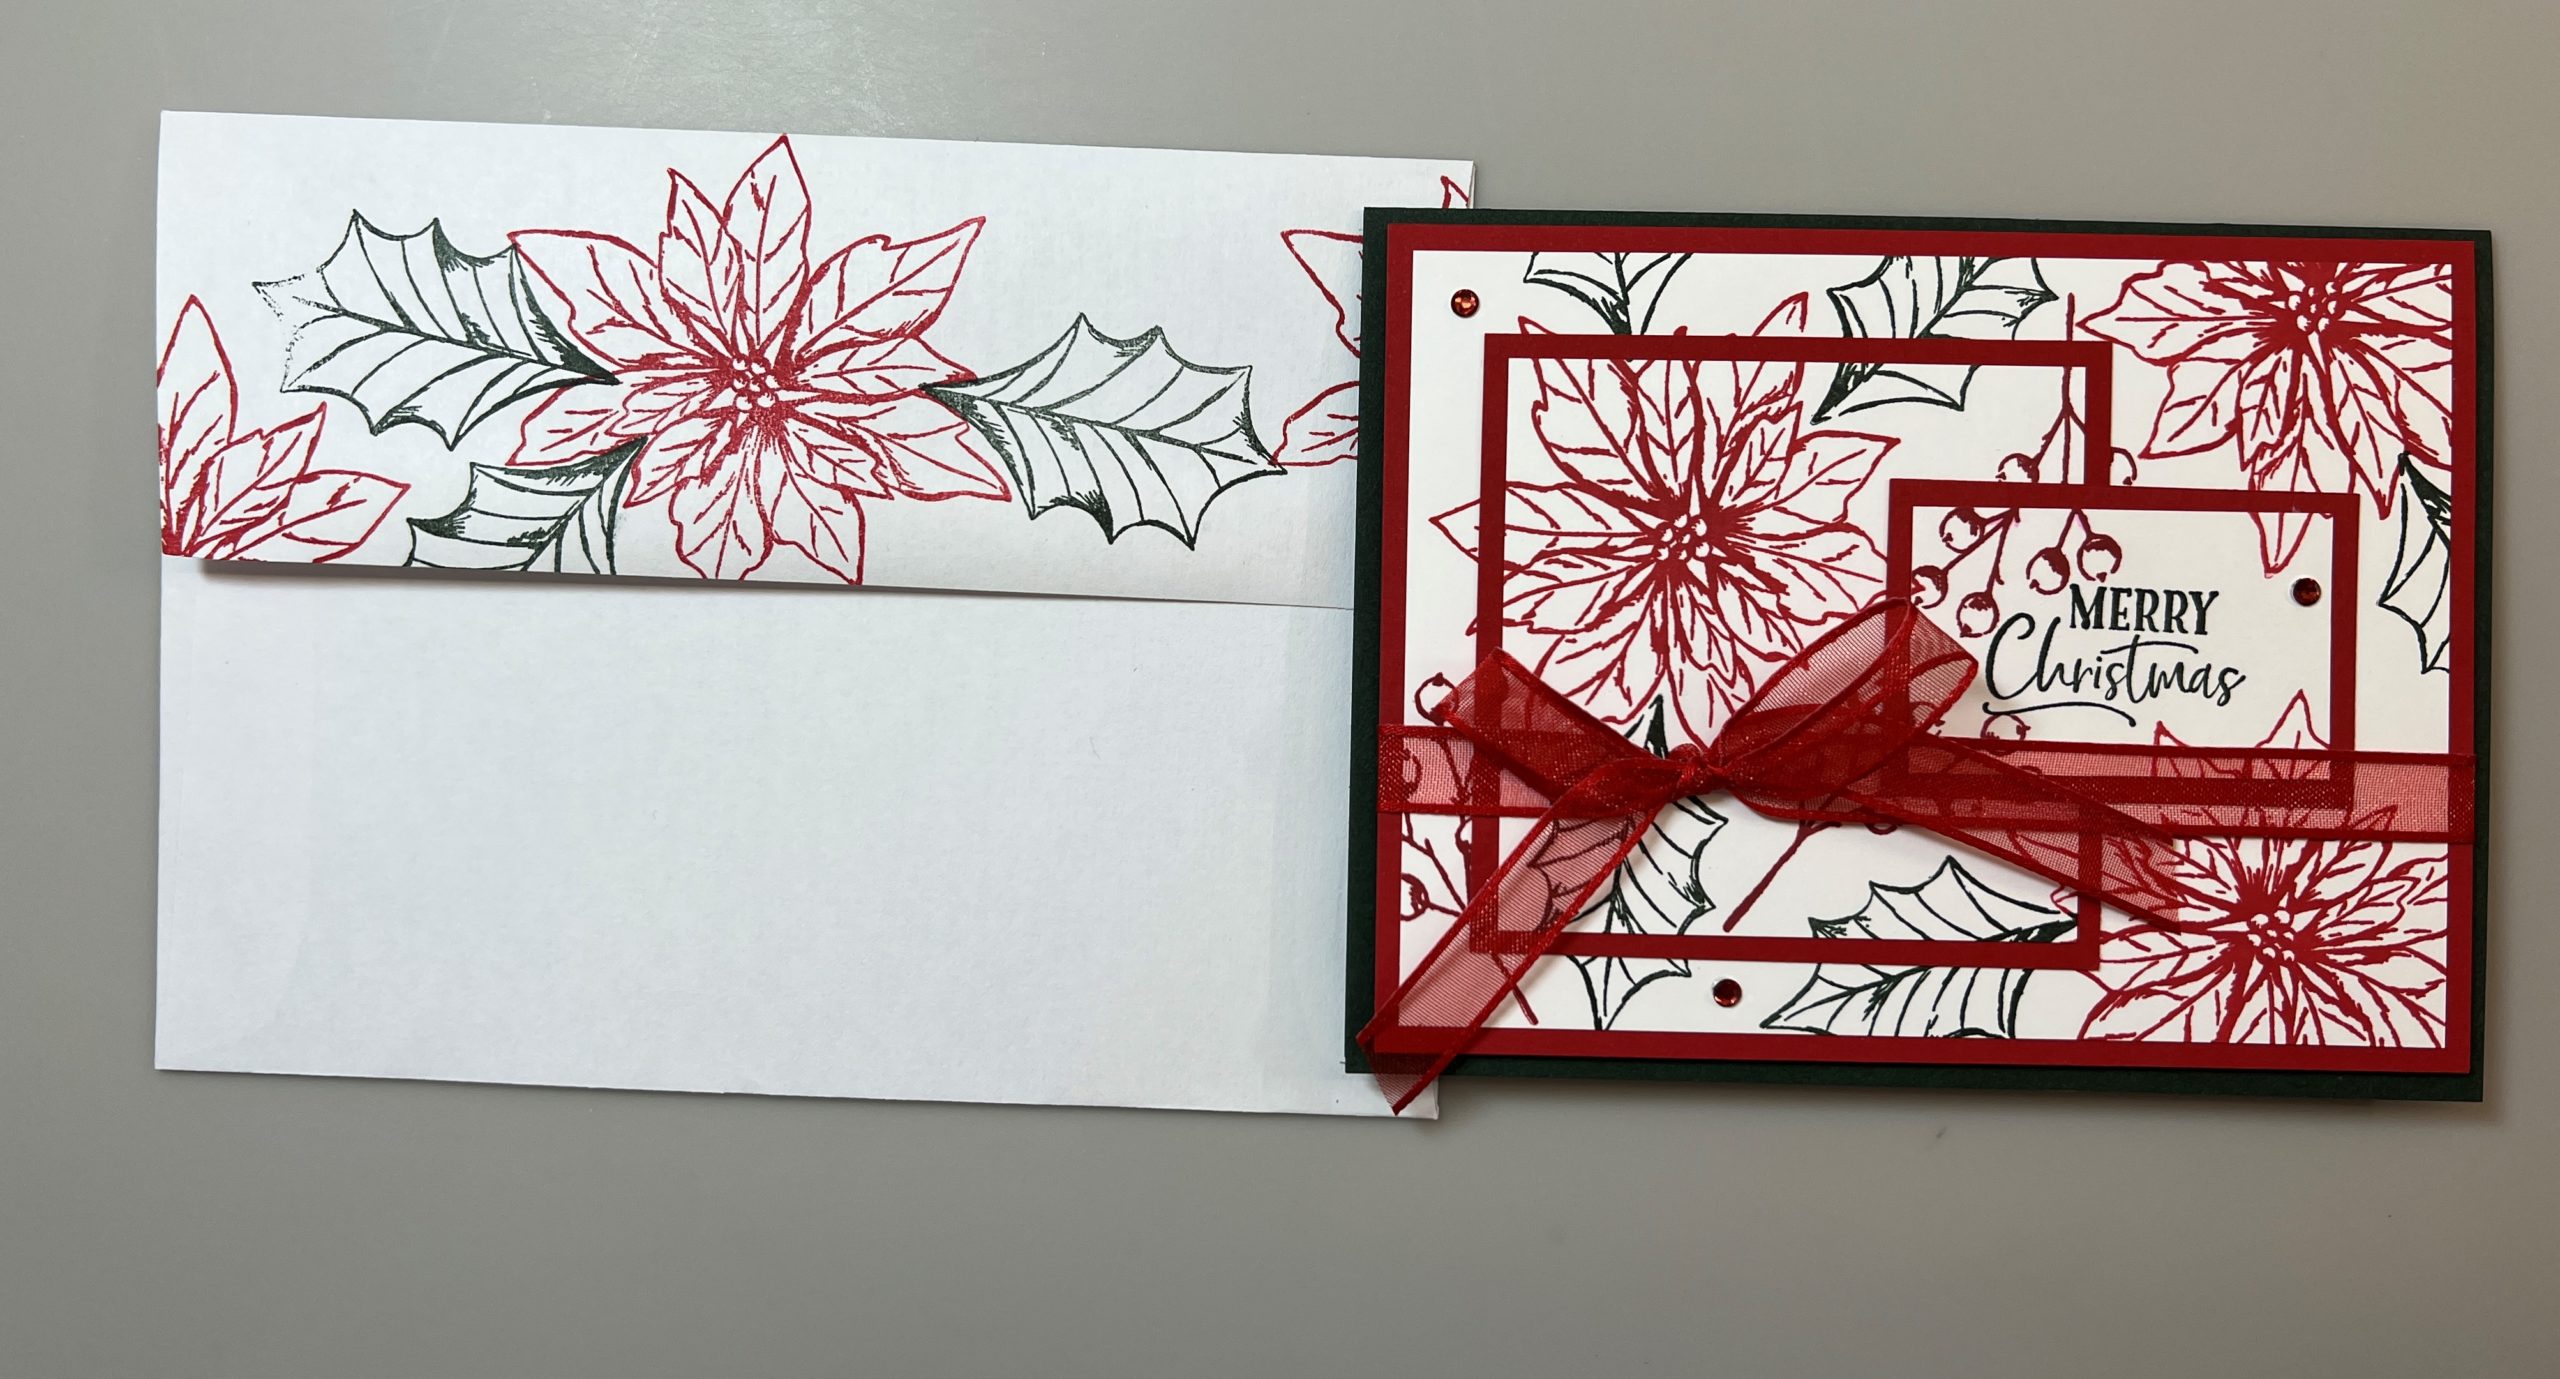
Stampin’ Up! Decorated With Happiness stamp set reminds me of Christmas ornaments from long ago. They were so cool looking and pretty when I was a little girl. I sure wish I had some of those now.
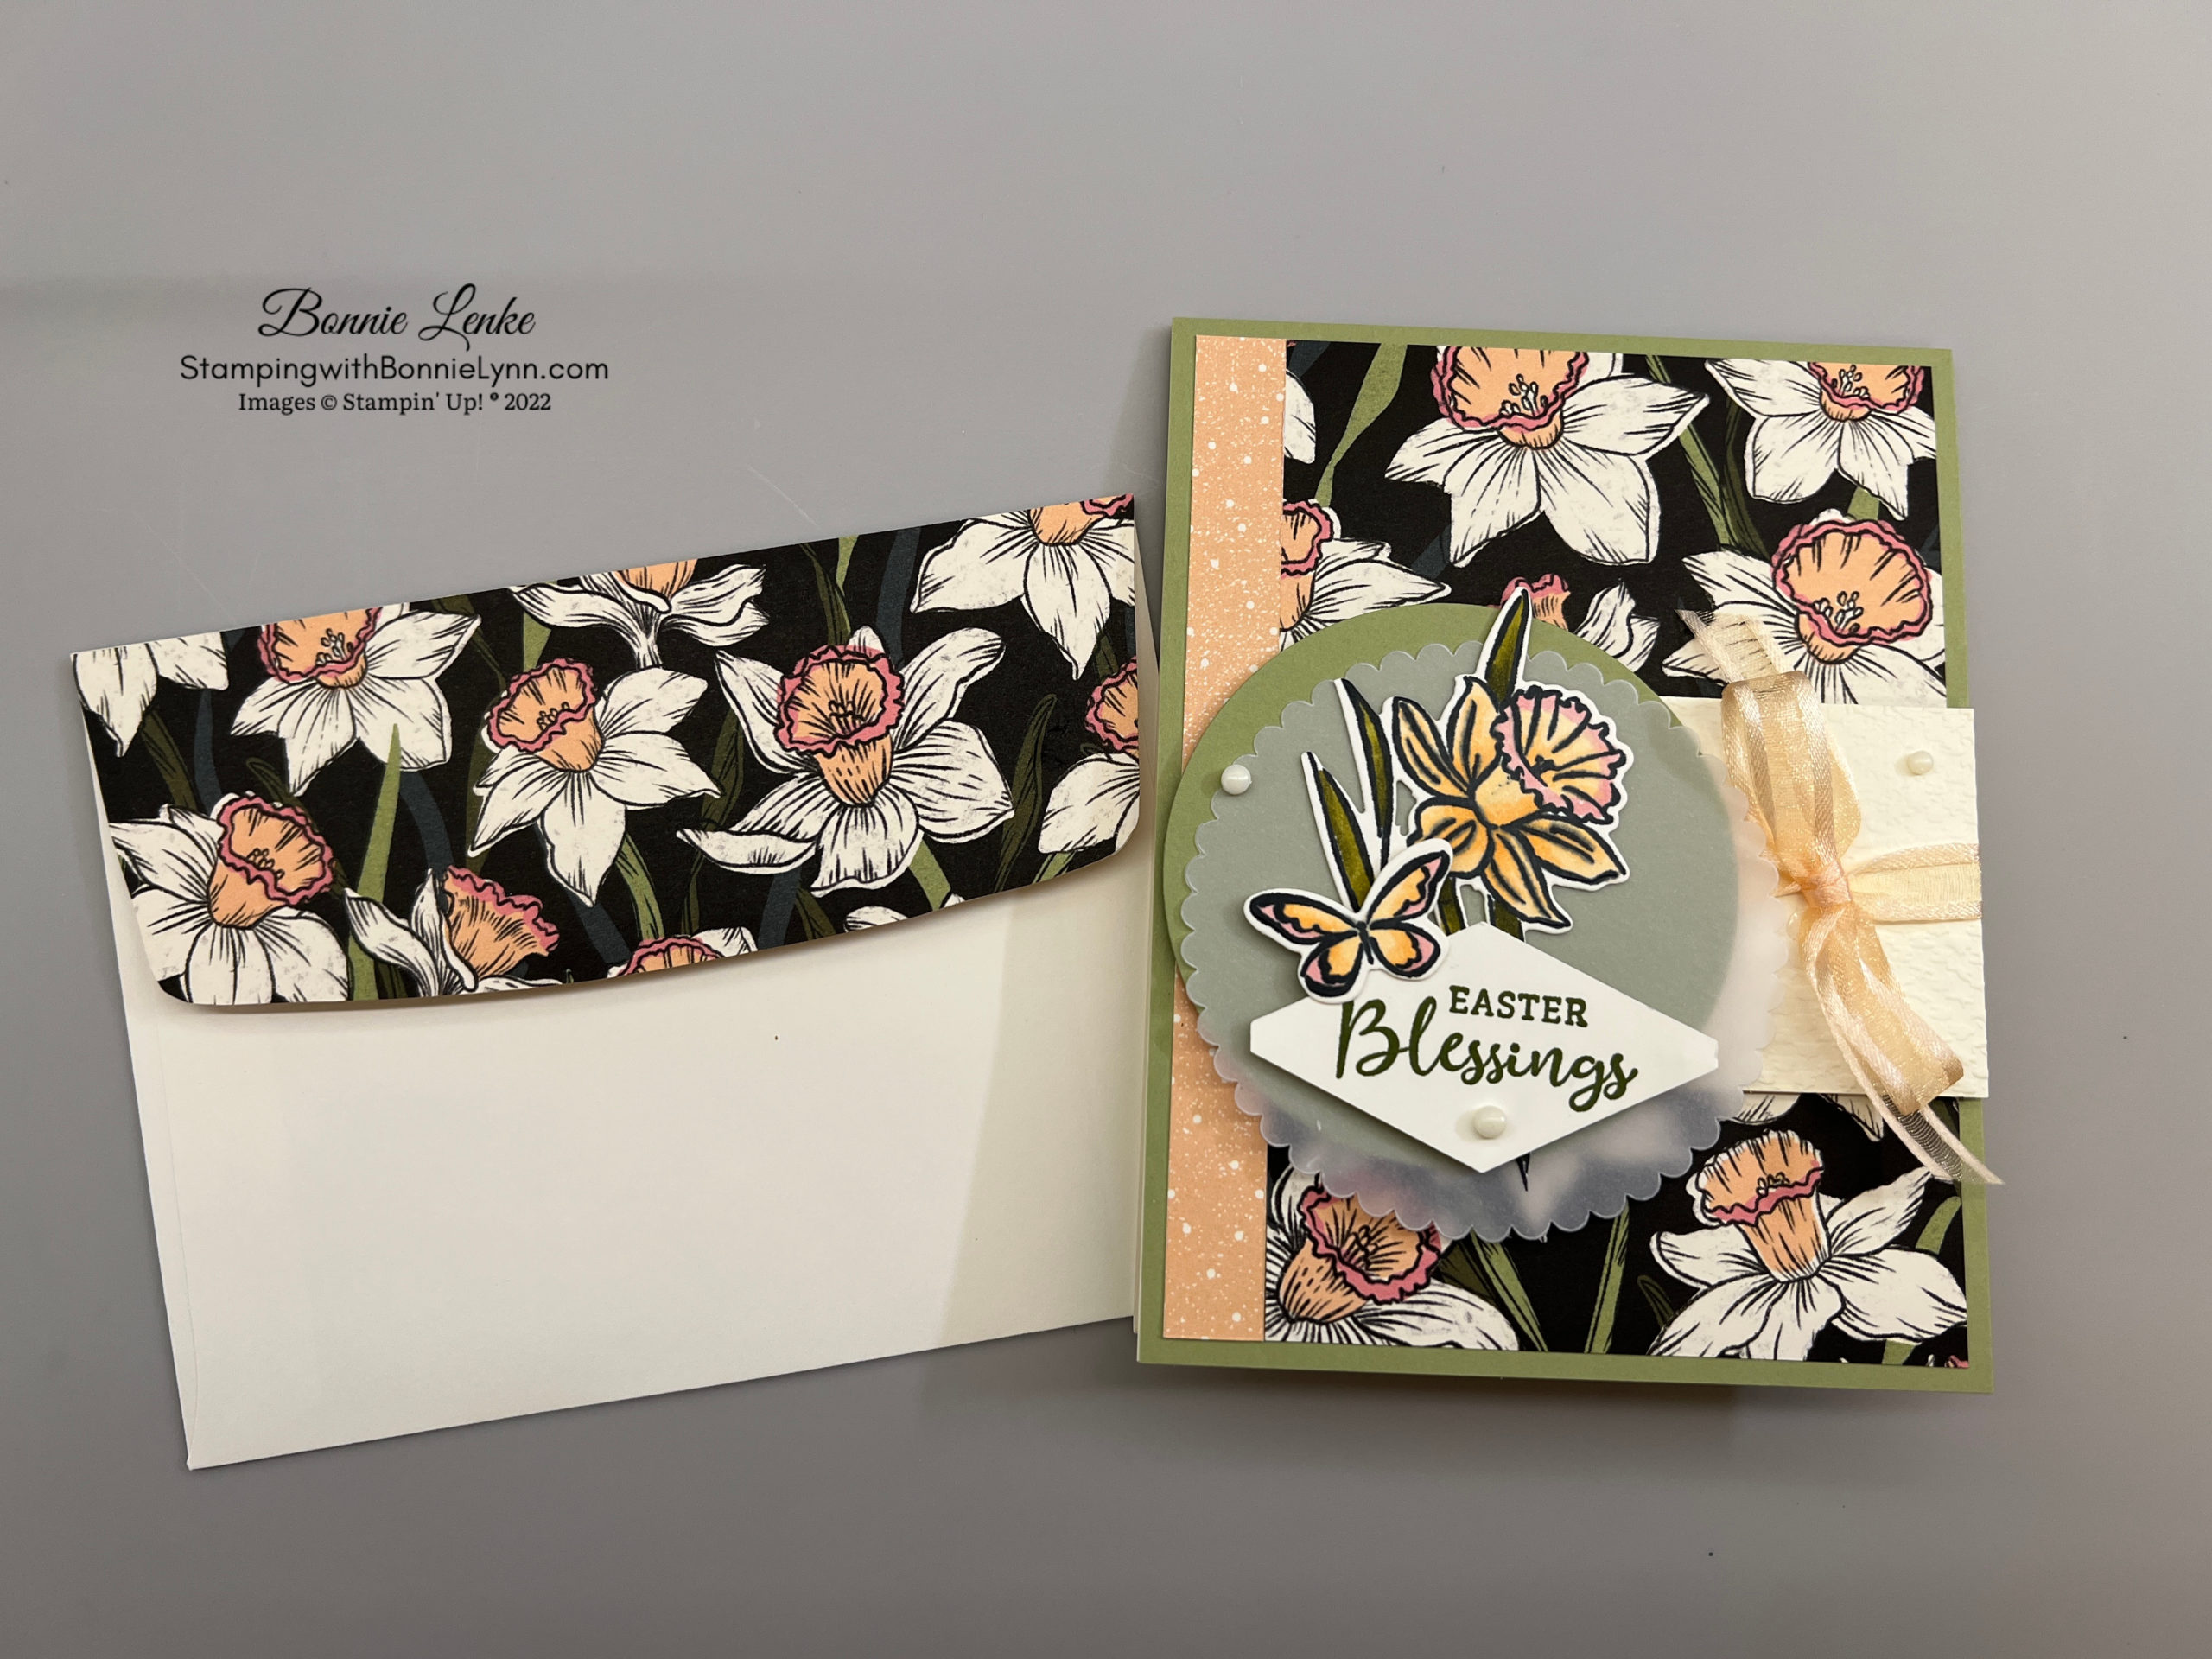
This card is made with a more whimsical look to it. I wish I could take the credit for it but Robin Cardon came up with most of it for a Demonstrator workshop I took from her. Who would have guessed that Polished Pink, Bermuda Bay and Granny Apple Green would work for Christmas.
I hope you enjoy this card as much as I enjoy sharing it with you.
Let’s Get Started
- Fold your Granny Apple Green Cardstock on the score line and burnish with Bone Folder. This is your card base.
- Adhere your Polished Pink strip to the card front in the middle of card going from side to side.
- Emboss your Silver Foil panel in the Whimsical Woodland 3D Embossing Folder. Adhere this to the Basic Black Panel. Adhere to card front.
- Stamp your three ornaments in Polish Pink, Bermuda Bay and Granny Apple Green Ink on the cardstock of the same color. Cut out with the coordinating Decorated Pine Dies. Adhere to card front with Dimensionals.
- Using the Christmas Banners stamp set stamp the curved Banner in Polished Pink Ink onto Basic White Cardstock, this works best with using the Stamparatus. Next lay the word stamps inside the stamped banner (they are photopolymer so you can curve them some.) Stamp them in Bermuda Bay Ink. Cut out with coordinating Christmas Banner Die. Adhere to card front with Dimensionals.
- Add Festive Pearls to each ornament and the Greeting on the curved banner.
- The card inside was made by stamping each of the three ornaments in Bermuda Bay, Polished Pink and Granny Apple Green Ink along the top of Basic White Cardstock. Stamp the saying, from Christmas to Remember stamp set, in Garden Green Ink between the ornaments.
- Finish the Envelope by stamping two of the ornaments in the bottom left corner in two different colors. Stamp the ornaments on the back envelope flap, one in each of the three colors with the long one in the middle (not shown).


And now you have a beautiful Christmas Card to brighten a special someone’s Christmas Season.
Happy Stamping!
Card Recipe
Cardstock:
- Granny Apple Green: 5-1/2” x 8’1/2” scored at 4-1/4” on the long side
- Polished Pink: 5-1/2” x 1-1/2”
- Basic Black: 5-1/8” x 3-7/8”
- Basic White: 3-3/4” x 1-3/4” (greeting/banner), 5-1/4” x 4” (card inside)
- Silver Foil 12” x 12”: 4-7/8” x 3-3/4”
Supplies Used:
- Stamps: Decorated with Happiness, Christmas Banners, Christmas to Remember
- Dies: Decorated Pine Dies, Christmas Banner Dies
- Cardstock/Paper: Granny Apple Green, Polished Pink, Bermuda Bay, Basic Black, Basic White, Silver Foil 12” x 12”
- Stampin Pads: Polished Pink, Bermuda Bay, Granny Apple Green, Garden Green
- Embossing Folder: Whimsical Woodland 3D Embossing Folder
- Embellishments: Festive Pearls
- Adhesives: Dimensionals, Liquid Glue, Tear N Tape, Stampin Seal
- Tools: Paper Trimmer, Cut & Emboss Machine, Stamparatus, Clear Blocks, Take Your Pick, Bone Folder, Stampin Pierce Mat
CURRENT HOST CODE: GEWMCSG2
Earn Reward Points quickly for a $25 Credit
When placing an order please use the current Host Code* and earn REWARD POINTS. Once you earn 10 reward points you will receive a $25 shopping credit from me. CLICK HERE for more details.
*NEWEST HOST CODE is always located on the right side of webpage midway down.