Beauty of Friendship Spring Card

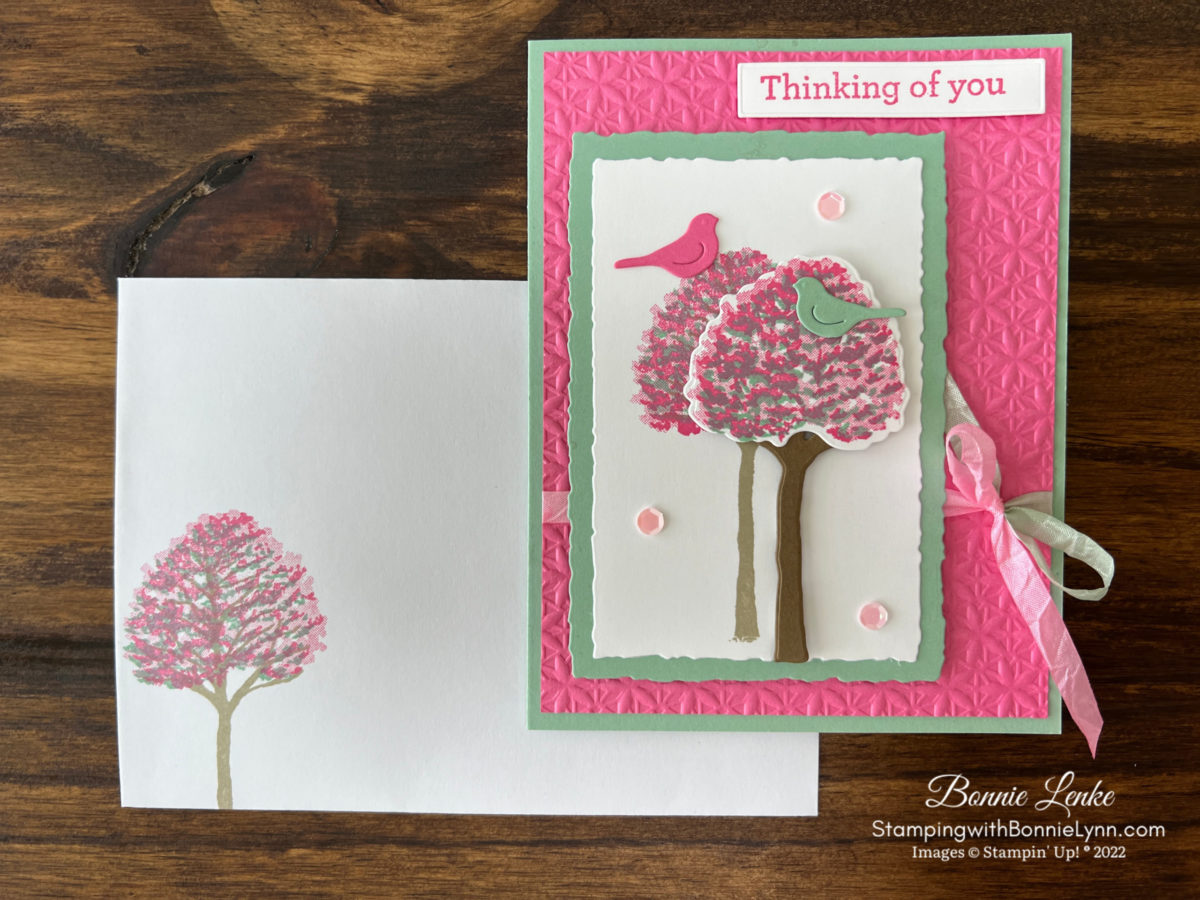
Today I’m sharing this Stampin’ Up! Beauty of Friendship Spring card with you. Today we reached up to 50 degrees and it put hopes of Spring in me before it snows again this weekend. This card is my version of a cherry blossom tree.
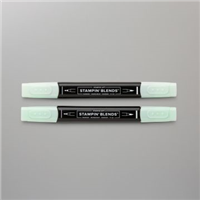
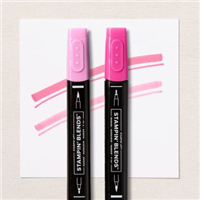
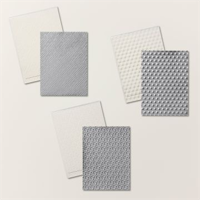
I used one of my two new favorite embossing folders, the pinwheel (at least that’s what I call it) from the Basic 3D online exclusives. These embossing folders are really nice. Since the right color of ribbon wasn’t anywhere in my studio I colored a white ribbon with both polished pink and mint macaron Stampin Blends.
I hope you enjoyed this version of Spring card as much as I enjoyed making and sharing it with you.
Let’s Get Started
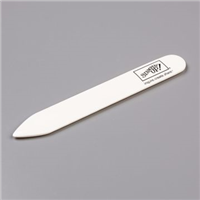
- Fold Mint Macaron card base in half on the score line and burnish with Bone Folder.
- Embossing the Polished Pink Cardstock with the Basic 3D (pinwheel) Embossing Folder.
- Color the White Crinkled Seam Binding Ribbon, 1/2 with the dark Mint Macaron Stampin Blend and 1/2 with the light Polished Pink Blend. Wrap around the Polished Pink embossed cardstock and tie a bow on the right side. Adhere to card base.
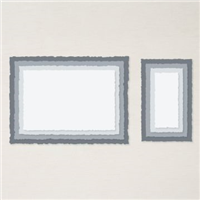
- Die cut the Mint Macaron panel with the 3rd largest Deckled Rectangle and the Basic White panel with the 4th largest die.
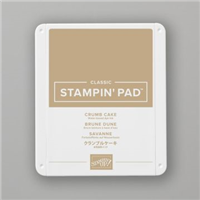
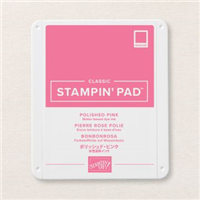
- Stamp the tree trunk from Beauty of Friendship in Crumb Cake Ink on Basic White Cardstock from step 3 (you might want to stamp a little closer to left than the card shows). Stamp the less fuller leaf/tree canopy in Mint Macaron Ink and the fuller leaf/tree canopy in Polished Pink Ink.
- On the 2” x 2” White Cardstock stamp both tree canopies as you did in the step above. Cut out with the coordinating Beautiful Tree die.
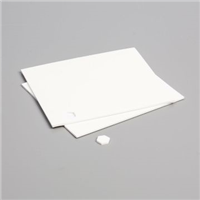
- Cut the tree trunk out of Soft Suede Cardstock. Use Dimensions to adhere to right side of stamped tree. Add the die cut leaf canopy with Seal over the tree trunk.
- With the bird die cut a set out of each Mint Macaron and Pink Polished Cardstock. Adhere one of each color to the trees with Glue Dots.
- Stamp the greeting in Polished Pink on White Cardstock. Cut out with the coordinating Beautiful Tree die. Adhere to upper right card front.
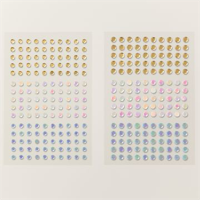
- Add 3 gems from the Pastel Adhesives Backed Sequins to card front around the trees.
- For the inside stamp the tree trunk and leaf canopy to the bottom left corner as you did for the card front. Adhere to Polished Pink layer and then adhere to inside card. Add the birds you cut out in step 8 to the trees. Stamp a saying in Mint Macaron.
- Finish the lower left corner of Envelope with the tree as you did above.
And now you have a beautiful card to brighten someone’s day. Happy Stamping!
Card Recipe
Cardstock:
- Mint Macaron: 8-1/2” x 5-1/2”, scored at 4-1/4” (card base), 3-1/4” x 4-3/4” (layer card front)
- Polished Pink: 4” x 5-1/4” (card front), 4” x 5-1/4” (inside)
- Basic White: 2-3/4” x 4-1/4” (card front), 3-3/4” x 5” (inside), 2-3/4” x 3/4” (greeting), 2” x 2” (tree canopy)
Supplies Used:
- Stamps: Beauty of Friendship, Nested Friends
- Dies: Beautiful Trees, Deckled Rectangle Dies
- Cardstock/Paper: Mint Macaron, Polished Pink, Basic White
- Stampin Pads: Crumb Cake, Mint Macaron, Polished Pink
- Stampin Blends: Mint Macaron, Pink Polished
- Embellishments/Ribbon: Pastel Adhesive-Backed Sequins, White 1/4” Crinkled Seam Binding Ribbon
- Embossing Folder: Basic 3D Embossing Folders (Pinwheel)
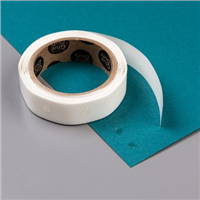
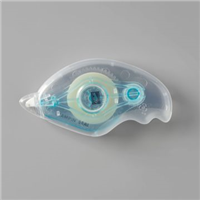
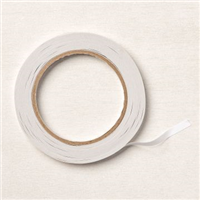
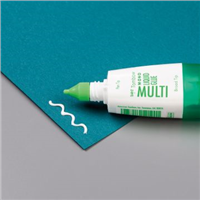
- Adhesives: Dimensionals, Glue Dots, Liquid Glue, Tear N Tape, Stampin Seal
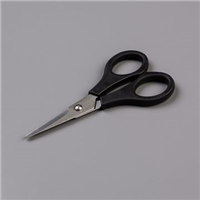
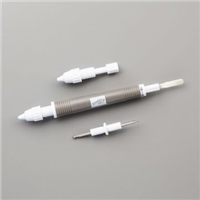
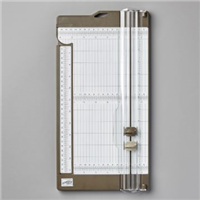
- Tools: Paper Trimmer, Cut & Emboss Machine, Clear Blocks, Take Your Pick, Bone Folder, Stampin Pierce Mat, Paper Snip Scissors
April’s Paper Pumpkin Kit – All The Little Things

Good things take time, but you can start creating them now with the All the Little Things Paper Pumpkin kit! This kit includes nine cards, three each of three designs, with elegant designs and bright colors. The iridescent foil is the shining detail to bring your crafts together. You can make a card for anyone and for any occasion!
And don’t wait, because anyone who subscribes to this month’s kit will get a FREE box organizer! This organizer fits perfectly inside your Paper Pumpkin box and is great for keeping your supplies from past kits organized, so you know right where everything is!
FOR MORE DETAILS CLICK HERE
Earn Reward Points quickly for a $25 Credit
When placing an order please use the current Host Code* and earn REWARD POINTS. Once you earn 10 reward points you will receive a $25 shopping credit from me. CLICK HERE for more details.
*NEWEST HOST CODE is always located on the right side of webpage midway down.


