HAPPY NEW YEAR!
Wishing you all a Happy and Healthy New Year filled with God’s Peace and Love. Thank you to everyone who has helped make 2022 such a wonderful year for me and for supporting my business. I appreciate all of you and only with you the best in 2023. I hope you keep following me and making cards in the New Year. And don’t forget to share your cards with family, friends, co-workers and strangers. You never know whose life you might change with just one card. Blessings and Hugs!
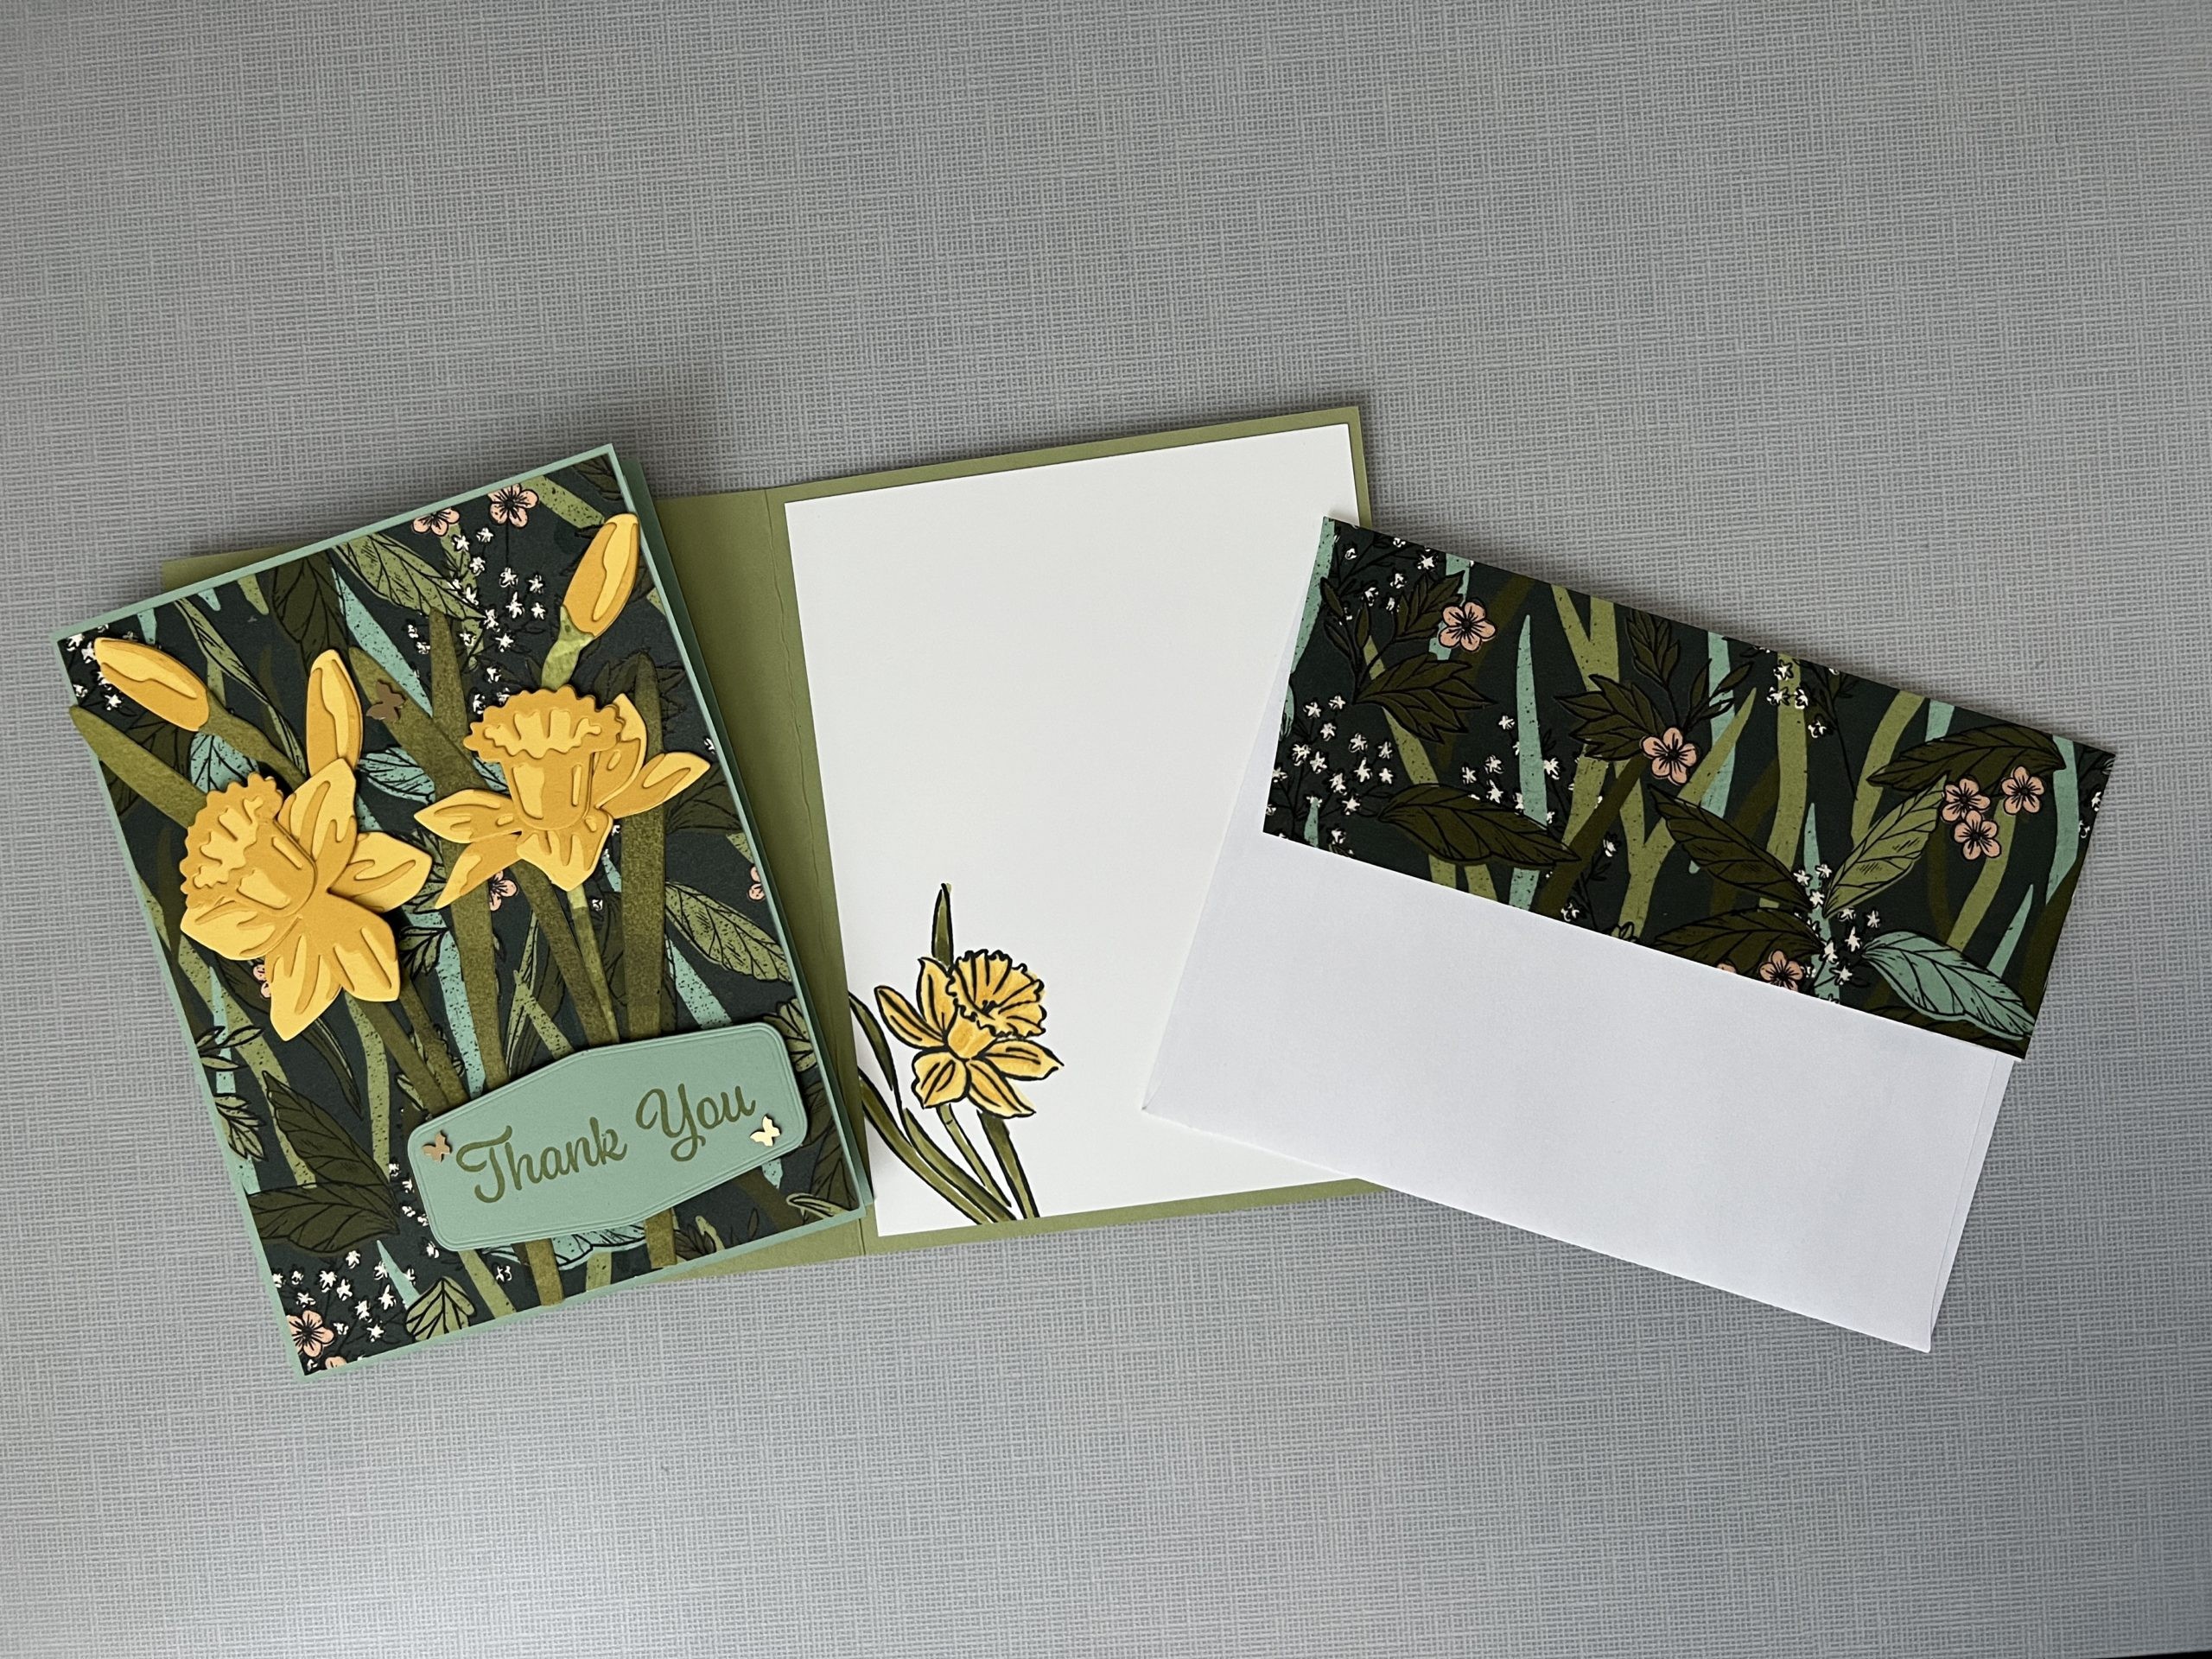
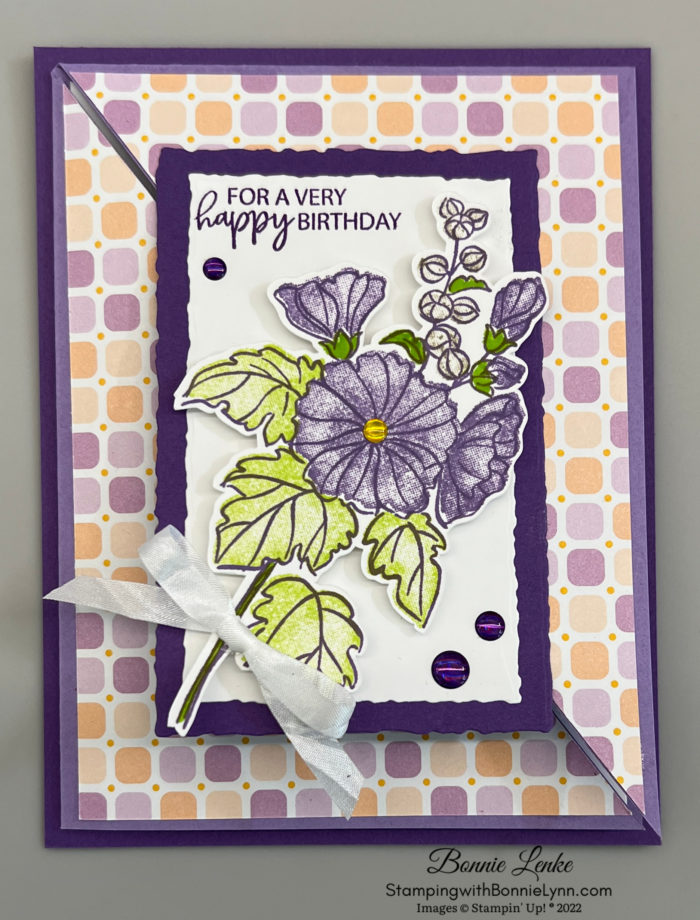
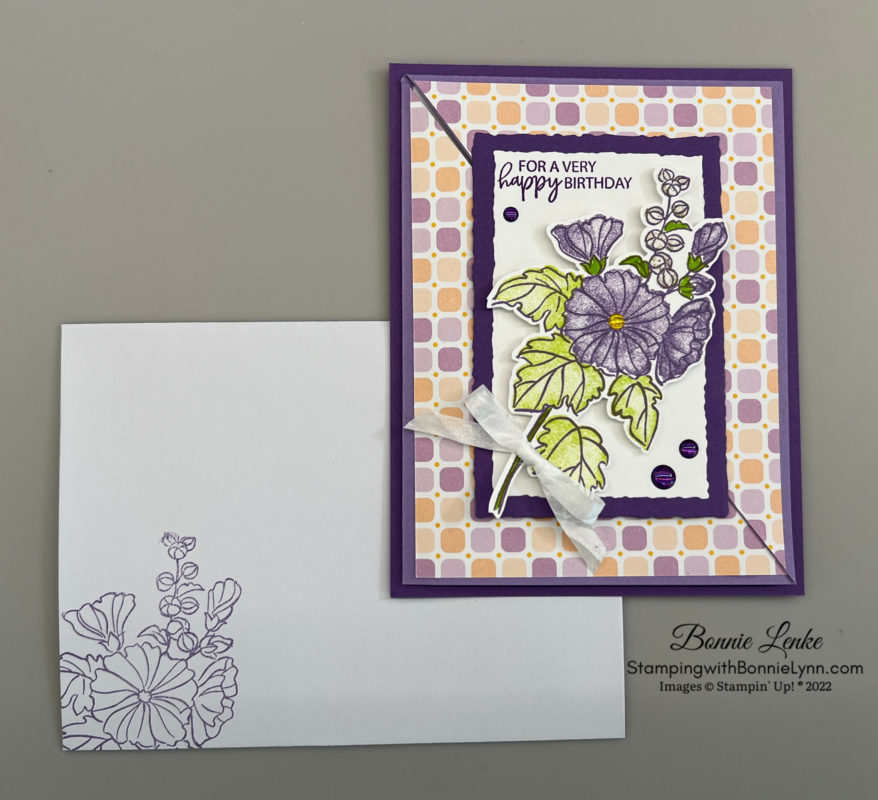
Beautifully Happy Fun Fold Card

Only 3 more days till you can chose to select the Stampin’ Up! Beautifully Happy stamp set free during Sale A-bration with a qualifying order. Sale A-bration is always an exciting time to stock up on your stamping supplies. There are so many cool items to from with a $50 plus merchandise order.
As I explained in the video, I had learned to make a version of this card a number of years ago and that is what I started to make for this card. The card turned out nice but I decided it needed an update. I had learned to make a card where you do the fun fold then adhere it to a 5-1/2” x 4-1/4” piece of cardstock in a different color. That is what I did here.
I did make a video to share with you showing how to make this card as the instructions were hard to write. I suggest making a sample of the cut and fold out of copy first to make sure you have it down. I’ll post my original card, done in Blushing Bride Cardstock and the Cottage Gingham, down at the end of the directions. I hope you like this card as much as I enjoyed making it.
Let’s Get Started
Trim your piece of Highland Heather Cardstock to 8” x 10-1/2”. Score at 4” on the short side and 5-1/4” on the long side (you’re scoring the paper at the in the middle both ways). Turn your paper on the diagonal with the opposite corners lining up in the Paper Trimmer cutting ditch and cut into 2 pieces. (This is a tight fit so you might need to cut one half and then turn around to finish cutting it.) I’ll refer to this piece as the fun fold cardstock.
Cut you Dandy Designs designer series paper on the diagonal making sure you cut it at the same angle as your fun fold cardstock. Using liquid glue adhere both pieces to the corresponding fun fold halves. Line up the long edge of the DSP with the long edge of the fun fold cardstock.
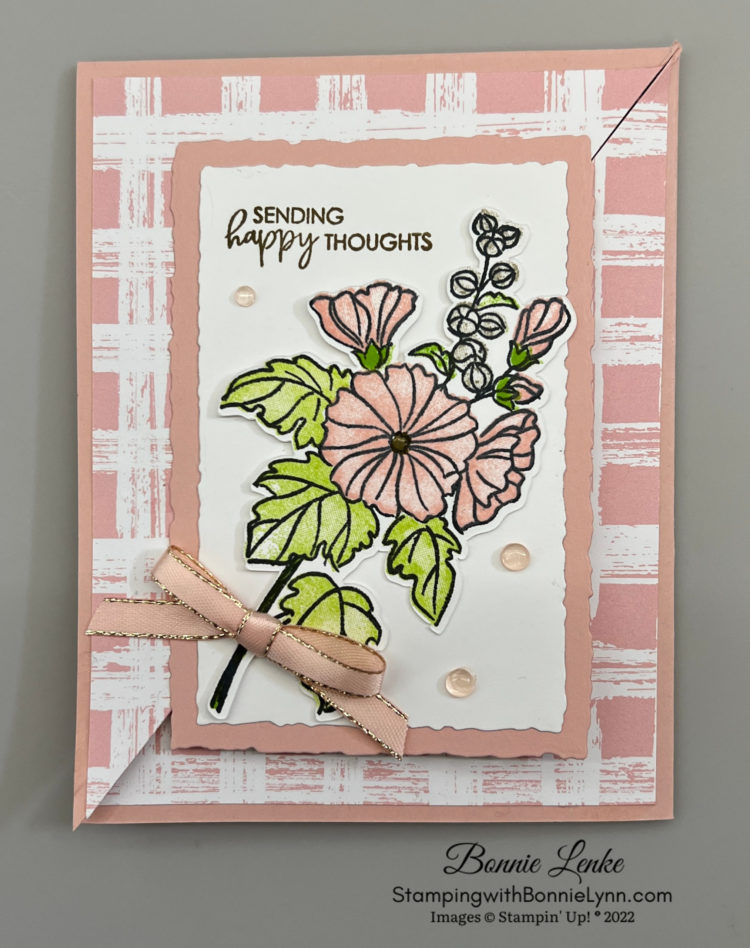
Stamp the large flower from the Beautifully Happy stamp set in Highland Heather Ink. Using the flower solid imagine stamp it in Highland Heather Ink to fill in flower colors. Next stamp the leaves in Parakeet Party Ink to fill in the leaves. I had just re-inked my pads the day before doing the video and wished I hadn’t. I liked the Highland Heather being a little lighter and of course I didn’t test it before filming.
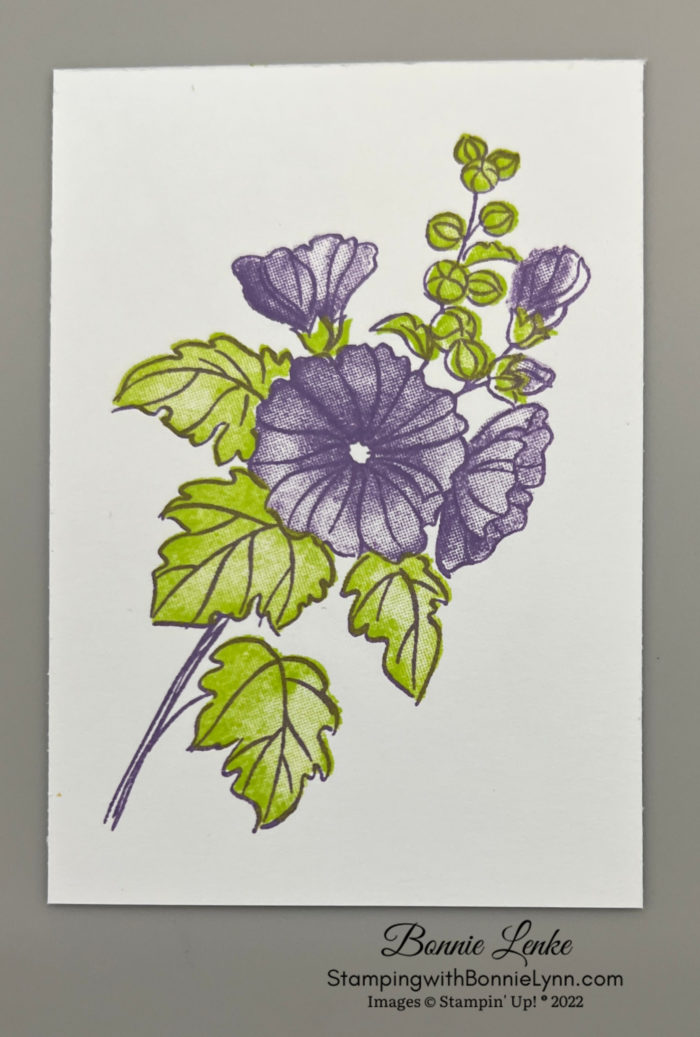
For the cotton (round ball) stem I used my Crumb Cake Maker and colored that part of the stamp and stamped on the image. For the leaves I used the same stamp and colored the 2 leaves in with the Parakeet Party Marker. I then colored the sepal, bottom of flower above the stem, with the Parakeet Party Marker or you could color those parts on the stamp and stamp it for a consistent look. Fussy cut out the flower. Note: When I was making the video for this card it dawned on me that those “round balls” may actually be flower buds and should be green. I stamped an imagine with those Parakeet Party and posted it below. I personally like the original way I did it. Which do you like?
Using the Deckled Rectangle Dies the 4th largest, cut out your Gorgeous Grape panel. With the 5 largest cut your White 2-1/2” x 4” panel. Stamp your greeting on the White panel in Gorgeous Grape Ink. Adhere to Gorgeous Grape panel. Attached this to the part of the fun fold that is connect to top of card with Liquid Glue.
Attach flower to card front with Glue Dots, Dimensionals or Seal. Note: I used each method on different cards and think I like the Glue Dots best.
Add a White Seam Binding Ribbon Bow to flower stem. Add 3 Gorgeous Grape Embellishments to card front using the Glossy Dot Assortment.
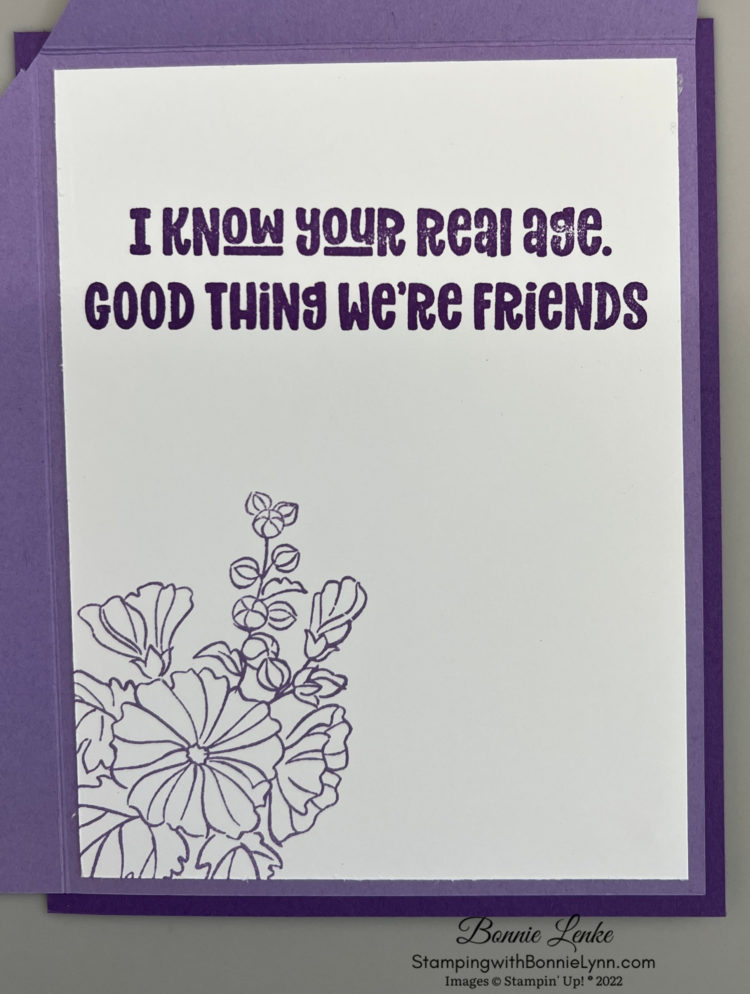
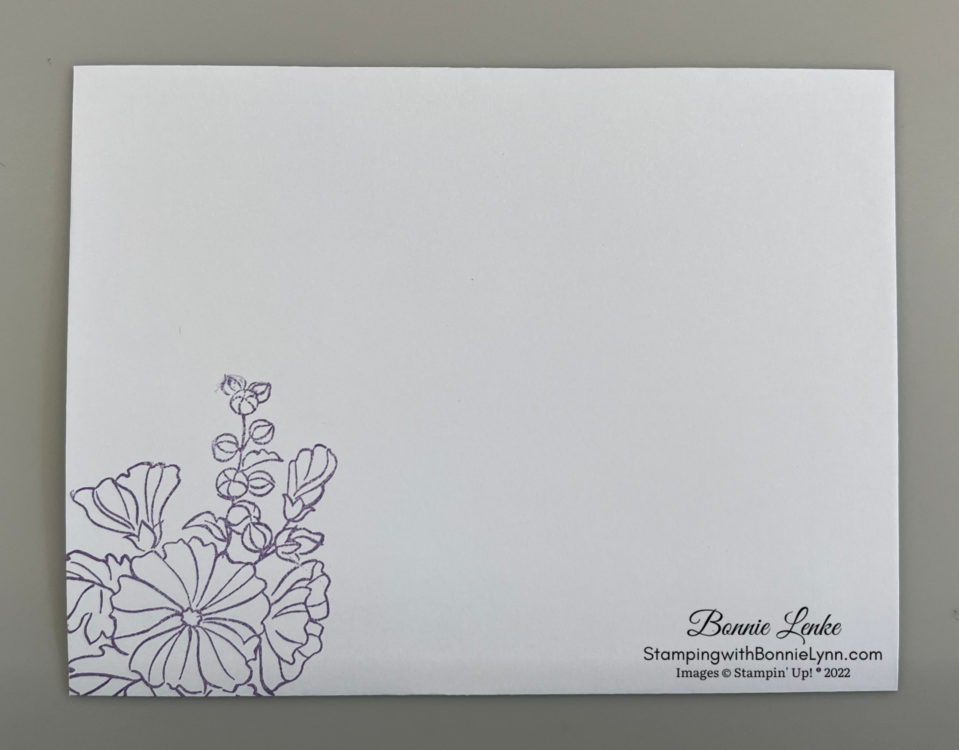
For the inside of card stamp the saying in Gorgeous Grape Ink using the Occasionally Funny stamp set. Ink the flower image in Highland Heather Ink and stamp lower left corner. Stamp the lower left corner of the envelope with the flower in Highland Heather Ink.
And now you have a beautiful card to brighten someone’s day.
Happy Stamping!
Card Recipe
Cardstock:
- Gorgeous Grape: 4-1/4” x 5-1/2” card base, 3” x 4-1/4” card front panel
- Highland Heather: 8” x 10-1/2” scored at 4” on the 8” side and 5-1/4” on the 10-1/2” side
- Basic White: 2-1/2” x 4” card front, 3-3/4” x 5” or scrap to stamp flower on, 3-3/4’ x 5” inside
- Dandy Designs Designer Series Paper: 3-3/4” x 5”
Supplies Used:
- Stamps: Beautifully Happy, Occasionally Funny
- Dies: Deckled Rectangles
- Cardstock/Paper: Gorgeous Grape, Highland Heather, Basic White, Dandy Designs DSP
- Stampin Pads: Highland Heather, Gorgeous Grape, Parakeet Party
- Stampin’ Markers: Parakeet Party, Crumb Cake
- Embellishments: Glossy Dot Assortment
- Ribbon: White Seam Binding
- Adhesives: Glue Dots, Dimensionals, Liquid Glue, Tear N Tape, Stampin Seal
- Tools: Paper Trimmer, Cut & Emboss Machine, Stamparatus, Clear Blocks, Take Your Pick, Bone Folder, Stampin Pierce Mat, Paper Snip Scissors
Earn Reward Points quickly for a $25 Credit
When placing an order please use the current Host Code* and earn REWARD POINTS. Once you earn 10 reward points you will receive a $25 shopping credit from me. CLICK HERE for more details.
*NEWEST HOST CODE is always located on the right side of webpage midway down.
Key to My Heart January’s Paper Pumpkin Kit

Seal your love this season with the Key to My Heart Paper Pumpkin Kit! This month’s kit represents the tradition of locking a padlock on a bridge to symbolize unbreakable love. It comes with everything you need to make 9 darling love-themed cards—3 each of 3 designs. So, no matter who your dance partner or dinner date is, you can make something heartfelt for them this season.
Plus, this month there is a special add-on! The add-on is a heart-shaped treat box. These Heart Boxes are easy to put together and will take your crafting even further. Add-ons are live during the subscription period, but are only available while supplies. Act quick, and don’t miss out on these Heart Boxes filled with love! ORDER PREPAID KITS HERE
CLICK TO CONTINUE READING