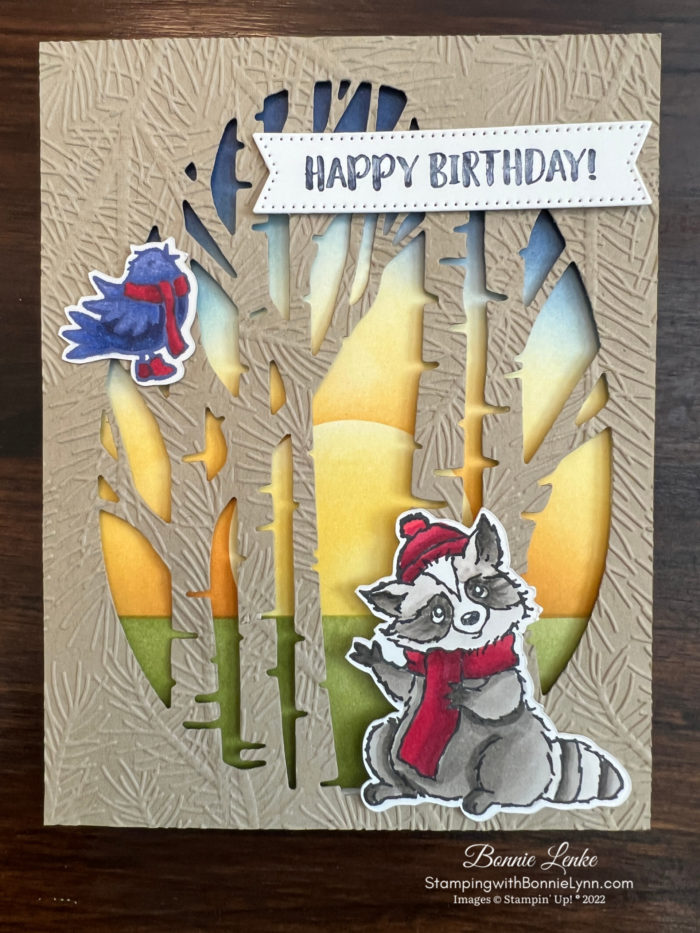
All Bundled Up Birthday Card

Today I’m sharing an All Bundled Up Birthday Card. This one I made for my husband’s upcoming birthday, hopefully he doesn’t check the blog to see what I’m posting. He loves cards with that has animals on them, therefore the raccoon and bird. Warning, the instructions are long only because of explaining what I used for the coloring and blending. Remember though it’s your card and make it using your favorite methods of coloring. A Designer Series Paper would also work for the background if you don’t have the time or desire to do the blending.
I used the Blending Brushes for creating the background. If you haven’t purchased the Blending Brushes yet I highly recommend you purchase them. It is so much fun and relaxing to create a background. I label my brushes for color families, ie: green, blue, yellow, red, orange and brown. The brushes are washable with water and Dawn liquid soap (Dawn just works great on inks). Make sure you rinse them good and let air dry.
The only time I wash my brushes is if I use the wrong color on a brush and can’t get it out rubbing it on scratch paper. Only a couple of my personal brushes have been washed.
I hope you enjoy this card as much as I enjoyed making it. One of these days I’ll actually make a Christmas card with this set.
Let’s Get Started
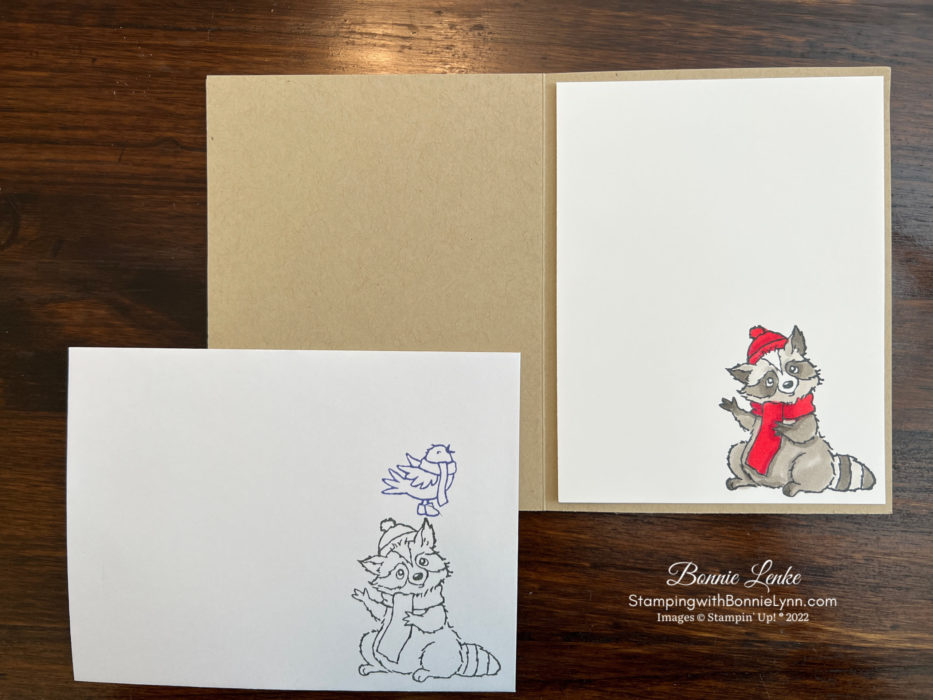
- Let’s start with coloring the animals with your favorite coloring tools. I stamped the raccoon with Black Memento Ink on White Cardstock and the bird in Paris Duck Memento Ink (non Stampin’ Up!). For the bird use the Starry Sky Stampin Blends and Topics R37, R35. For the raccoon I used Copic Markers W0, W1, W3, W5, W7, R39, R37, R35. The Stampin’ Blend colors would be Cherry Cobbler & Real Red for the “R”. For the Topic “W” use Gray Granite and maybe the light Crumb Cake on the face or just leave the light areas of face white. You can also use Smoky Slate for the darker areas of the tail and body.
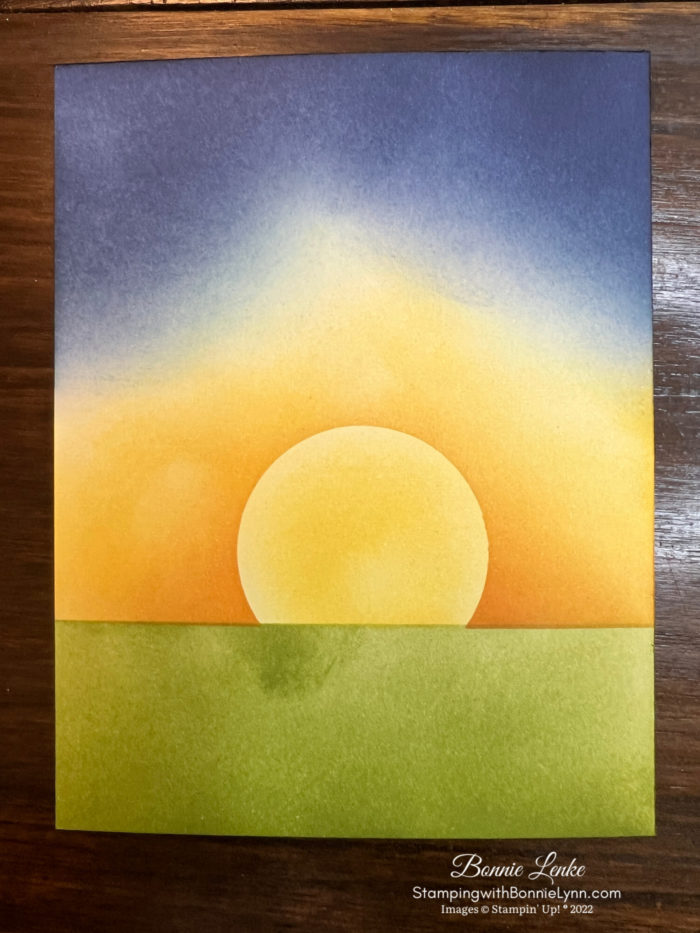
- Next make the blended background. I used a Circle Punch, either the 1” or the 1-1/4” punch to punch out a piece of masking paper. I put this mask where I wanted my sun at then I took a posted note and put across to cover the sky where it meets the grass. Using Mossy Meadow Ink I did the grass/ground area making sure there was dark and light areas.
- Move your post it note to cover the grass (leave not more than 1/8” of top of grass showing so you can get the sky to come right to it’s edge). The sun mask is still in place at this point. Start with Pumpkin Pie Ink then use Daffodil Delight. Next I used Balmy Blue making sure to keep clear of the Daffodil Delight. Finish with Night of Navy making it darker the higher you are. I just now realized I forgot to use a white gel pen to add some stars to the sky. Don’t forget to do that.
- Fold your Crumb Cake Card Base in half on the score line and burnish with Bone Folder.
- Adhere your Blended Background to your Crumb Cake Card Front.
- Using the Aspen Trees Die, cut your Crumb Cake Panel. Next emboss with Pine branches embossing folder from the Wintry 3D set. This is a 3” wide folder so you’ll have to fun it through the machine twice. Remember to have the Logo side of embossing folder on the top each time. Adhere to Card Front using 1/4” Foam Tape (non Stampin’ Up! item) and Dimensional’s.
- Fussy cut your Raccoon and Bird out and adhere to Card Front with Glue Dots.
- Stamp “Happy Birthday” onto White Cardstock using Night of Navy Ink. I used a stamp from Glad We’re Friends Stamp Set. I colored the “Happy Birthday” part of the stamp with a Night of Navy Marker then breathed on it to keep it moist, then stamped. Cut out using the Stylish Shaped Dies. Adhere to Card Front with Dimensional’s.
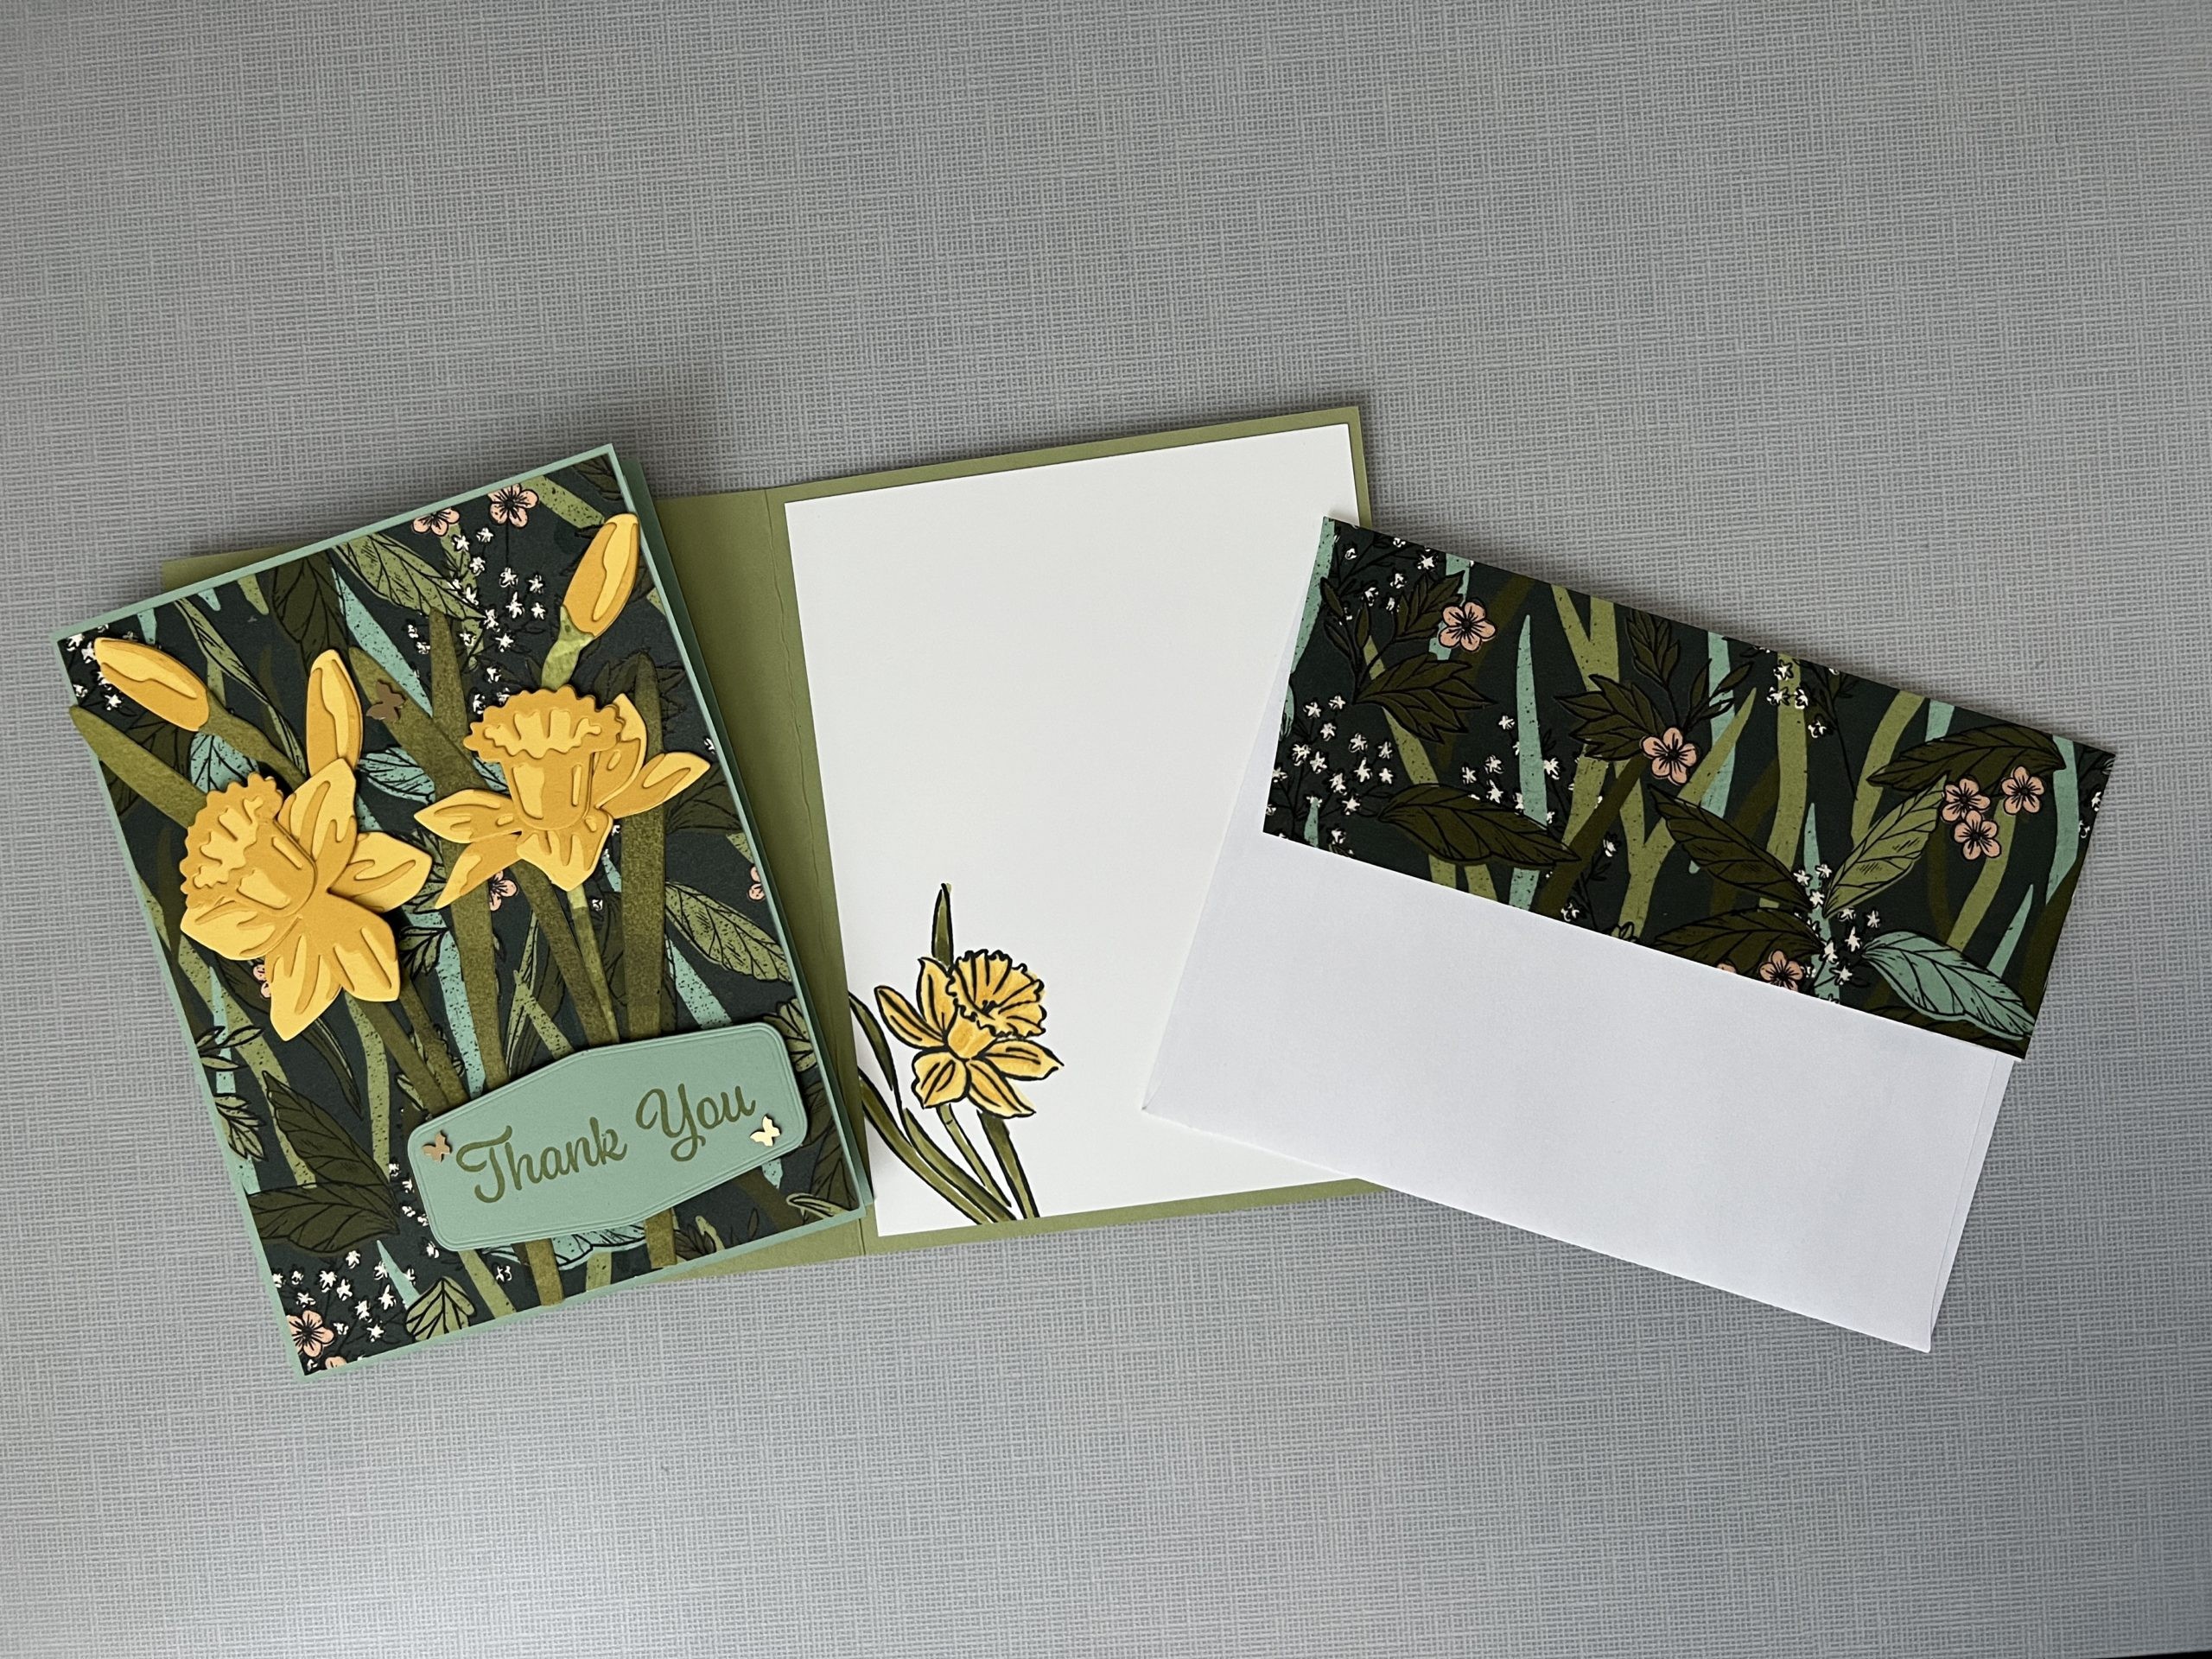
- For the inside of card Stamp the Raccoon in Black Memento and color with your favorite medium. Stamp a saying in Navy Blue Ink.
- The envelope was finished by stamping the Raccoon in Basic Gray Ink and the Bird in Night of Navy Ink.
- And now you have a beautiful card to brighten someone’s day.
Happy Stamping!
Card Recipe
Cardstock:
- Crumb Cake: 8-1/2” x 5-1/2” scored at 4-1/4”, 4-1/4” x 5-1/2”
- Basic White: 4-1/8” x 5-3/8” (for blended background. (2) 4” x 5-1/4” (one for stamping animals & greeting, other for inside)
Supplies Used:
- Stamps: All Bundled Up, Glad We’re Friends
- Dies: Aspen Dies, Stylish Shape Dies
- Cardstock/Paper: Crumb Cake, Basic White
- Stampin Pads: Mossy Meadow, Balmy Blue, Night of Navy, Daffodil Delight, Pumpkin Pie, Basic Gray, Memento Black, Memento Paris Dusk (non Stampin’ Up!)
- Stampin Blends: Starry Sky, Smoky Slate, Gray Granite, Crumb Cake, Cherry Cobbler, Real Red
- Embossing Folders: Wintry 3D (pine branches)
- Adhesives: Dimensionals, Glue Dots, Liquid Glue, Tear N Tape, Stampin Seal, 1/4” foam tape (non Stampin’ Up!)
- Tools: Paper Trimmer, Cut & Emboss Machine, Stamparatus, Clear Blocks, Take Your Pick, Bone Folder, Stampin Pierce Mat, Paper Snip Scissors
October Paper Pumpkin Kit Ho Ho Ho
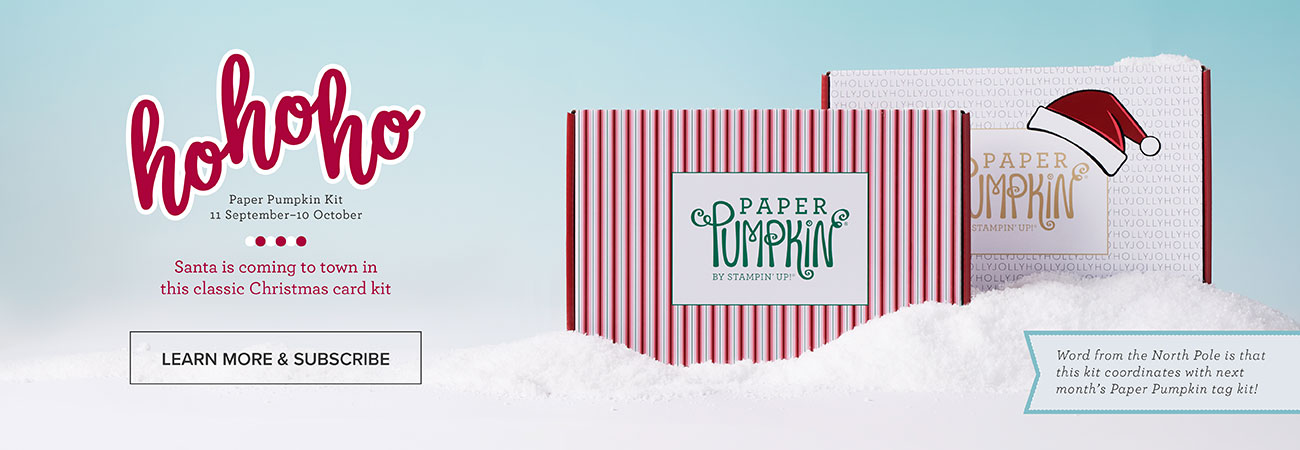
‘Tis the season to make your own Christmas cards with the Ho Ho Ho Paper Pumpkin Kit! This kit contains whimsical designs of Santa and his reindeer in a classic Christmas color palette which is sure to match various styles of holiday décor and look great on mantles everywhere.
Each kit contains enough supplies to create 9 festive cards—3 each of 3 designs—and 9 coordinating envelopes. These cards are sure to bring the warm holiday spirit.
And word from the North Pole is that this kit coordinates with next month’s Paper Pumpkin tag kit and the special add-on product! With so much coordination between products, you’ll have a breeze at creating a cohesive look for all your holiday gifting needs. Make this season the most wonderful time of the year for your loved ones—and for yourself!
SUBSCRIPTION INFORMATION
Subscribe to the October Paper Pumpkin Kit between 11 September and 10 October at paperpumpkin.com!
CLICK HERE FOR MORE KIT INFORMATION
CURRENT HOST CODE GPJ47GQ3
Earn Reward Points quickly for a $25 Credit
When placing an order please use the current Host Code* and earn REWARD POINTS. Once you earn 10 reward points you will receive a $25 shopping credit from me. CLICK HERE for more details.
*NEWEST HOST CODE is always located on the right side of webpage midway down.
STARTER KIT PROMOTION FROM STAMPIN’ UP! OCTOBER 4th – 31st
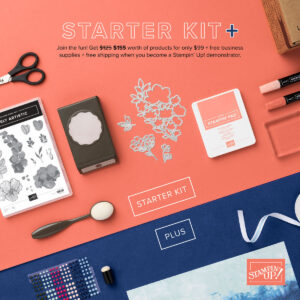
October is a fabulous time to join Stampin’ Up! New team members will get even MORE FREE products in their customizable Starter Kit. Between 4–31 October, those who sign up can get $155 worth of products for only $99 + free business supplies + free shipping + all the fun being a part of Stampin’ Up! and my team, Starlight Crafters.
STARTER KIT + PROMOTION DATE: OCTOBER 4-31, 2022
- A new demonstrator can select any eligible Stampin’ Up! products up to the stated value.
- The Starter Kit also includes business resources like catalogs, brochures, order forms, and postcards.
- In addition to the amazing added value to their Starter Kit, when new team members join Stampin’ Up! they get to be a part of our amazing community of crafters. Plus, they get to enjoy sharing simple and fun crafting experiences with others, early access to products, and exclusive access to training events.
- The Starter Kit also includes a FREE past Paper Pumpkin kit.
- When you join Stampin’ Up! you get to be a part of our amazing community of crafters. You get to share fun crafting experiences with others, have early access to new products and exclusive access to training events.
- There is no requirements to hold events, share online or sell in any way to others. You can join and simply get the awesome Starter Kit + deal and then get a minimum of a 20% discount on anything that you purchase as a Demonstrator.
- New demonstrators who submit their Independent Demonstrator Agreement (IDA) before October 4th or after October 31st will not be eligible for this offer.