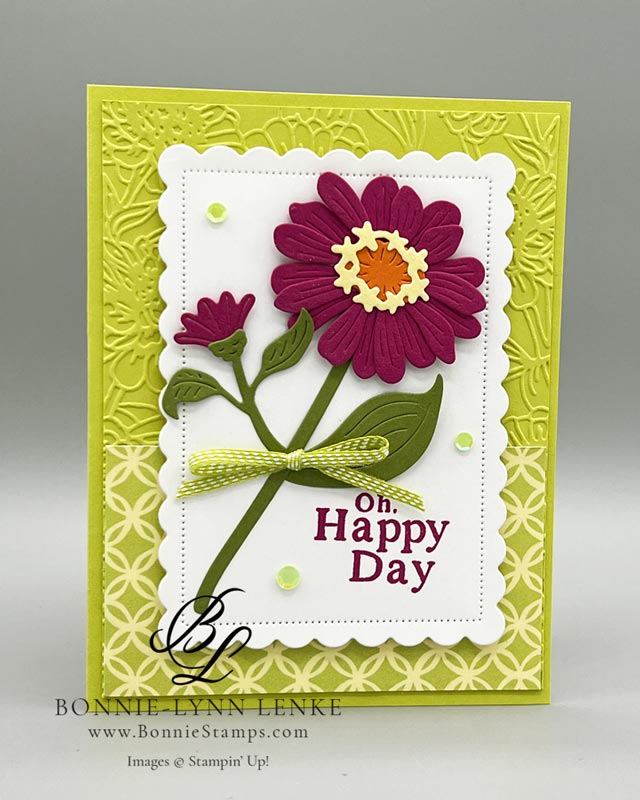
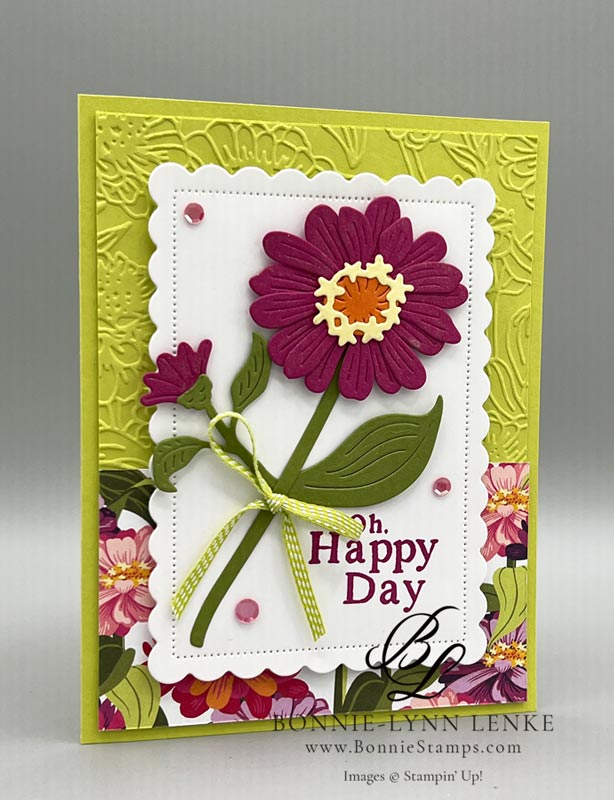
Simply Zinnia, an Online Exclusive available March 5th, is simply a fabulous flower stamp set/suite. I enjoy everything that comes in this suite of product and you will too. Check out my video on how to make this stunning and easy card.
I have made a Stamp Class for this set that includes 6 cards plus I’ll include the materials for this one too. Sign up today by clicking on the appropriate link below and then click on “register button” for all the details. Happy Stamping!
Card Directions
- Cut and score all cardstock and papers as listed under Cutting Directions below.
- Fold Lemon Lime Twist Card Base in half on score line, burnish with Bone Folder.
- Emboss Lemon Lime Twist panel with the Zinnia Embossing folder, adhere to card front.
- Add 4” x 2-1/4” piece of Flowering Zinnia Designer Series Paper to bottom of embossed panel.
- Die cut Basic White Cardstock panel with the 2nd largest Scalloped Contours dies.
- Stamp greeting onto scallop die cut in Berry Burst Ink.
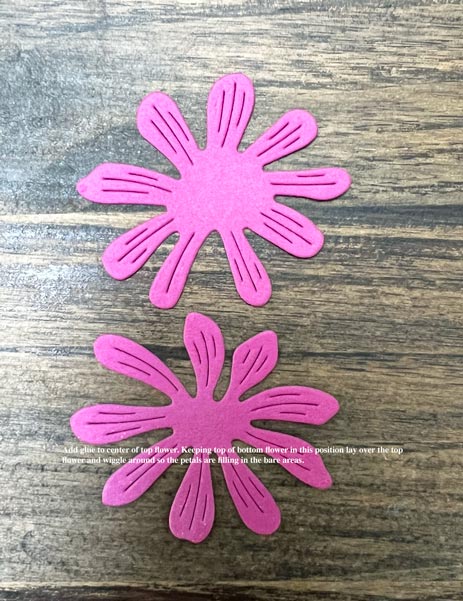
- Crop all the pieces of the flower out of the cardstock listed under cutting directions.
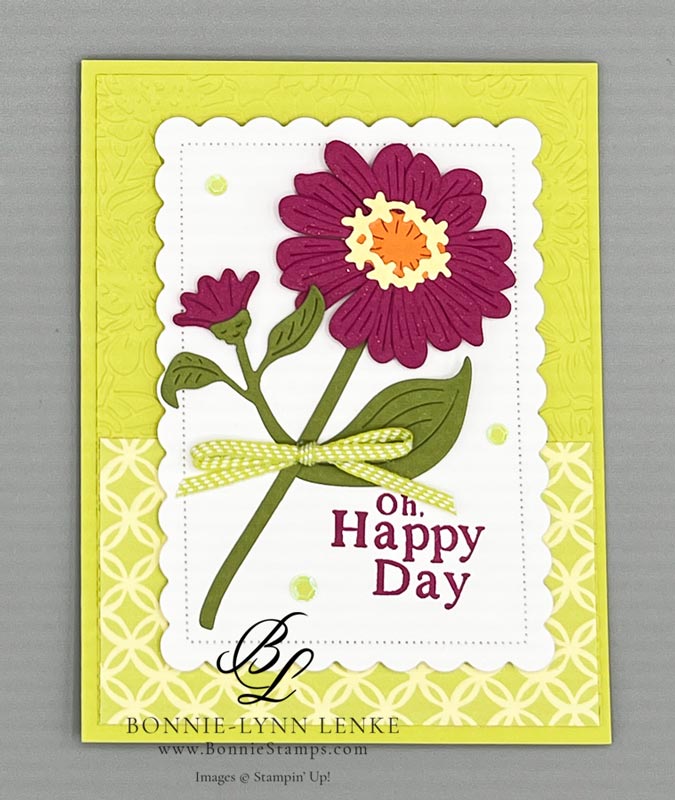
- Glue the two Berry Burst flower pieces together. In the picture gallery I have shown the two pieces with what I think the tops are, next slide the bottom flower up over the top one. The Pumpkin Pie center is glued on next then the Lemon Lolly decorative circle.
- Adhere the long Old Olive stem to back of large flower with Glue Dot. Using Dimensionals on flower and Liquid Glue on stem adhere to Scallop Die Cut at an angle. The large leaf is added next with a drop of glue or a Glue Dot to right side of stem.
- Glue the little Berry Burst flower to the back of the small stem/leaf then adhere to left side of long stem with Dimensional on back of flower and liquid glue on stem.
- Adhere the scalloped panel to card front with Dimensionals.
- Tie a bow of the Lemon Lime Twist Ribbon. Use a Glue Dot to adhere to card front.
- Add Adhesives-Backed Shiny Sequins to card front.
- Use Wink of Stella to add glitter to both flowers.
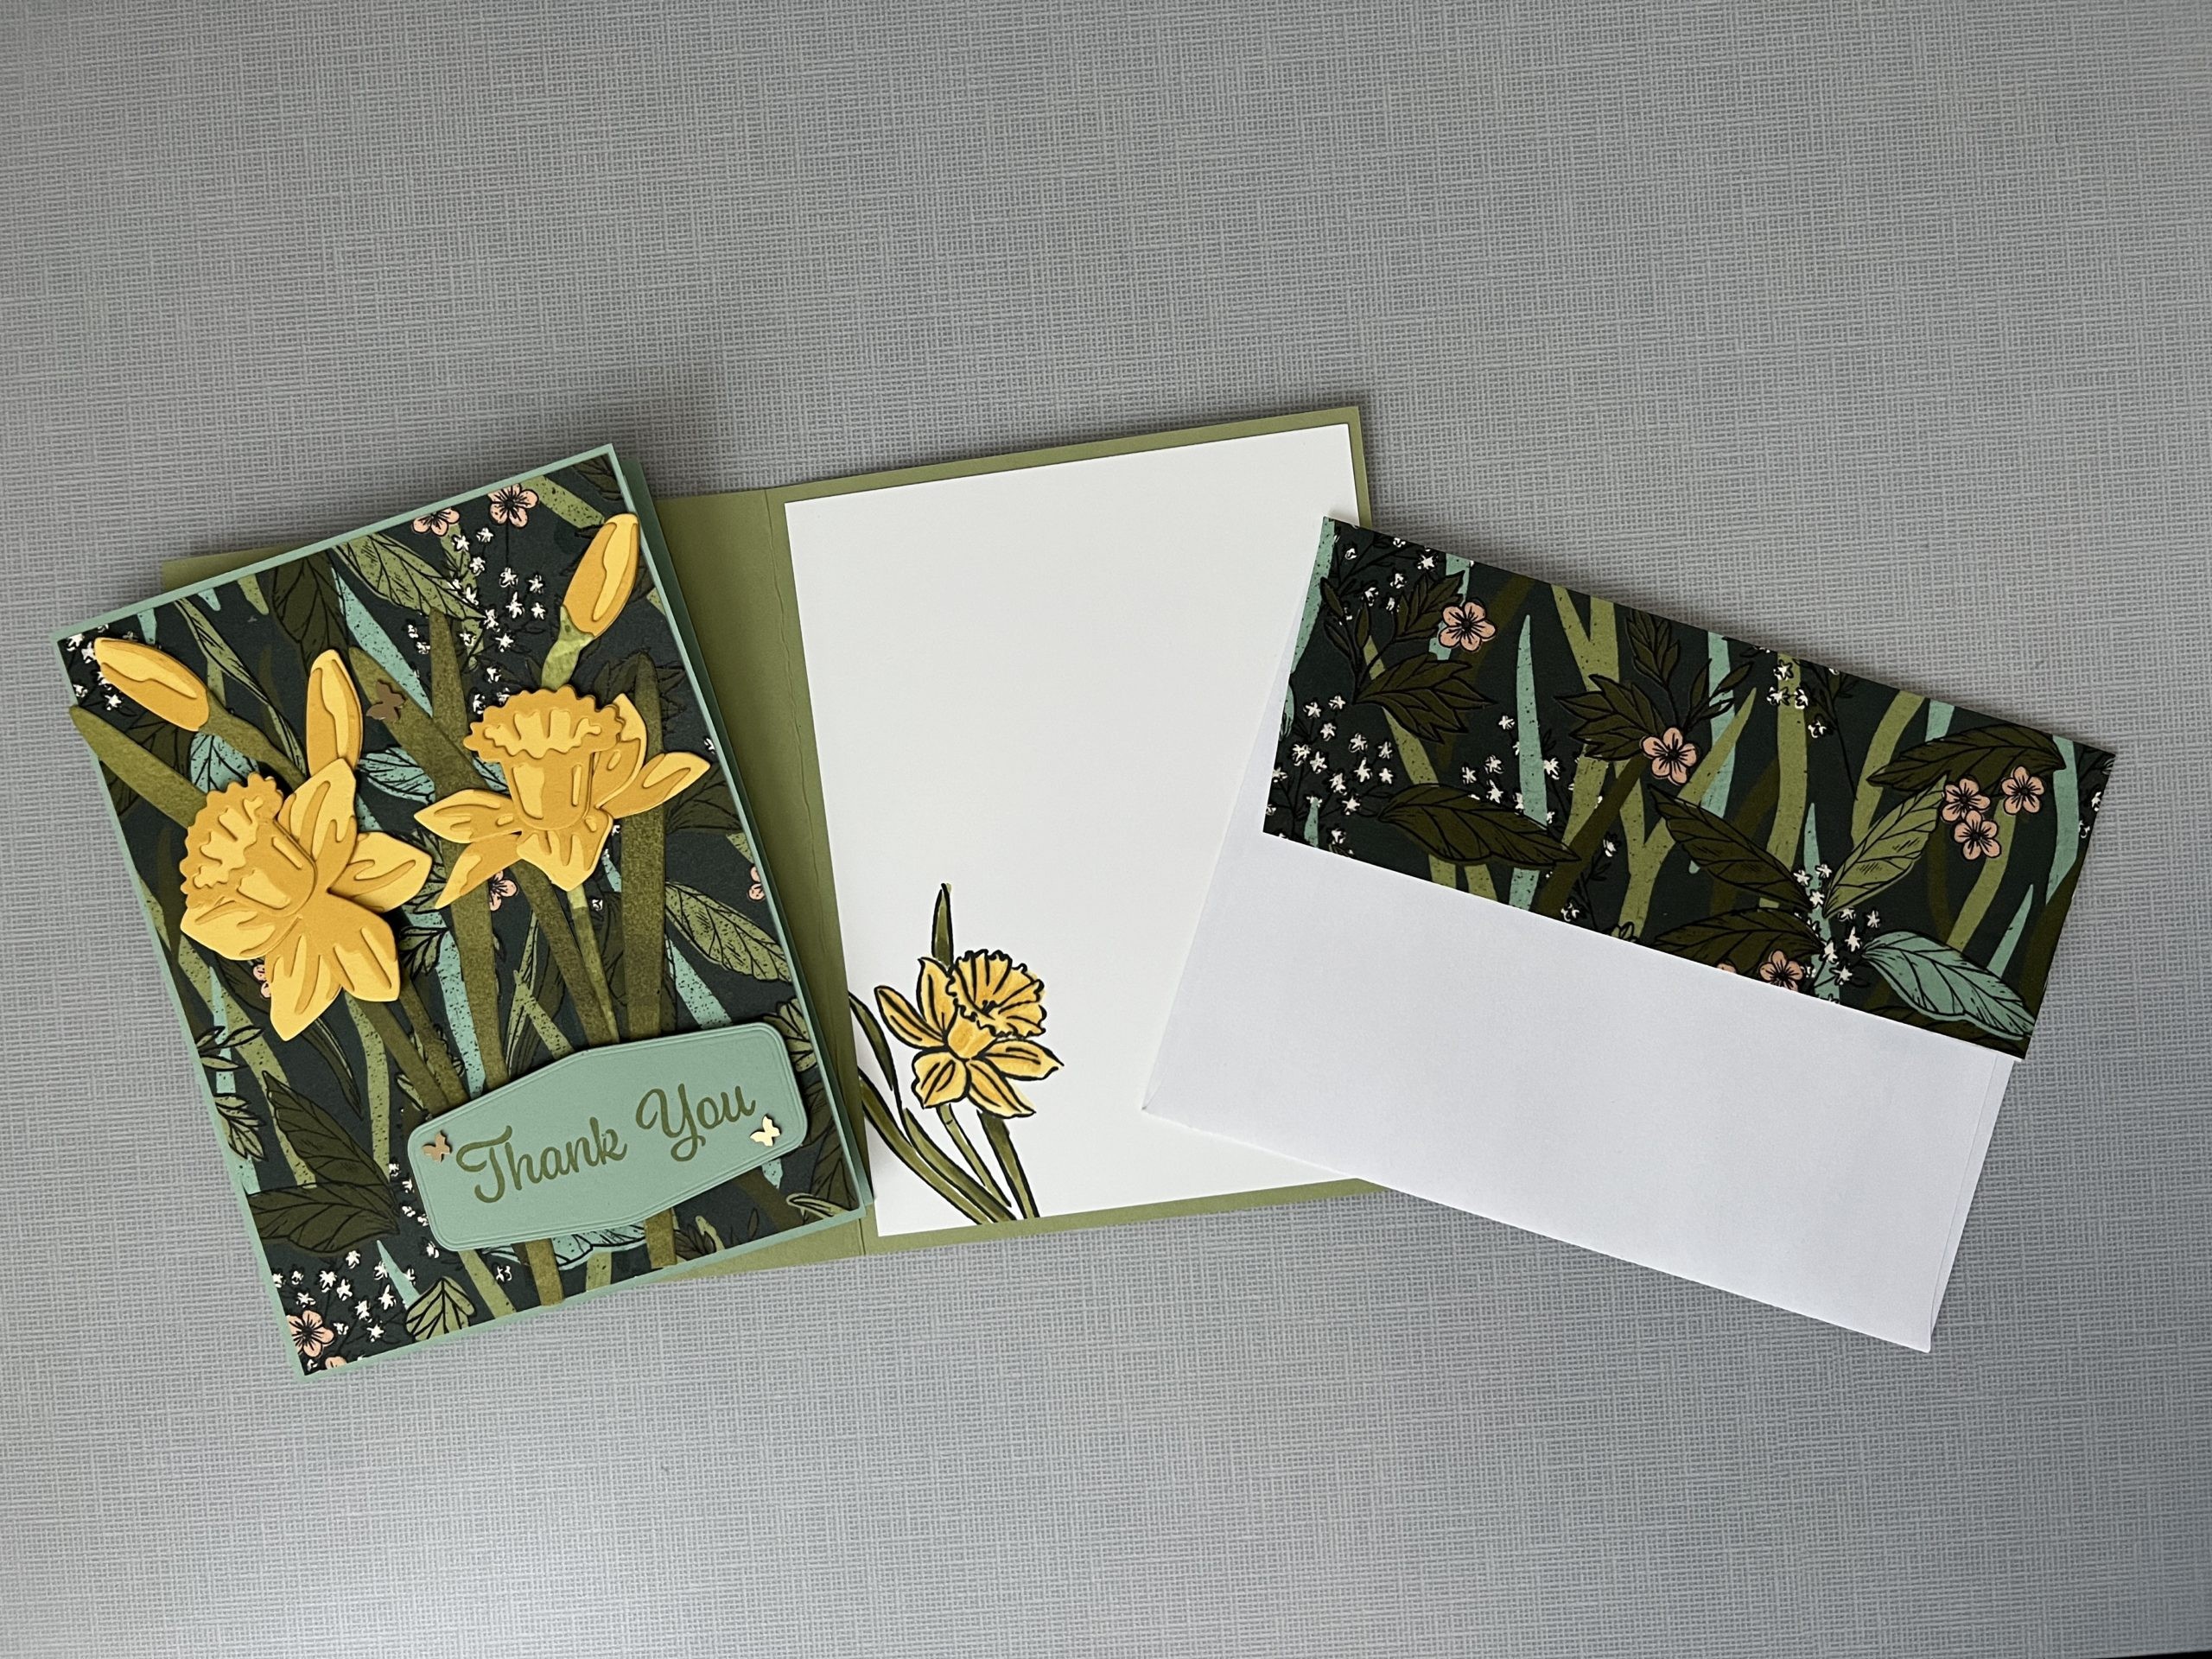
- The inside is completed by stamping the sentiment in Memento Black Ink and the flower in Berry Burst Ink onto Basic White Cardstock. Adhere to inside of card.
- For the Envelope add a piece of Designer Series Paper to Envelope Flap with Liquid Glue.


Card Recipe
Cutting Directions:
- Lemon Lime Twist: 8-1/2” x 5-1/2”, scored at 4-1/4” (card base), 4” x 5-1/4” (front panel)
- Basic White: 4” x 5-1/4” (scallop die cut) 4” x 5-1/4” (card inside)
- Old Olive: 1/2” x 4-1/4” (flower stem), 2” x 3-1/2” (stem & leaves)
- Berry Burst: 2” x 5-1/4” (flowers)
- Pumpkin Pie: Scrap (center)
- Lemon Lolly: Scrap ( center circle)
- Flowering Zinnia Designer Series Paper: 4” x 2-1/4” (front panel), 6” x 2-1/2” (envelope flap)
Supplies Used:
- Stamps: Simply Zinnia, Everyday Details (inside sentiment), Playing in the Rain (greeting)
- Dies: Simply Zinnia, Scalloped Contours Die 2nd largest Circle
- Cardstock/Paper: Lemon Lime Twist, Lemon Lolly, Basic White, Berry Burst, Pumpkin Pie, Old Olive, Flowering Zinnia 12” x 12” Designer Series Paper
- Stampin Pads: Berry Burst, Memento Black Ink
- Pens/Markers: Wink of Stella Clear Glitter Brush
- Embellishments: Adhesives-Backed Shiny Sequins
- Ribbon: Ribbon Duo Combo Pack Lemon Lime Twist/Petal Pink
- Adhesives: Dimensionals, Glue Dots, Stampin Seal, Tear & Tape, Liquid Glue
- Tools: Paper Trimmer, Cut & Emboss Machine, Clear Blocks, Take Your Pick, Bone Folder, Stampin Pierce Mat, Paper Snip Scissors
Simply Zinnia Stamping Class

Spring is coming and what a wonderful way to bring it in with Simply Zinnia Stamp Class. I’m bringing you the joy of crafting 3 ways: right to your door step, in-person class or tutorials only. Whether you’re a seasoned stamper or just getting started, this class is perfect for all skill levels. You will make SIX projects where we do the designing and most of the work for you. With a variety of projects and techniques, you’ll be sure to celebrate the arrival of Spring in style. The registration ends on March 4th so we can get the order place as soon as ordering opens up March 5th.
You will receive over $30.00 worth of product to create your projects and have lots left over! 1/2 Pack of Paper, 2 Ribbons, Gems and the supplies prepped and provided for 6 projects plus todays card. (The Simply Zinnia bundle is NOT included. you can add it on to your camp, or use one from your own Craft stash. We will not be doing the die cutting of any pieces from the bundle, but all the other ones will be done for you)
As a bonus you can also add on the Stamp Bundle and Stampin’ Blends used to make this card and pay no shipping or taxes on those items.
Click the button below to get all the details.
Check out this month’s Specials:
Click on an image for more information…
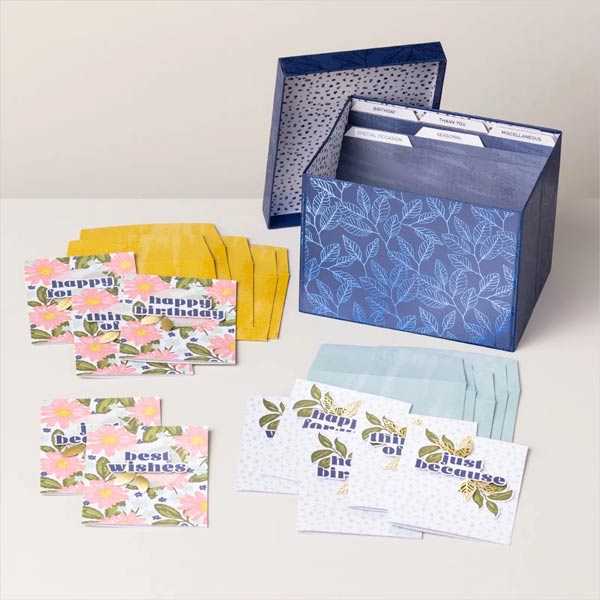
Card Keeper Kit

FREE GIFT When You Join Stampin’ Up!

Starter Kit Special during May!
- Yes, this means you are a Stampin’ Up! Demonstrator
- And no, you do not have to sell or do what I do! Simply enjoy the benefits of being a demonstrator!
- Shop for up to $125 worth of anything you want, Pay $99 plus tax get FREE Shipping.
- During May a limited-time AMAZING Starter kit special! Get a Free In Color Bundle of products valued at over $80.00 for FREE when you purchase the $99 Starter Kit.
- The In Colors are gorgeous and you will receive 5 Ink Pads, Stampin’ Write Markers, Designer Series Paper, and Cardstock! WOW, that’s a lot.
- Plus you get a discount of 20% to 25% off your future orders while you are active! And all the amazing benefits of being a part of the Stampin’ Up! Family and the Starlight Crafters team!
- What’s the Starter kit? It’s the best deal that Stampin’ Up! offers. You buy the kit (CUSTOMIZE with what you want!) for only 99.00 plus tax. NO SHIPPING. And you get to pick out 125.00 in product. That is 26.00 in Free product in addition to the In Color $82 that comes with it for FREE. You will also receive a complimentary Paper Pumpkin Kit.
- Join my team, Starlight Crafters, today!