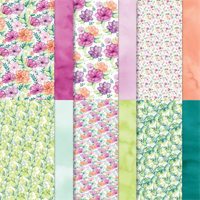
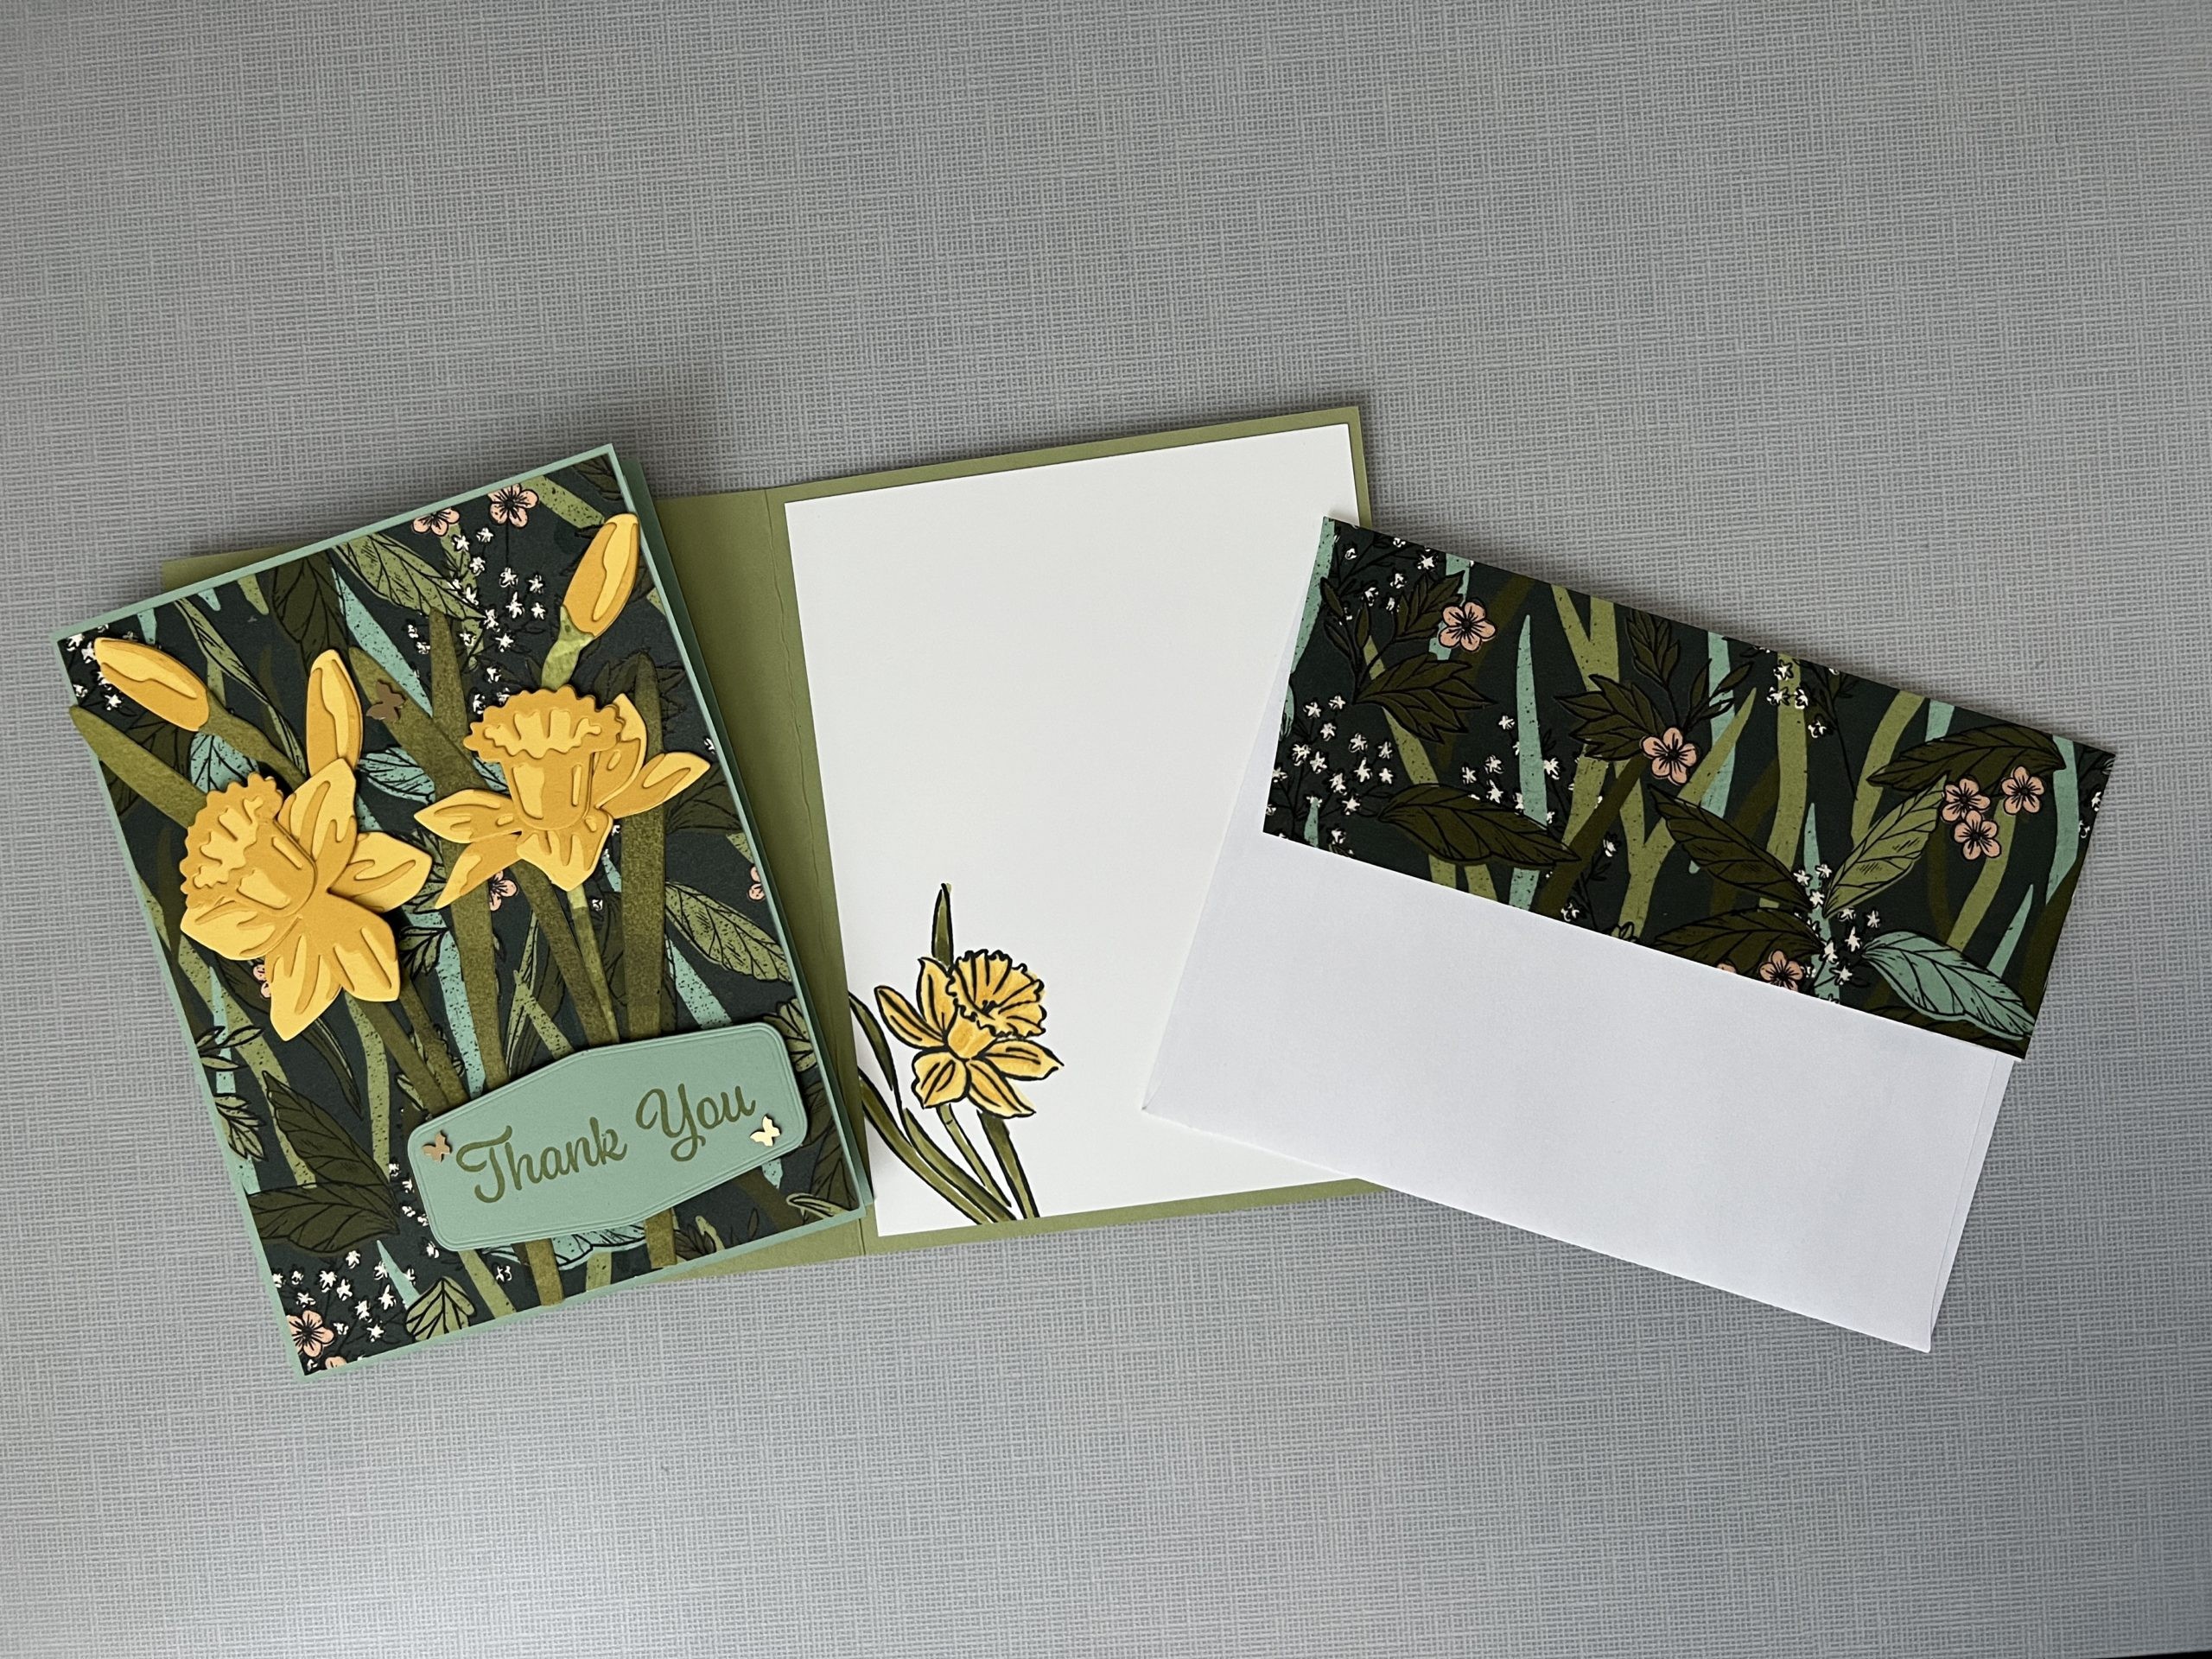
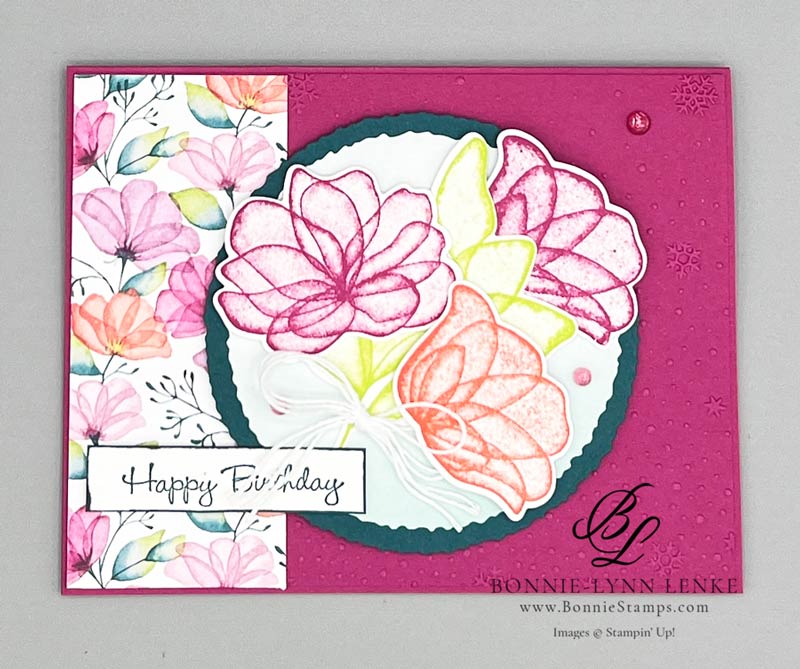
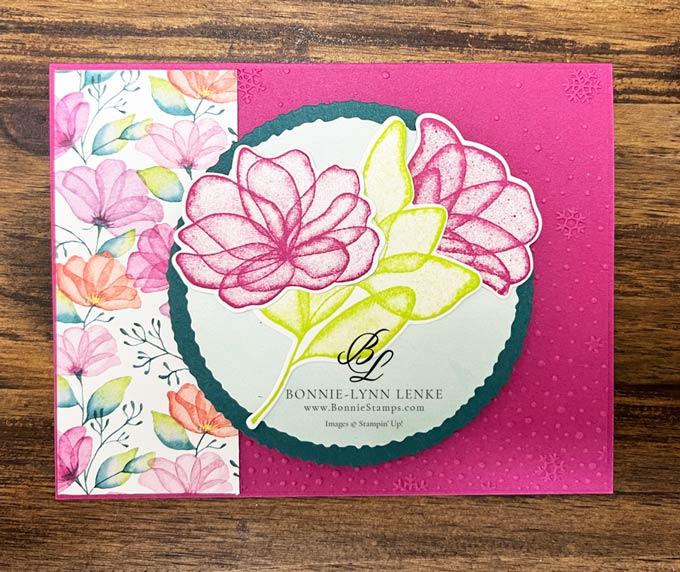
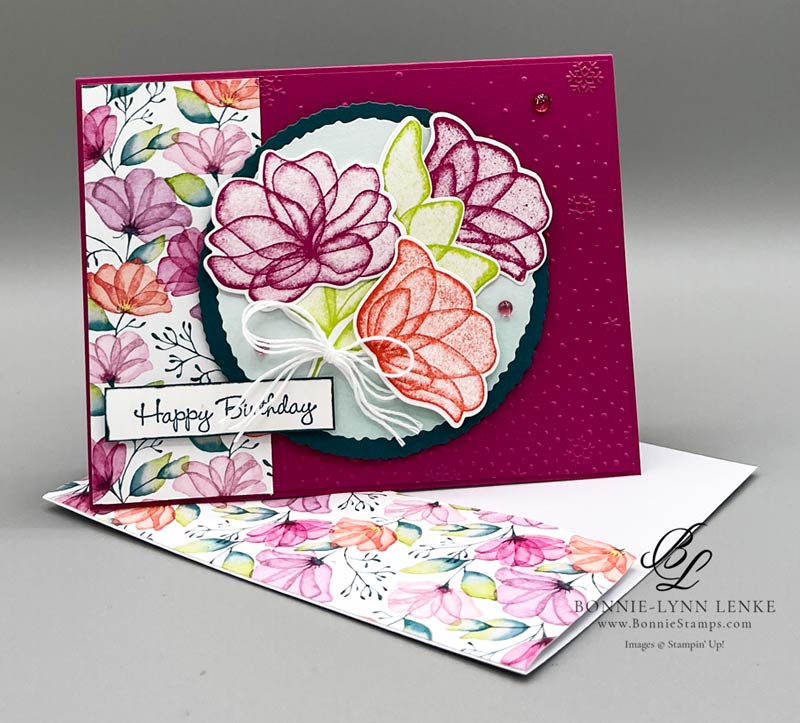
Today I’m sharing with you the Stampin’ Up! Translucent Florals Happy Birthday Card. Not sure why I waited so long to share this set as I made cards with this set in August and they truly are beautiful. And when Stampin’ Up! added Delightful Florals Designer Series Paper as an online exclusive, it was delightful.
This stamp set is in the September to December mini catalogue and is being carried over to an online exclusive come January. I believe Christmas has overshadowed it. I hope you enjoy this card. Happy Stamping!
Card Directions
- Begin with folding card base in half on the score line, burnish with Bone Folder.
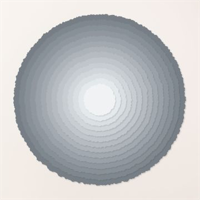
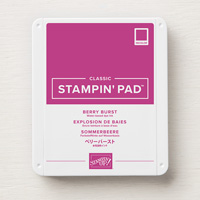
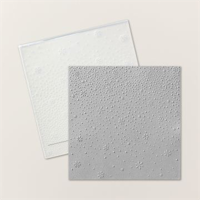
- Emboss Berry Burst panel with Snowflake Sky 3 D Embossing Folder. Use your favorite adhesive to adhere panel to card base.
- Attach the Delightful Florals DSP to card front on left side.
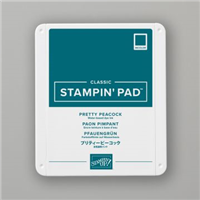
- Using the Deckled Circles, crop Pretty Peacock Cardstock with the 7th largest circle. Crop a piece of Delightful Florals DSP with the 8th largest circle then glue this piece to the Pretty Peacock circle. Adhere to middle of card front with Dimensionals.
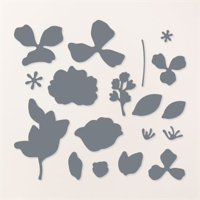
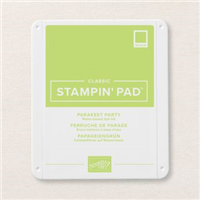
- Stamp the two flower stamps in Beary Burst Ink onto White Cardstock, stamp the smaller flower in Calypso Coral Ink on white cardstock. The long leaves are stamped in Parakeet Party Ink. Cut all items out with the corresponding dies. The leaves are adhered with a piece of Tear-N-Tape down the middle of leaves. The flowers are add with 2 Dimensionals at the top of flowers and a glue dot at the bottom (see photos in gallery).
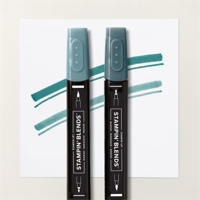
- For the greeting, stamp the “Happy Birthday” from the Go To Greetings, in Pretty Peacock Ink onto White Cardstock. Using the dark Pretty Peacock Stampin’ Blend, go around the edges with the brush tip end. Adhere to card front with a Dimensional on the left side and a Glue Dot on the right side.
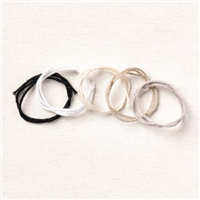
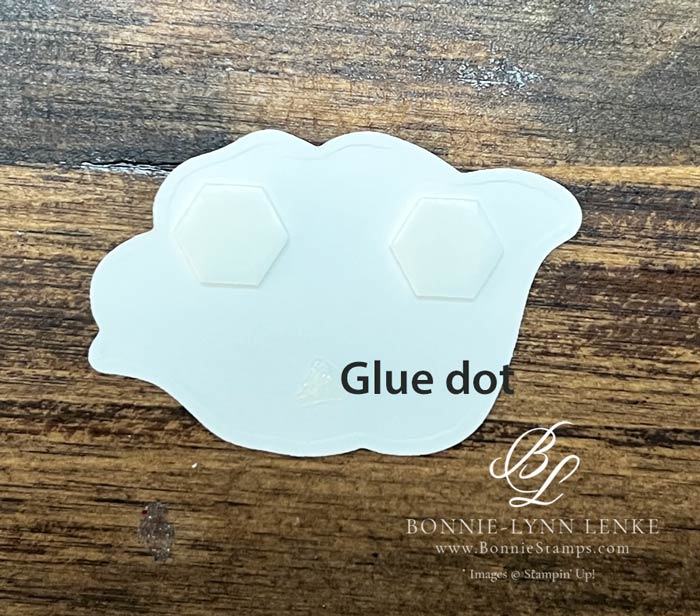
- Cut three 9” strands of the white string from the Baker’s Twine Essentials Pack. Hold all three strands together and tie into a bow. Add to base of leaves with a Glue Dot.
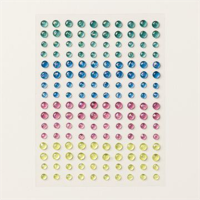
- For embellishments add 3 of the Berry Burst gems from the Tinsel Gems Four-Pack.
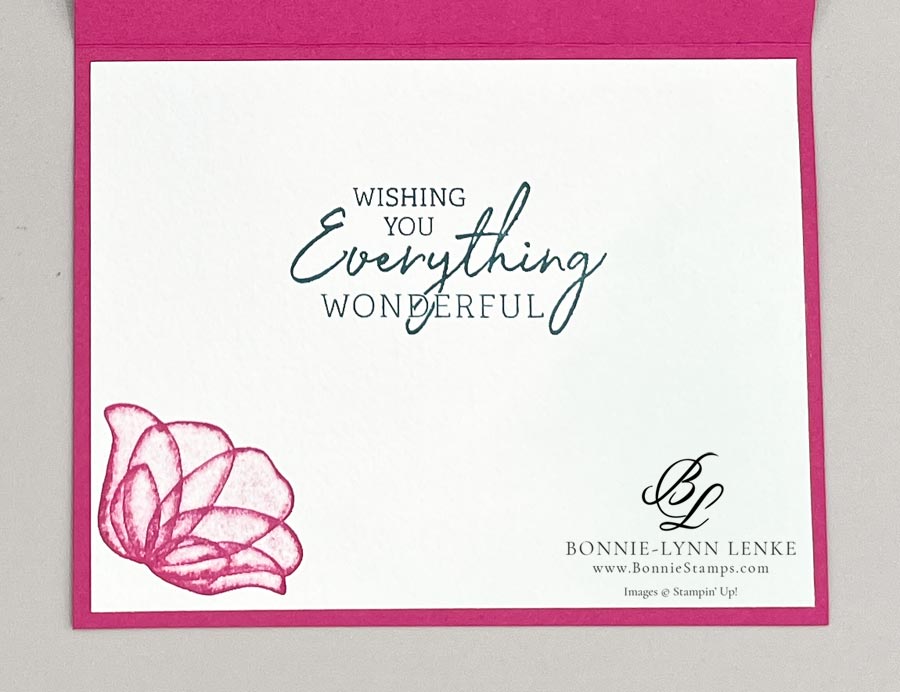
- The inside was completed by stamping the saying from Charming Sentiments in Pretty Peacock Ink onto a panel of the Delightful Florals DSP. A flower was stamped in Berry Burst Ink to the lower left hand side. Adhere to inside.
- Complete the envelope by stamping the flower on the front bottom left corner in Berry Burst Ink then add a piece of designer series paper to the envelope flap. Hint: measure your envelope flap before cutting the paper as different envelopes have different size flaps.
Card Recipe
Cutting Directions:
- Berry Burst: 8-1/2” x 5-1/2”, scored at 4-1/4” (card base), 4-1/8” x 5-3/8” (card front)
- Basic White: 1/2” x 2-1/4” (greeting), 4-1/4” x 5-1/2” (stamping)
- Pretty Peacock: 4” x 4” (circle)
- Delightful Florals Designer Series Paper: 1-3/4” x 4-1/8” (card front, left side), 3-1/2” x 3-1/2” (circle), 4” x 5-1/4” (inside), 2-1/4” x 6” (envelope flap)
Supplies Used:
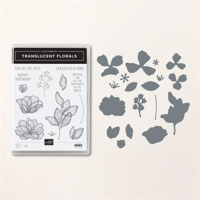
- Stamps: Translucent Florals, Go To Greetings, Charming Sentiments
- Dies: Translucent Florals, Deckled Circles (7th & 8th largest ones)
- Cardstock/Paper: Berry Burst, Pretty Peacock, Basic White, Delightful Florals designer series paper
- Stampin Pads: Berry Burst, Parakeet Party, Calypso Coral, Pretty Peacock
- Embellishments: Tinsel Gems Four-Pack
- Ribbon: Baker’s Twine Essentials Pack
- Embossing Folder: Snowflake Sky 3D Embossing Folder
- Adhesives: Dimensionals, Glue Dots, Stampin Seal, Liquid Glue, Tear-N-Tape
- Tools: Paper Trimmer, Cut & Emboss Machine, Clear Blocks, Take Your Pick, Bone Folder, Stampin Pierce Mat, Paper Snip Scissors
Customer Rewards
Earn Free Stampin’ Up! products when you order from Bonnie-Lynn Lenke!

Earn Free Products*
Bonnie-Lynn’s Reward points are my way of personally saying “thank you” for shopping with me and being a frequent shopper. You earn a reward point for every $25 increment you spend on Stampin’ Up! products (before shipping and taxes) through my online store. After you earn 10 Reward Points, I’ll provide you with a $25 product credit on a future order, I will need to personally place the order for you with the credit. *Products shown in photo are an example of what you could select with your credit.
CLICK HERE FOR MORE DETAILS
Check out this month’s Specials:
Click on an image for more information…
Card Keeper Kit