Sweet Candy Cane Wreath Card & Video
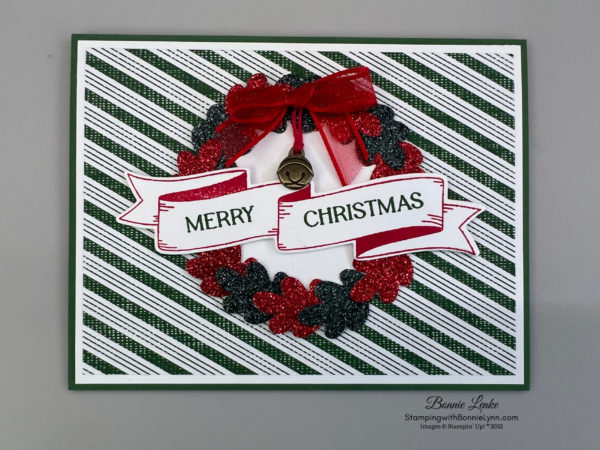
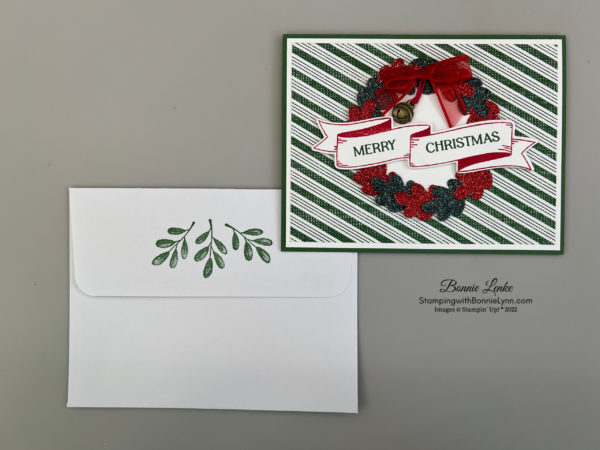
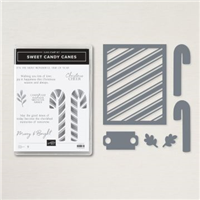
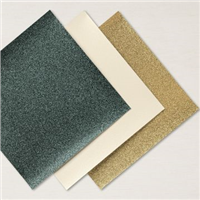
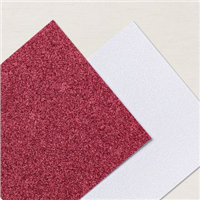
Today I’m sharing a twist to the Sweet Candy Cane stamp set. For this card I used the Candy Canes mistletoe die to make the wreath. It was just the right size to form many of them into a circle. To make sure I kept my Wreath round I used one cut with the Stylish Shaped Dies on the card front. The Red & Evergreen Glitter Papers that are available in two different paper sets were perfect for this card. I hope you enjoy it and will think about making one yourself. Even if you don’t have this die set you could use pine branches or any other small leaf die. The possibilities are endless…
CLICK FOR SWEET CANDY CANE WREATH VIDEO
Let’s Get Started
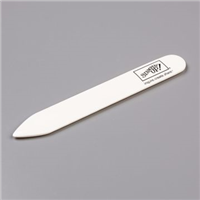
- Fold your Garden Green Card Base in half on the score line and burnish with bone folder.
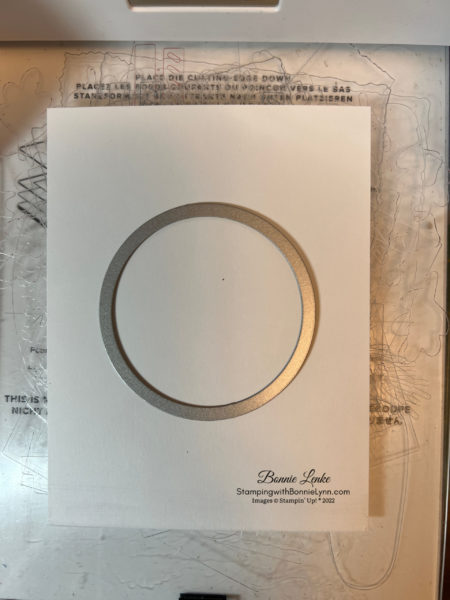
- Using the second largest Stitched Circle from the Stylish Shaped Dies cut one out of the middle of the White Cardstock panel that goes on the card front (see picture below for placement). After cutting out the circle adhere the white panel to the Card Front.
- Adhere your Sweetest Christmas DSP to the Card Front (this will cover the hole in the white cardstock).
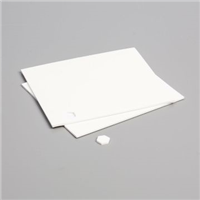
- With Liquid Glue or Seal, secure your Stitched White Circle to the middle of your Card Front.
- You will need to cut approximately 7 or 8 mistletoe out of each the Real Red Glimmer Paper and the Evergreen Glimmer Paper. Once you have cut them out start adhering them around the circle with one or two glue dots (the top will cover the end of the one before it. I suggest starting at the side where the banner will cover the first one. Alternate colors until you have completed the circle. It may help if you lay them out around the circle for practice before you start adhering them.
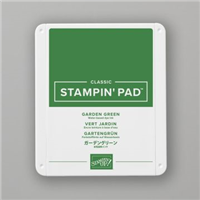
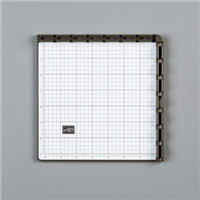
- Stamp your Banner from the Christmas Banner stamp set in Real Red Ink using the Stamparatus if you have one. Now place your word stamps in the Banner you just stamped, arranging the angle to fit as needed and close the Stamparatus lid to pick up the stamps. Stamp in Garden Green Ink. Cut out the Banner with the corresponding Christmas Banner Die. Adhere over the wreath using Dimensionals.
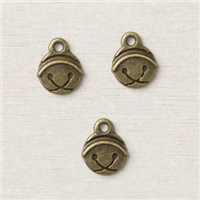
- Tie a Bow with the Real Red Ribbon and attach a Jingle Bell Trinket to it using a piece of twine. Attached ribbon to wreath with a Glue Dot.
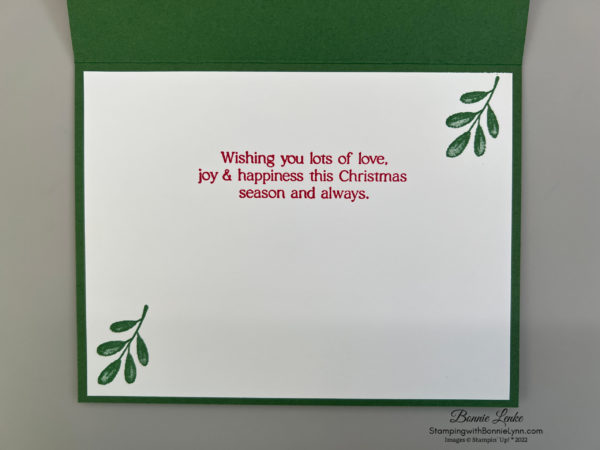
- For the inside of card stamp your Greeting in Real Red Ink on White Cardstock. Stamp the Mistletoe in opposite corners with Garden Green Ink. Adhere to inside of card.
- To finish the Envelope stamp 3 mistletoes on the envelope flap and one on the bottom left corner in Garden Green Ink.
And now you have a beautiful card to brighten someone’s day.
Happy Stamping!
Card Recipe
Cardstock:
- Garden Green: 8-1/2” x 5-1/2”, scored at 4-1/4” This is your card base
- Basic White: 5-1/4” x 4” (front), 2” x 5” for saying, 4” x 5-1/4” (card inside)
- Sweetest Christmas DSP: 5” x 3-3/4”
- Specialty Paper: Glitter Specialty Paper (Evergreen), Real Red & White Glimmer Paper
Supplies Used:
- Stamps: Sweet Candy Canes, Christmas Banners
- Dies: Candy Cane Dies, Christmas Banner Dies, Stylish Shaped Dies
- Cardstock/Paper: Garden Green, Basic White, Sweetest Christmas Designer Series Paper, Glimmer Specialty Paper, Real Red & White Glimmer Paper
- Stampin Pads: Real Red, Garden Green
- Embellishments: Flat Jingle Bell Trinkets, Real Red & Garden Green 3/8” ribbon combo pack
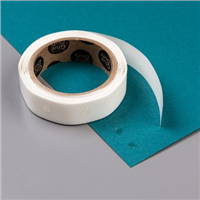
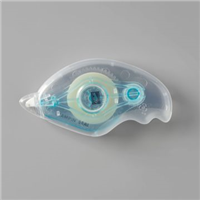
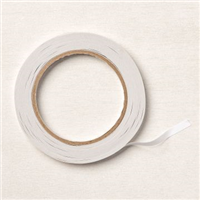
- Adhesives: Dimensionals, Glue Dots, Tear N Tape, Stampin Seal
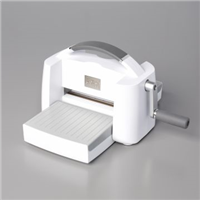
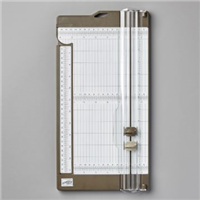
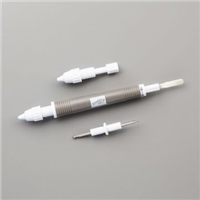
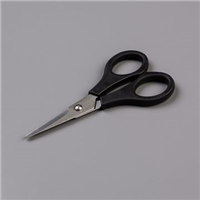
- Tools: Paper Trimmer, Cut & Emboss Machine, Stamparatus, Clear Blocks, Take Your Pick, Bone Folder, Stampin Pierce Mat, Paper Snip Scissors
Sale-A-Bration
Hurry Sale-A-Bration Ends August 31st
Only 2 days are left to take advantage of all Sale a-bration has to offer. With every $50 of Merchandise you order between now and the end of August you get to select FREE ITEMS from the Sale-a-bration Catalog. It doesn’t get more exciting than this. Click Here to Shop today.
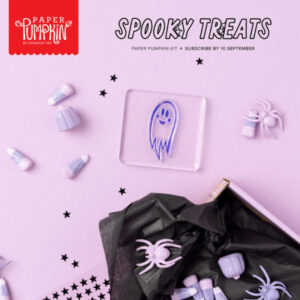
September’s Spooky Treats Paper Pumpkin Spooky Kit
18 TREAT BOXES FOR THE HALLOWEEN SEASON
Spooky Treats Paper Pumpkin Kit for September is extra special because we’re giving you all the supplies you need to make 18 projects. Our Halloween boxes come in 3 different designs—that’s 6 of each kind! You can even mix and match the pieces to create your own spook-tacular designs.
HOLIDAY CRAFTING BROUGHT TO YOU
Our September Spooky Treats Paper Pumpkin Kit is all about Halloween, but make sure your subscription is up to date because our October and November kits keep the holiday season theme going with Christmas cards and gift tags! We don’t want to give too much away, but a little elf told us that these upcoming kits have even more exclusive, coordinating products to make holiday crafting a breeze!
ENTER TO WIN AN EXCLUSIVE PAPER PUMPKIN BLUETOOTH SPEAKER
To celebrate the season we’re doing a giveaway on social media starting 5 September at 9:00am (MT)! Simply follow @PaperPumpkin on Instagram or the Paper Pumpkin page on Facebook, like either post, and mention three friends in the comments for your chance to win one of two personalized JBL speakers. What better way to listen to our Paper Pumpkin playlists than on a Paper Pumpkin speaker? Be quick because the giveaway closes 8 September at 4:00pm (MT)! And make sure your customers also enter for their chance to win.
SUBSCRIPTION INFORMATION
Subscribe to the August Paper Pumpkin Kit between 11 August and 10 September at paperpumpkin.com!
Note: Supplies may be limited toward the end of the subscription period.
CLICK HERE FOR MORE PAPER PUMPKIN INFORMATION

