Perched in A Tree – Season of Thanks Card and Video

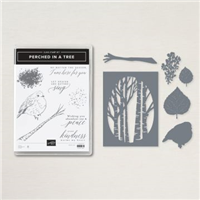
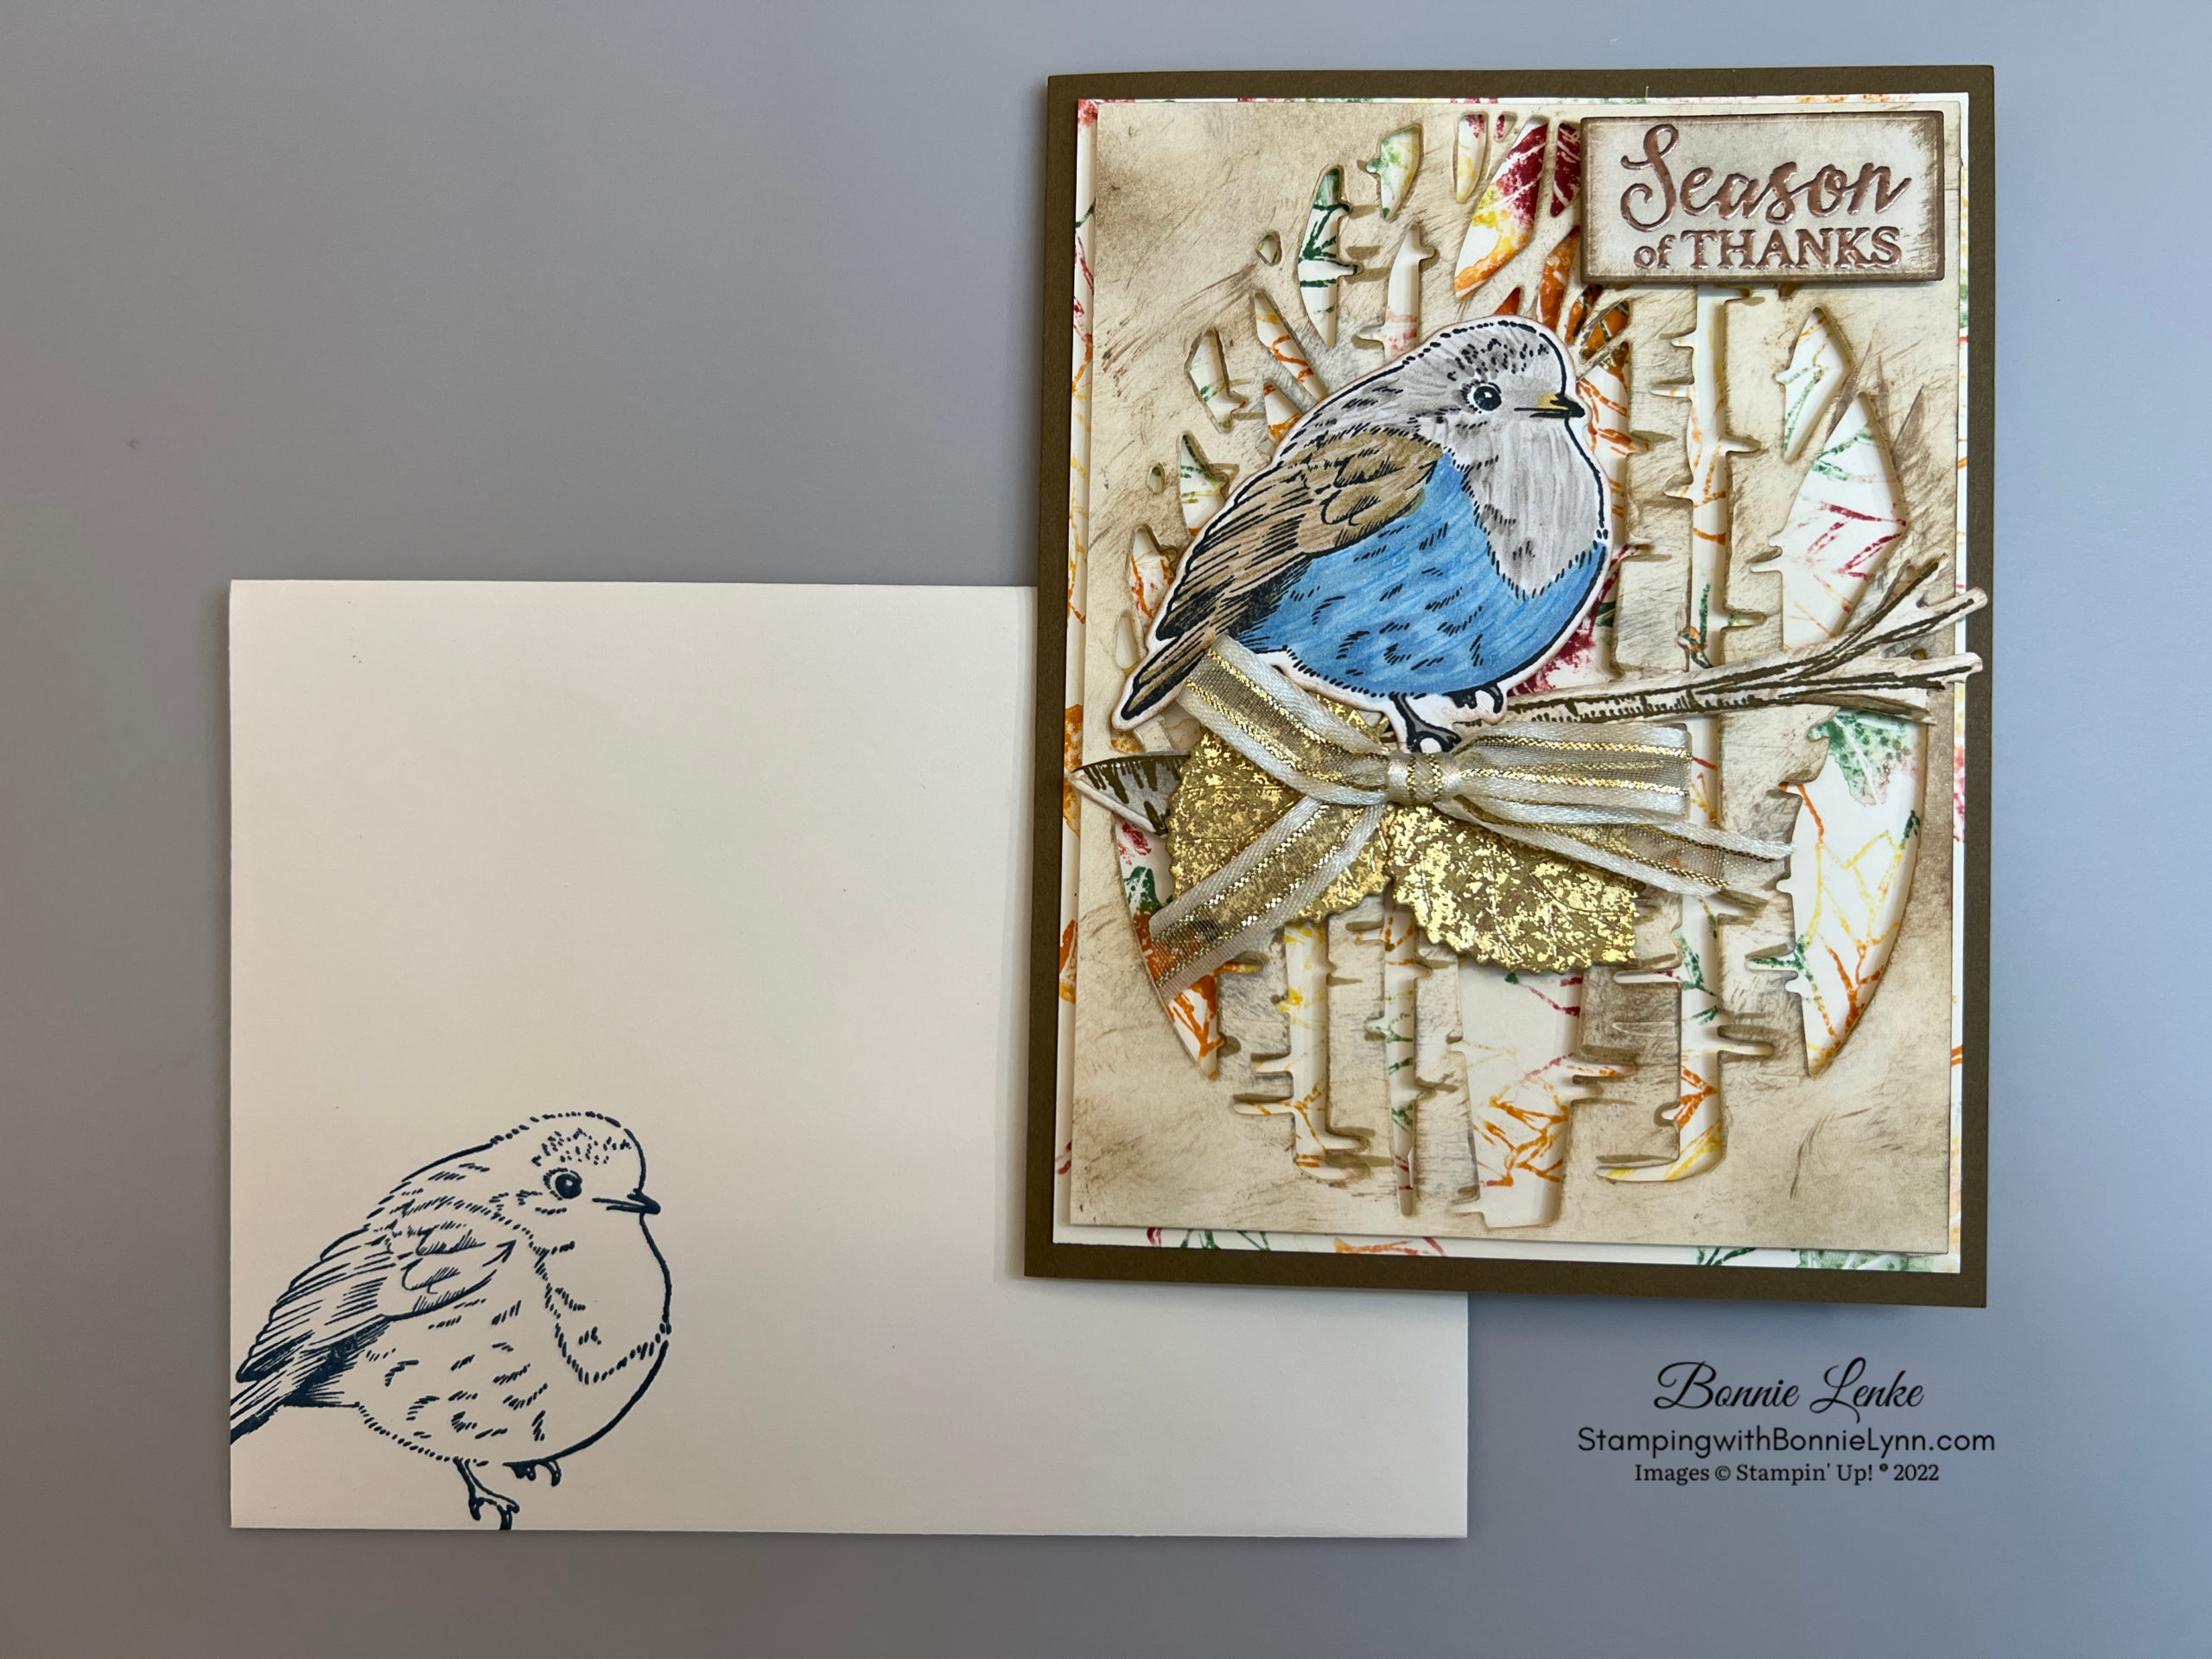
Today I’m sharing the Stampin’ Up! Perched in A Tree Stamp Set and Aspen Dies from the July to December Mini Catalog. The Aspen Dies are available as a Sale-A-Bration item through the end of August with a qualifying order. They were added to the Sale-A-Bration items on August 2nd along with a few other items. I had so much fun making this card and by the time I was done, making lots of changes, my studio was a mess. That’s not unusual for me though when I’m creating.
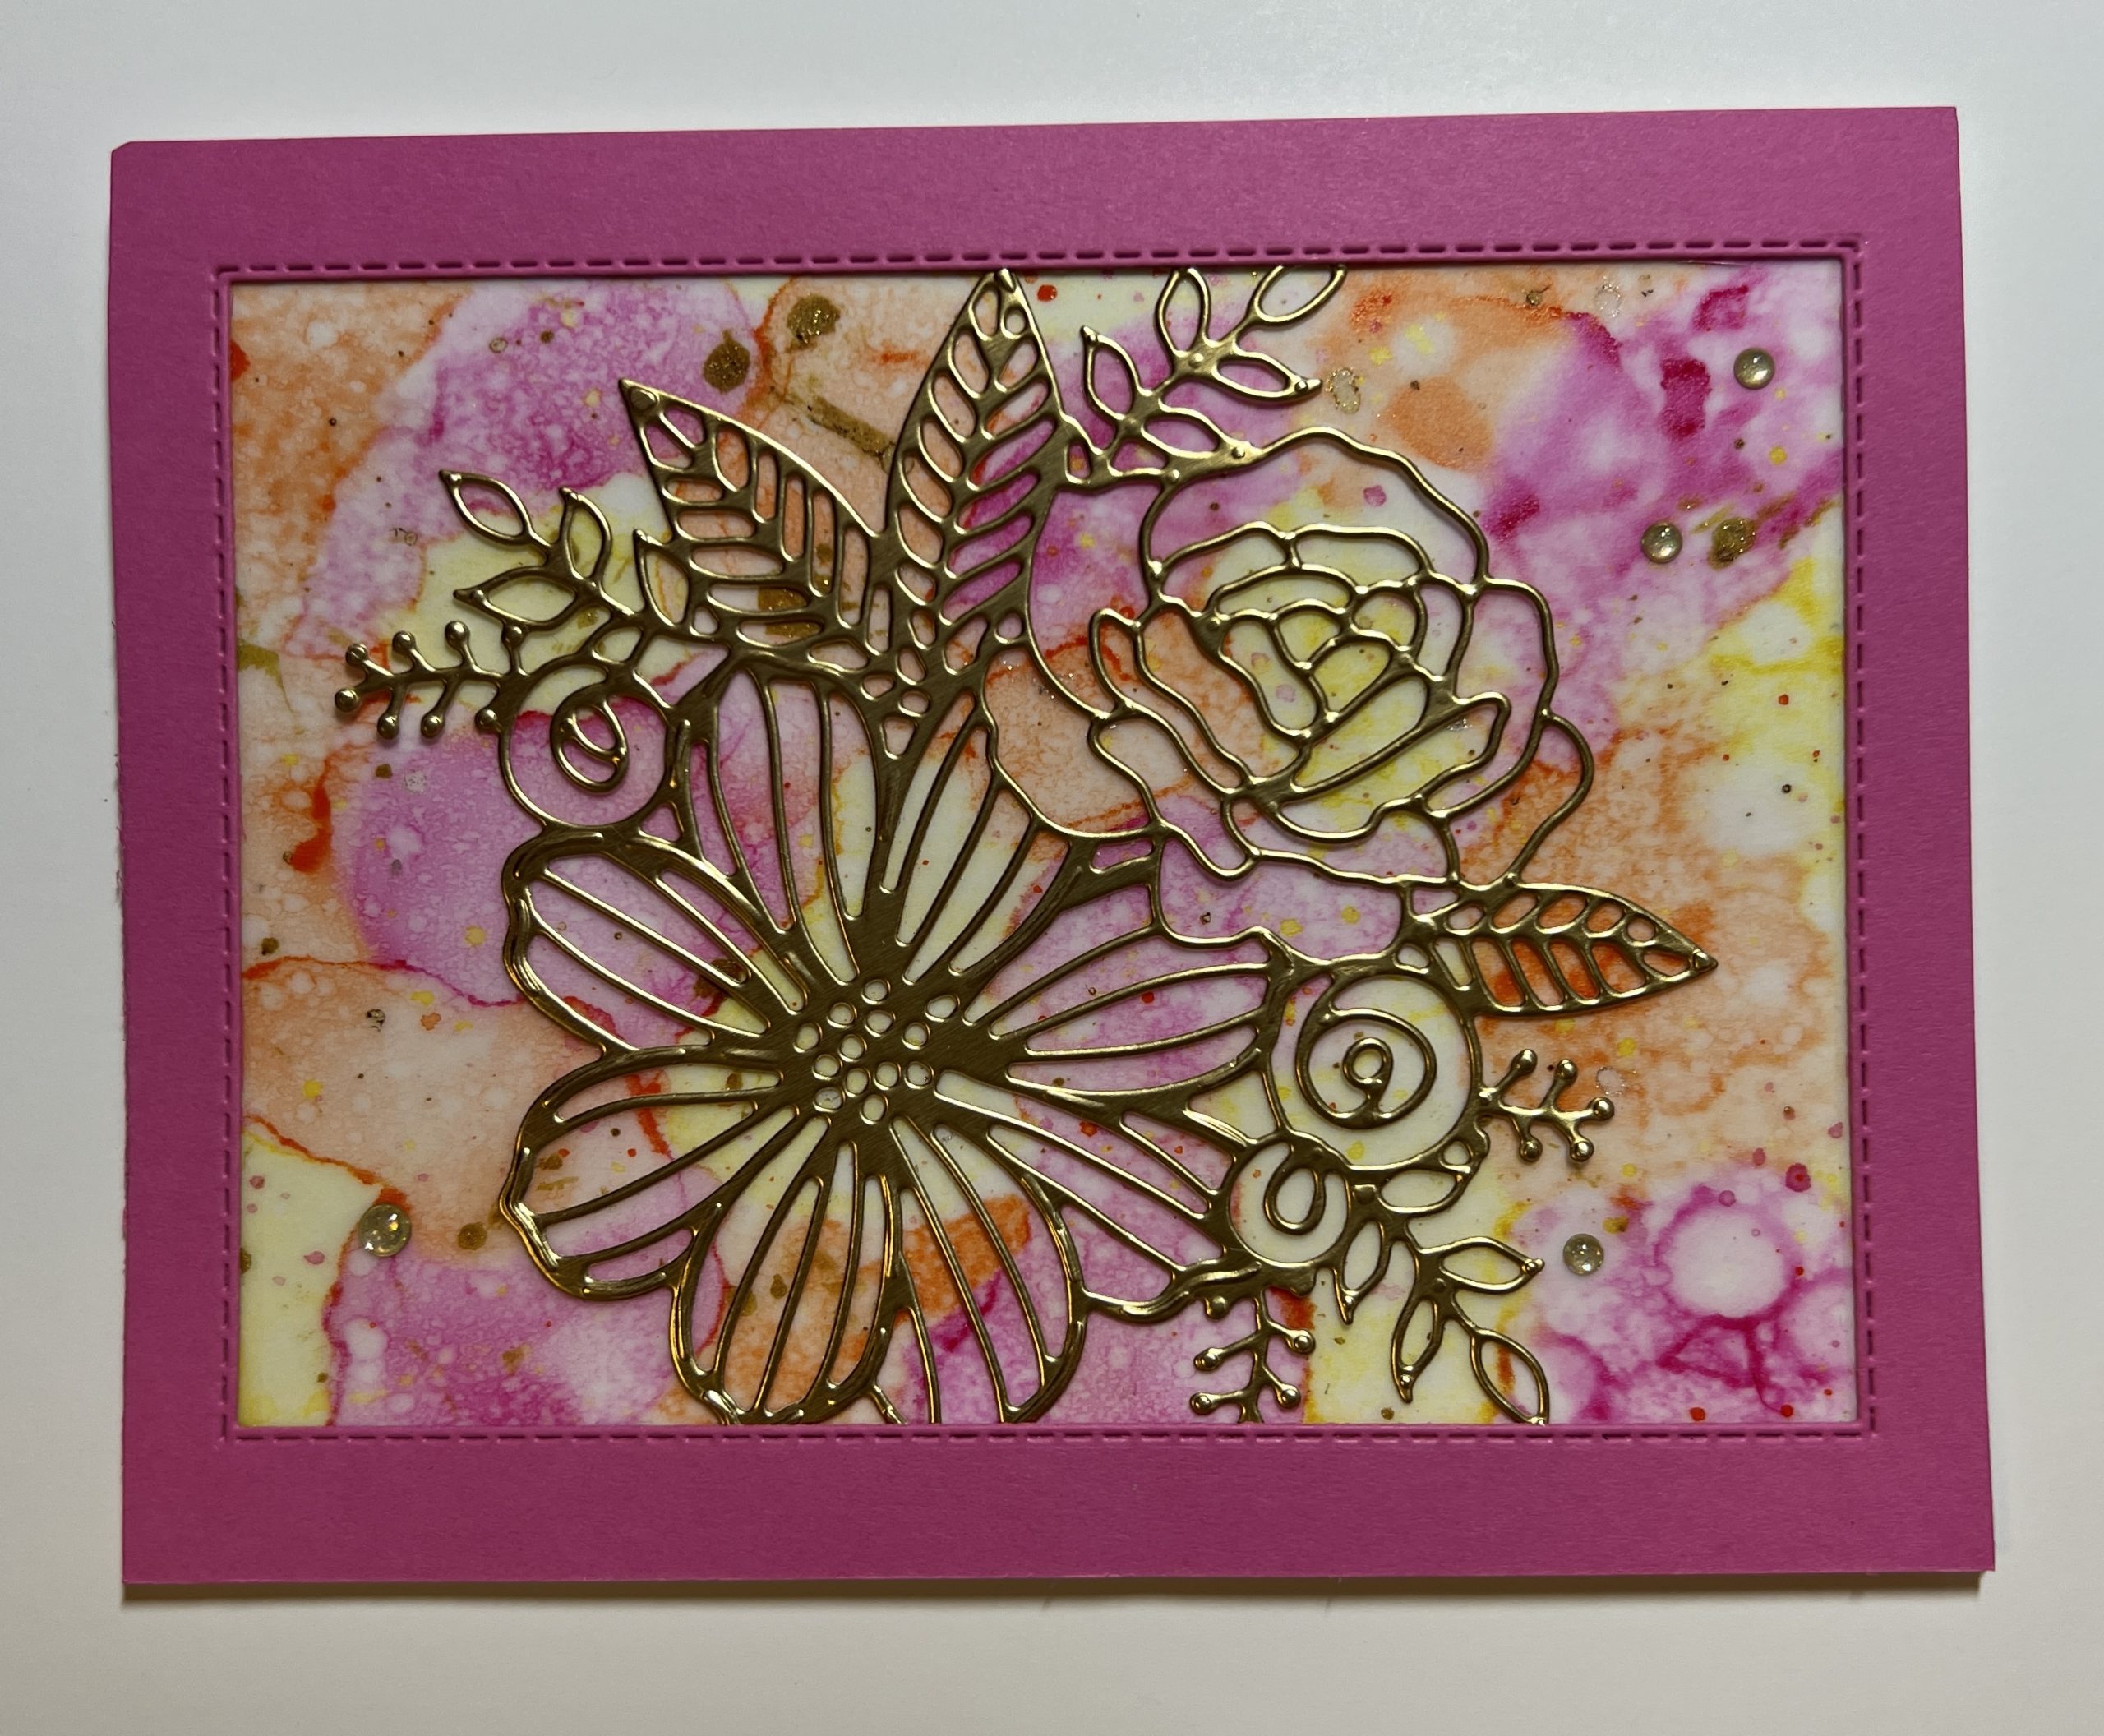
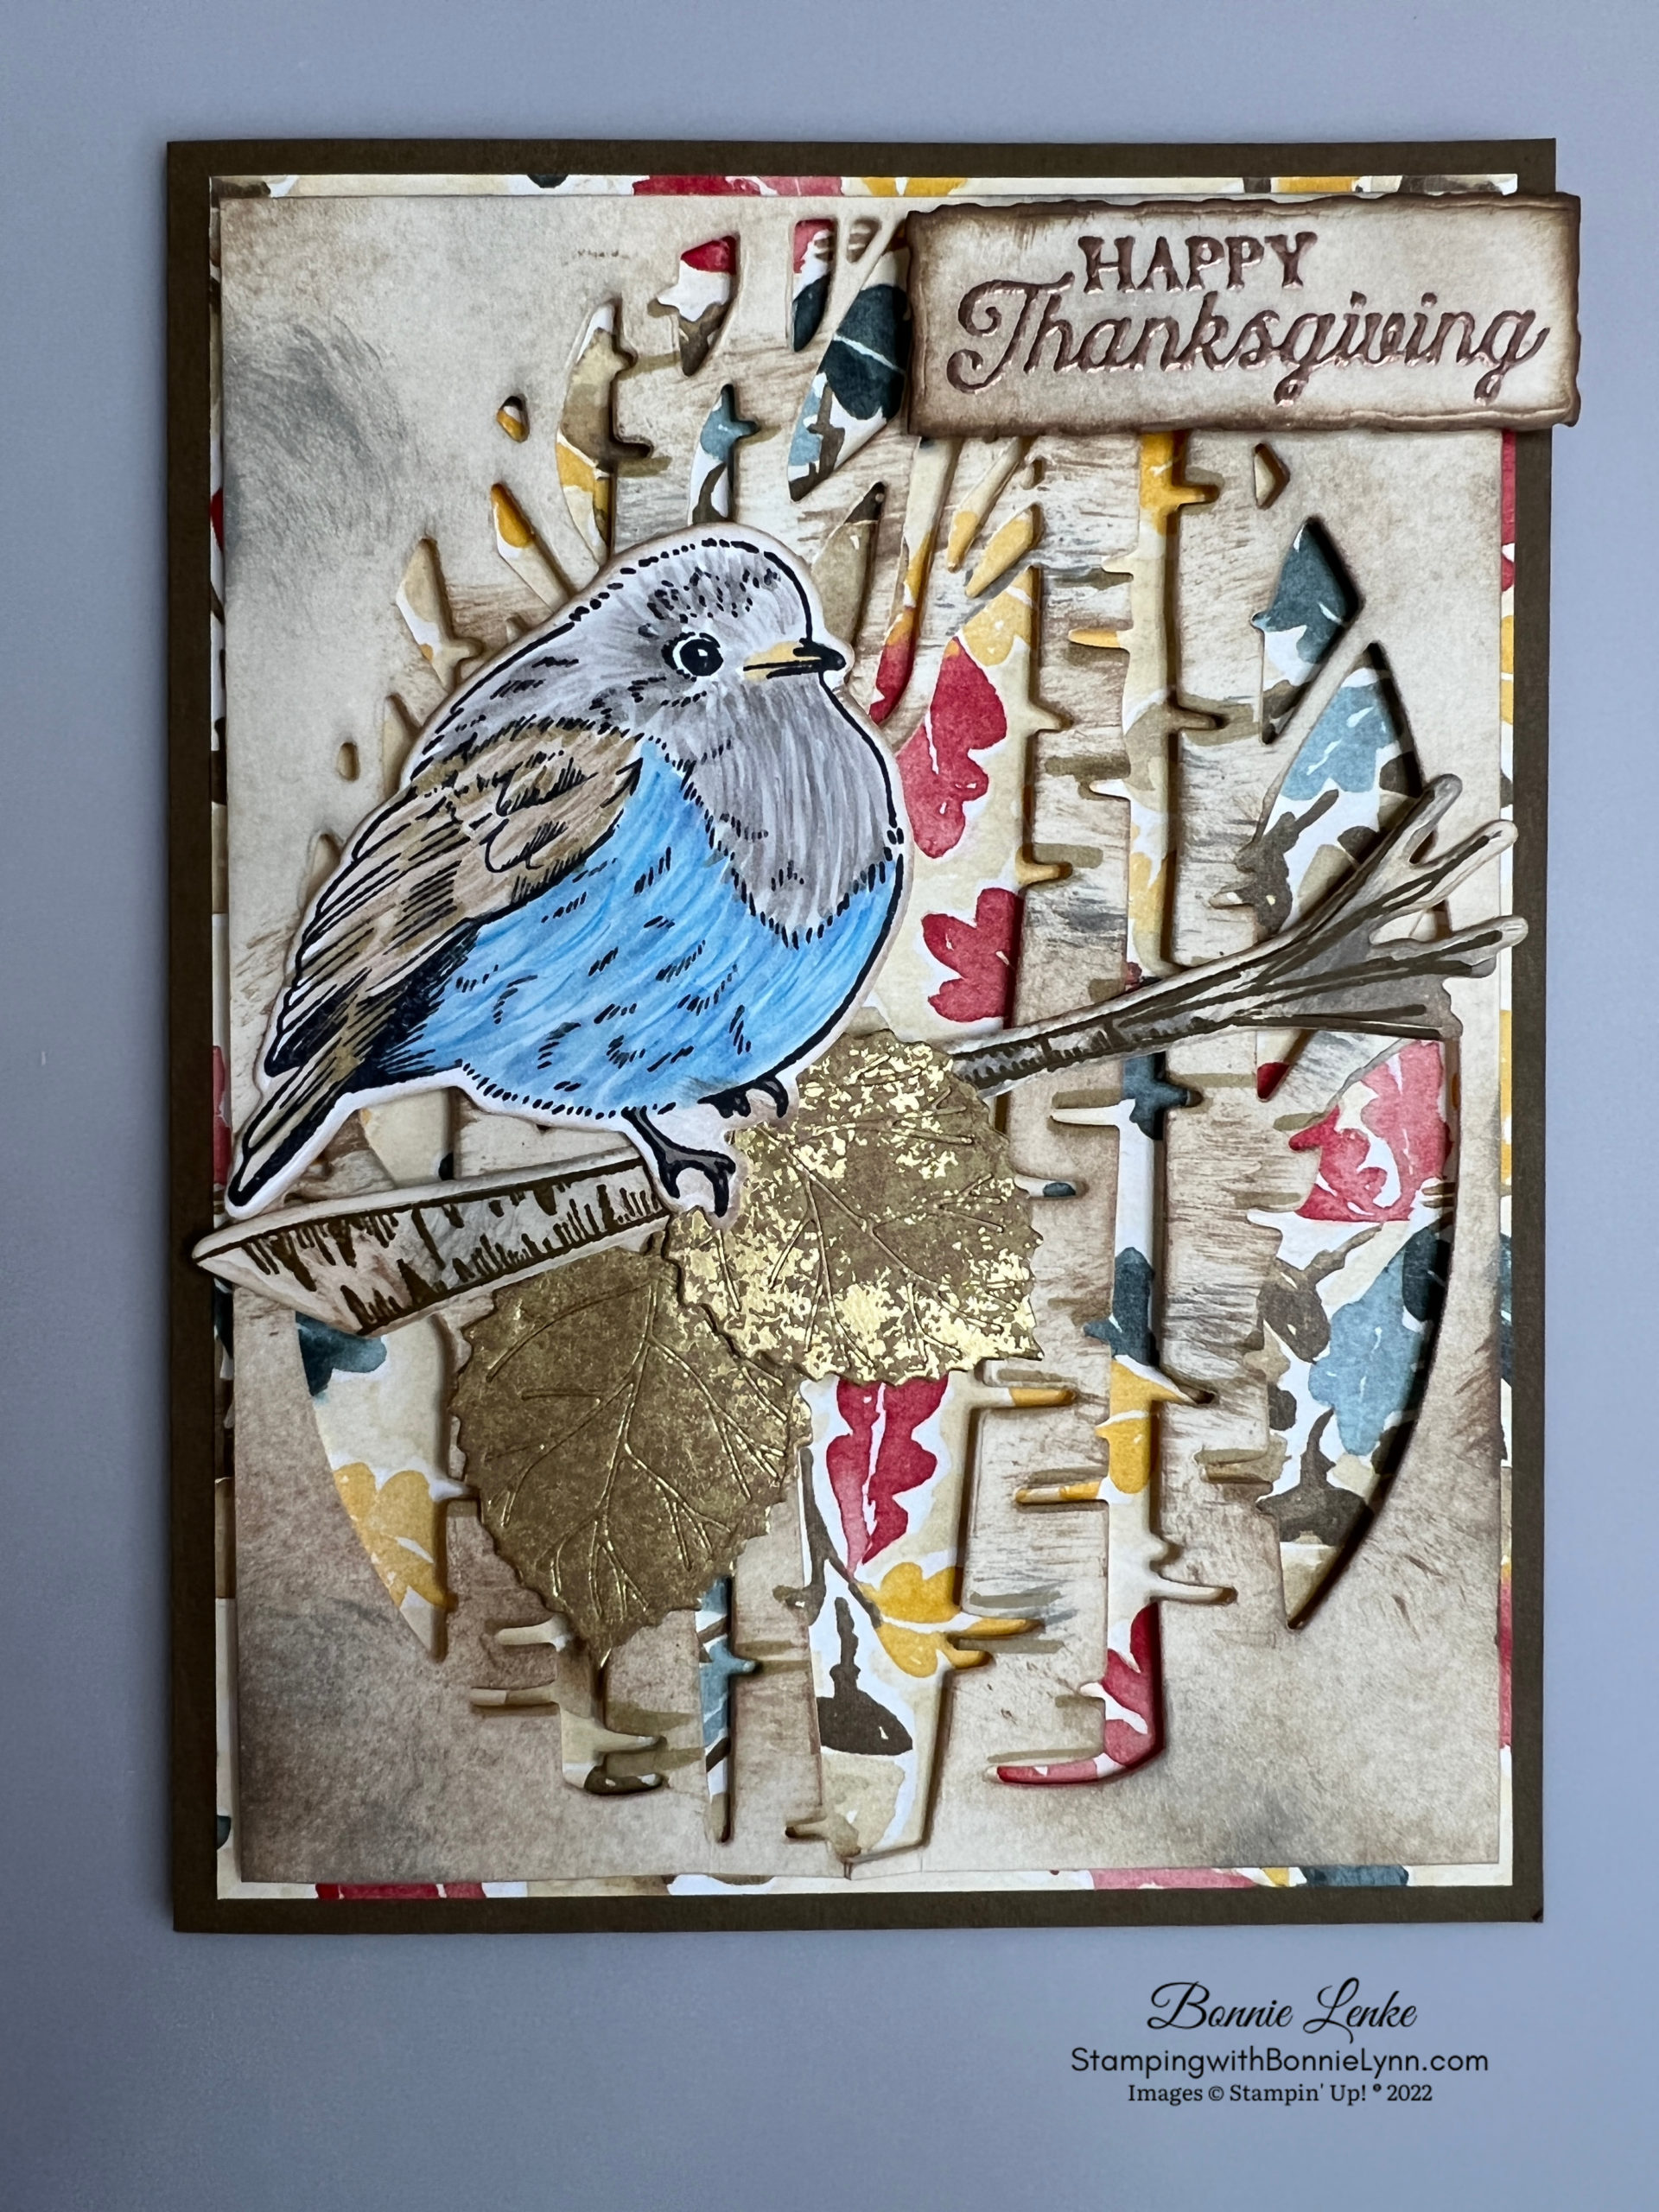
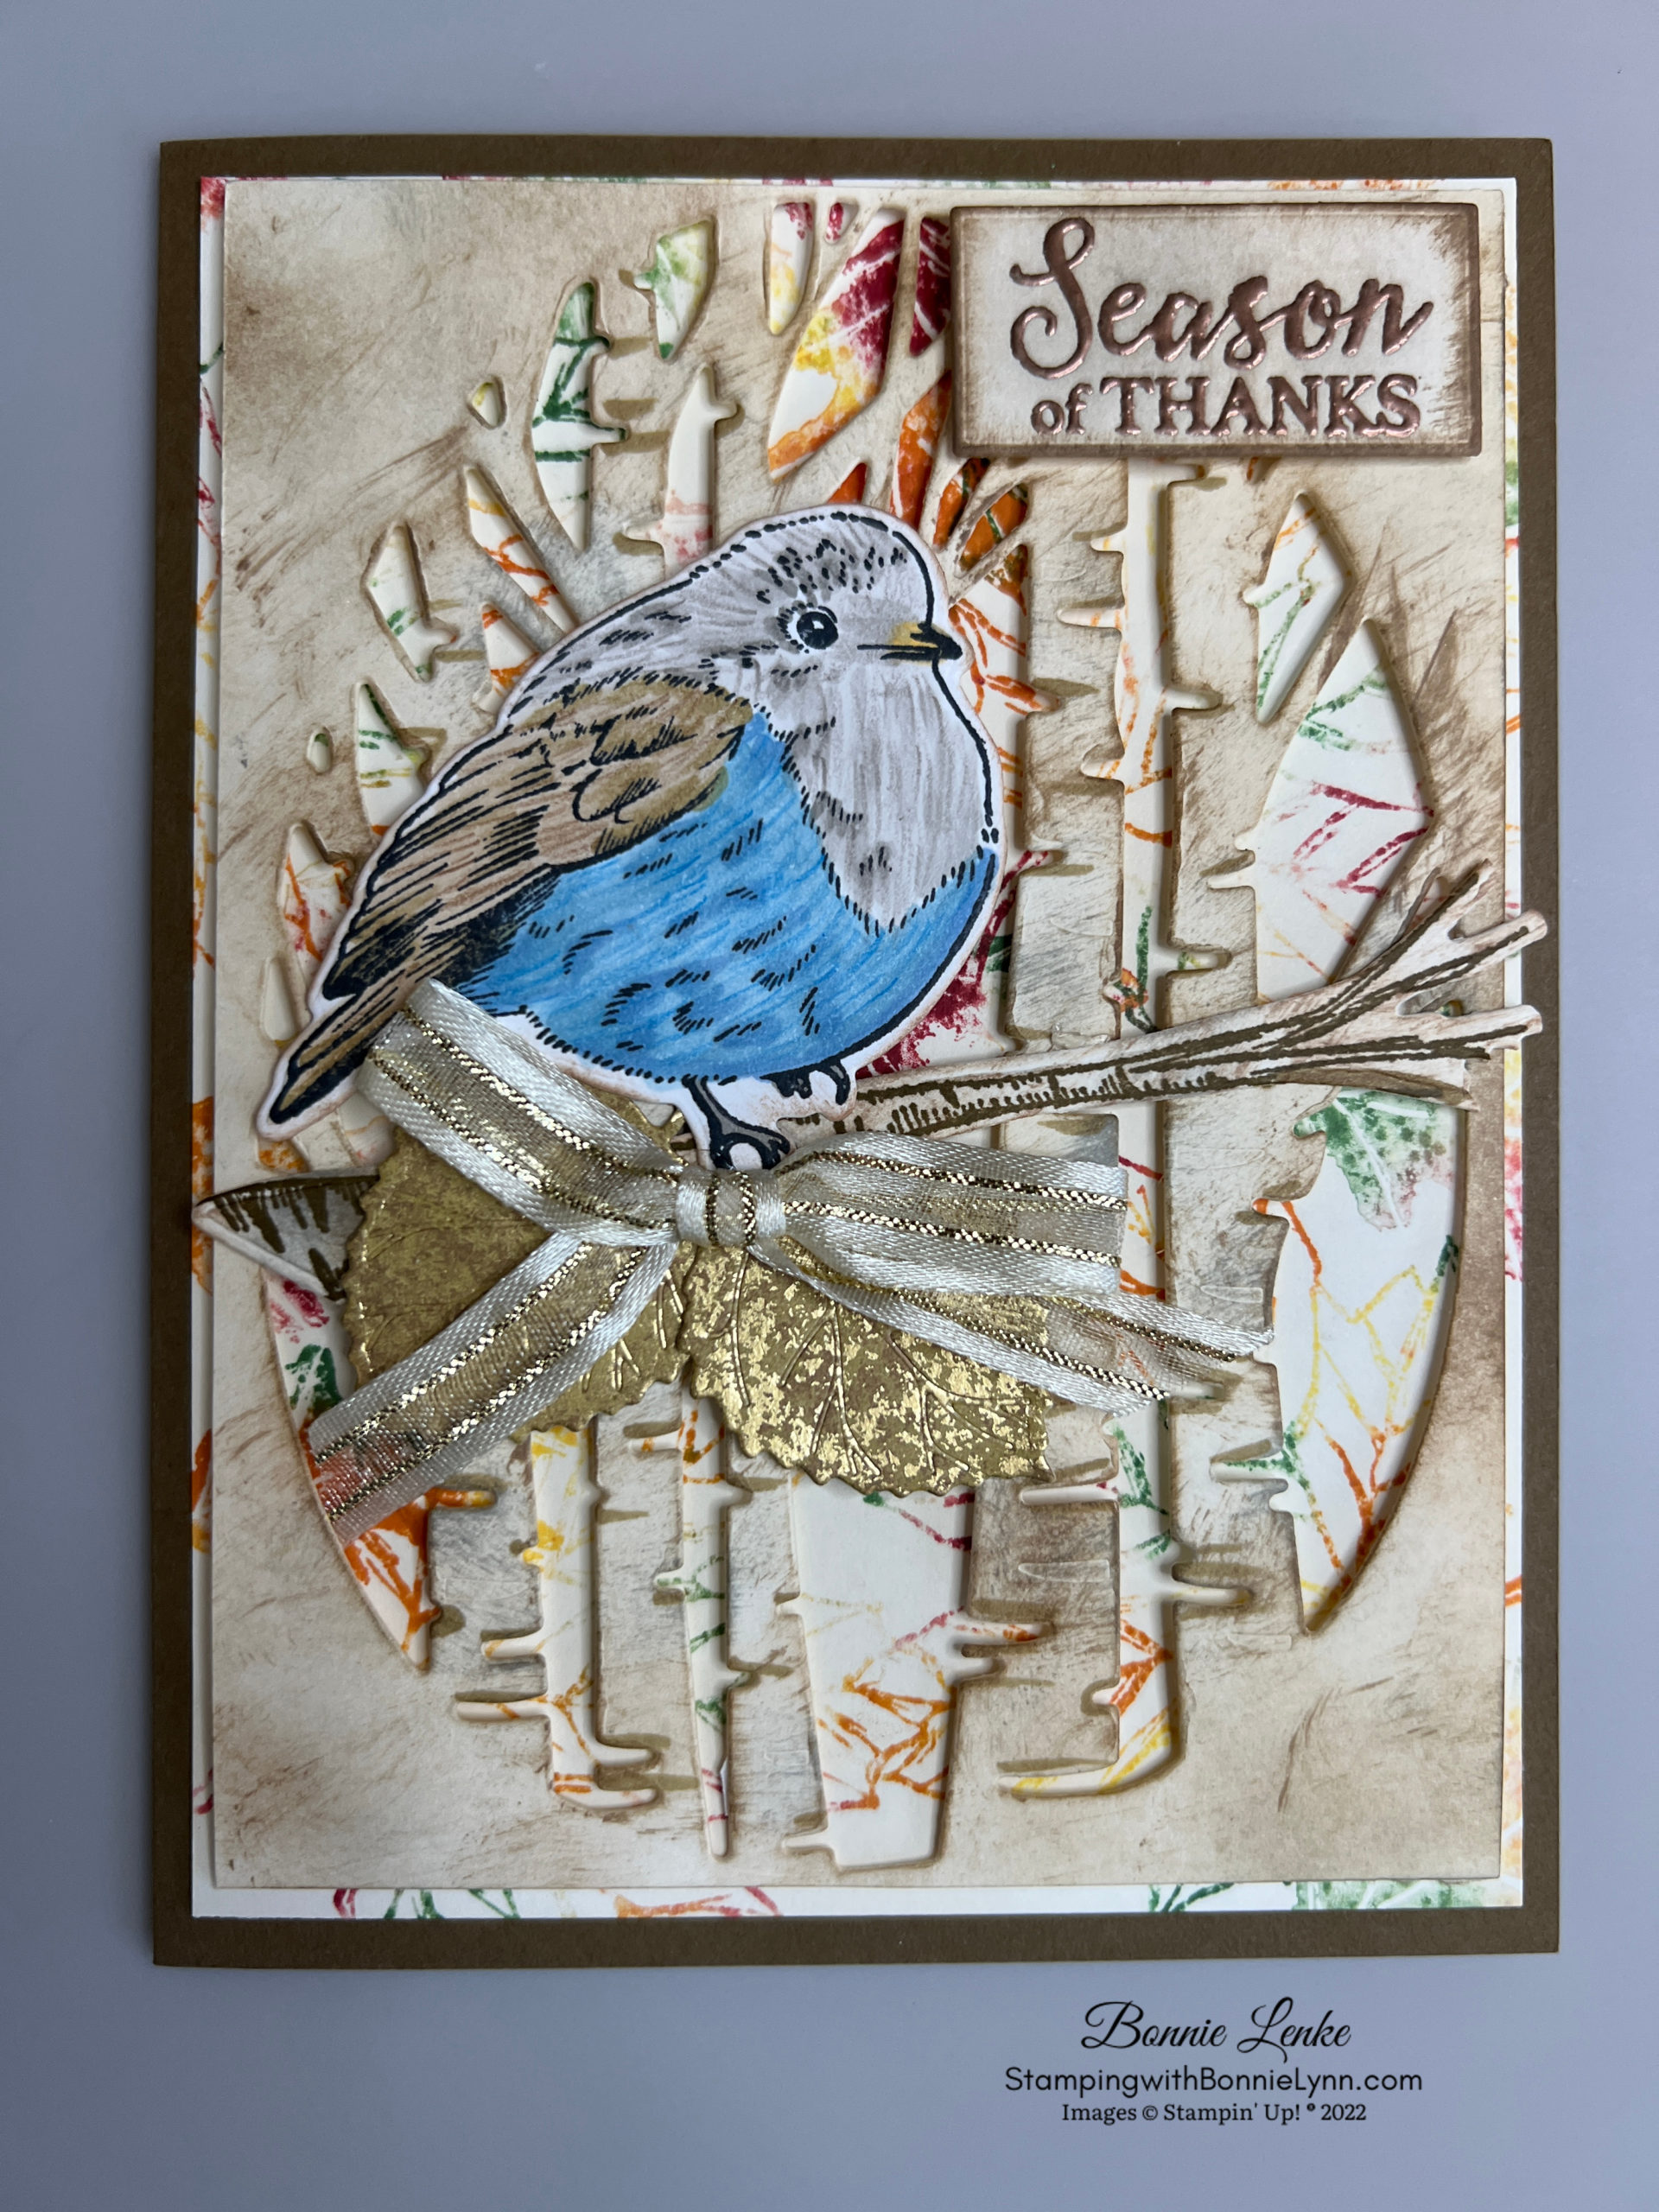
This card was created for my September in person class. Once I had made the card, I remembered that I told the attendees at my August class that we would use the Baby Wipe Technique on a Fall card, so I had to change from using the Rings of Love DSP to making my own using the Baby Wipe technique. If you’re not familiar with this technique you’ll see how to do it in the video. The Baby Wipe technique is where you basically make a temporary ink pad. Supplies needed are a paper plate or plastic, baby wipes, re-inkers and stamps. Below both cards are pictured with the Ring of Love DSP and the one made with the Baby Wipe Technique.
The retired Gather Together Stamp Set was used for a leaf that I like in it. I also used a combination of Stampin Blends, Copics (I don’t have all the Stampin Blends as I’ve owned the Copics before the Stampin Blends came out) and Color Pencils for my coloring. Sometimes I’ll scan and print out a stamped object that I’ve colored so I don’t have to keep color the same thing if I’m making a number of those cards. This is especially true at Christmas time.
CLICK FOR PERCHED IN A TREE VIDEO
Let’s Get Started
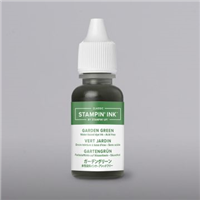
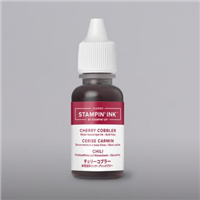
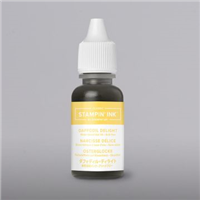
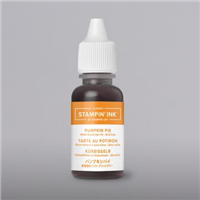
- Well start with the Baby Wipe Technique. Put 4 or 5 baby wipes on your disposable paper plate. From each of the Garden Green, Cherry Cobbler, Daffodil Delight and Pumpkin Pie re-inkers add 4 to 5 drops of each color ink to the baby wipes. Hint space the first color drops out then add the next color close to the first color, repeat with the other two colors so they spread to touch each other. Ink you stamp up and stamp onto the 4” x 5-1/4” Very Vanilla Cardstock. Keep repeating inking your stamp and stamping till you have filled your Cardstock. Use a couple different stamps to give the paper more character. Set aside to dry.
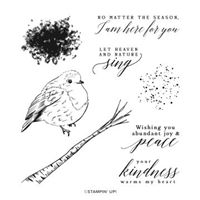
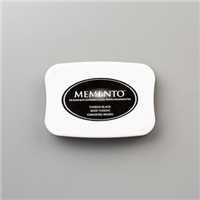
- Stamp the Bird from the Perched in A Tree stamp set in Black Memento Ink on White Cardstock. Color the Bird with Stampin Blends/Copics/Color Pencils. I have listed the combination I used below under “Supplies Used”. Cut out with the coordinating die from the Aspen Dies.
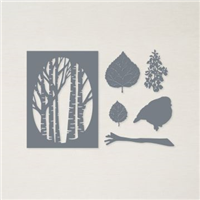
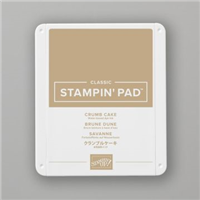
- Use the Aspen Dies to cut the oval Aspen Trees out of the 3-7/8” x 5-1/8” Very Vanilla Cardstock. Stamp the Tree Branch in Soft Suede Ink on a scrap of Very Vanilla and Cut out with coordinating die. Using your Light Soft Suede Stampin Blend make lines on trunks. (This is shown in video and in picture below also showing the Smoky Slate added). Next with your Daubers add Smoky Slate Ink to the trees in small areas and also to the surrounding area. Now add Crumb Cake Ink to the trees with a Dauber. With a Blending Brush add Crumb Cake Ink lightly over the who cut out. Add the inks using the daubers to the Tree Branch.
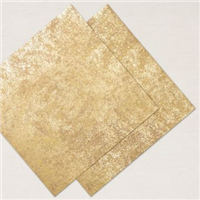
- Cut out 2 of the small leaves from the Aspen Dies from the Distressed Gold Foil Specialty Paper. Set aside.
- Fold the Soft Suede Card base on the score line and burnish with Bone Folder.
- Adhere the one-of-a-kind leaf paper you made to the Card Base Front.
- With Dimensionals adhere your Aspen Tree die cut to the card front. Hint: support the tree trunks with the Mini Dimensionals or cut the regular sized Dimensionals down to fit on the tree trunks. Adhere to Card Front.
- Add Branch to Card Front with drops of Liquid Glue or Glue Dots. Add the Distressed Gold Leaves with Glue Dots. Attached the Bird with Glue Dots or Liquid Glue
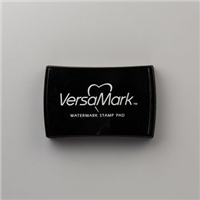
- Heat Emboss your Greeting with Copper Embossing Powder. Cut out with the smallest Deckle Rectangle Die by the bottom and right side of framelet close to greeting and cut. After the first cut do a second cut by placing the Die close to embossed words on the left side and top, run through machine a second time. Add to Card Front with Dimensionals.
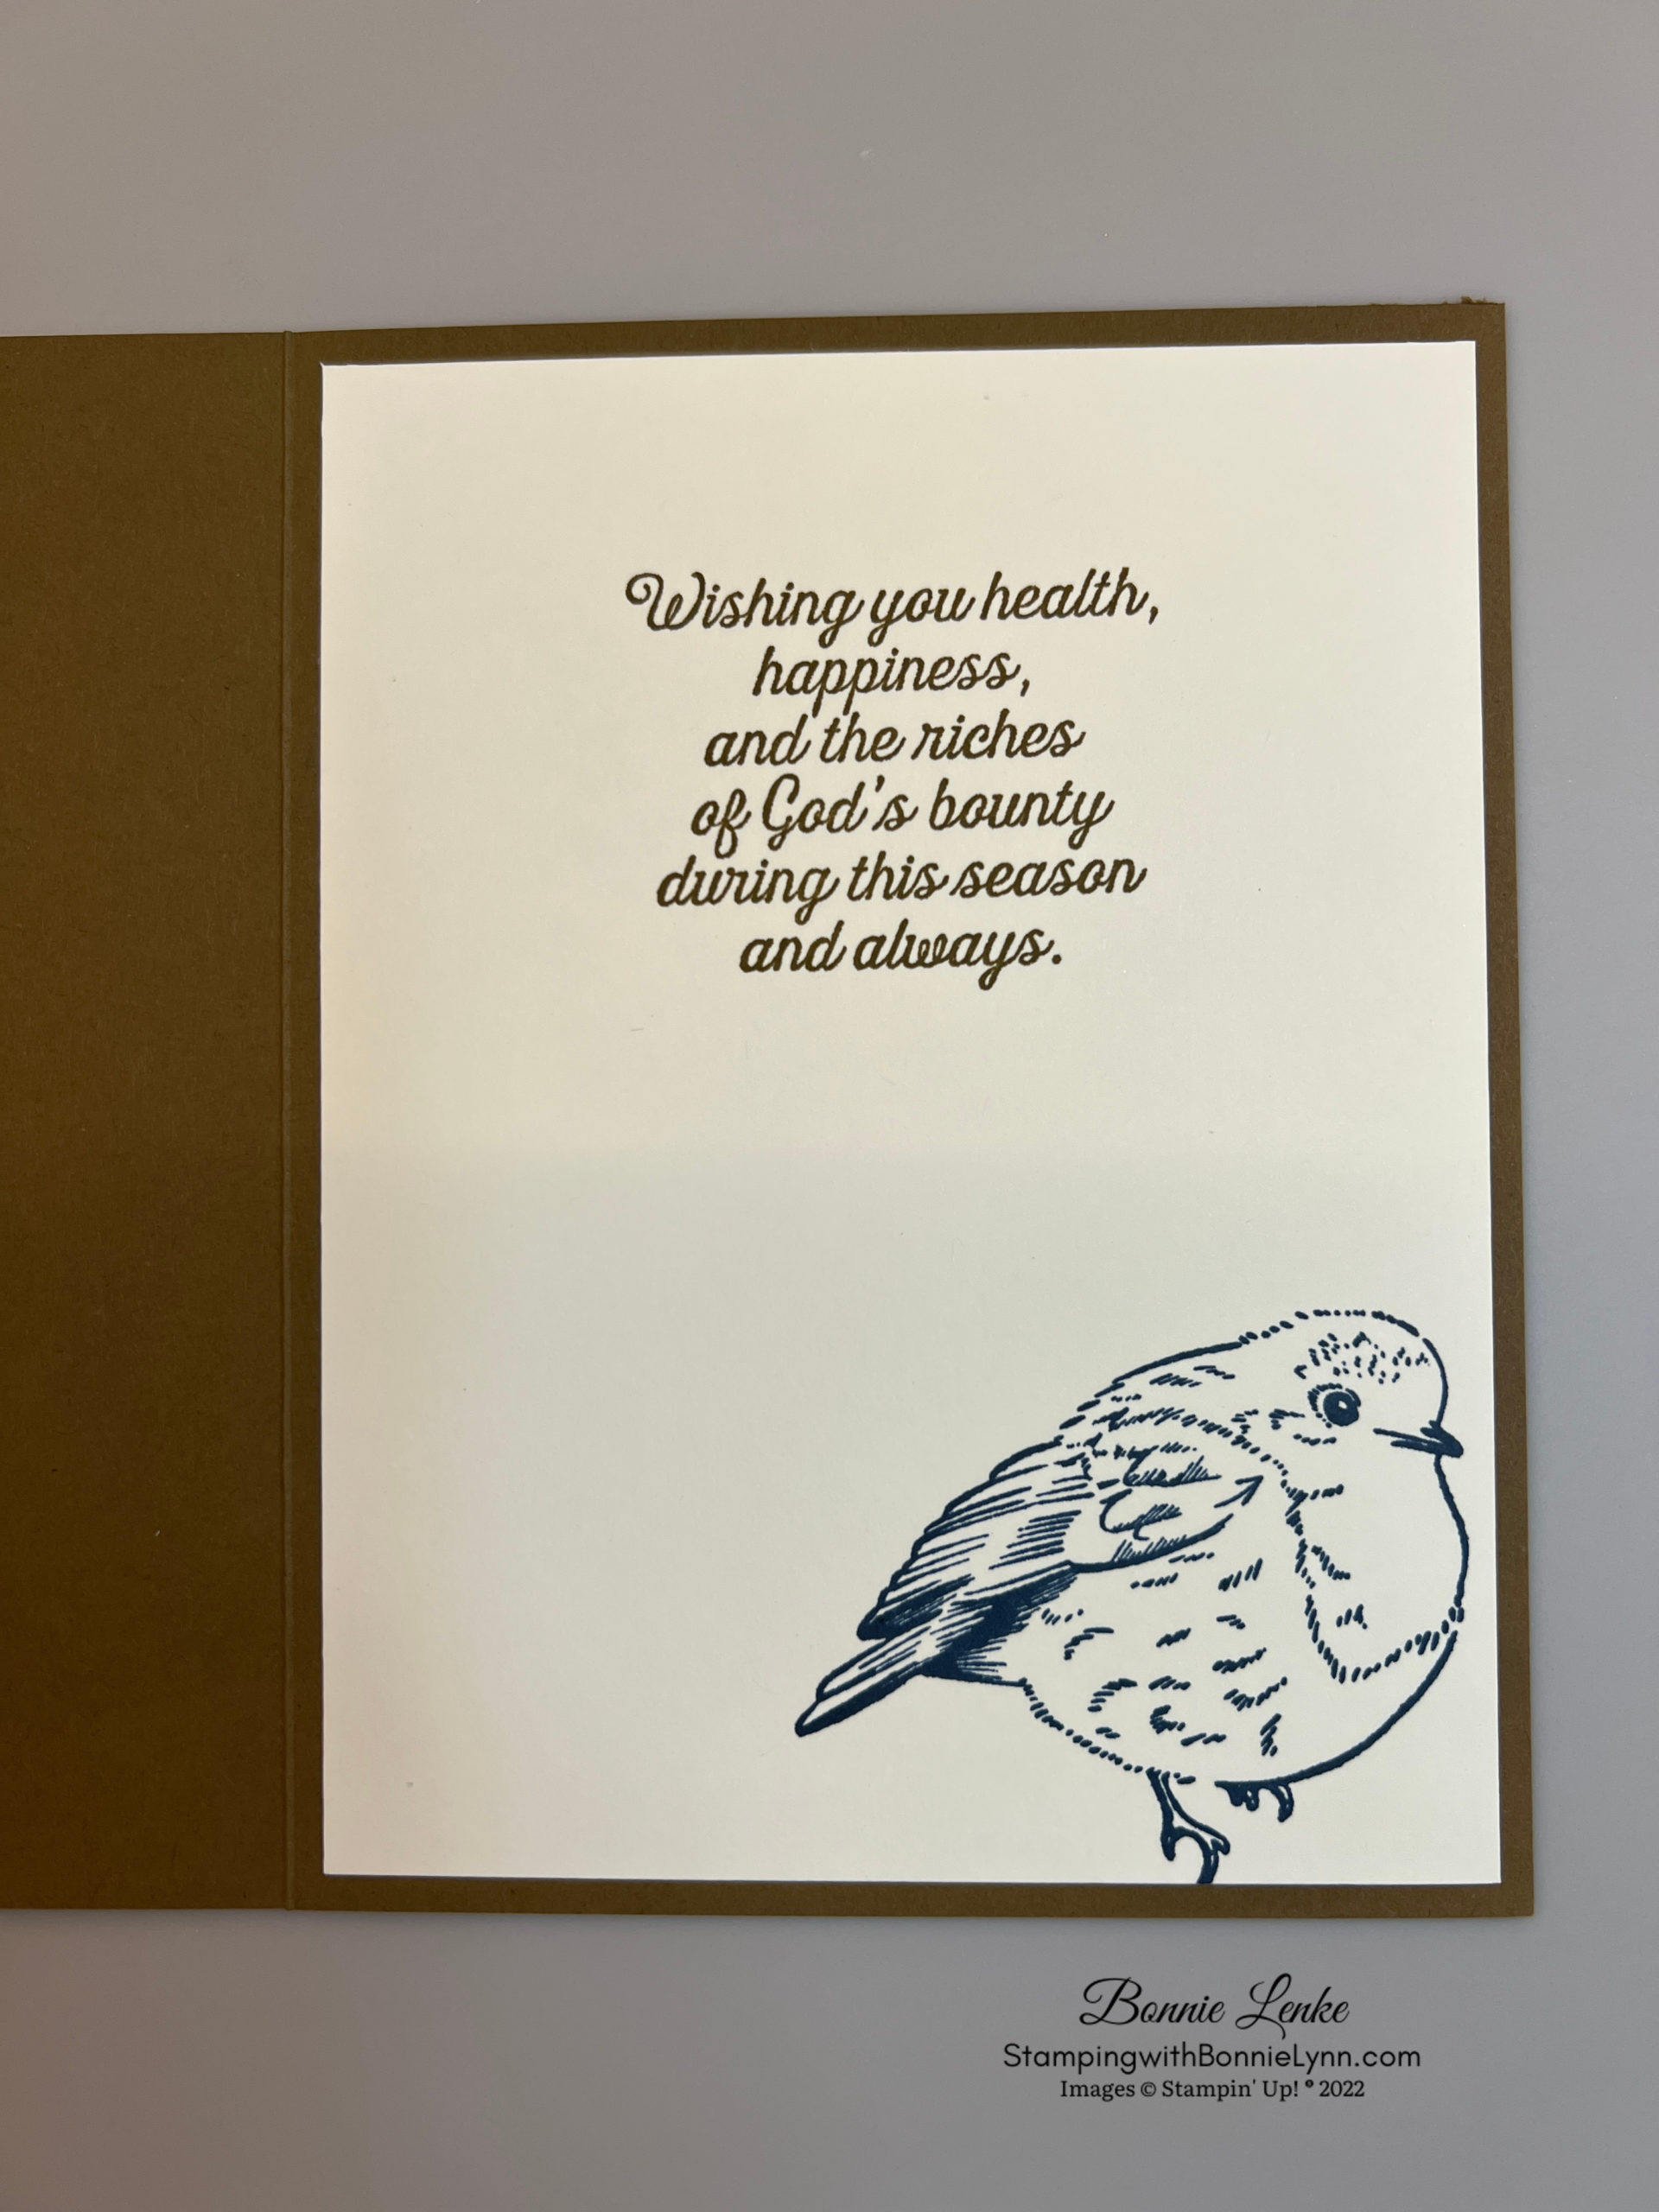
- For the inside of you card, stamp you saying in Soft Suede Ink onto Very Vanilla Cardstock. Stamp the Bird in Night of Navy Ink onto lower right side. Stamp the Bird onto the bottom left corner of your Envelope.
And now you have a beautiful Fall card to brighten someone’s day.
Happy Stamping!
Card Recipe for Stampin’ Up! Perched in A Tree Card
Cardstock:
- Soft Suede: 8-1/2” x 5-1/2”, scored at 4-1/4” This is your card base
- Very Vanilla: 4” x 5-1/4” for making your own DSP and for card inside, 3-7/8” x 5-1/8” for aspen trees die cut and scraps for branch and greeting
- Basic White: 3” x 3-1/2” for bird
- Rings of Love DSP: 4” x 5-1/4” or make your own with the Baby Wipe Technique
- Distressed Gold Specialty Paper: Scrap for leaves
Supplies Used:
- Stamps: Perched in A Tree, Gather Together (retired)
- Dies: Aspen Dies
- Cardstock/Paper: Very Vanilla, Soft Suede, Basic White, Make your own or use the Rings of Love Designer Series Paper, Distressed Gold Specialty paper
- Stampin Pads: Crumb Cake, Smoky Slate, Soft Suede, Night of Navy, Memento Black, VersaMark
- Ink Refills: Garden Green, Cherry Cobbler, Pumpkin Pie, Daffodil Delight
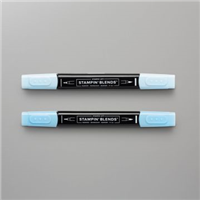
- Stampin Blends: Balmy Blue, Soft Suede light, So Saffron dark for beak. Copics used in addition to Stampin Blends: B45 used with the Balmy Blues, E41 & E42 used with the Soft Suede Blends but you can substitute with Crumb Cake Blends, W1, W3 W5 for face of bird (substitute with either Grey Granite or Smoky Slate Blends)
- Embellishments:
- Others: Stampin Emboss Powders – Metallic (Copper, Silver & Gold)
- Adhesives: Dimensionals, Glue Dots, Liquid Glue, Tear N Tape, Stampin Seal
- Tools: Heat Tool, Embossing Additions Tool Kit, Paper Trimmer, Cut & Emboss Machine, Stamparatus, Clear Blocks, Take Your Pick, Bone Folder, Stampin Pierce Mat, Paper Snip Scissors, Blending Brushed, Daubers
CUSTOMER REWARDS
Earn FREE Stampin’ Up! products when you order from Bonnie-Lynn Lenke!
Bonnie-Lynn’s Reward points are my way of personally saying “thank you” for shopping with me and being a frequent shopper. You earn a reward point for every $25 increment you spend on Stampin’ Up! products (before shipping and taxes) through my online store. After you earn 10 Reward Points, I’ll provide you with a $25 product credit on a future order (I will need to personally place the order for you with the credit).
CLICK HERE FOR MORE DETAILS & TRACKING FORM
Additional Benefits of Being a Stamping With Bonnie-Lynn Customer:
When you place an on-line order through me, you instantly become one of my Preferred Customers*.
As one of my Stamping With Bonnie-Lynn Preferred Customers, you will receive the following extras:
- Free Stampin’ Up! Seasonal Catalogs mailed to you with each release (Holiday and Spring).
- Order $100 or greater (can be multiple orders totaling $100) in the year prior to the new Annual Catalog.
- On-line ordering provides a one-step, convenient and secure way to shop for Stampin’ Up! products, including access to the Clearance Rack!
- Subscribe to my Stamping With Bonnie-Lynn blog emails for card samples, tips, tutorials and the latest Stampin’ Up! promotions.
*Please note: To remain one of my Stamping With Bonnie-Lynn Preferred Customers, you need to have placed an order through me within the last year*.