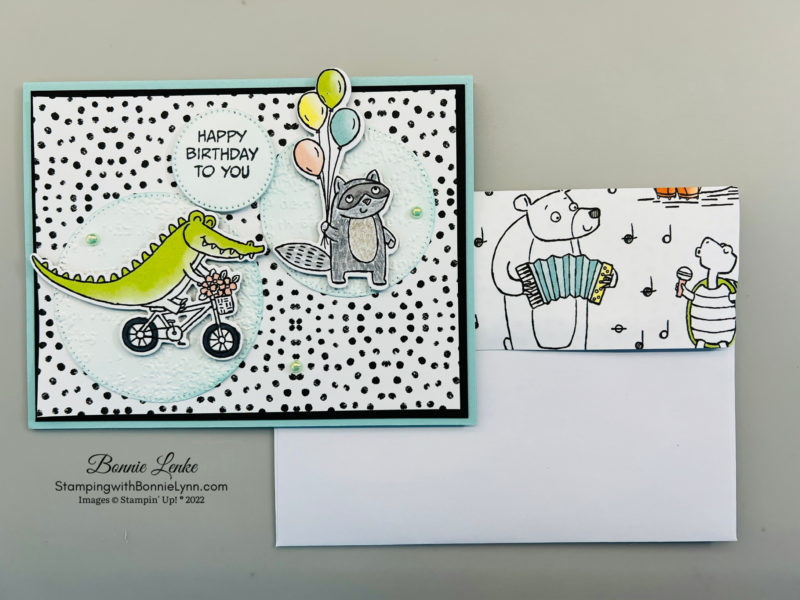
Gorgeously Made Birthday Card & Video
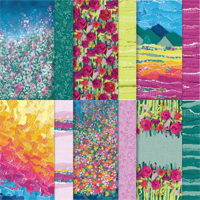
Stampin’ Up! Gorgeously Made Bundle paired with the gorgeous Masterfully Made Designer Series Paper adds up to one gorgeous card. I know, that was a lot of gorgeousness, lol. The paper really is beautiful though, all 12 sheets of it. This is my second favorite DSP. What do you think about it? I hope you enjoyed this card as much as I enjoyed making and sharing it with you.
CLICK FOR GORGEOUSLY MADE VIDEO
Instructions
- Fold your card base in half on the score line and burnish with Bone Folder.
- Using the torn edge looking die, die cut off no more than one inch on the card base front right edge.
- Take the 4” x 5-1/4” Designer Series Paper panel and die cut off the right hand edge. Line the paper up with the cut edge of card base and determine how much of DSP you need to cut off on the left side (see video). Once you are happy with the way the paper fits, glue it in place.
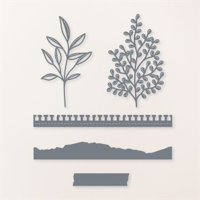
- From the Stylish Shape Dies, cut out the second largest circle die on Basic White Cardstock.
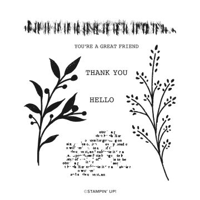
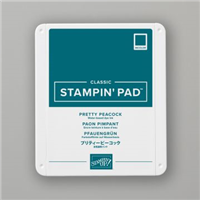
- Stamp the plant stamp in Pretty Peacock Ink onto the White circle then without re-inking, stamp to one side and then the other. Adhere to card front.
- Cut the fuller leaf die out of Vellum and the large leaf die out of Fresh Freesia Cardstock. Adhere both pieces with drops of Liquid Glue to card front.
- Stamp the greeting in Pretty Peacock Ink. Cut out with corresponding die.
- Stamp the line imagine in Pretty Peacock Ink on the 3” x 3/4” White Cardstock, stamp off above and below (without re-inking the stamp). Adhere greeting to this strip. Adhere strip to card front with Dimensionals.
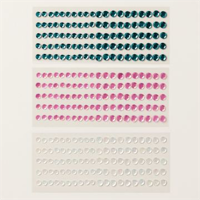
- Add Adhesive-Back Sequins Trio to card front.
- Adhere the 1” x 5-1/4” DSP Strip to card inside left of the White Cardstock.
- Inside is completed by stamping saying in Berry Burst Ink onto White Cardstock, stamp the same image as you used on the circle in Pretty Peacock Ink, adhere to card inside butting up to DSP.
- Envelope is finished with a piece of DSP taped or glue to envelope flap. Trim off any excess paper.
And now you have a beautiful card to brighten someone’s day.
Happy Stamping!
Card Recipe
Cardstock:
-
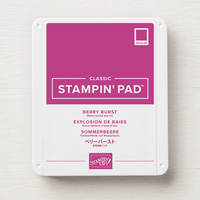
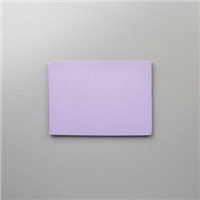
- Berry Burst: 8-1/2” x 5-1/2”, scored at 4-1/4” (card base)
-
- Basic White: 3” x 5-1/4” (inside), 3” x 3” (circle), (2) 3” x 3/4” (one for greeting, one for strip under greeting)
-
- Masterfully Made Designer Series Paper: 4” x 5-1/4” (card front), 1” x 5-1/4”
Supplies Used:
-
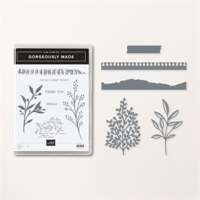
- Stamps: Gorgeously Made, Go To Greetings (Happy Birthday)
-
- Dies: Gorgeously Made, Stylish Shapes
-
- Cardstock/Paper: Berry Burst, Basic White, Masterfully Made Designer Series Paper
-
- Stampin Pads: Pretty Peacock, Berry Burst
-
- Embellishments: Adhesive-Backed Sequins Trio
-
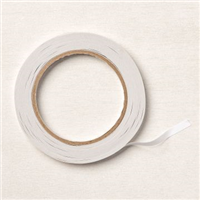
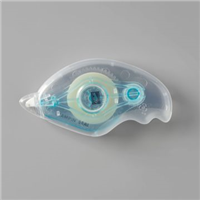
- Adhesives: Dimensionals, Liquid Glue, Tear N Tape, Stampin Seal
-
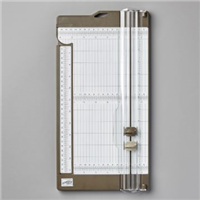
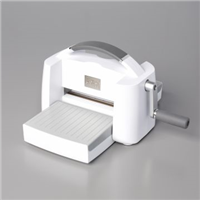
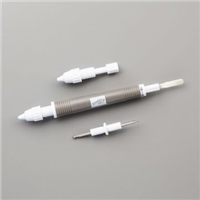
- Tools: Paper Trimmer, Cut & Emboss Machine, Clear Blocks, Take Your Pick, Bone Folder
Earn Reward Points quickly for a $25 Credit
When placing an order please use the current Host Code* and earn REWARD POINTS. Once you earn 10 reward points you will receive a $25 shopping credit from me. CLICK HERE for more details.
*NEWEST HOST CODE is always located on the right side of webpage midway down.
This month’s kit is all about hospitality! Whether you’re hosting friends in your home or want to stand out as a gracious guest, each card and stamp sentiment can create inviting and welcoming cards that any loved one is sure to appreciate. You will have so much fun crafting with these cards!
The Welcome Inn Paper Pumpkin Kit perfectly coordinates with the Countryside Inn Suite Collection (item number 161474) from the 2023–2024 Annual Catalog! You can use the stamps and paper from both the suite and kit to create cards that are stylish and refined. Don’t miss out on the fabulous coordinating dies add-on* for this Paper Pumpkin Kit! The vase and flower dies perfectly match up with all the details in the kit, and the leaf die will lend itself to some extra versatility with your kit! Each die will help add extra elegance and detail to your lovely cards.
CLICK HERE FOR MORE INFORMATION