Decorated with Happiness Christmas Greeting Card
Christmas in July Greetings! Today we’re continuing with this theme and I’m sharing with you the Decorated with Happiness stamp bundle from Stampin’ Up. This is a wonderful and fun set. Not only do you have dies that out with fine details but also the complete image. There is also a stamps that fill in the image with a modern take to it. I look forward to playing more with Decorated with Happiness bundle over the next few months.
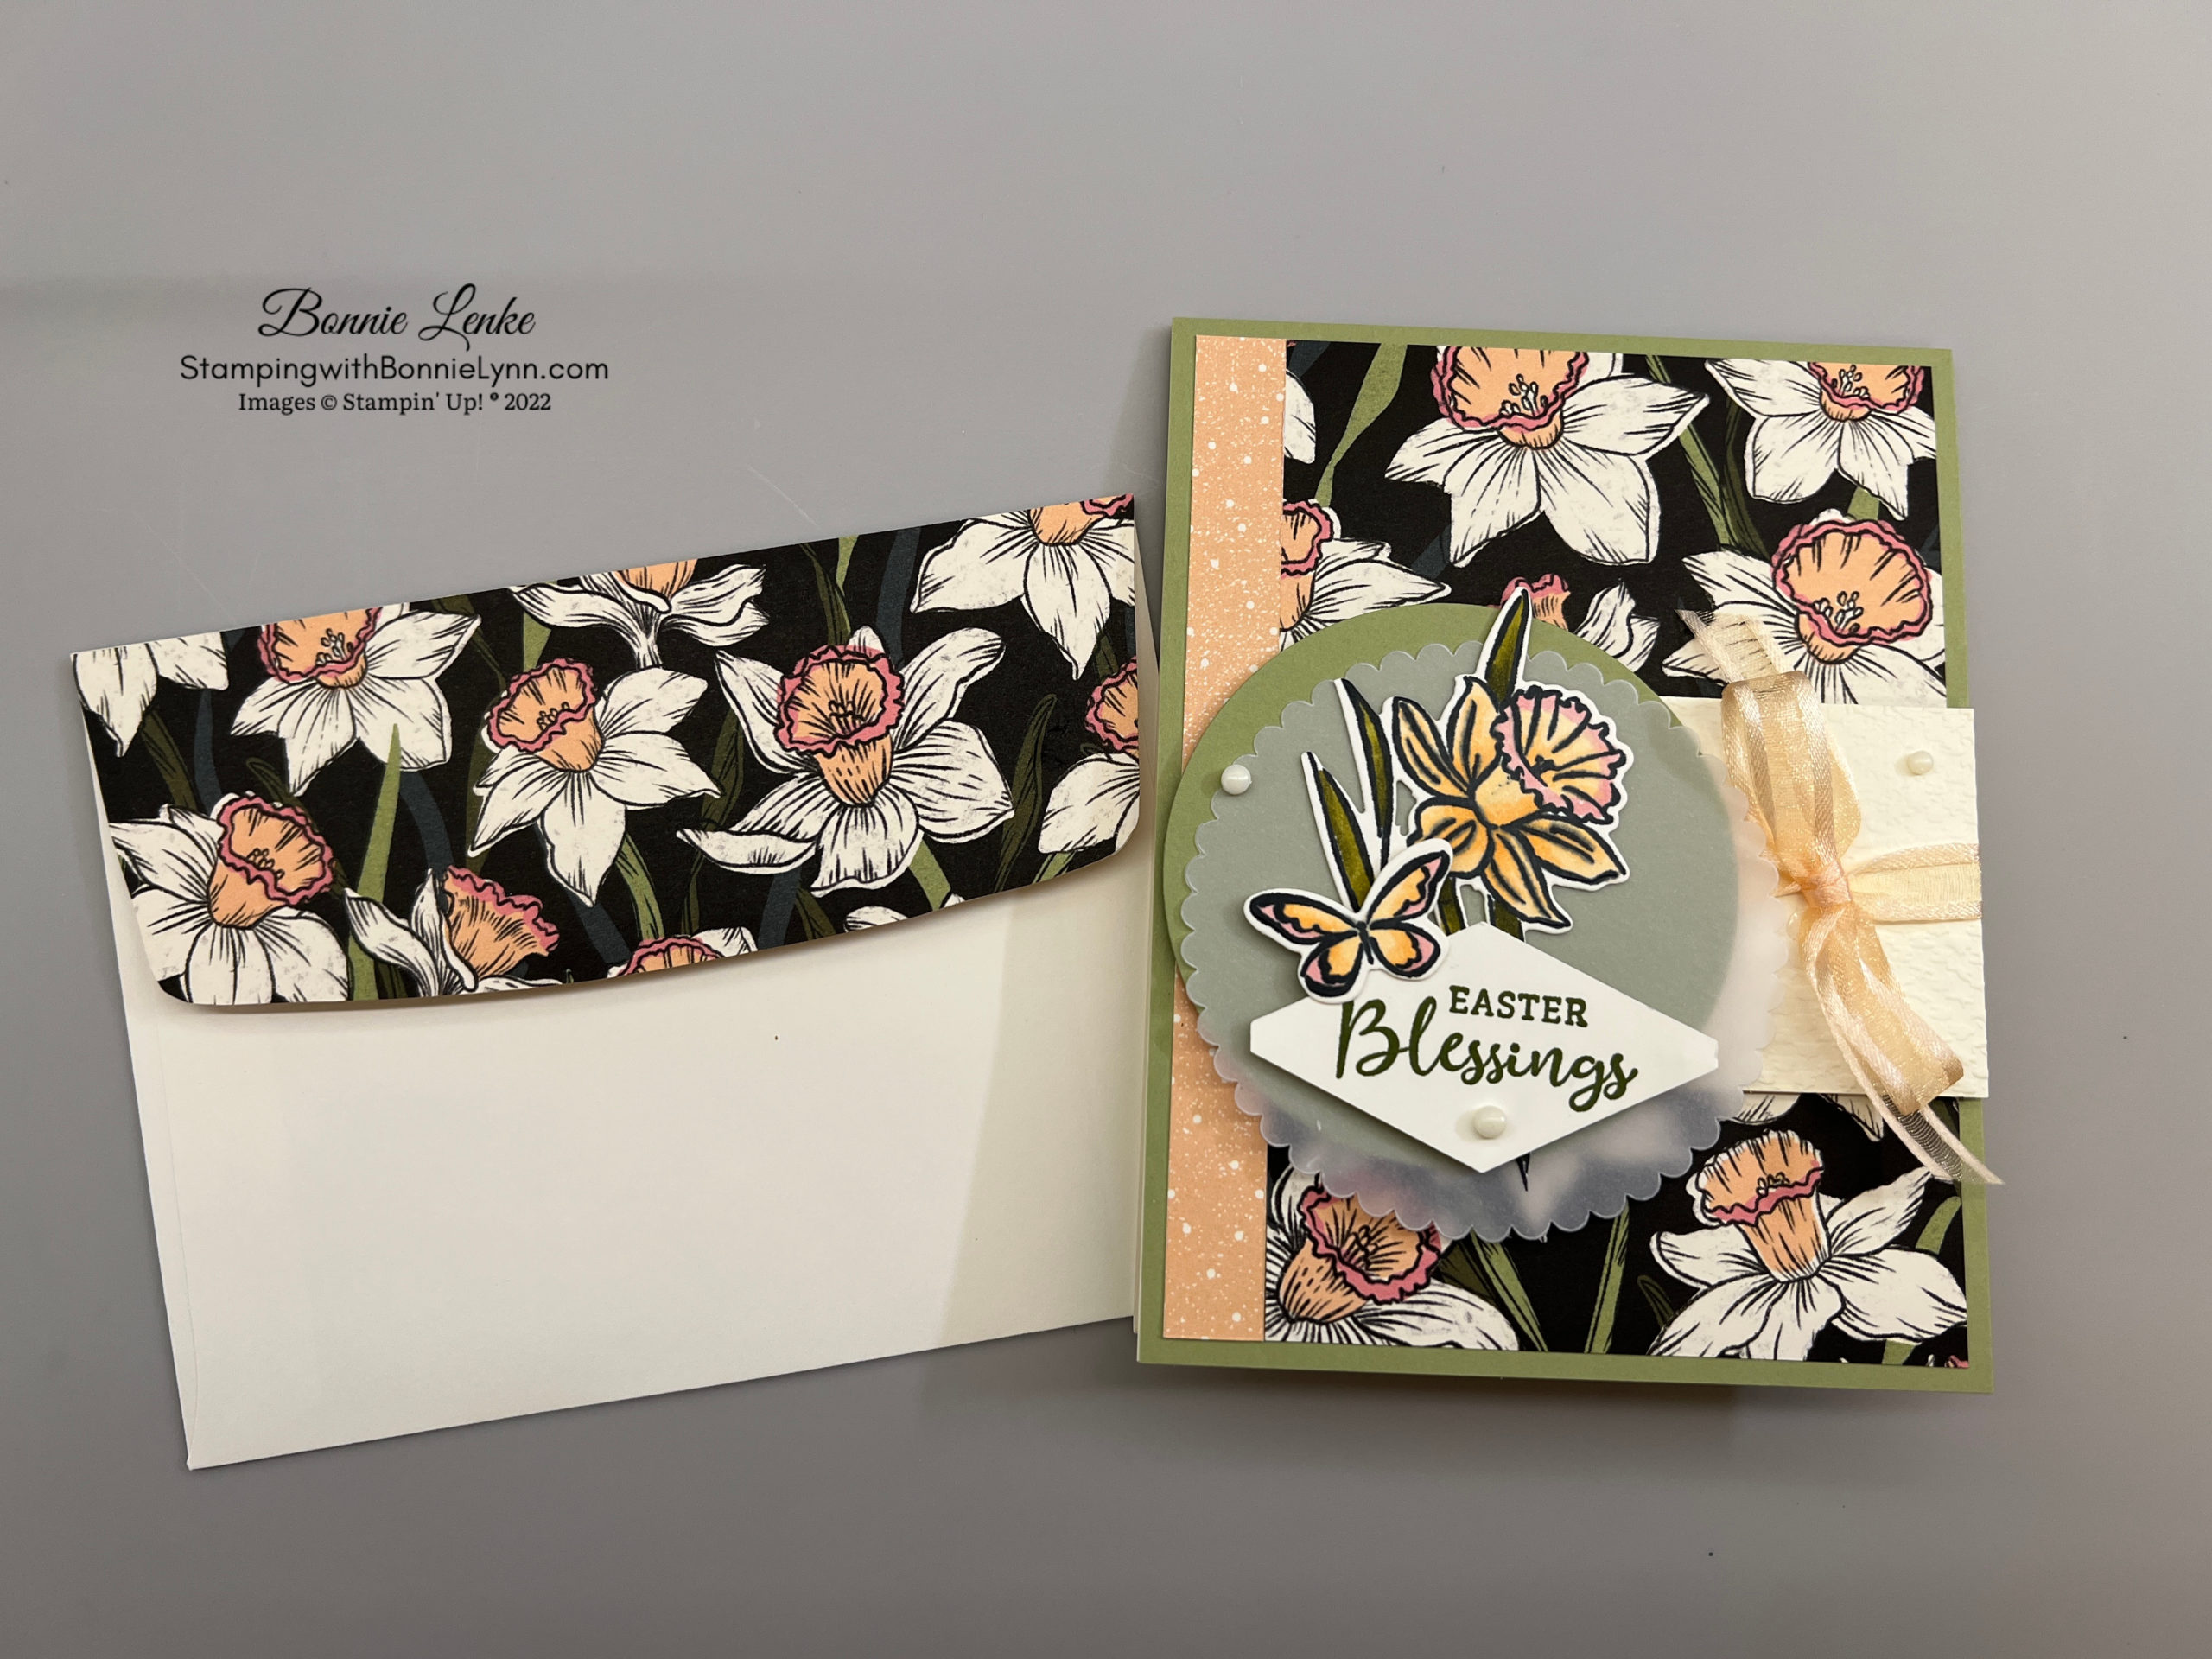
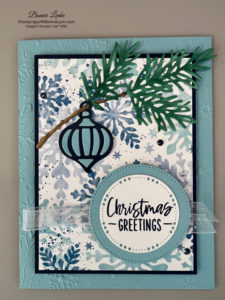
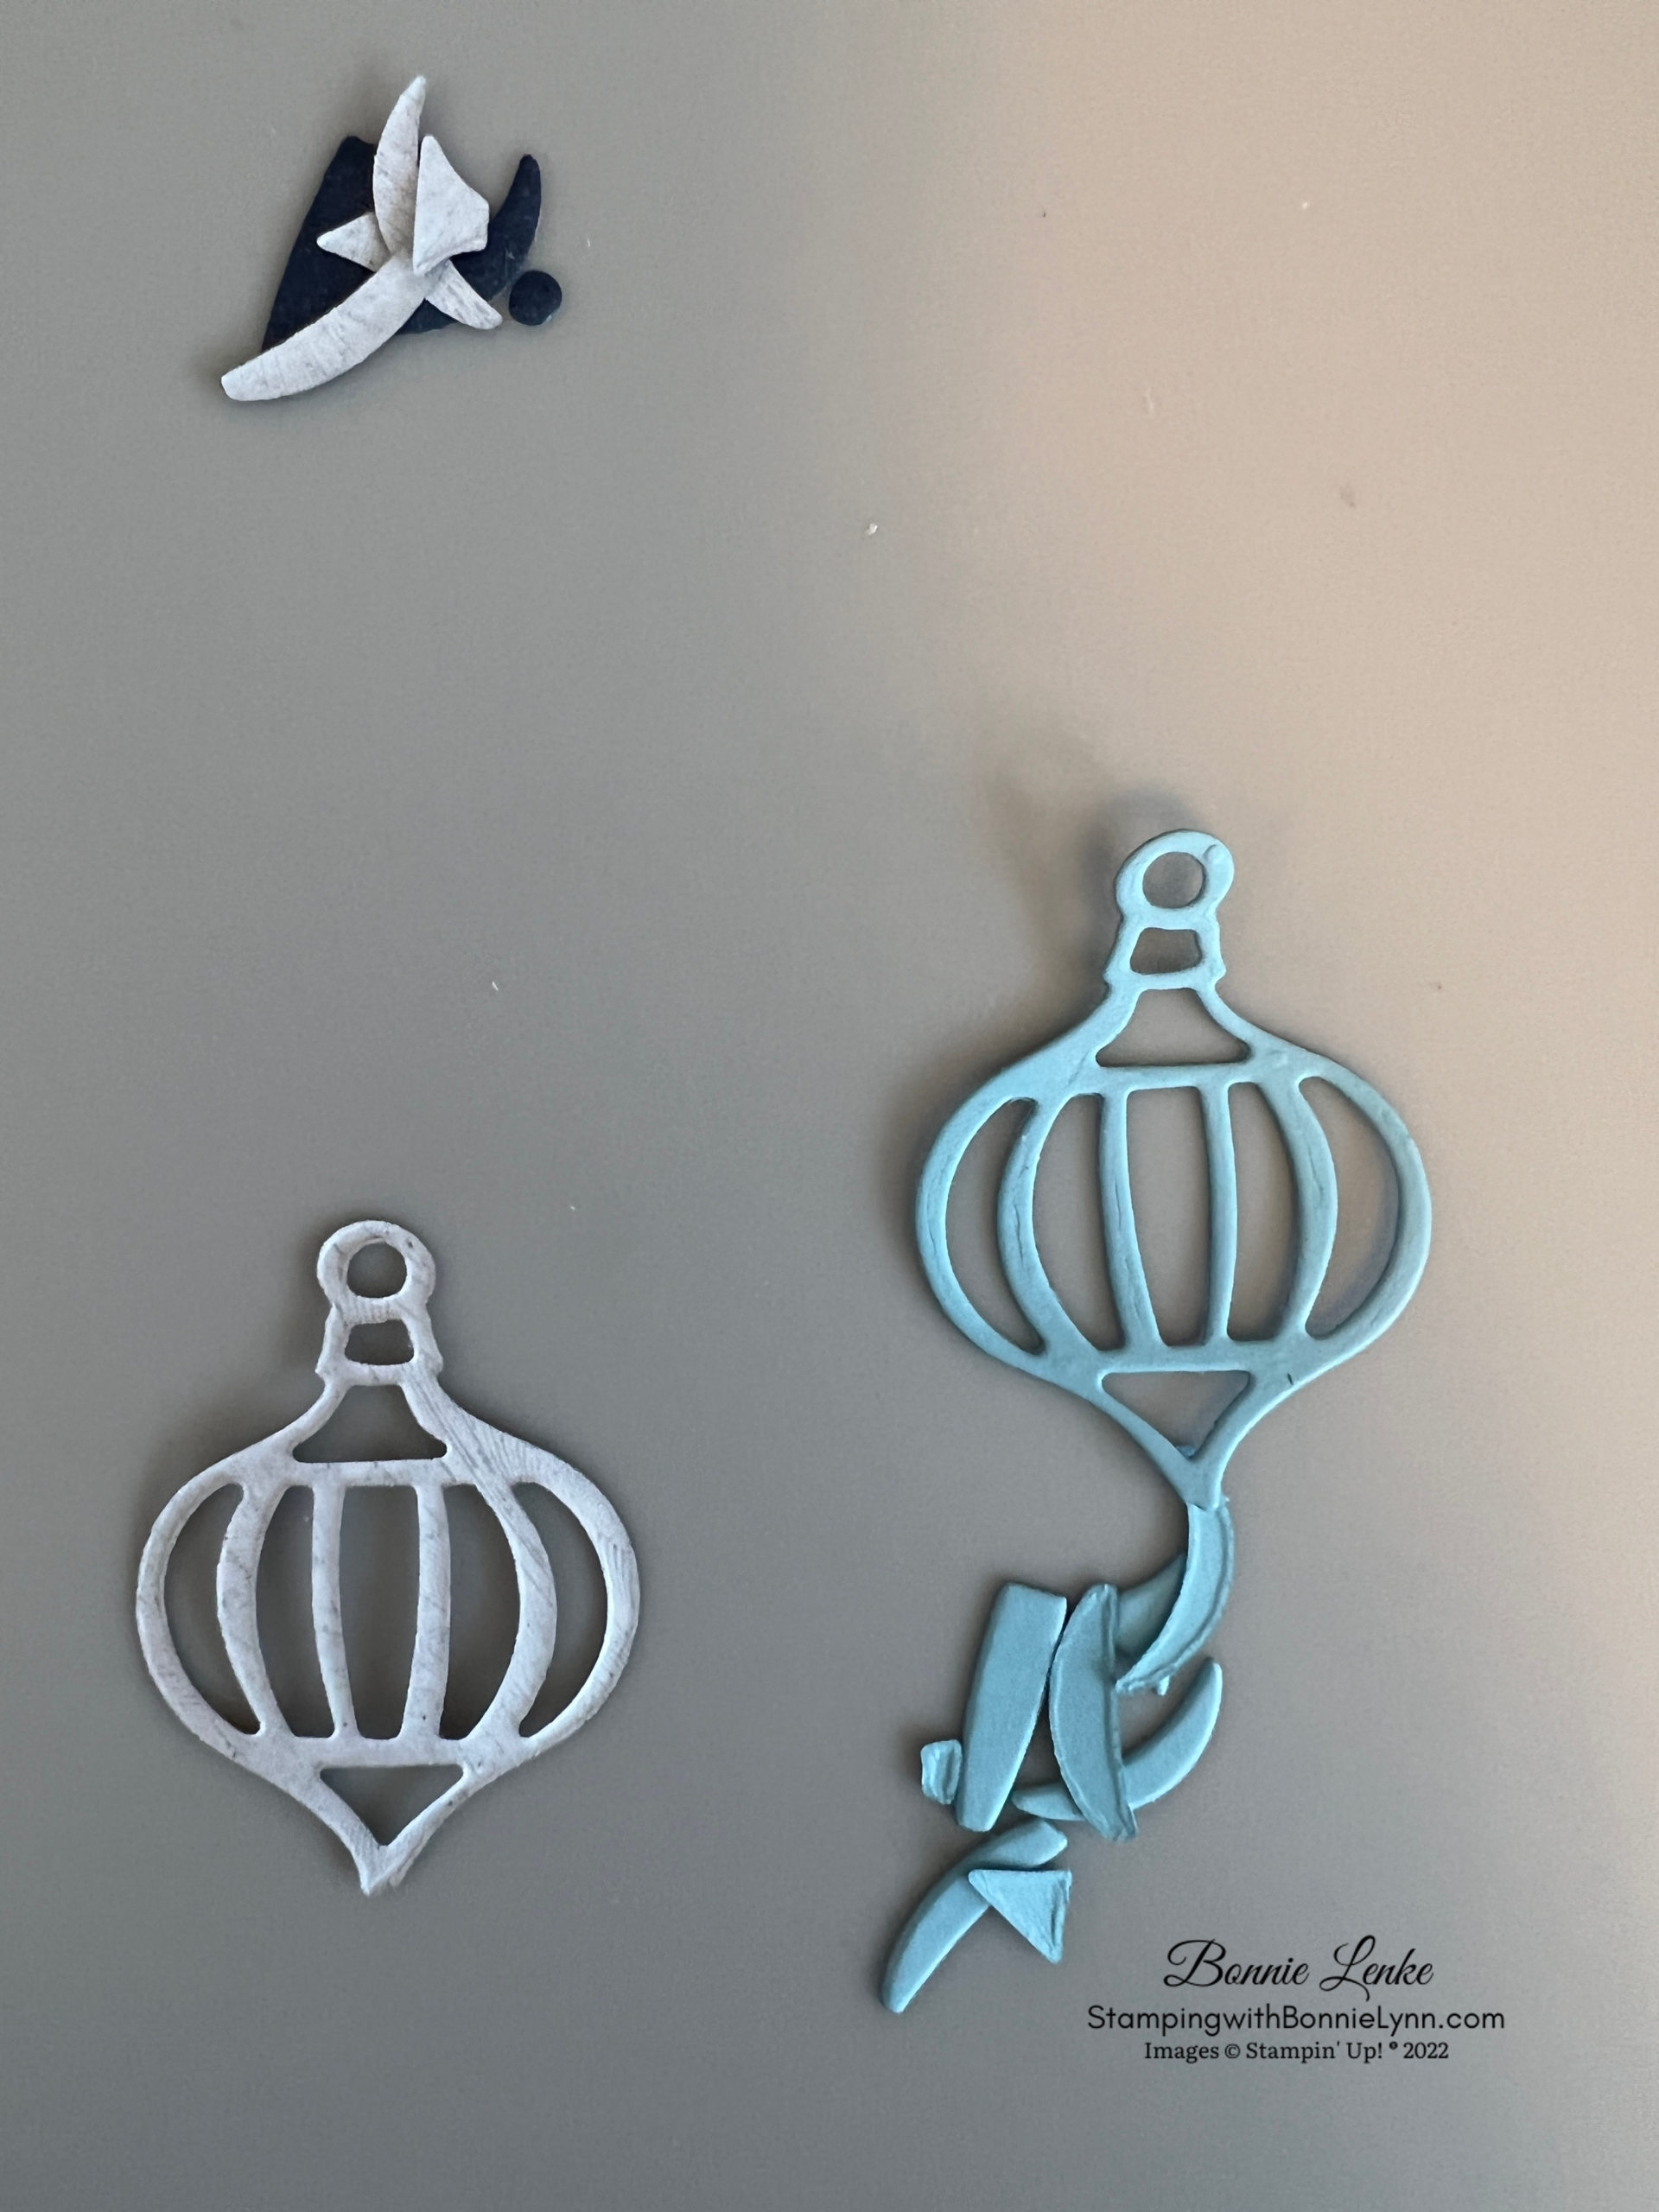
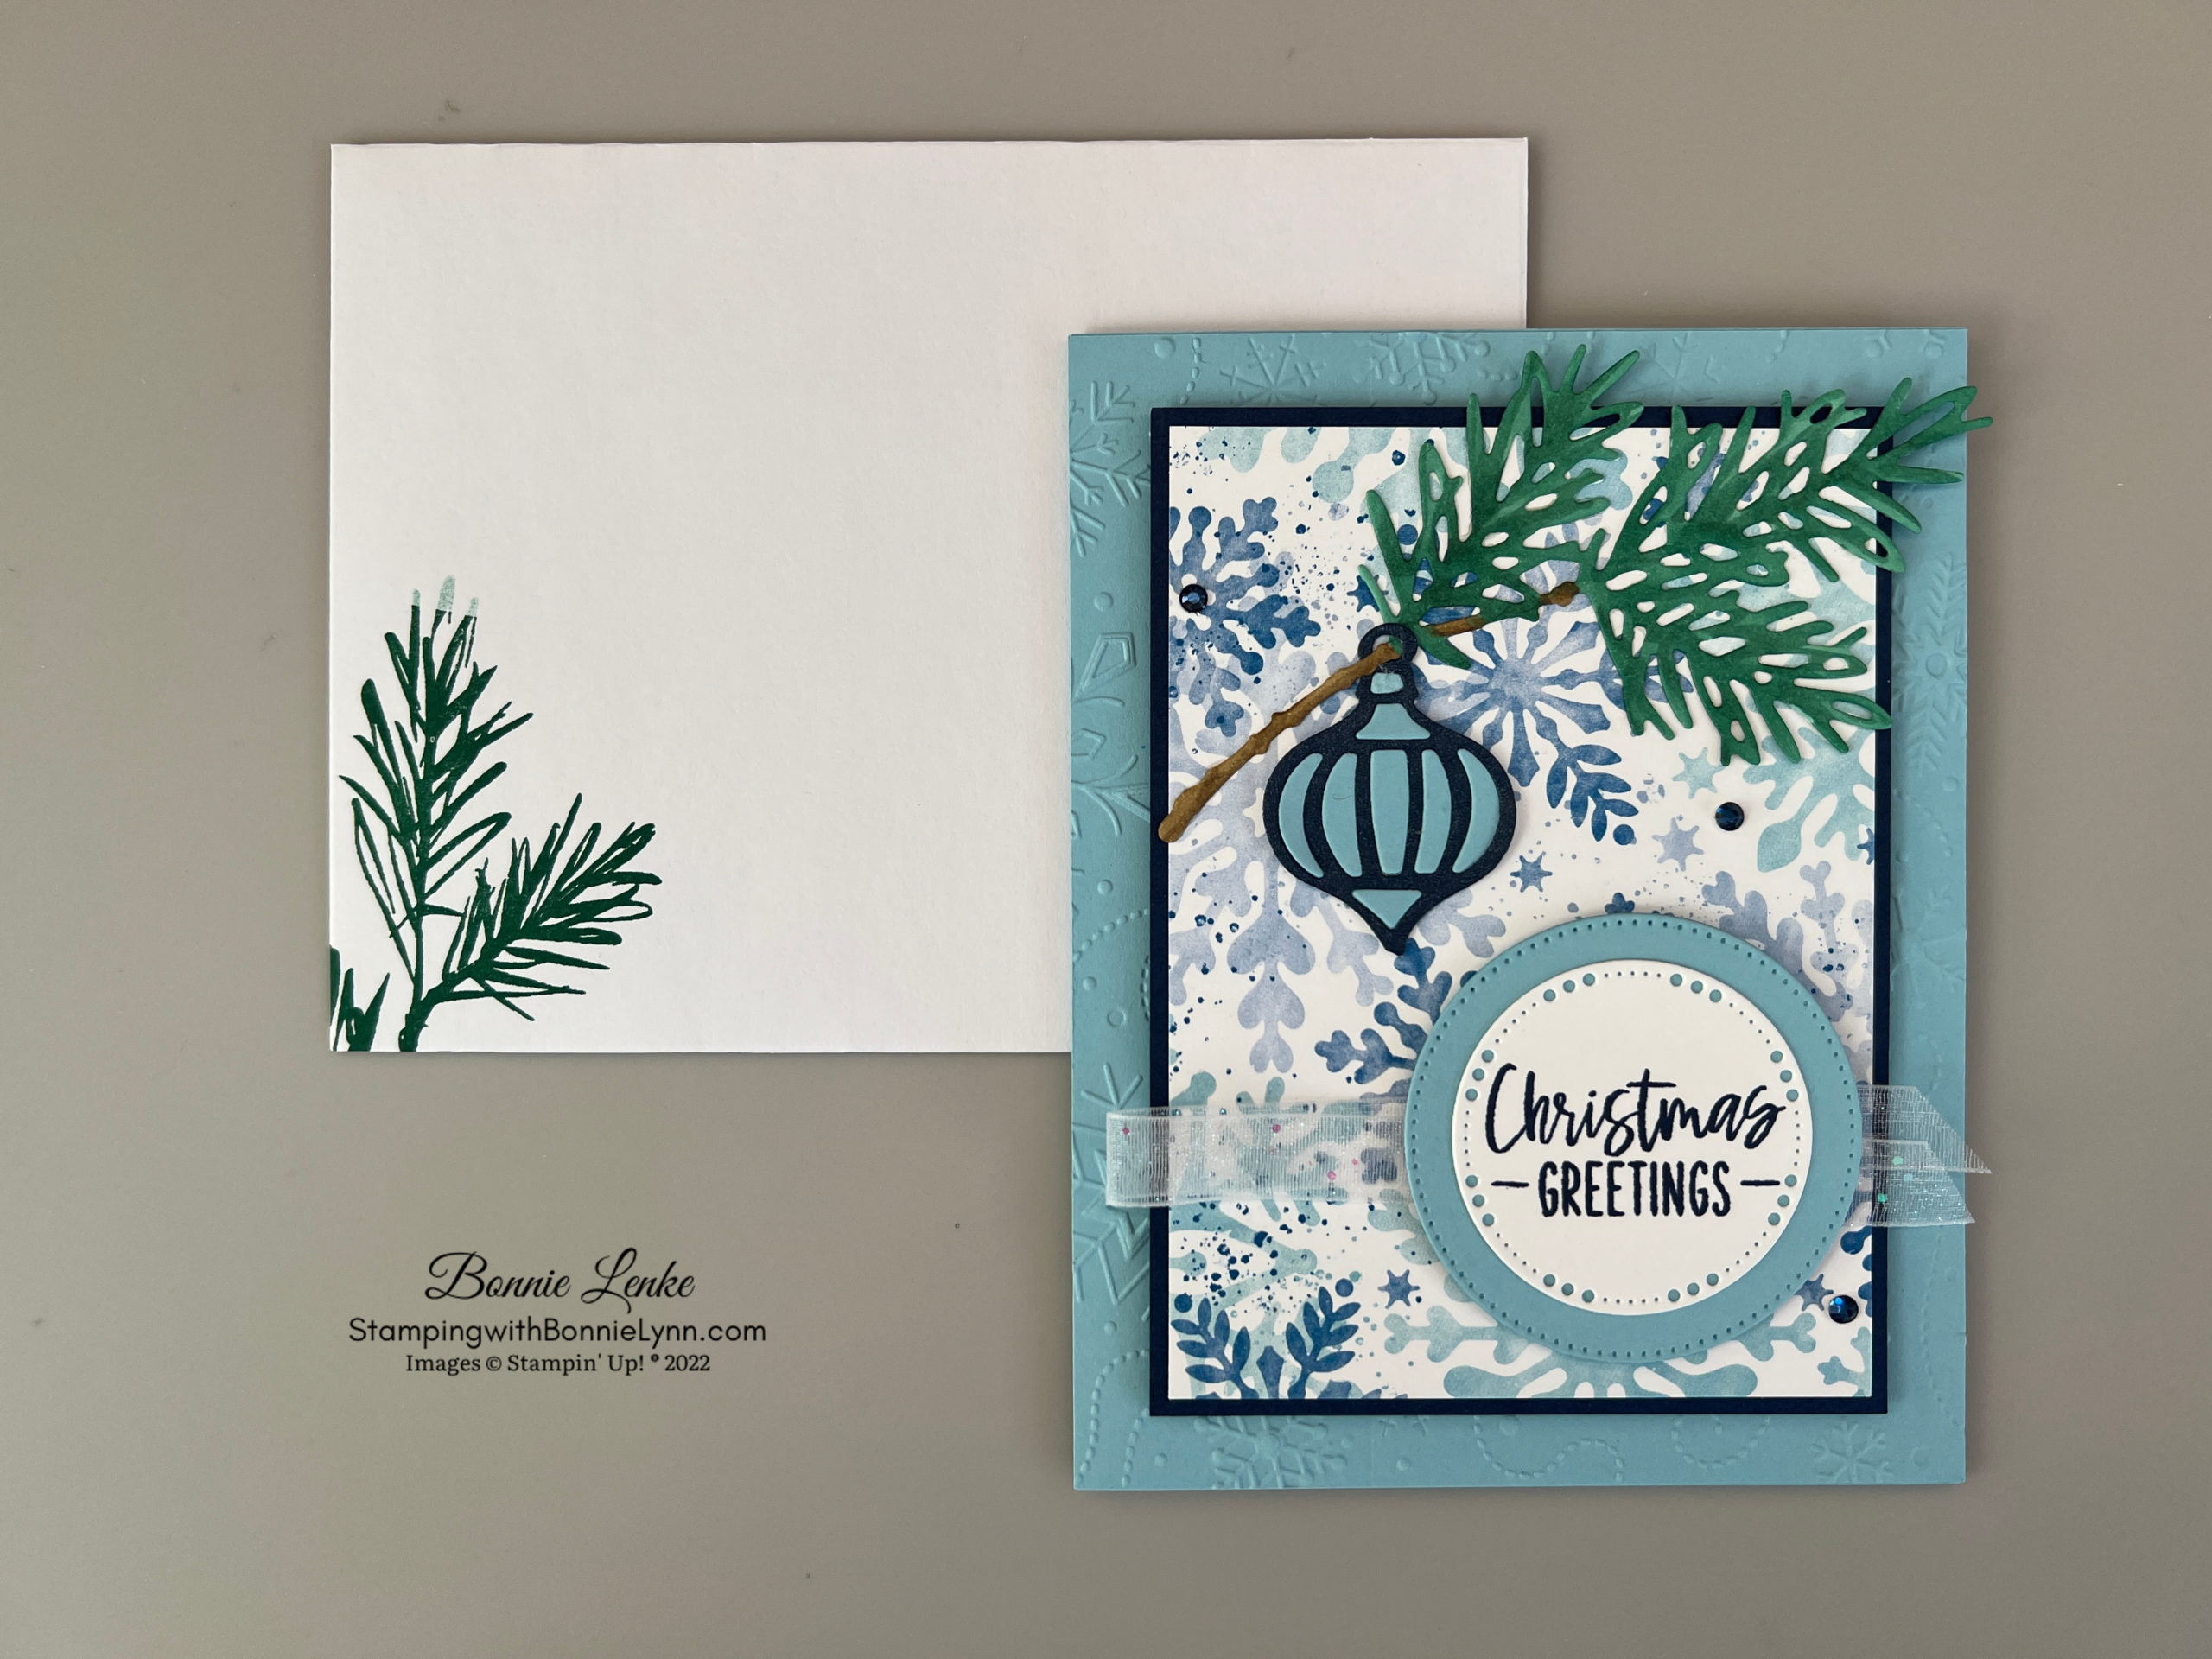
The card I’m sharing today has an ornament hanging on the branch that I cut out of white cardstock then colored with blends. Blends are fun to use on branches like this as there is no real technique to it. I just did a few strokes with the dark soft suede leaving some white area and then went over the rest of the branch with the light soft suede. For the pine needles I used the dark shaded spruce first in quick strokes with no pattern to it leaving some white area. I then color all the pine needles with the light shaded spruce. By doing the dark first, leaving white you then are able to blend it with the light color.
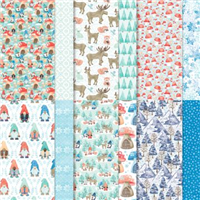
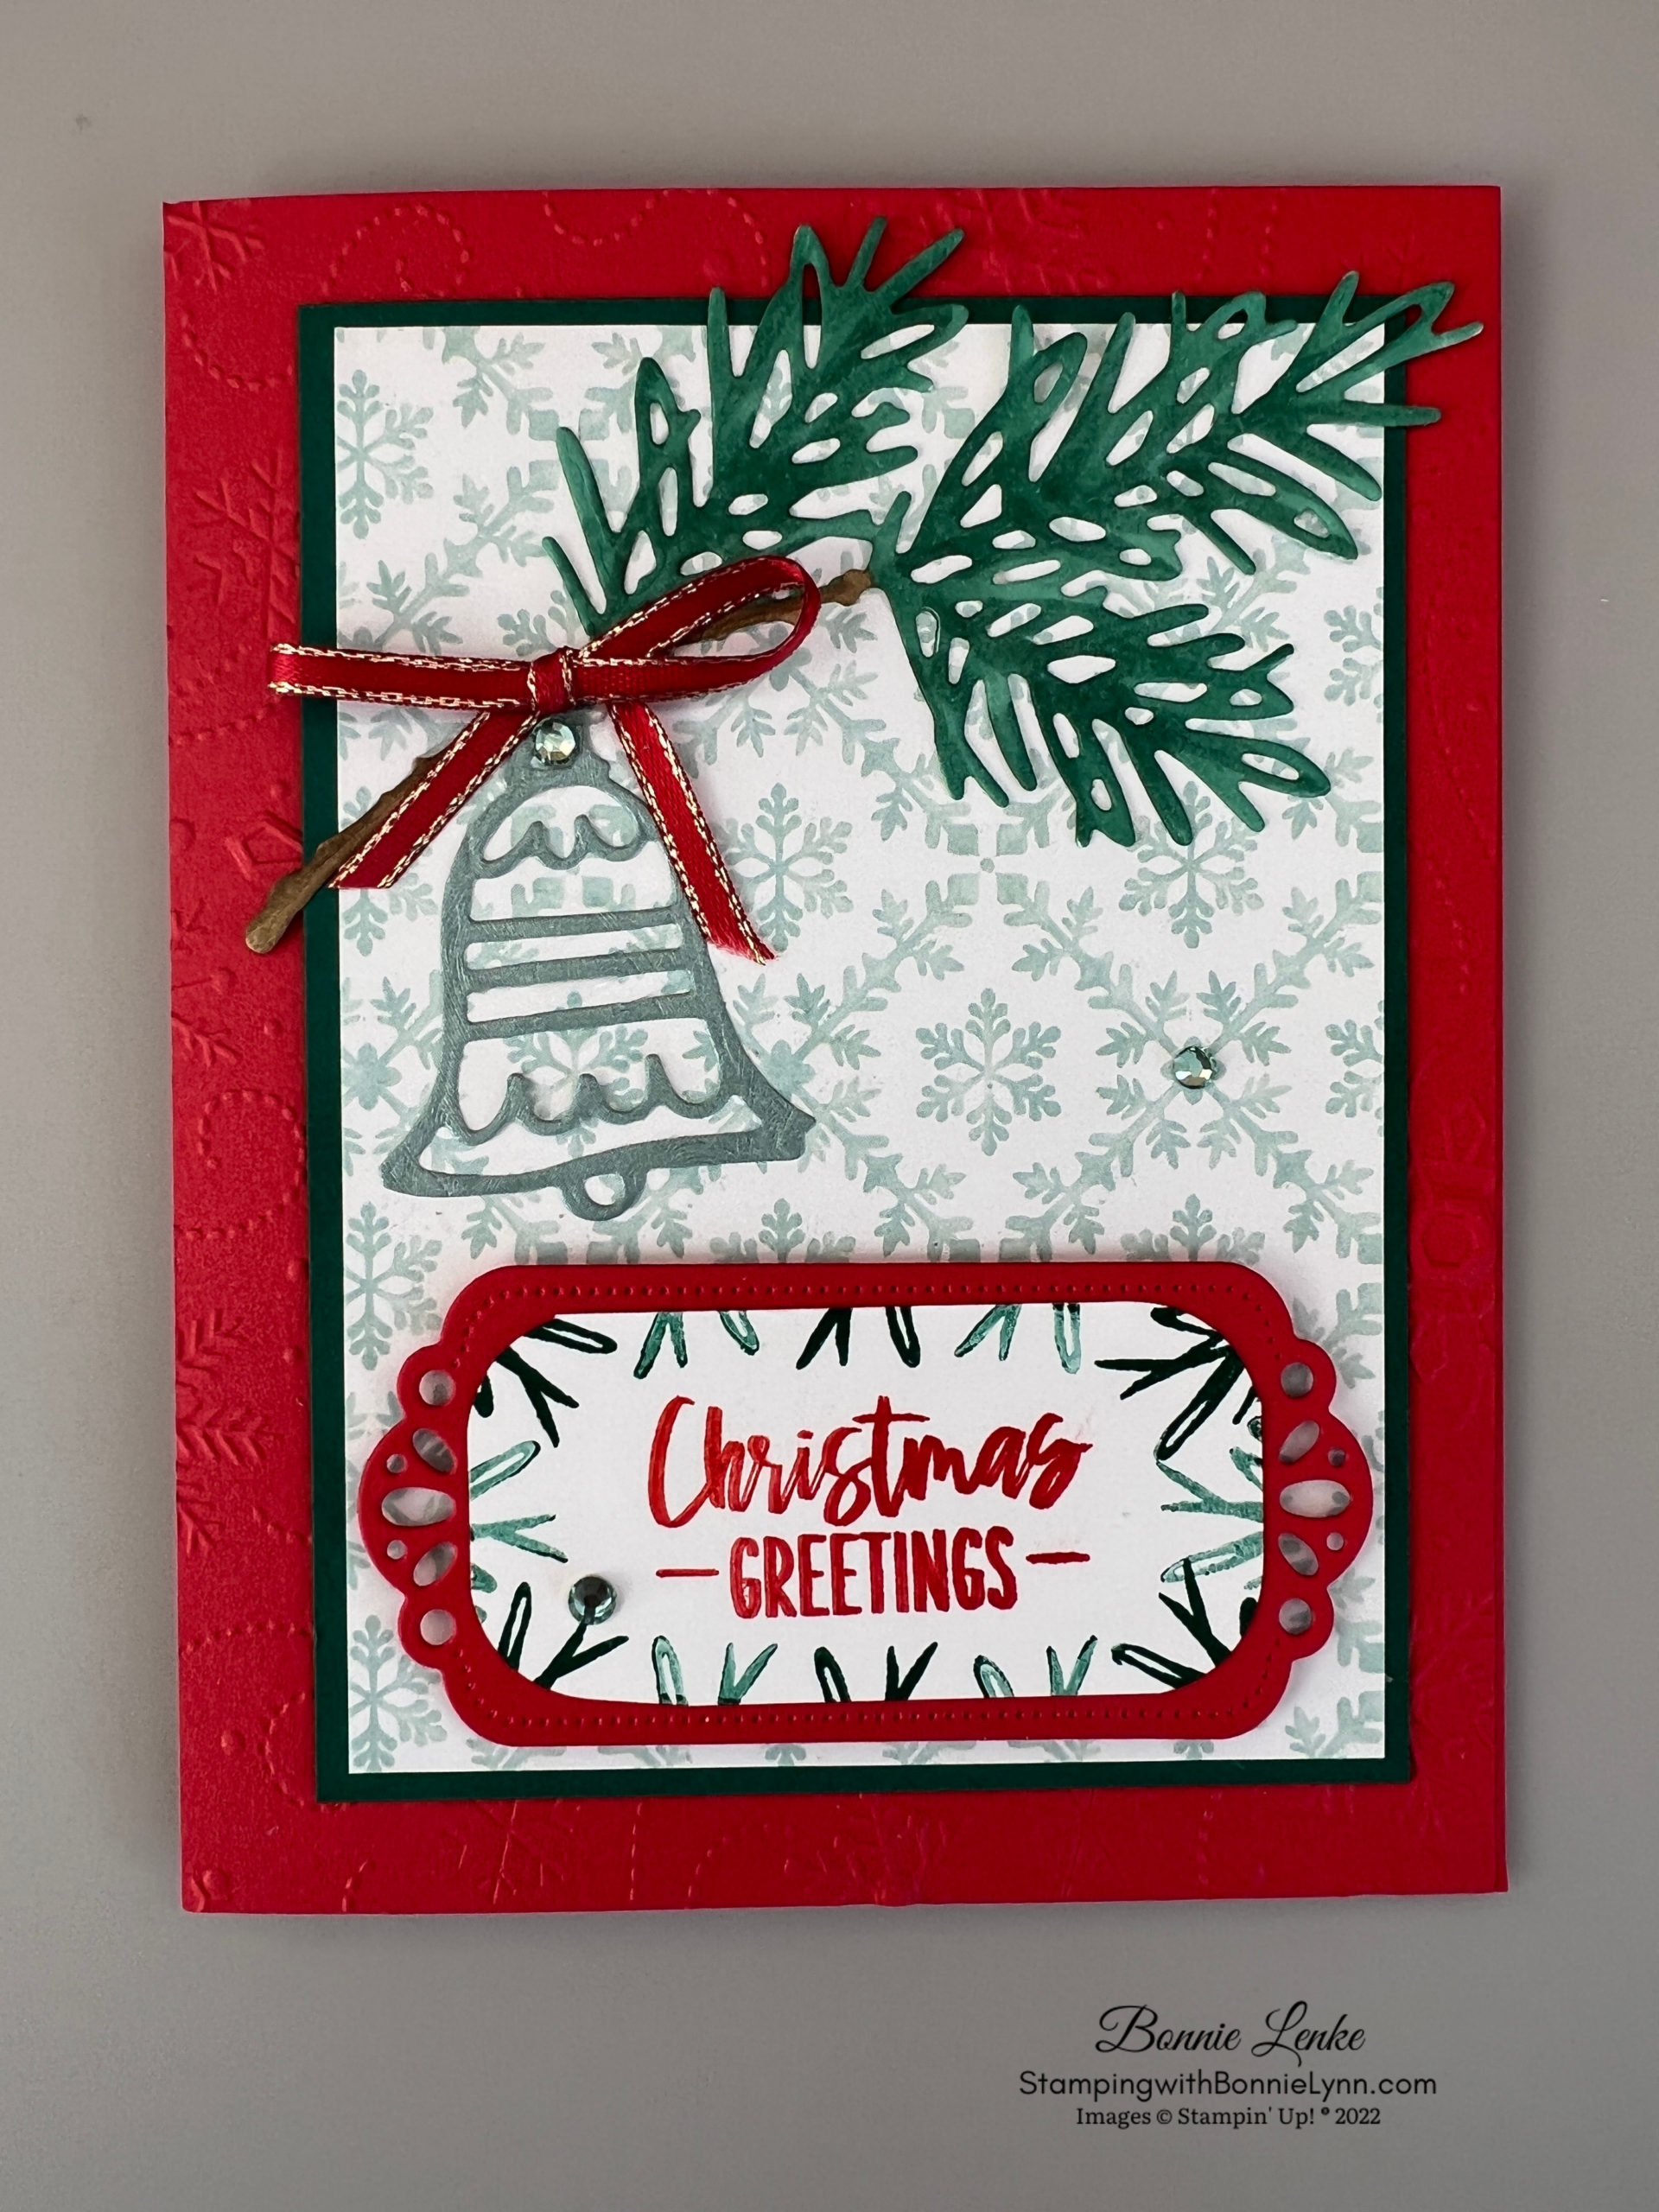
I decided to post my first sample, at the end of directions, of the card I made. Had I not used liquid glue on the branch and ornament I would have taken them off and made changes. Not everything turns out how we picture it in our minds. I did want the card to have a softer look to it and that’s why I used the soft succulent on the ornament. The cardstock is Poppy Parade. The designer series paper is also from the Storybook Gnomes DSP.
I hope you enjoy this Christmas card. I would love it if you would share your cards with me. You can email me pictures or post to my Facebook page, Stamping with Bonnie-Lynn.
Let’s Get Started
- Fold your card base on the score line and burnish with your Bone Folder.
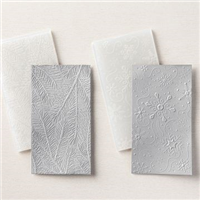
- Emboss your panel and adhere to card front. For the embossing I used the Wintry 3D Embossing Folder (EF) which is a smaller one. With the front of EF facing up (logo side) do as much of the panel that will fit. Turn your paper around leaving the top side up and insert into the EF with the logo up. Match up the edge of the EF with were the embossing ended.
- Attach the Storybook Gnomes DSP to your Night of Navy panel and adhere to card front with Dimensionals.
- Cut your branch out of White Cardstock and color with Soft Suede and Shaded Spruce Stampin Blends. Read my comments above about how I did it.
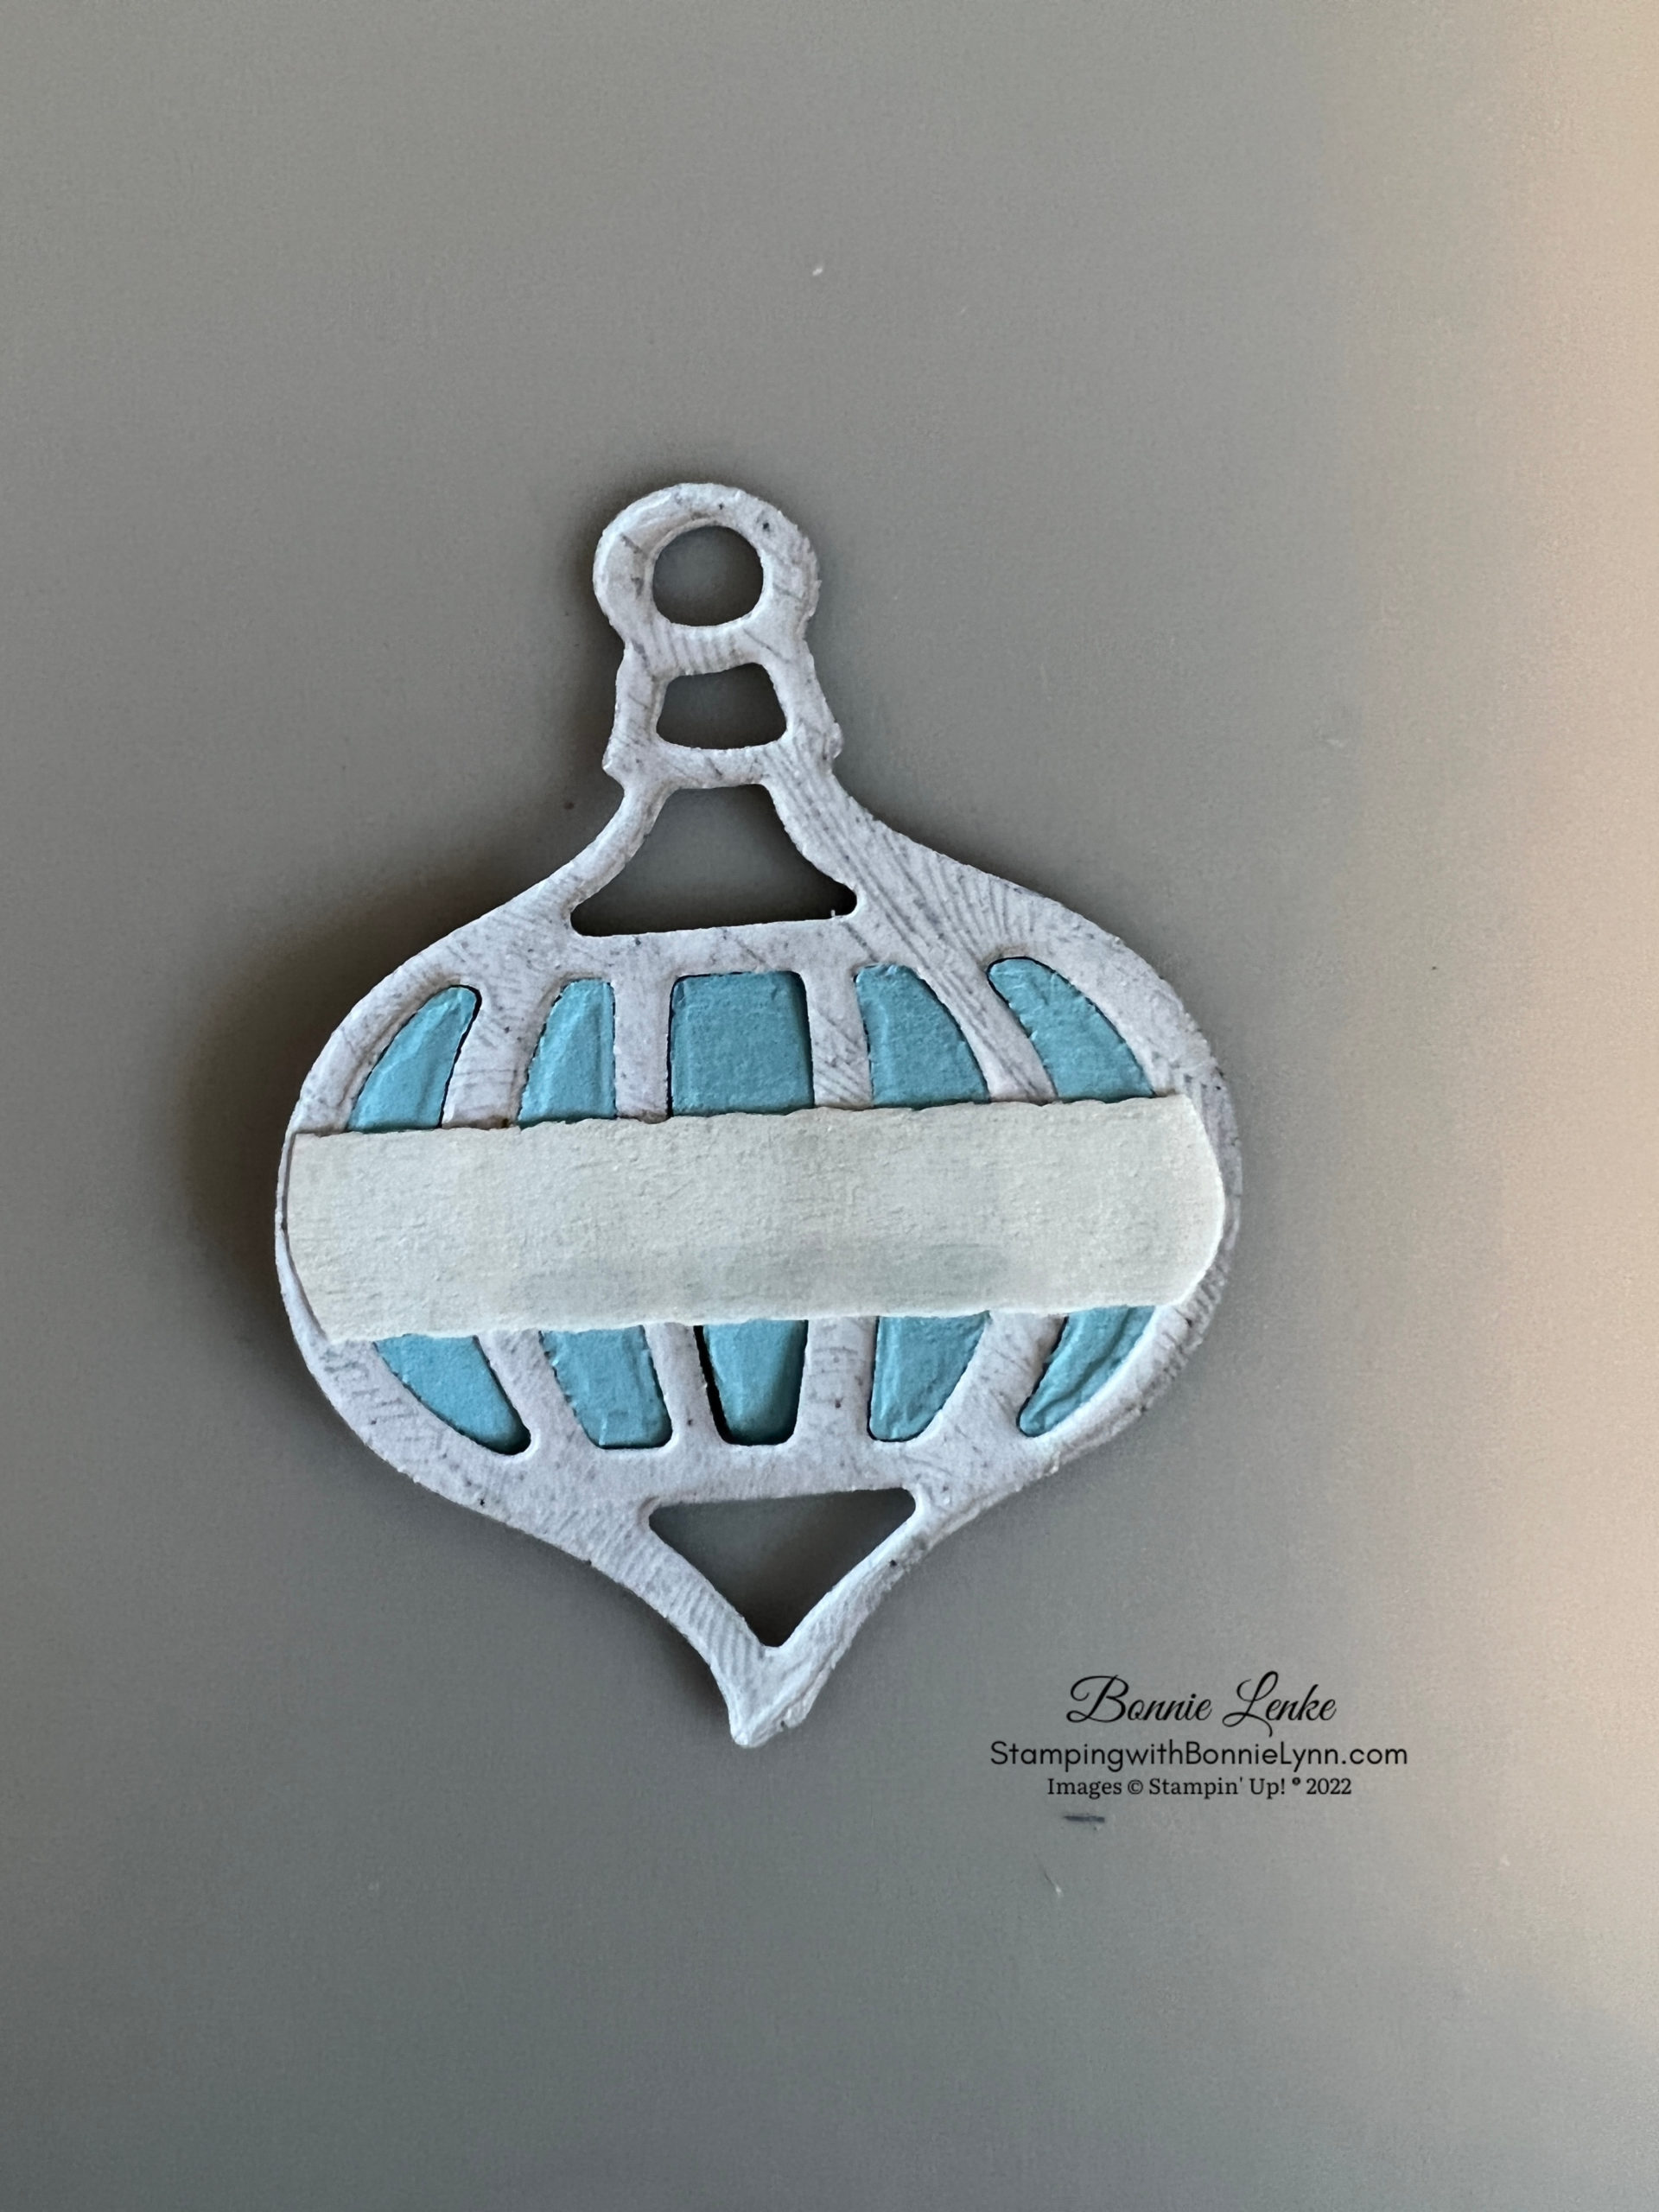
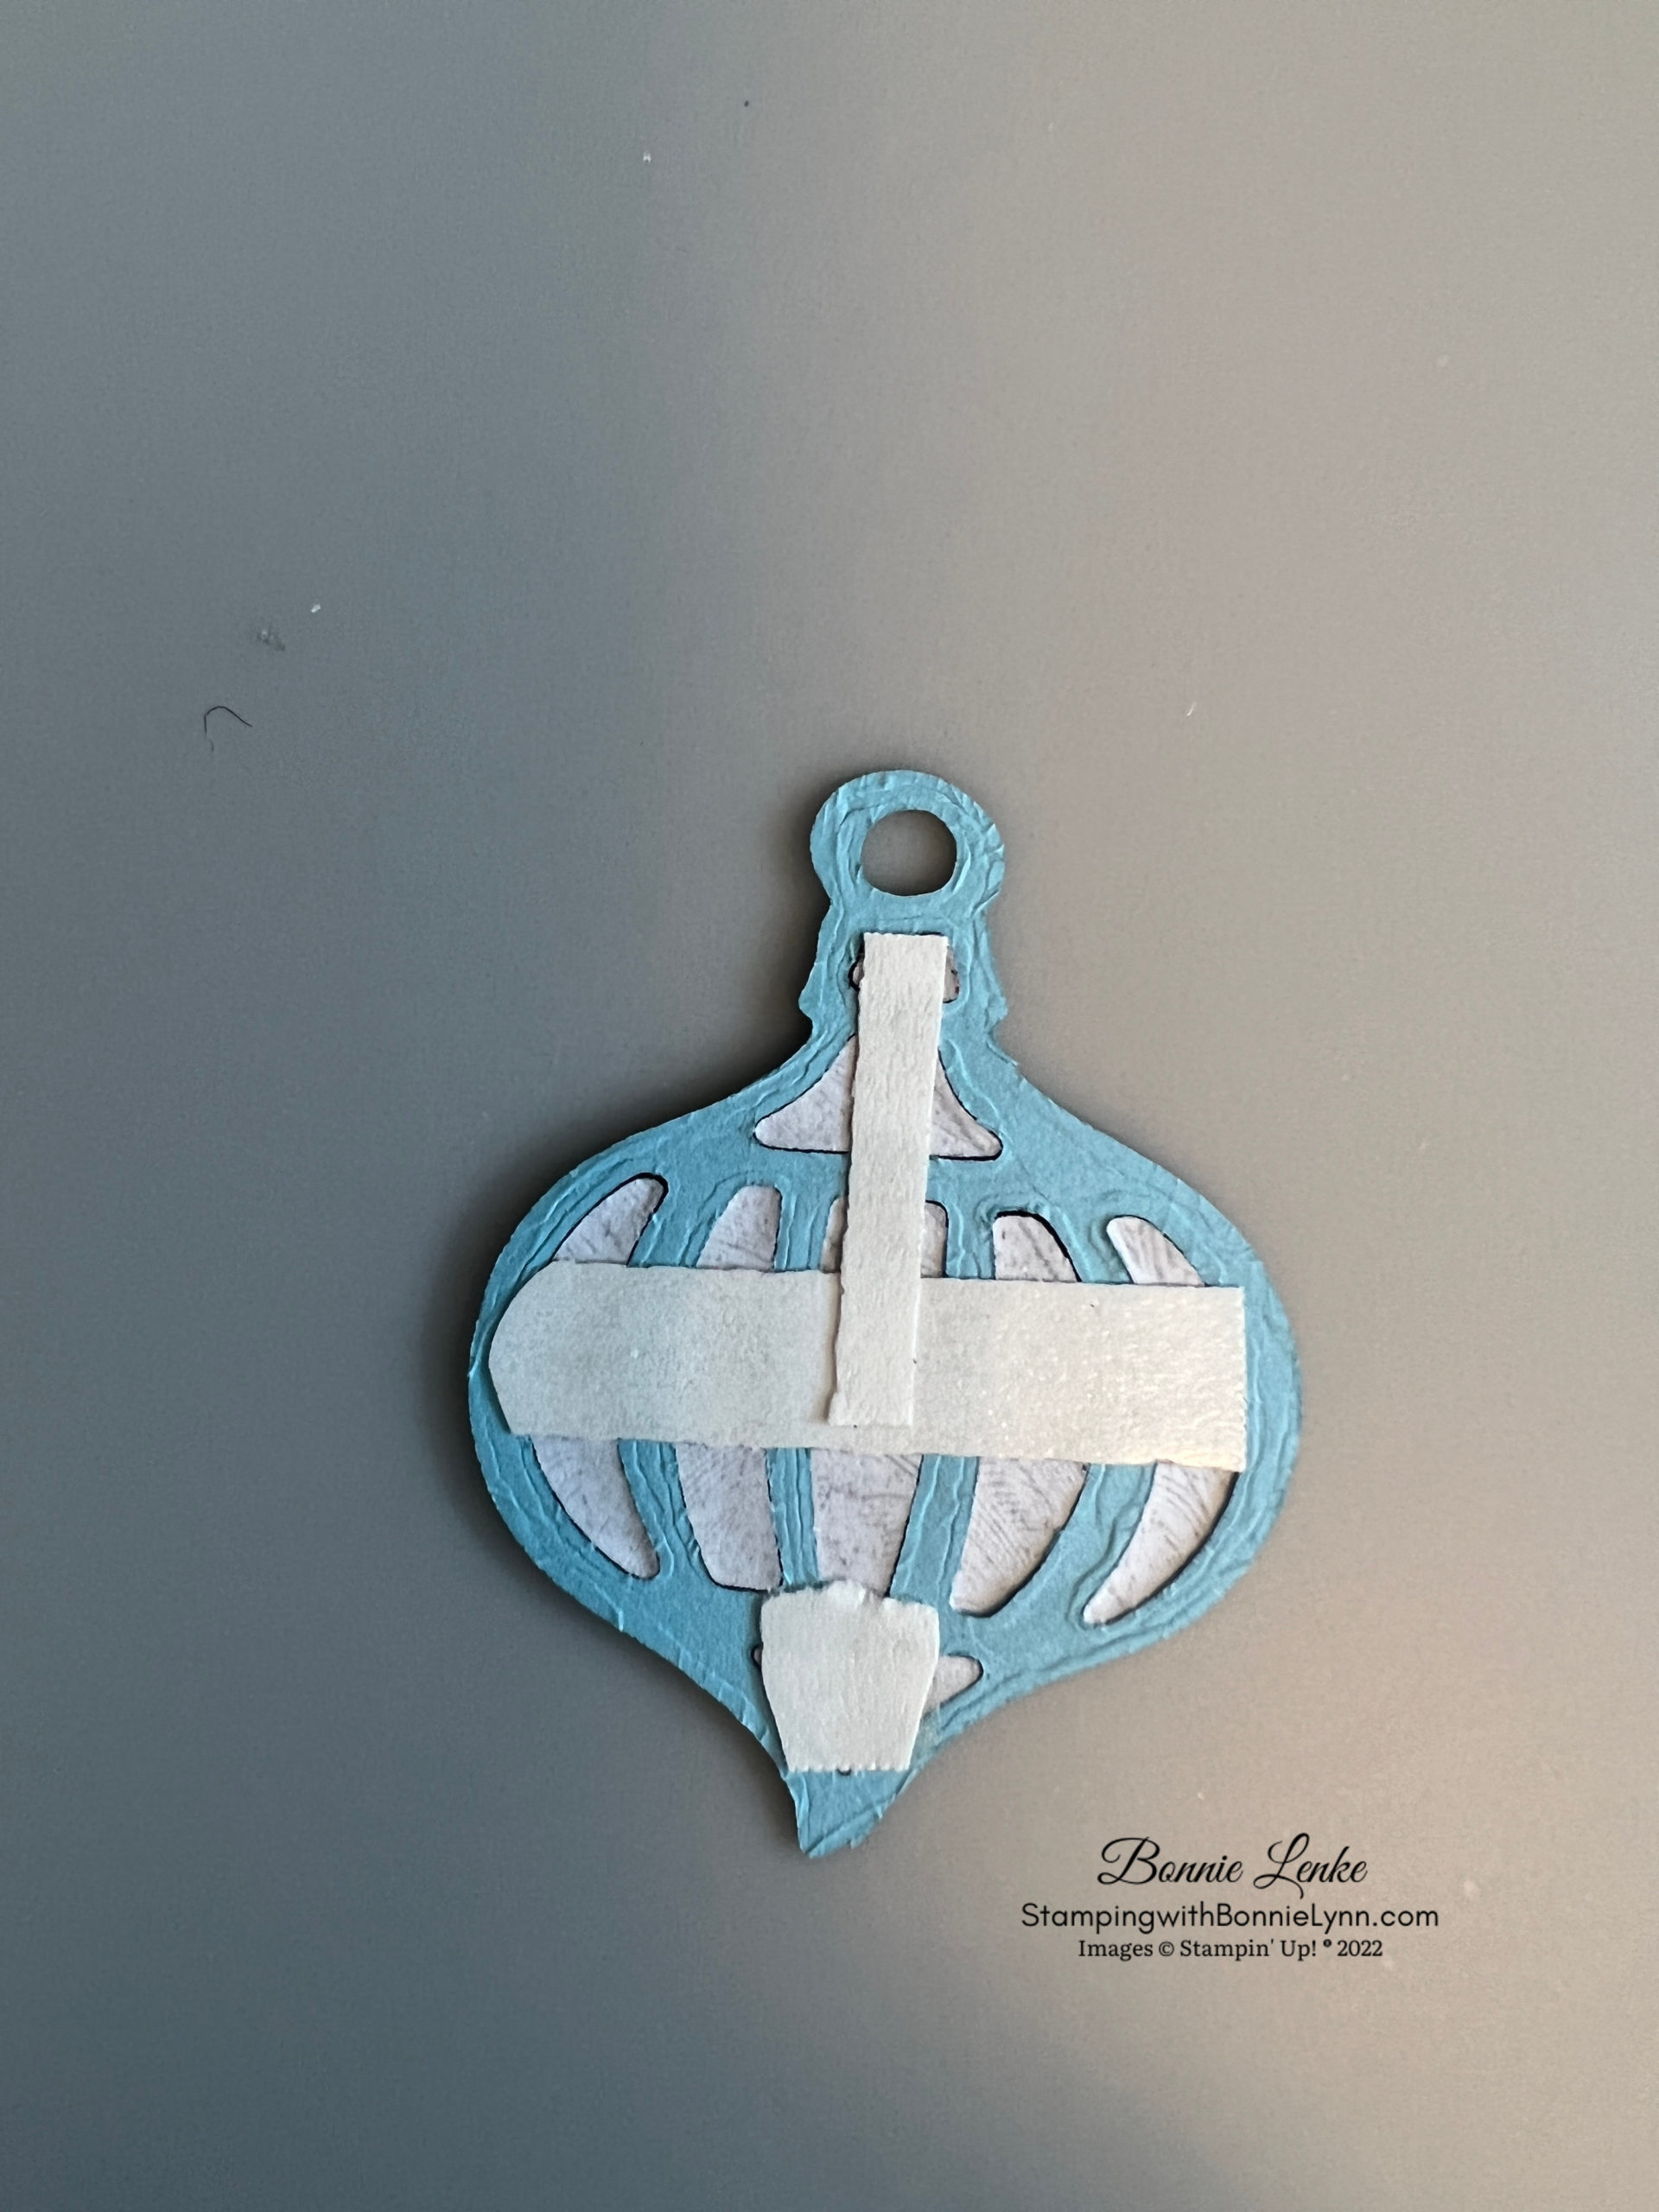
- Pick which ornament you want and cut out of the Night of Navy Brushstroke DSP. Cut a second one out of Balmy Blue Cardstock. Working from the backside place the cut-out pieces of Balmy Blue into the Night of Navy Ornament. Leave the top-hole empty. Tape them into place. After I completed these instructions I determined that it was easiest to add the tape to the back of the cut out ornament then turn it over and add all the Balmy Blue little piece. Your Take Your Pick tool is an excellent helper for this task with the sticky end.

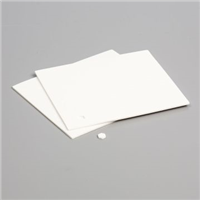
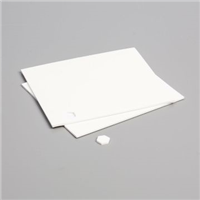
All the Cut Pieces
Adding the Balmy Blue
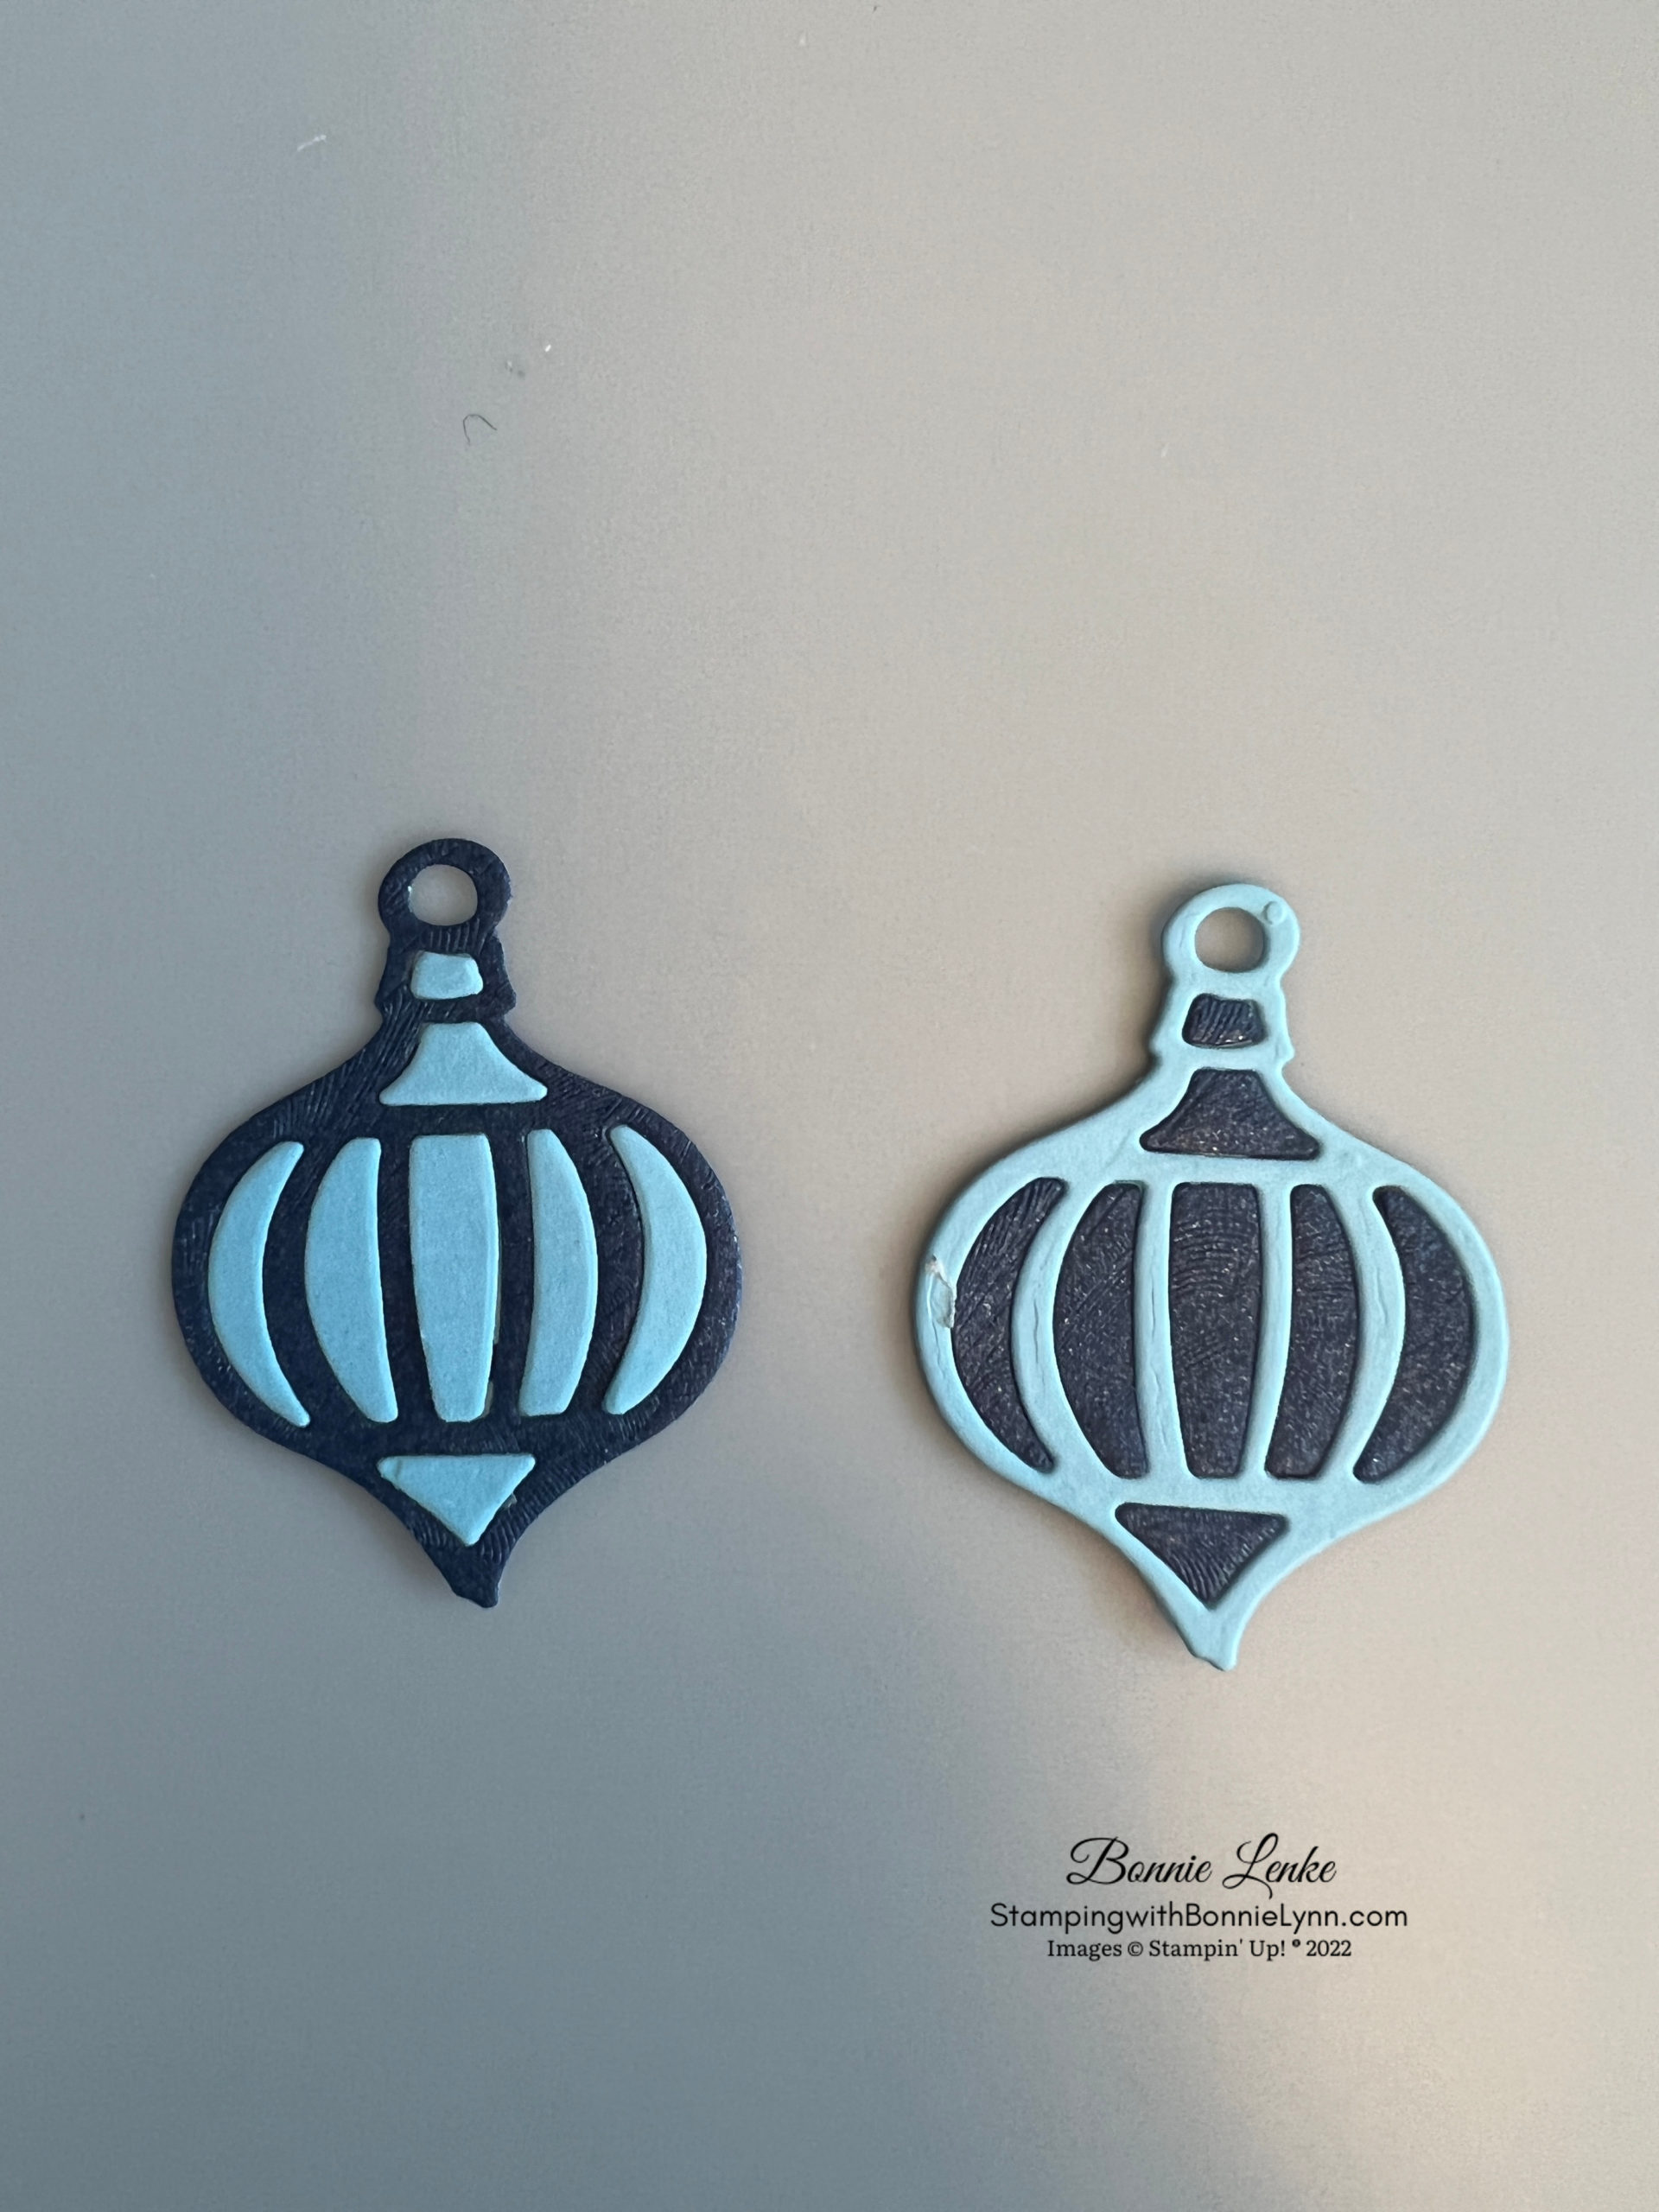
Completed Ornament
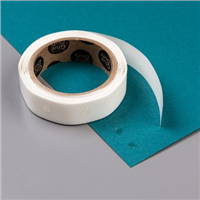
Add Tape First then the Pieces
Two Reverse Ornaments - Slide the ornament over the branch using the top hole you left empty. If you used the adhesive on the back of the branch before cutting out then take it off and adhere it to card front, otherwise use liquid glue to adhere to card front. Use a Glue Dot to hold the ornament in place on card front.
- Stamp the greeting onto White Cardstock with Night of Navy Ink. Cut out with the round die from the Labels Aglow Die sets. Attached this to a circle cut out of Balmy Blue Cardstock using the Stylish Shapes 3rd largest framelet.
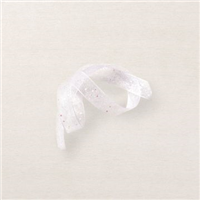
- Fold a 8-1/2” piece of White Glittered Organdy Ribbon in half and attached to card front with tape, loose ends on the right.
- Use Dimensionals to adhere greeting to card front over the ribbon.
- Stamp the bottom left corner of the envelope in Shaded Spruce Ink using the branch stamp from Decorated with Happiness stamp set.
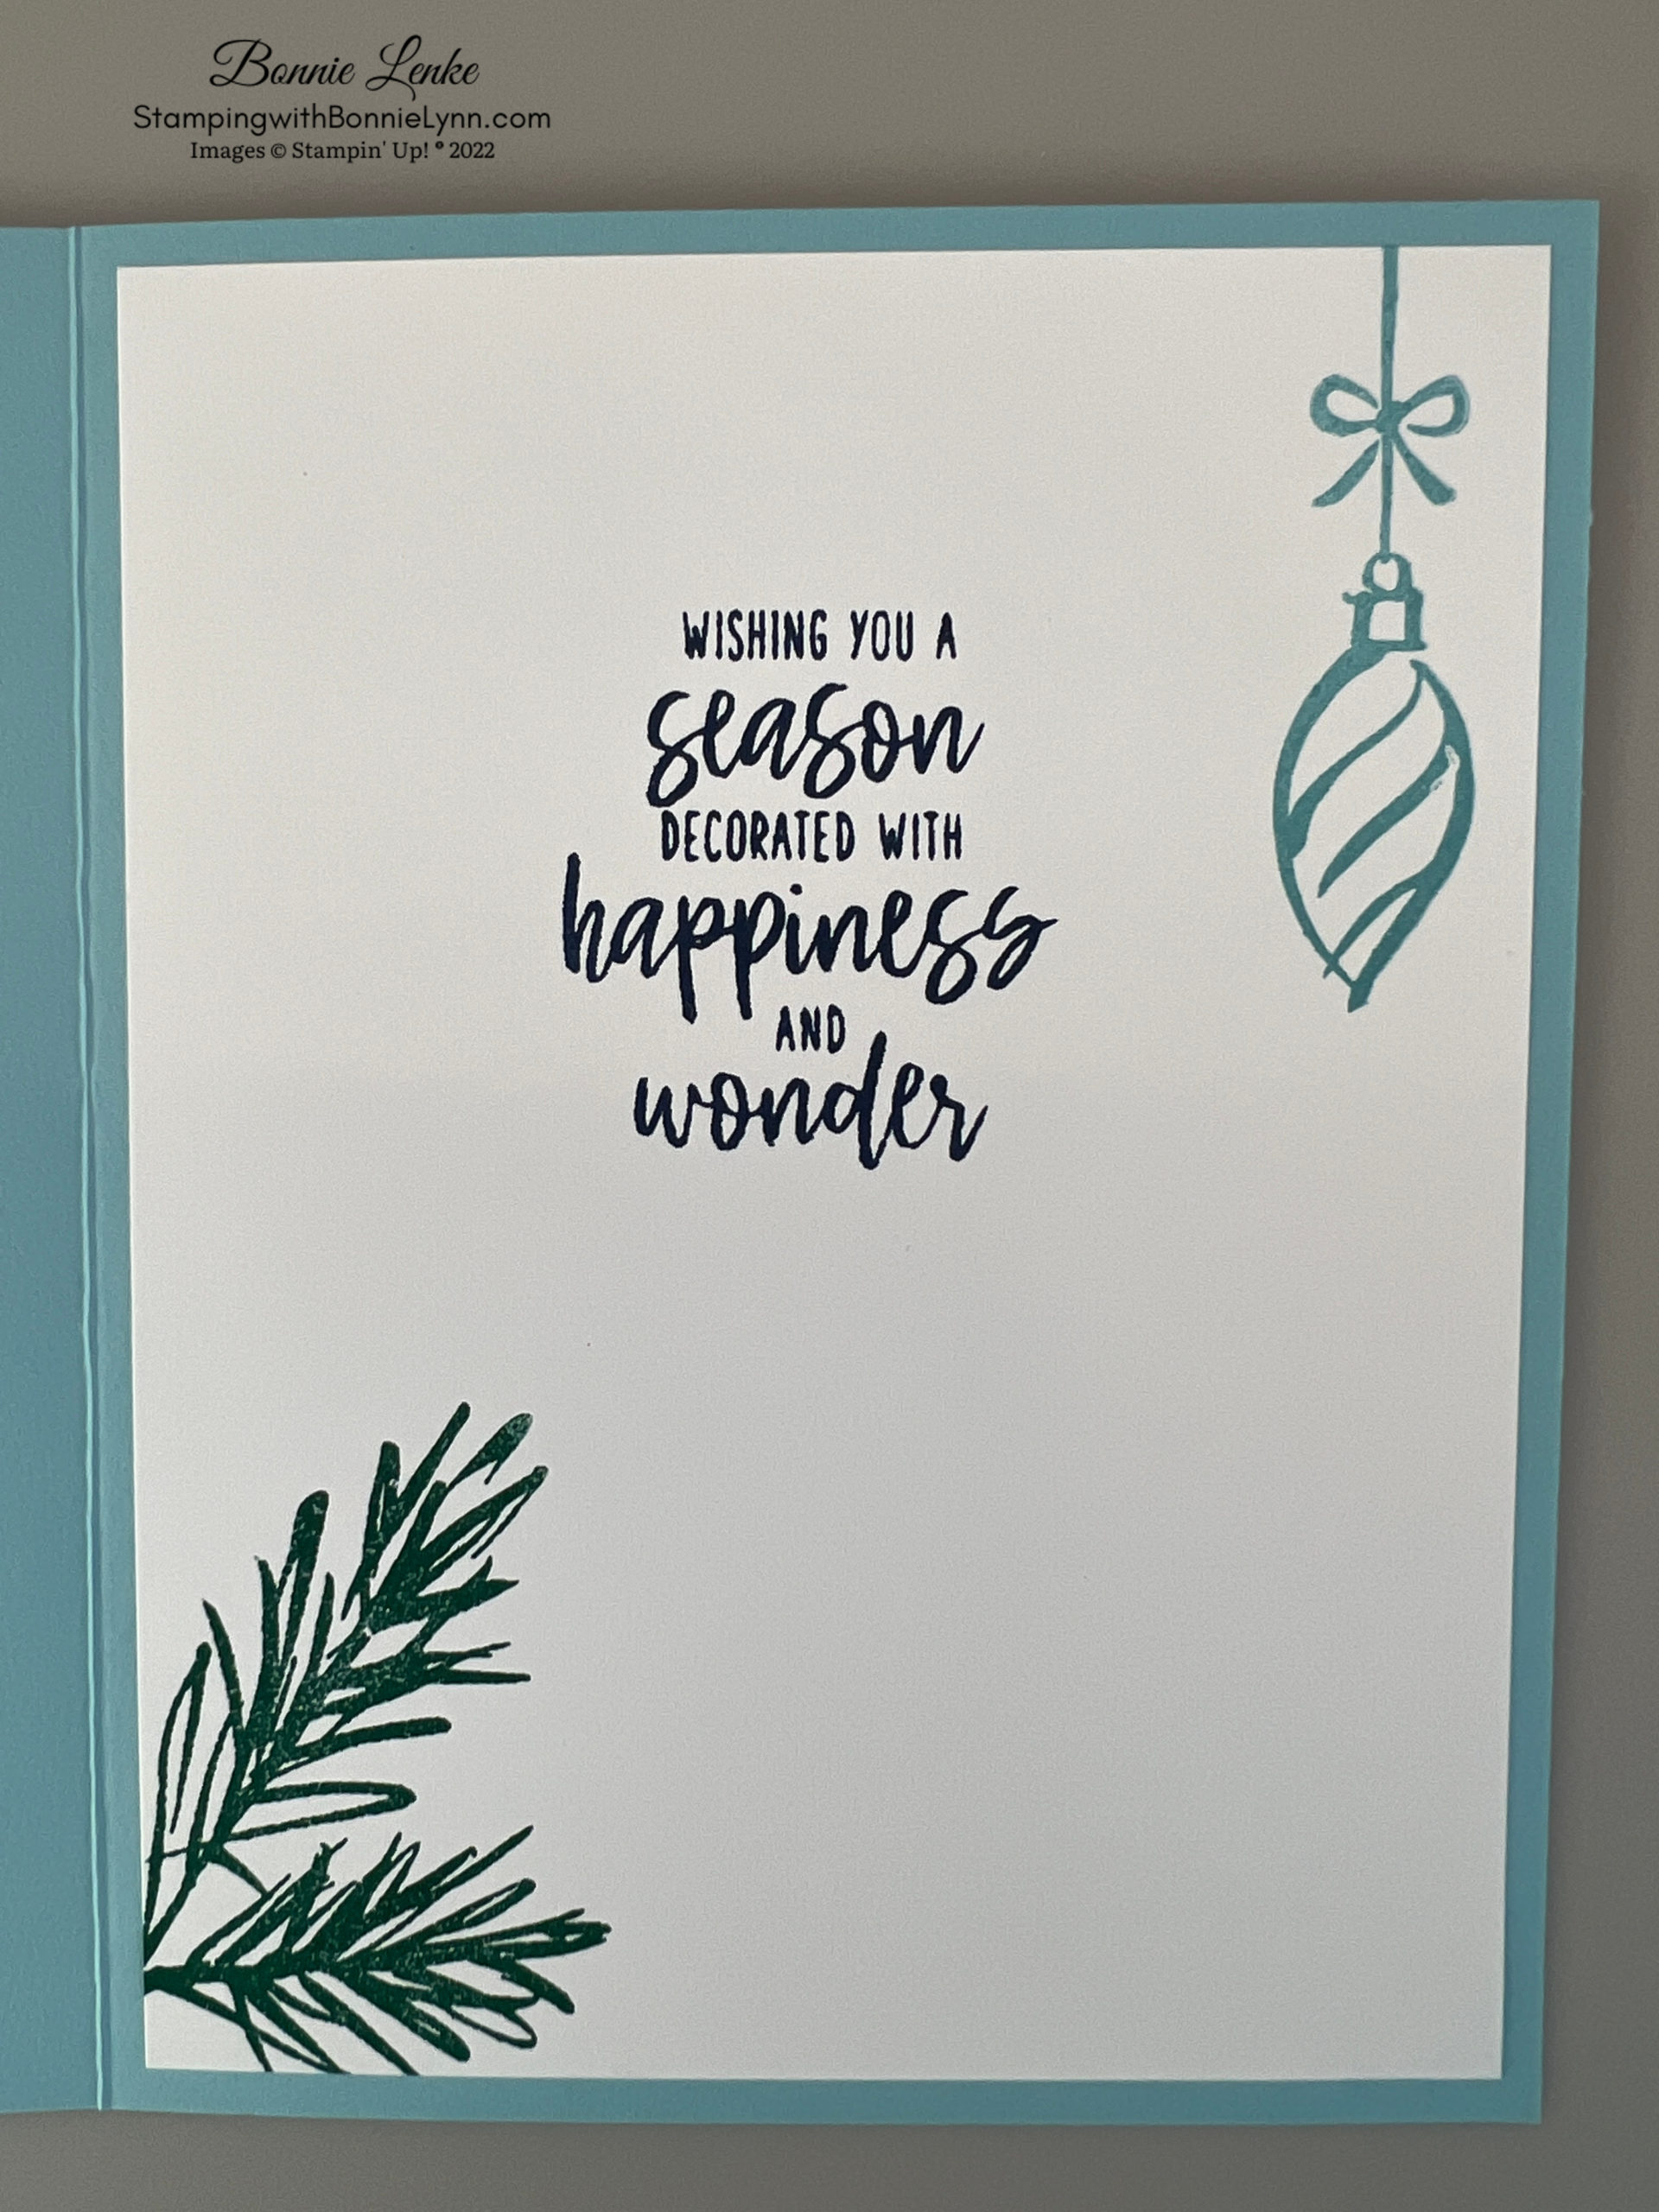
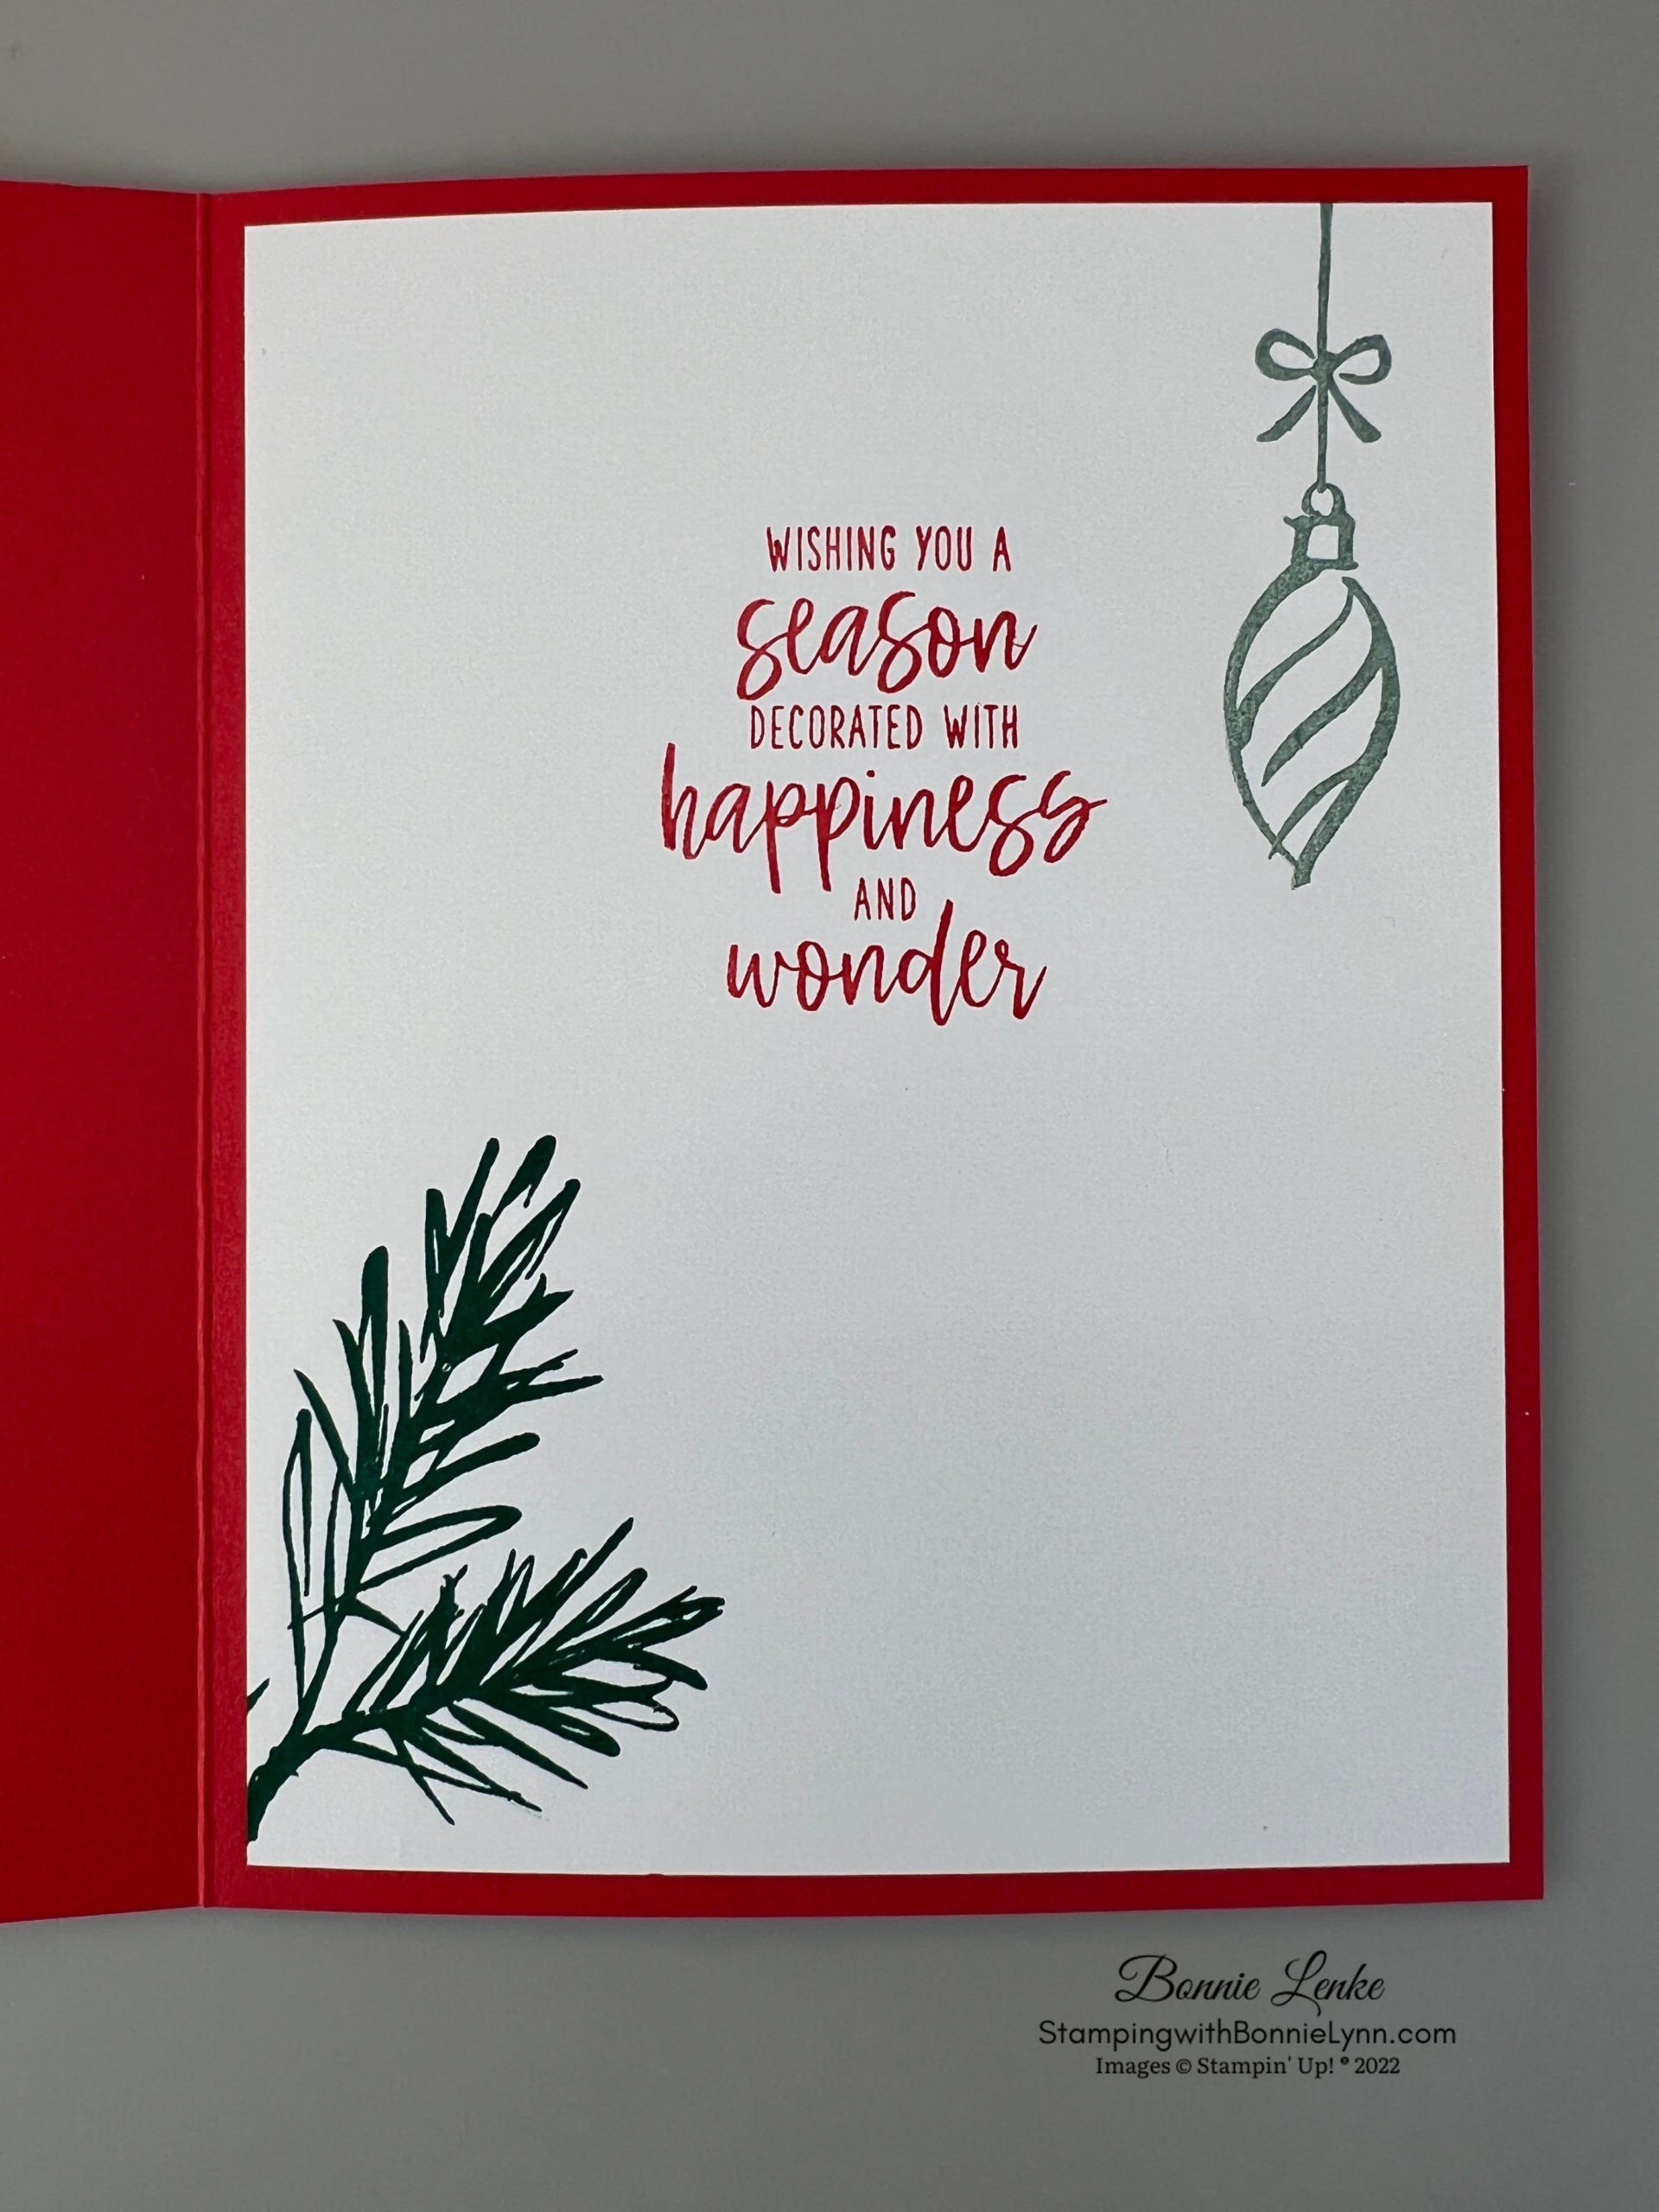
- For the card inside stamp part of the branch in Shaded Spruce Ink on the bottom left corner. Stamp the greeting in Night of Navy on the same White Cardstock. Stamp an ornament on the top right-hand corner in Balmy Blue Ink.

And now you have a beautiful card to brighten someone’s day.
Happy Stamping!
Card Recipe
Cardstock:
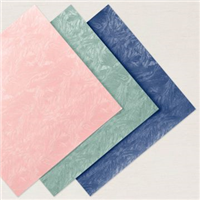
- Balmy Blue: 8-1/2” x 5-1/2”, scored at 4-1/4” This is your card base, 4-1/4” x 5-1/2”, 3” x 4” for ornament & Circle
- Basic White: 2-1/2” x 2-1/2”, 4” x 5-1/4” for card inside, scrap for branch
- Night of Navy: 3-1/2” x 4-3/4”
- Storybook Gnomes DSP: 3-1/4” x 4-1/2”
Supplies Used:
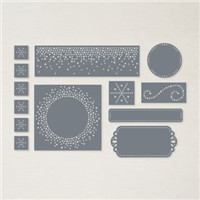
- Stamps: Decorated with Happiness
- Dies: Decorated Pines, Label Aglow, Stylish Shapes
- Embossing Folder: Wintry 3D Embossing Folder
- Cardstock/Paper: Balmy Blue, Night of Navy, Basic White, Storybook Gnomes Designer Series Paper, Brushstroke DSP
- Stampin Pads: Night of Navy, Balmy Blue, Shaded Spruce
- Stampin Blends: Shaded Spruce, Soft Suede
- Embellishments: Holiday Rhinestone Basic Jewels (retired)
- Ribbon: White Glittered Organdy Ribbon
- Adhesives: Dimensionals, Glue Dots, Liquid Glue, Stampin Seal
- Tools: Paper Trimmer, Cut & Emboss Machine, Clear Blocks, Take Your Pick, Bone Folder, Stampin Pierce Mat
Current Host Code: FCHGS3F2
Use this host code when you order $50 or greater of merchandise and receive a free gift from me. If your order is over $150, please do not use this code, but you’ll still get the free gift.
*****Make sure that you can see my name on the final checkout page listed as your Demonstrator when you order so that you know that you’re ordering with me and you’ll get my rewards. Please also check that the Current Host Code is in the box when checking out.*****
The New Mini Catalog is Here Plus Sale-a-bration

The July to December Mini Catalog is my favorite Catalog of the year and now you can share in the excitement of it. Not only that it’s Sale-a-bration time. With every $50 of Merchandise you order during July & August you get to select FREE ITEMS from the Sale-a-bration Catalog. It doesn’t get more exciting than this. Click Here to Shop the Mini Catalog.