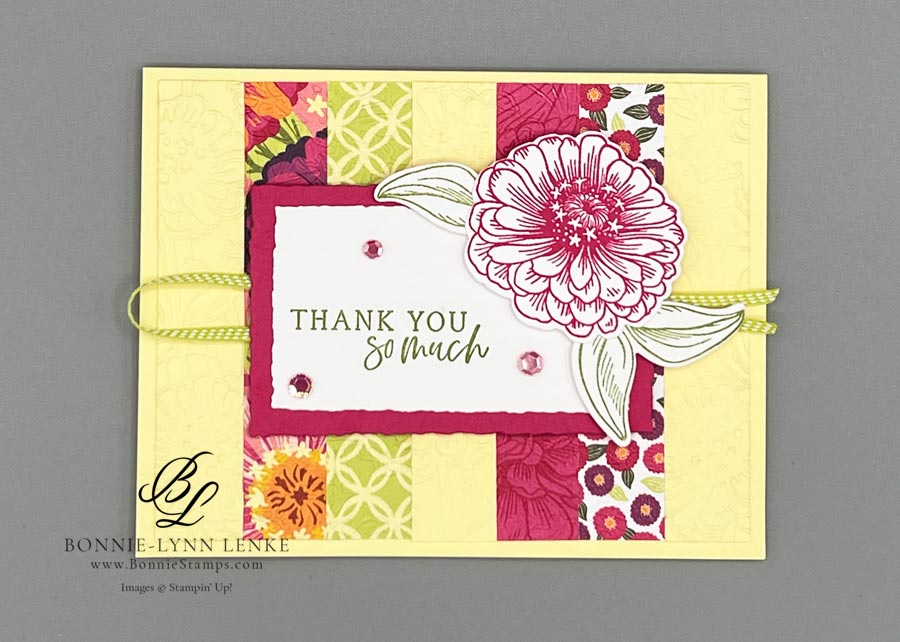
Do you have scraps of Designer Series Paper that are too small to use? Today we will take those paper strips along with some scraps of Cardstock and make a beautiful card front with them and the Simply Zinnia stamp set.
In the gallery I also have another card I made using just strips of cardstock and the Bee My Valentine stamp set, which I cased from Sharon Armstrong. This technique is fabulous for using up some of our scraps and will work with any stamp set. Happy Stamping!
Card Directions
- Cut and score all cardstock and papers as listed under Cutting Directions below.
- Fold Lemon Lolly Card Base in half on the score line, burnish with Bone Folder.
- Lay out the strips of Cardstock/DSP to find an order that looks good to you then using Liquid Glue adhere the strips to the 5-1/4” x 4” Basic White panel. Trim sides so they are even if needed.
- Using the Zinnia 3D Embossing Folder, emboss the above “strip” panel. Wrap a length of ribbon from the Ribbon Duo Combo Pack around the center of card front adhering edges to back of card. Adhere panel to front of card base.
- After cropping the 3-1/2” x 2-1/4” Basic White Cardstock with the 6th largest Deckled Rectangle, stamp greeting in Old Olive Ink.
- Crop 3-3/4” x 2-1/2” Melon Mambo Cardstock with the 5th largest Deckled Rectangle, adhere the stamp panel from step above to this. Add to card from with Dimensionals.
- On Basic White Cardstock, stamp Zinnia flower in Melon Mambo Ink and stamp double leaf two times in Old Olive Ink. Die cut with coordinating dies. Cut one of the double leafs apart. Adhere flower and leaves to greeting panel with Dimensionals.
- Embellish with Adhesive-Backed Shiny Sequins.
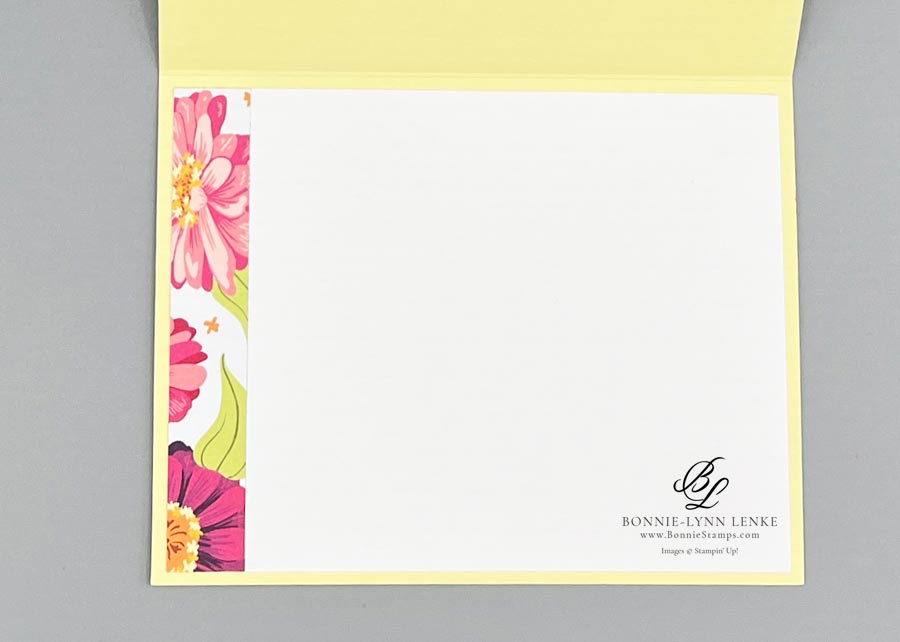
- On the inside add a strip of Flowering Zinnia Designer Series Paper to left sign of Basic White Cardstock and adhere to inside of card. If stamping a sentiment, do so before adding to inside of card.
- The Envelope is finished with a panel of the Flowering Zinnia DSP glued to envelope flap.

Card Recipe
Cutting Directions:
- Lemon Lolly: 8-1/2” x 5-1/2”, scored at 4-1/4” (card base), (3) 3/4” x 4” (strips for front)
- Basic White: (2) 5-1/4” x 4” (card front & inside), 3-1/2” x 2-1/4” (greeting), 3” x 4-1/2” (stamp flower & leaves)
- Melon Mambo: 3-3/4” x 2-1/2” (greeting layer)
- Flowering Zinnia Designer Series Paper: (4) 3/4” x 4” (strips for front), 5/8” x 4” (strip for inside), 6” x 2-1/2” (envelope flap)
Supplies Used:
- Stamps: Simply Zinnia
- Dies: Simply Zinnia, Deckled Rectangles
- Cardstock/Paper: Lemon Lolly, Basic White, Melon Mambo, Flowering Zinnia Designer Series Paper
- Stampin Pads: Melon Mambo, Old Olive
- Embellishments: Adhesive-Backed Shiny Sequins
- Ribbon: Ribbon Duo Combo PacK
- Embossing Folder: Zinnia 3D Embossing Folder
- Adhesives: Dimensionals, Glue Dots, Stampin Seal, Liquid Glue
- Tools: Paper Trimmer, Cut & Emboss Machine, Clear Blocks, Take Your Pick, Bone Folder, Paper Snip Scissors
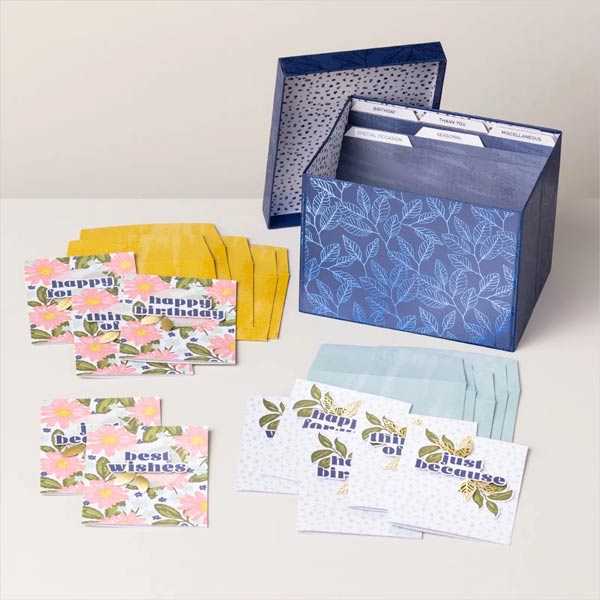
FREE THOUGHTFUL WISHES KIT WITH $50* ORDER

MAY 2024 ORDERING SPECIAL:
Place your online order of $50* or more in May 2024 with the host code SHFCTEUM, and you will receive:
1) A FREE class packet to make FOUR CARDS using the Thoughtful Wishes & Bundle & Simply Said Stamp Set! Everything possible will be cut, punched, embossed, and die-cut for you! You’ll just stamp and assemble with your stamps. I always email you a written tutorial with photos and measurements, too! You’ll receive your card supplies in the following month.
*Order amounts before tax & shipping.
Check out this month’s Specials:
Click on an image for more information…


