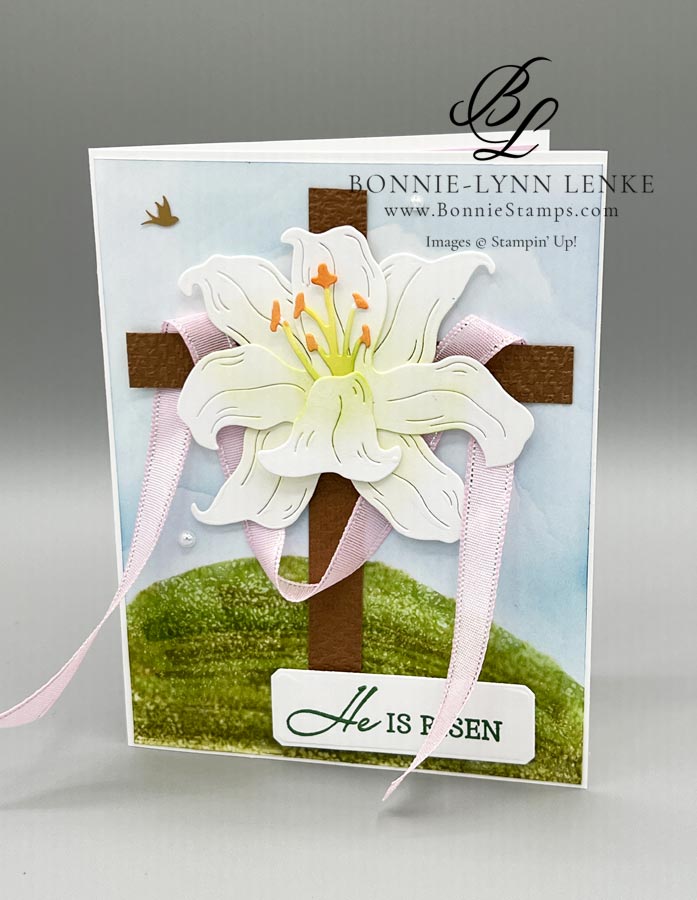
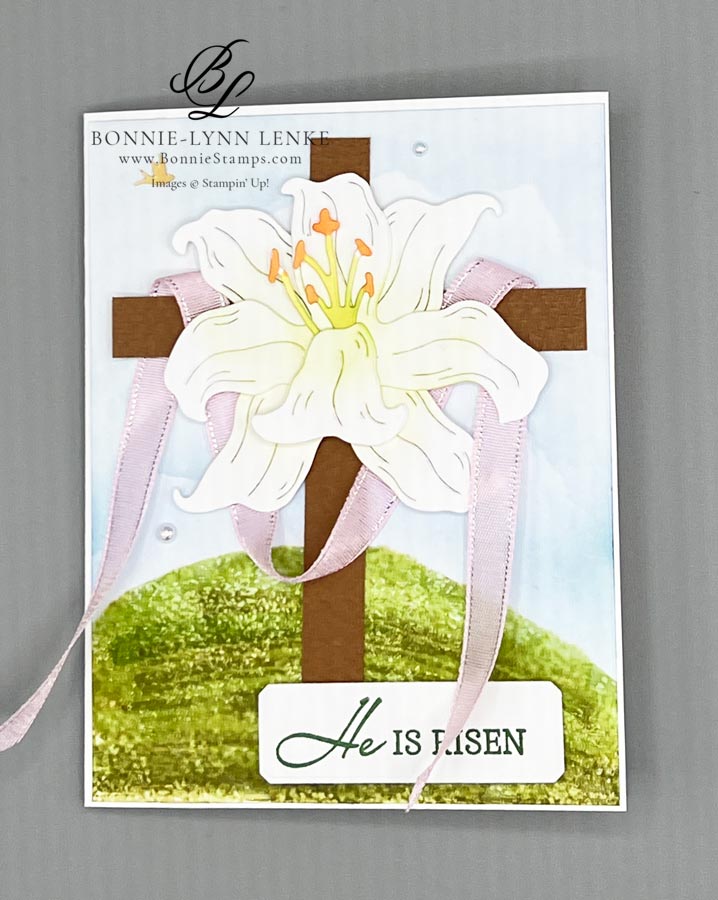
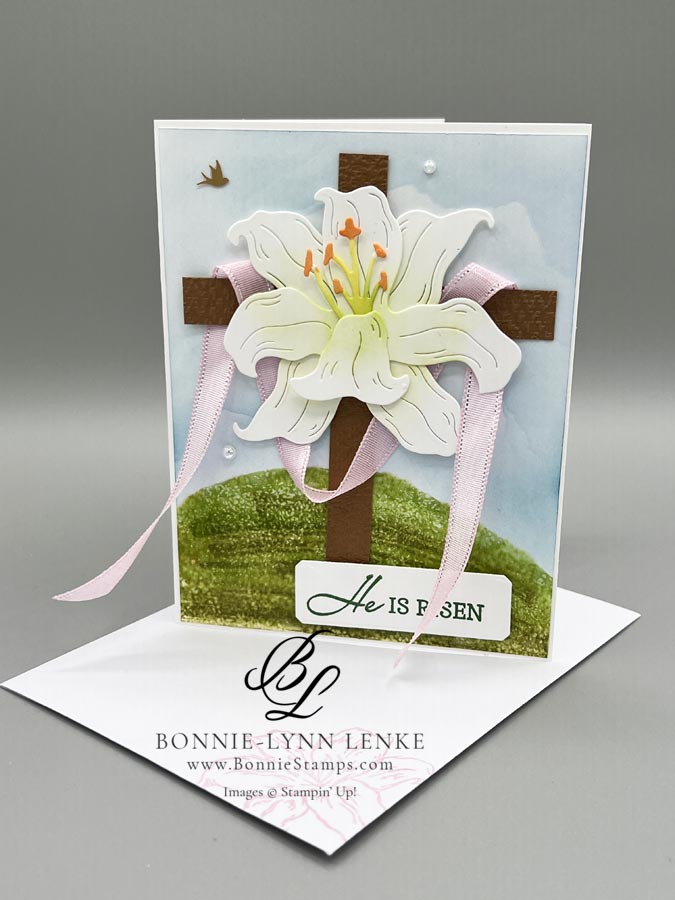
Easter is just weeks away and today I’m sharing with you an Easter card made with the Easter Lilies stamps and dies. On the card we also create a sky with a blending brush/ink and a grassy hill with Stampin’ Blends. Watch the video tutorial to see how to do these techniques and how to use the Easter Lilies Dies to create the flower. Happy Stamping!
Card Directions
- Cut and score all cardstock and papers as listed under Cutting Directions below.
- Fold Card Base on score line, burnish with Bone Folder.
- Using a pencil, lightly draw a line for the shape of the hill you want to create. Stampin’ Blends used to color the hill are Old Olive & Granny Apple Green. See video for how to give the hill texture and blend the colors.
- Tear a piece of cardstock for a rough slanted edges. Use this to give movement to your sky using Balmy Blue Ink and a Blending Brush. See video for directions.
- Emboss the 1/2” wide Pecan Pie Cardstock strips with the Timber 3D Embossing Folder. Join together to form a cross.
- Loop the 3/8” Bubble Bath Sheer Ribbon around the crossbeam of cross with Glue dots to hold ribbon in place, then adhere cross to card front.
- With a Dauber lightly add Lemon Lime Twist Ink to orchard petals. For the stem use Light Lemon Lolly Stampin’ Blend to color them and Light Pumpkin Pie to color top of stem. I then took the blending brush with Lemon Lime Twist and light rubbed some over the yellow stems. Build flower by glueing the different pieces together (see video).
- Stamp greeting in Garden Green Ink, crop with smallest Countryside Corners Dies. Adhere to card front with Dimensionals.
- Add embellishments, Iridescent Pearls Basic Jewels and Adhesive-Backed Dragonflies & Birds
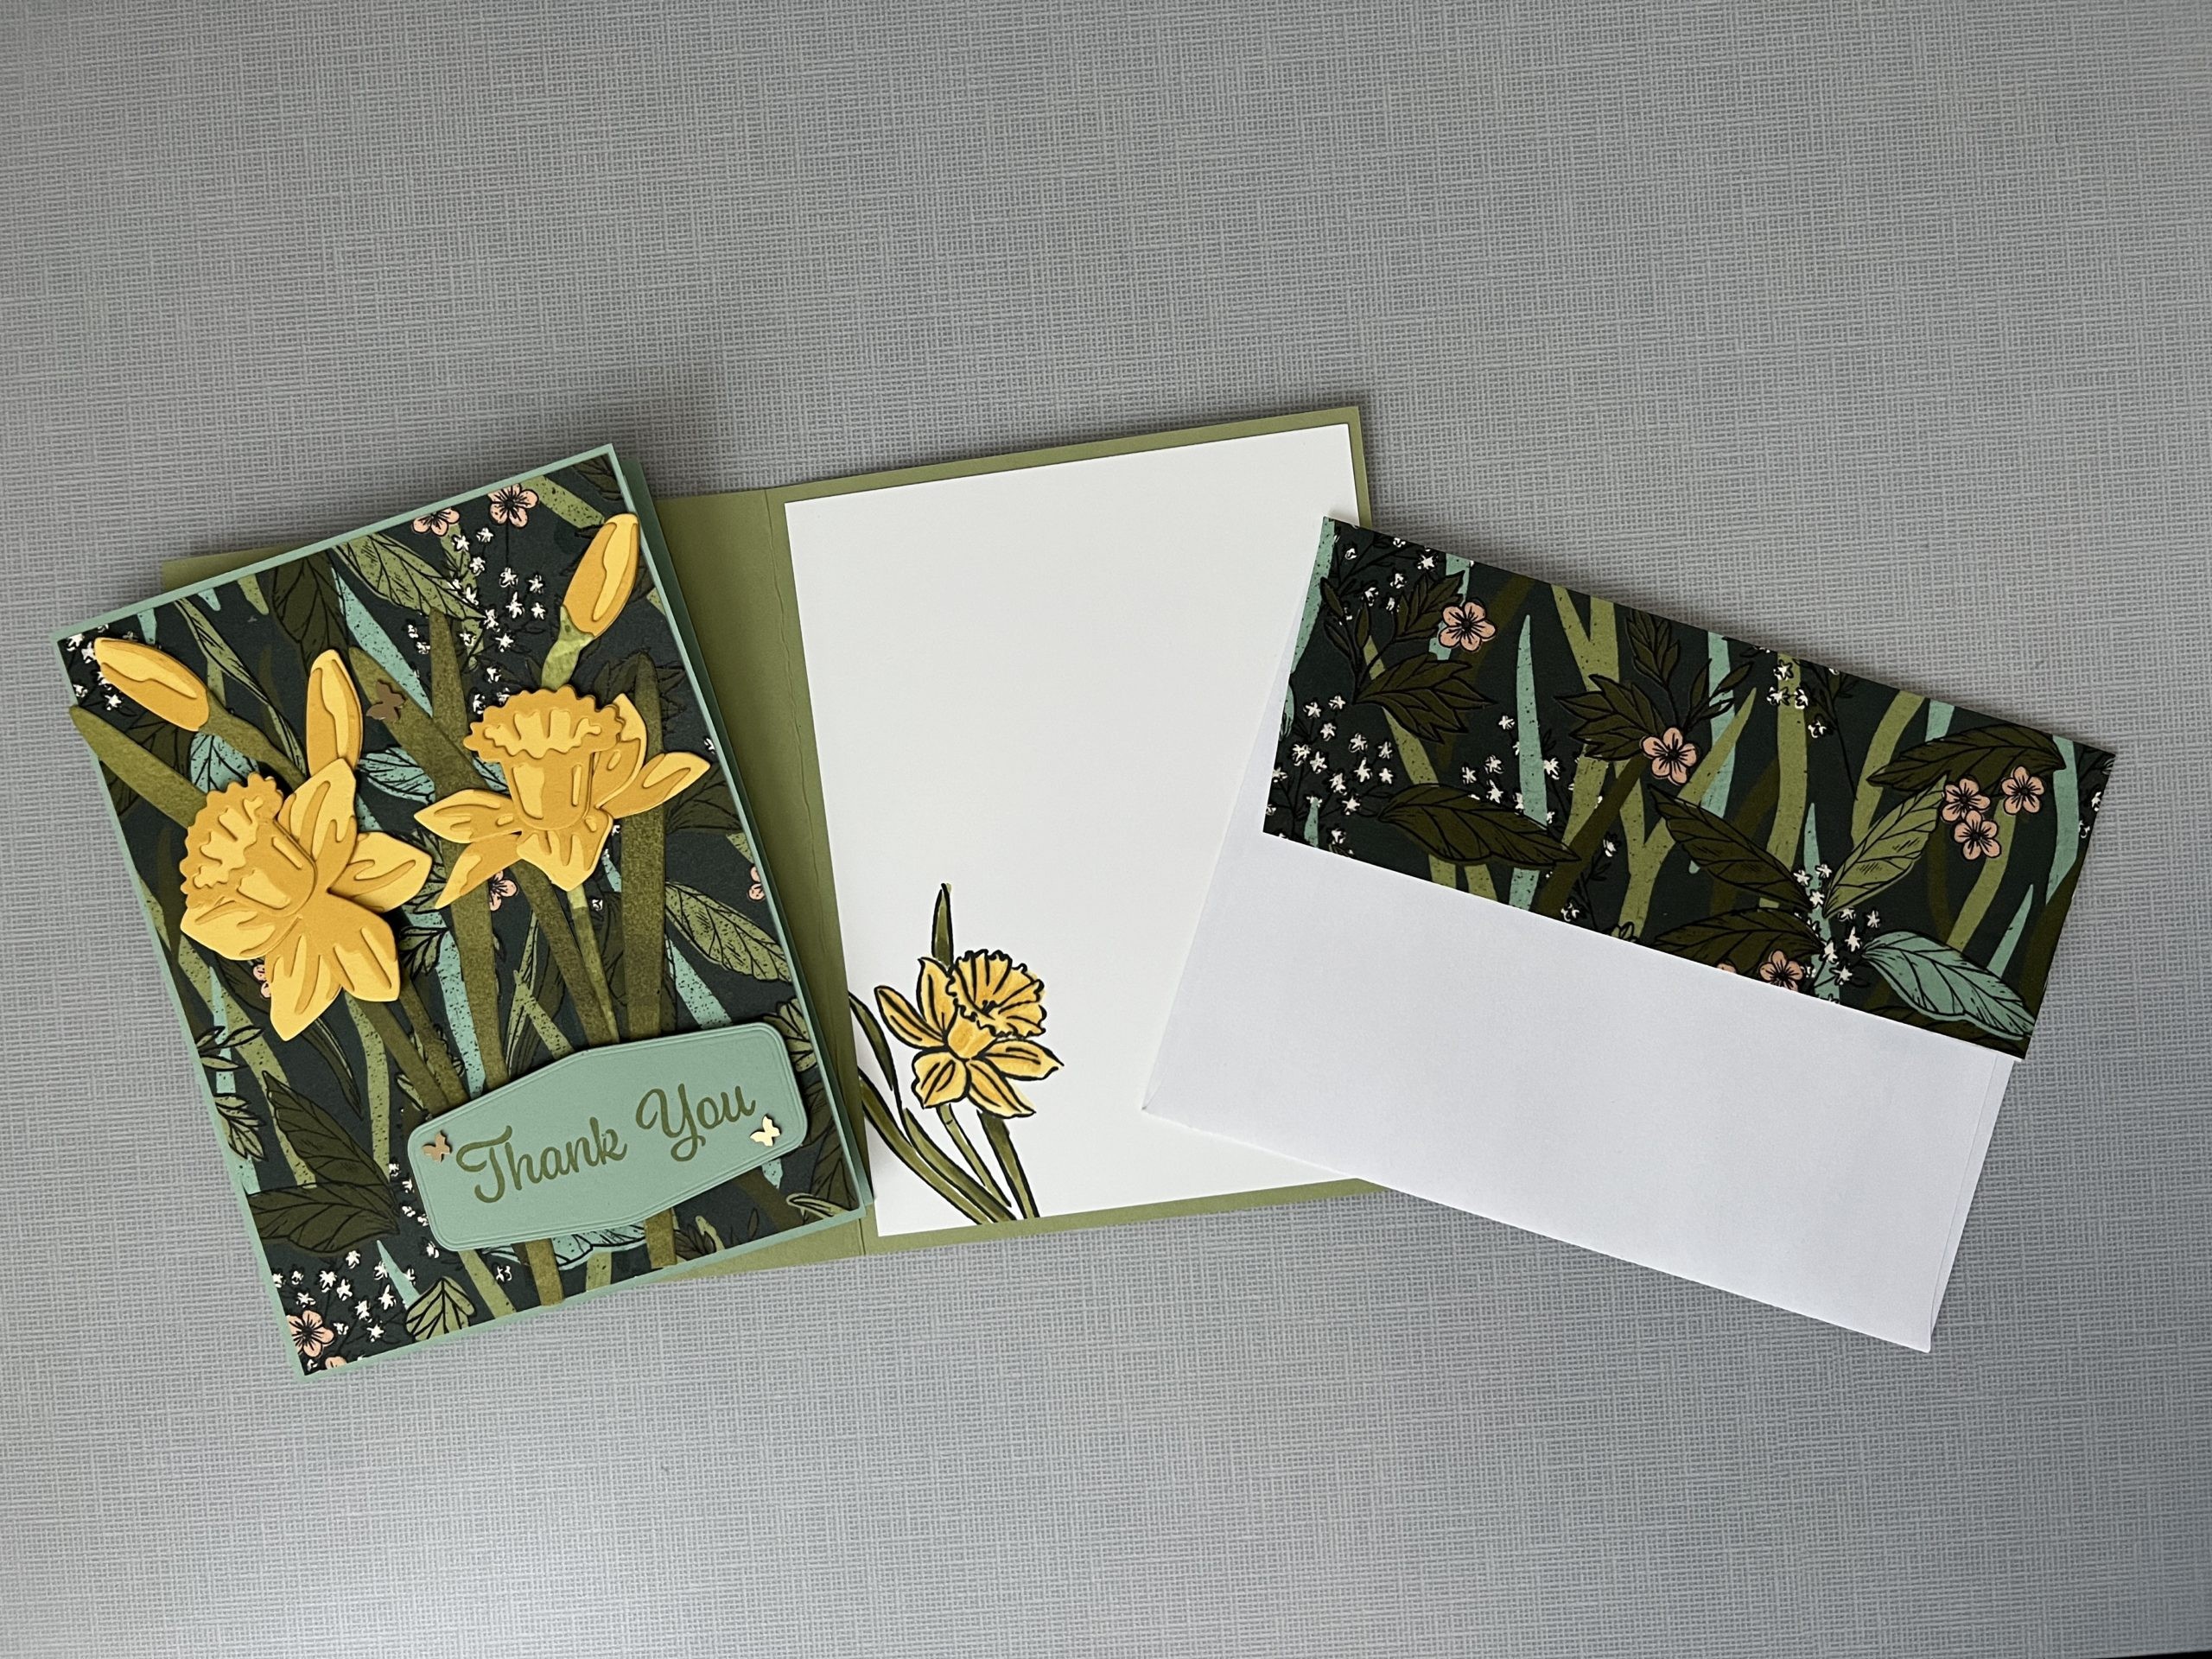
- For the inside stamp sentiment in Lemon Lime Twist Ink and the orchid flower in Bubble Bath Ink onto White Cardstock. Using favorite adhesive, adhere to panel of Bubble Bath Cardstock then adhere both to inside of card.
- Envelope was finished with a stamped orchid in Bubble Bath Ink on the bottom left hand corner.

Card Recipe
Cutting Directions:
- Basic White Thick: 8-1/2” x 5-1/2”, scored at 4-1/4” (card base)
- Basic White: 4-1/8” x 5-3/8” (front), 3” x 1-1/4” (greeting), 5-1/2” x 6” (die cutting), 3-3/4” x 5” (inside)
- Balmy Blue: 1/2” x 5” (cross) 1/2” x 3-3/4” (cross)
- Bubble Bath: 4” x 5-1/4” (inside)
Supplies Used:
- Stamps: Easter Lilies, Heartfelt Hellos (retired Sale-a-bration 2024)
- Dies: Easter Lilies, Countryside Corners
- Cardstock/Paper: Thick Basic White, Basic White, Pecan Pie, Bubble Bath
- Stampin Pads: Balmy Blue, Lemon Lime Twist, Bubble Bath, Garden Green
- Stampin’ Blends: Light Lemon Lolly, Light Pumpkin Pie, Old Olive, Granny Apple Green
- Embellishments: Iridescent Pearls Basic Jewels, Adhesive-Backed Dragonflies & Birds
- Ribbon: 3/8” Sheer Ribbon Combo Pack Bubble Bath
- Embossing Folder: Timber 3D Embossing Folder or Tasteful Textile (retired)
- Adhesives: Dimensionals, Glue Dots, Stampin Seal
- Tools: Paper Trimmer, Cut & Emboss Machine, Clear Blocks, Take Your Pick, Bone Folder, Stampin Pierce Mat, Paper Snip Scissors
FREE THOUGHTFUL WISHES KIT WITH $50* ORDER

MAY 2024 ORDERING SPECIAL:
Place your online order of $50* or more in May 2024 with the host code SHFCTEUM, and you will receive:
1) A FREE class packet to make FOUR CARDS using the Thoughtful Wishes & Bundle & Simply Said Stamp Set! Everything possible will be cut, punched, embossed, and die-cut for you! You’ll just stamp and assemble with your stamps. I always email you a written tutorial with photos and measurements, too! You’ll receive your card supplies in the following month.
*Order amounts before tax & shipping.
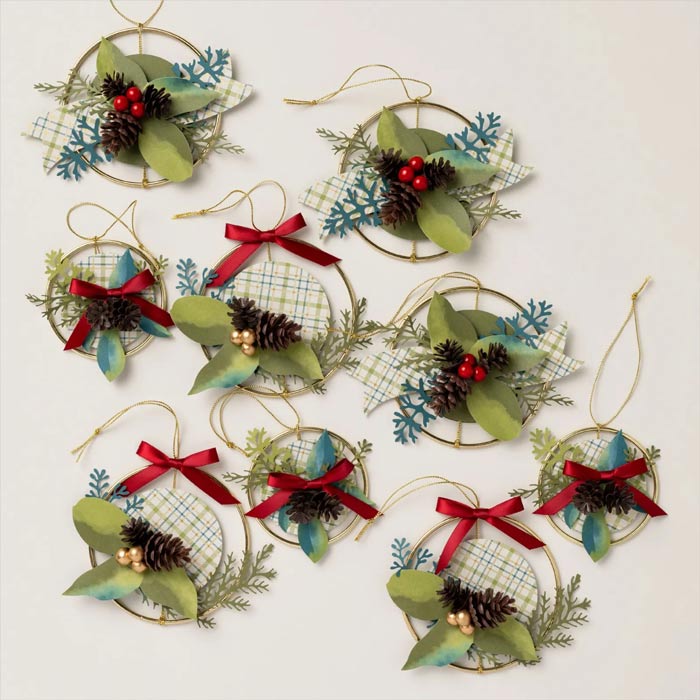
Check out this month’s Specials:
Click on an image for more information…
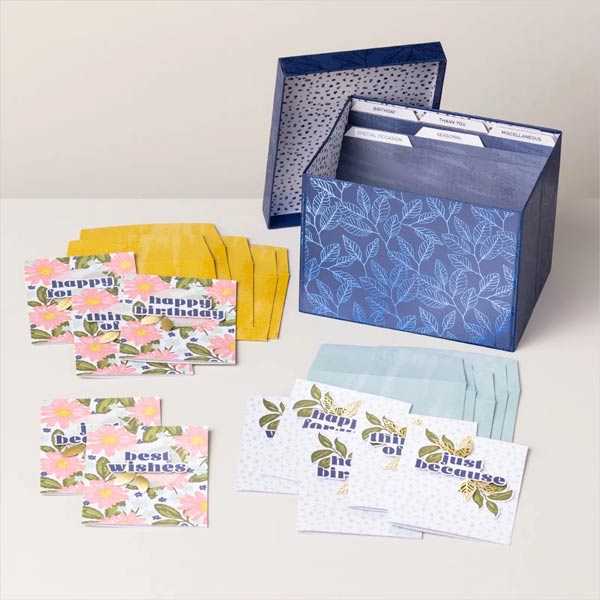
Card Keeper Kit