Today I’m showing you how to use Stampin’ Up! Autumn Leaves stamp set along with the Distressed Tile 3D Embossing Folder to create a unique background. We put ink on the embossing folder to emboss onto your cardstock.
This technique has been around for a long time. It might be messy but the results are worth it. I hope you enjoyed learning this technique. Happy Stamping!
Card Directions
- Fold card base in half on the score line, burnish with Bone Folder.
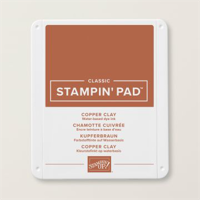
- With your Copper Clay Ink pad rub ink on the inside of the top of the embossing folder. Put open embossing folder on the Cut & Emboss Machine with top open, lay Very Vanilla Cardstock on embossing folder, carefully close the top. Run through the Cut & Emboss Machine. Remove from folder and adhere to card front.
- Pull the thread from each end of the ribbon, about a 1/3” on each side for a ravel look. Tape to middle of card front.
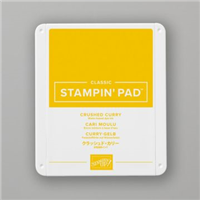
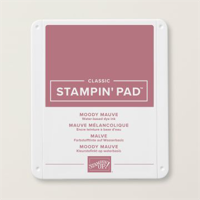
- Stamp larger leaf in Old Olive & Moody Mauve Ink onto Very Vanilla Cardstock. Stamp the smaller double leaf stamp in Crushed Curry (2 sets) and Olive Ink (1 set). Cut out all leaves with coordinating dies.
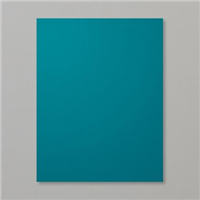
- Die cut the large Stylish Shape die out of Pretty Peacock Cardstock, adhere to card front with Dimensionals.
- Using the largest leaf die, cut one out of Oxidized Specialty Designer Series Paper (peacock & copper paper). Die cut the line die out of the copper piece of the paper. Glue the lines for leaf to the leaf. Adhere leaf to the pretty peacock circle.
- Cut apart the small double leaf sets. Use Glue Dots or Seal to adhere the leaves to card front putting the ends under the circle.
- Stamp the greeting in Copper Clay Ink and die cut out with die from the Autumn Leaves Dies. Add to card front with Dimensionals
- Complete the front with Adhesive-Backed Speckled Dots.
- The inside was was finished by stamping the saying in Copper Clay Ink onto Very Vanilla cardstock. Stamp the large leaf in Crushed Curry Ink. Adhere to card inside.
- For the envelope, emboss the envelope flap with the Distressed Tile 3D Embossing Folder.


Card Recipe
Cutting Directions:
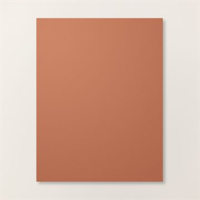
- Basic Copper Clay: 8-1/2” x 5-1/2”, scored at 4-1/4” (card base)
- Very Vanilla: (2) 5-1/4” x 4” (card front and inside), 5-1/2 x 4-1/4” (stamping)
- Pretty Peacock: 3-1/4” x 3-1/4” (circle)
- Oxidized Copper Specialty Designer Series Paper: 3” x 3” for the leaf and 3” x 6” for leaf lines (this way you can easily cut 2 out).
Supplies Used:
- Stamps: Autumn Leaves
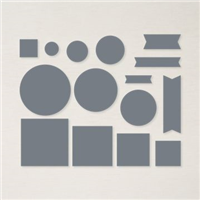
- Dies: Autumn Leaves, Stylish Shapes
- Cardstock/Paper: Copper Clay, Very Vanilla, Pretty Peacock, Oxidized Copper Speciality Designer Series Paper
- Stampin Pads: Copper Clay, Old Olive, Crushed Curry, Moody Mauve
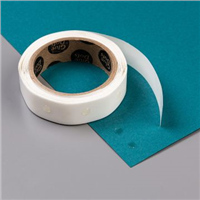
- Embellishments: Adhesive-Backed Speckled Dots
- Ribbon: Natural & Copper Combo Pack
- Embossing Folder: Distressed Tile 3D embossing folder
- Adhesives: Dimensionals, Glue Dots, Stampin Seal, Liquid Glue
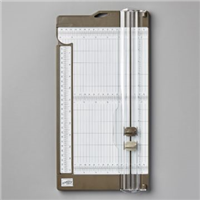
- Tools: Paper Trimmer, Cut & Emboss Machine, Clear Blocks, Take Your Pick, Bone Folder, Stampin Pierce Mat, Paper Snip Scissors
Holiday Paper Share and A Ribbon & Embellishment Share

The new 2023 Holiday September to December Mini Catalog is just about here. And for those who don’t know, this is my favorite catalog of the year. This years is one the best top two I’ve ever seen.
In order to help get as much new product in your hands as possible, at an affordable price without having to buy it all, I’ve set up a product share for you.
Below you will find the details of what each Product Share offers. This year I’m offer a Designer Series Paper Share and a Ribbon & Embellishment Share.
Important:
The last day to order is September 4th, 2023.
Check out this month’s Specials:
Click on an image for more information…
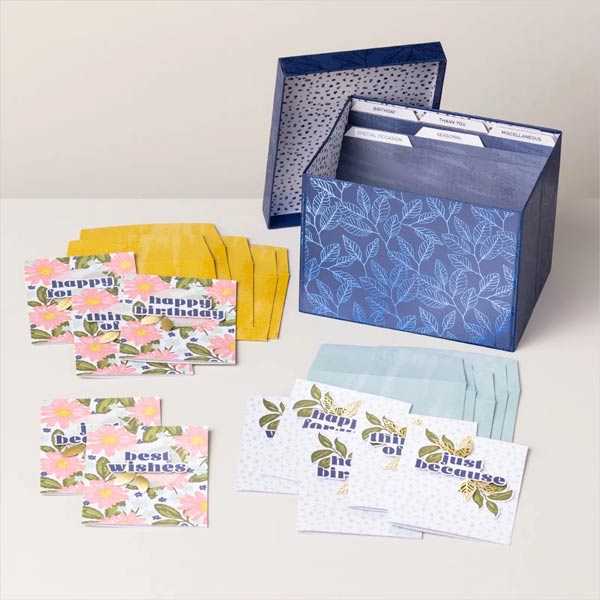
Card Keeper Kit