I wanted to show off one more Stampin’ Up Suite of products before they retire on April 30th, and this one is still available in the store. I made for you today not one but two Zany Zoo cards. They use the same layout, just different colors and tools. I did separate directions for each card.
Not only are the cards good for children but for the adult in your life who needs a light-hearted card. My husband, Terry, is the one who wanted me to buy this suite last year. He loves anything with animals on it. Happy Stamping!
Card Directions
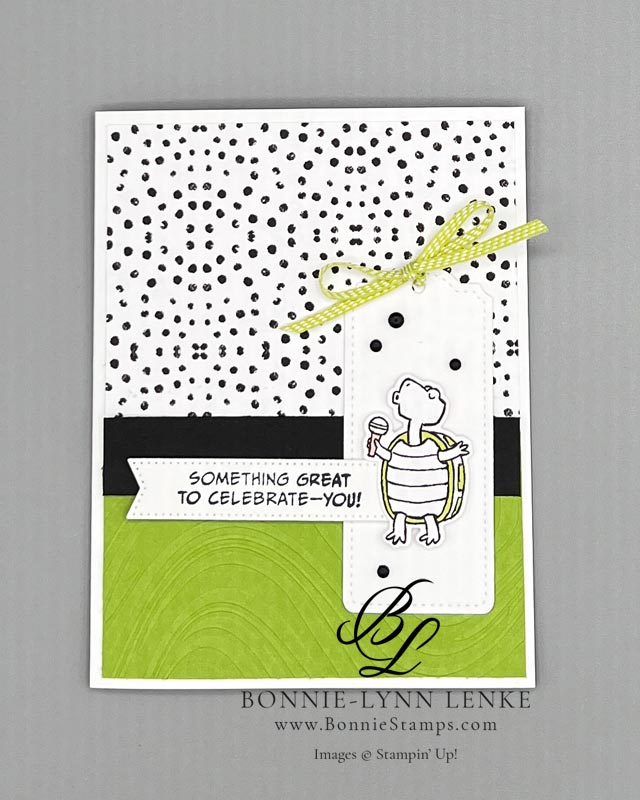
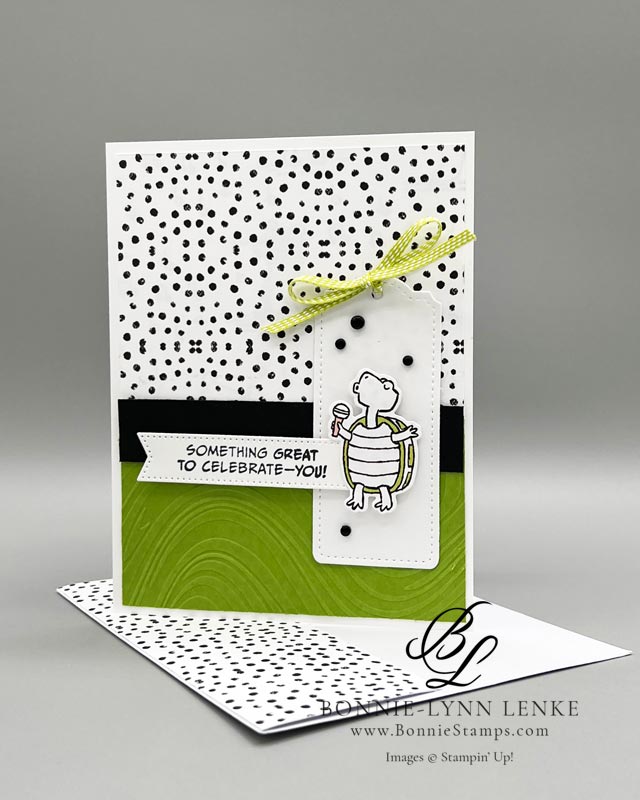
Turtle Card
- Cut and score all cardstock and papers as listed under Cutting Directions below.
- Fold the Basic White Thick Card Base in half on the score line, and burnish it with a Bone Folder.
- Add the 4” x 3” Zoo Crew Designer Series Paper to the top of the card base front leaving a 1/8” on top and sides.
- Emboss the Granny Apple Green 4” x 2-1/4” with the So Swirly Embossing Folder (available May 1st), then adhere to the card front adjoining to the bottom of the Designer Series Paper, leaving a 1/8” on the sides and bottom.
- Adhere the 4” x 3/4” Basic Black Cardstock strip over where the two DSP and cardstock meet.
- Crop the tag from Basic White Cardstock using the Tailor Made Tag Dies (retiring) and adhere to the card front.
- Stamp the greeting in Memento Black Ink on Basic White Cardstock and crop with a Stylish Shape Banner Die. Add to the card front with Dimensionals.
- Using the Zoo Crew Dies, crop a turtle from the Zoo Crew Designer Series Paper, and add to the card front with Dimensionals.
- Pull a piece of Lemon Lime Twist Ribbon through the top of the tag hole, and tie it into a bow.
- Embellish with Classic Matte Dots.
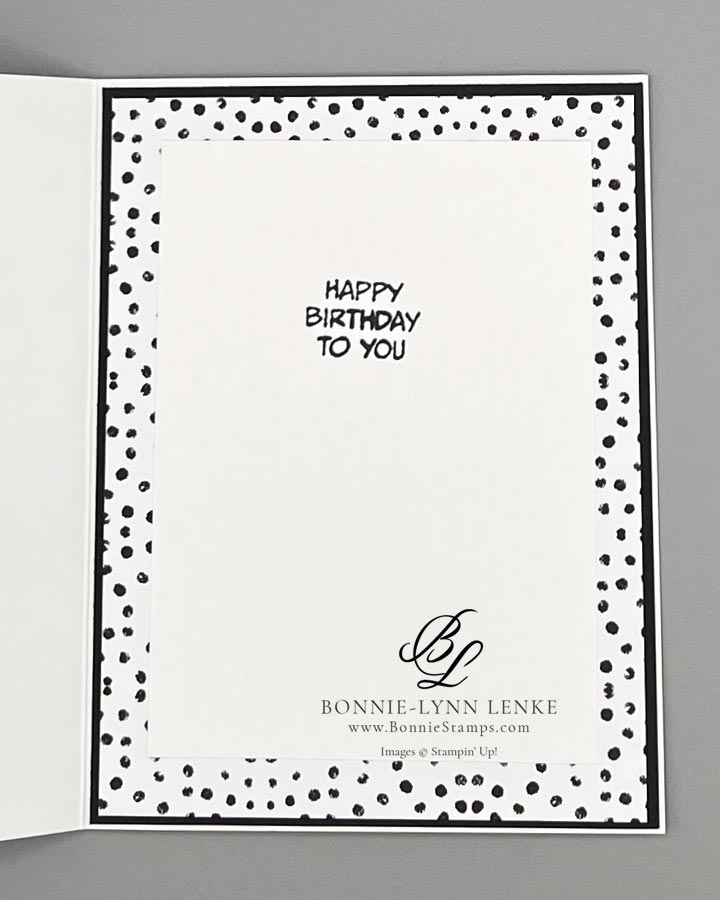
- To complete the inside, layer a 4” x 5-1/4” panel of designer series paper onto a panel 4-1/8” x 5-3/8” of Basic Black Cardstock. Stamp the sentiment in Black Memento Ink onto 3-1/4” x 4-1/2” Basic White Cardstock then add to DSP/Black panel, and adhere this panel to the inside of the card.
- Finish the envelope with a 6” x 2-1/2” piece of Designer Series Paper by gluing it to the flap of the Envelope. Trim off excess paper.
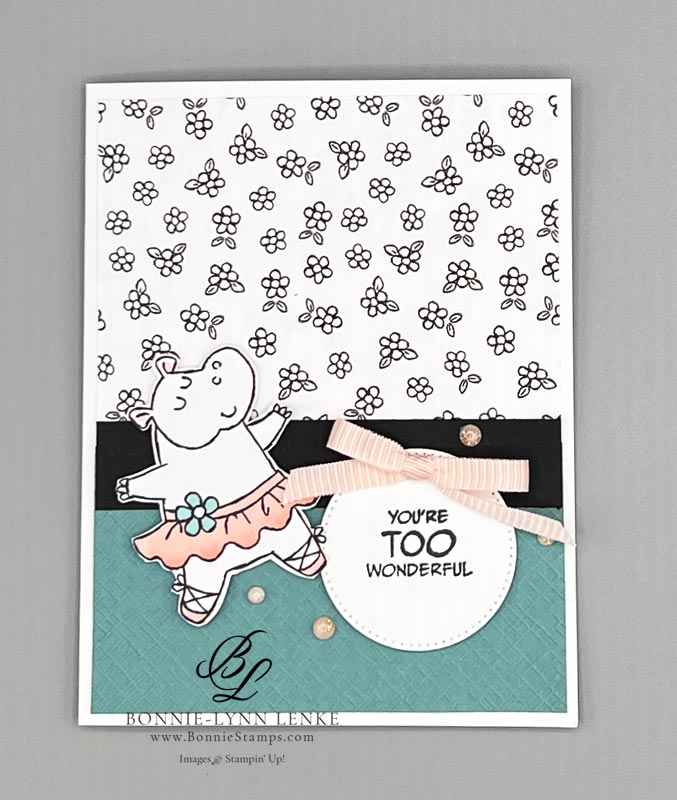
Hippo Card
- Cut and score all cardstock and papers as listed under Cutting Directions below.
- Fold the Basic White Thick Card Base in half on the score line, and burnish it with a Bone Folder.
- Add the 4” x 3” Zoo Crew Designer Series Paper to the top of the card base front leaving a 1/8” on top and sides.
- Emboss the Lost Lagoon 4” x 2-1/4” with the Basic 3D Crosshatch Embossing Folder, then adhere to the card front adjoining to the bottom of the Designer Series Paper leaving a 1/8” on the sides and bottom.
- Adhere the 4” x 3/4” Basic Black Cardstock strip over where the two DSP and cardstock meet.
- Stamp the greeting in Memento Black Ink on Basic White Cardstock and crop with a Stylish Shape Circle Die. Add to the card front with Dimensionals.
- From the Zoo Crew Designer Series Paper fussy cut a hippo out and add to the card front with Dimensionals.
- Tie a piece of Petal Pink Ribbon into a bow and adhere to the top of the circle with a Mini Glue Dot.
- Embellish with Petal Pink and Pretty Peacock Foiled Gems.
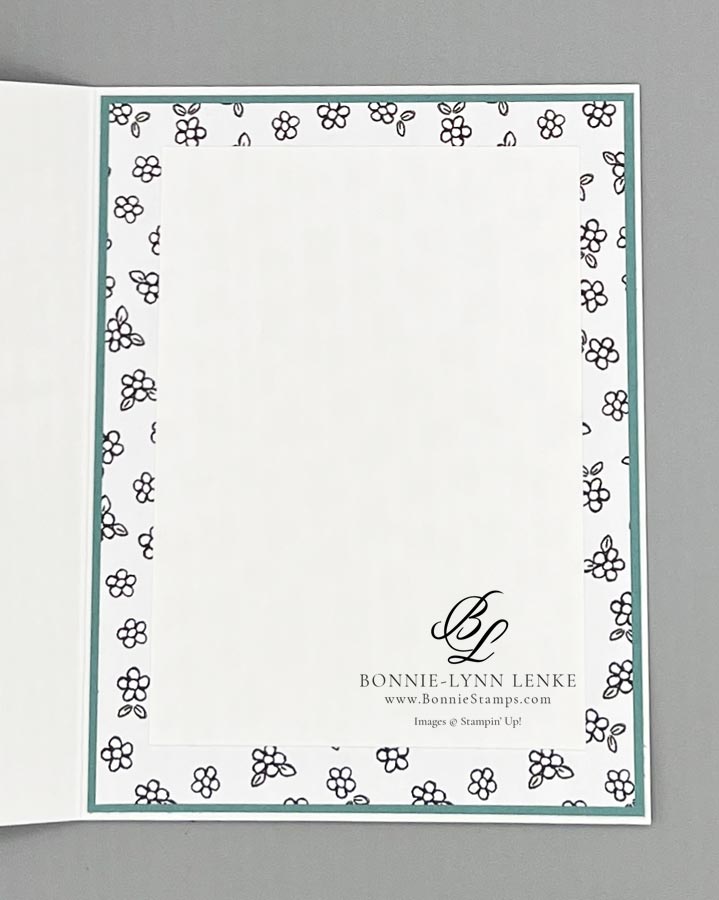
- To complete the inside, layer a 4” x 5-1/4” panel of designer series paper onto a panel 4-1/8” x 5-3/8” of Lost Lagoon Cardstock. Stamp the sentiment in Black Memento Ink onto 3-1/4” x 4-1/2” Basic White Cardstock then add to DSP/Lost Lagoon panel, and adhere this panel to the inside of the card.
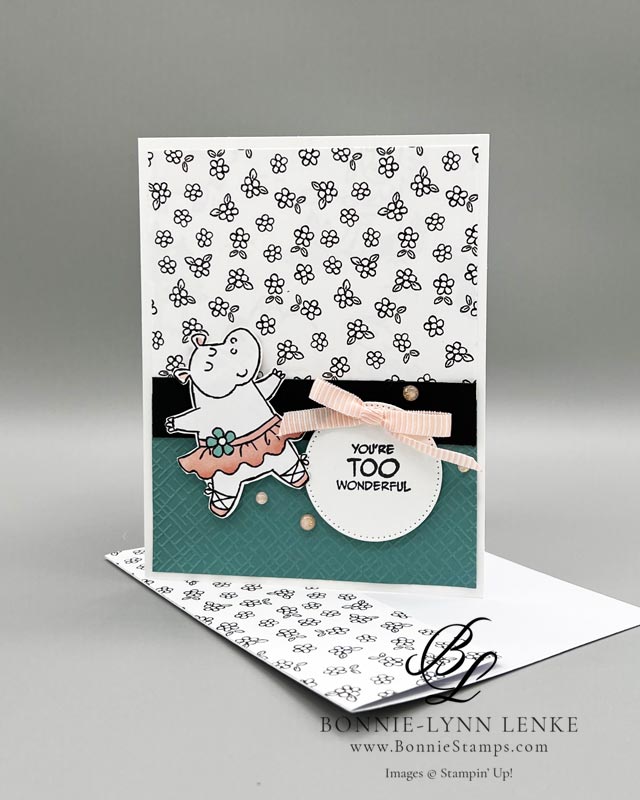
- Finish the envelope with a 6” x 2-1/2” piece of Designer Series Paper by gluing it to the flap of the Envelope. Trim off excess paper.
Card Recipe
Cutting Directions:
- Basic White Thick: 8-1/2” x 5-1/2”, scored at 4-1/4” (card base)
- Basic White: 3-1/4” x 4-1/2” (inside), 2” x 4’ (tag), 3-1/2” x 1” (greeting)
- Granny Apple Green: 4” x 2-1/4” (card front bottom)
- Basic Black: 4” x 3/4” (front strip), 4-1/8” x 5-3/8” (inside)
- Zoo Crew Designer Series Paper: 4” x 3” (card front top), 4” x 5-1/4” (inside), 6” x 2-1/2” (envelope flap)
Supplies Used:
- Stamps: Zany Zoo
- Dies: Zany Zoo, Tailor Made Tags, Stylish Shapes
- Cardstock/Paper: Thick Basic White, Basic Black, Basic White, Granny Apple Green, Lost Lagoon
- Stampin Pads: Memento Black
- Embellishments: Classic Matte Dots, Petal Pink & Pretty Peacock Foiled Gems
- Ribbon: Duo Combo Pack
- Embossing Folder: So Swirly, 3D Basic Embossing Folder Crosshatch
- Adhesives: Stampin’ Dimensionals, Mini Glue Dots, Stampin Seal, Liquid Glue, Tear & Tape
- Tools: Paper Trimmer, Cut & Emboss Machine, Clear Blocks, Take Your Pick, Bone Folder, Stampin Pierce Mat, Paper Snip Scissors
Paper Share & More For The 2024 – 2025
Stampin’ Up! Annual Catalog

The new Stampin’ Up! 2024-2025 Annual Catalog is around the corner! To help get as many new products in your hands as possible I’ve set up a Product Share!
What is a Product Share you ask? The paper shares a sample of all of the new Designer Series Papers & Specialities Papers from the 2024-2025 Annual Catalog. The Embellishment & Ribbon share includes a sample of all new embellishments & ribbons in the new 2024 – 2025 Annual Catalog.


Check out this month’s Specials:
Click on an image for more information…

