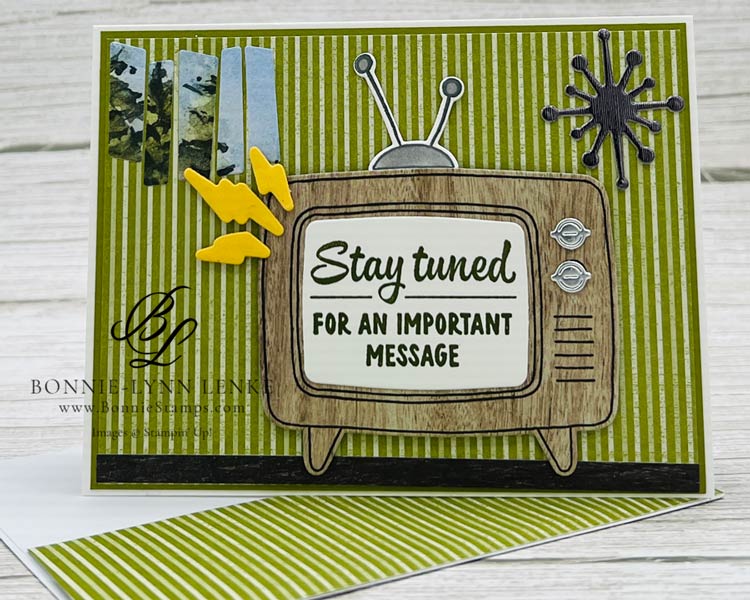
Are you ready to step back in time with Stampin’ Up’s Tune In stamp bundle? This is a quick and almost simple card because there is coloring on the rabbit ears. Besides that, it is stamping and die-cutting, and it is nothing difficult. The ease of use of this bundle makes it suitable for all age groups. The colors are reminiscent of my husband’s home when he was growing up. The card was made for one of his family members.
When I first looked at the catalog, I didn’t pay much attention to this bundle. My husband suggested I purchase it, and I’m so glad he did. This bundle is a bundle of joy, and I can already see many fun cards I can create. It’s suitable for all age groups, and I can’t wait to see the younger generation’s reaction to the concept of TV. So, let’s have fun with it and keep the creative spirit alive. Happy Stamping!
- Cut and score all cardstock and papers as listed under Cutting Directions below.
- Fold the Basic White Thick Card Base in half on the score line, and burnish it with a Bone Folder.
- Adhere the 5-1/4” x 4” Regal Old Olive Striped DSP layer to the Old Olive 5-3/8” x 4-1/8” layer, then adhere to the card front.
- Add the 5-1/4” x 1/4” strip of Country Woods DSP to the bottom of the Regal front layer for the floor.
- Stamp the rabbit ears in Black Memento ink on a scrap of basic white cardstock. Color with light Smokey Slate Ink and then crop with the coordinating Tune In die.
- In Mossy Meadow Ink, stamp the sentiment on Basic White Cardstock and crop with the coordinating die for inside the TV. Adhere to the center of the TV.
- Stamp the TV stamp in Early Espresso Ink on the 3-3/4” x 3-1/4” layer of Country Woods DSP. Crop with the coordinating die. Tape the “rabbit ears to the back of the TV, then adhere both images to the card front with Stampin’ Dimensionals.
- Crop the TV Dials die from Silver Foil and adhere over the TV knobs.
- For the wall decor on the right side, crop the die from Silver Foil and adhere it to the wall with a Glue Dot (the silver foil I used is retired; I didn’t realize it when I made the card.)
- The artwork on the left side was die-cut from Thoughtful Journey Designer Series Paper with the slat-looking die. Arrange as desired and glue in place.
- Die-cut the lightening looking die out of Daffodil Delight Cardstock, and add to the card front with Mini-Dimensionals.
- For the inside, stamp “NEWS FLASH” in Misty Moonlight, Daffodil Delight, and Granny Apple Green Inks across the top and bottom on the 5” x 3-3/4” Basic White Cardstock layer. Stamp the sentiment in Mossy Meadow Ink. Adhere this to a 5-1/4” x 4” Old Olive layer and then adhere to the inside of the card.
- The envelope was completed by applying a layer of Regals DSP glue to the flap. Trim the excess paper off.


Card Recipe
Cutting Directions:
- Basic White Thick: 8-1/2” x 5-1/2”, scored at 4-1/4” (card base)
- Basic White: 2-1/2” x 2 (Sentiment), Scrap (stamping), 5” x 3-3/4” (inside)
- Old Olive: 5-3/8” x 4-1/8” (front layer), 5-1/4” x 4” (inside layer)
- Daffodil Delight: Scrap (die-cut)
- Country Woods Designer Series Paper: 3-3/4” x 3-1/4” (TV), 5-1/4” x 1/4” (floor)
- Regals 6” x 6” Designer Series Paper: 5-1/4” x 4” (front layer)
- Thoughtful Journey: 2” x 2” (wall art)
- Silver Foil: Scrap (die-cut)
Supplies Used:
- Stamps: Tune In
- Dies: Tune In
- Cardstock/Paper: Basic White Thick, Basic White, Old Olive, Country Woods Designer Series Paper, Regals 6” x 6” Designer Series Paper, Silver Foil
- Stampin Pads: Early Espresso, Mossy Meadow, Misty Moonlight, Daffodil Delight, Granny Apple Green, Black Memento Ink
- Stampin’ Blends: Smoky Slate
- Adhesives: Dimensionals, Glue Dots, Stampin Seal, Liquid Glue, Tear & Tape
- Tools: Paper Trimmer, Cut & Emboss Machine, Clear Blocks, Take Your Pick, Bone Folder, Stampin Pierce Mat, Paper Snip Scissors
Stampin’ Up! Stamp/Bundle and
Die-Cut Machines Sale!
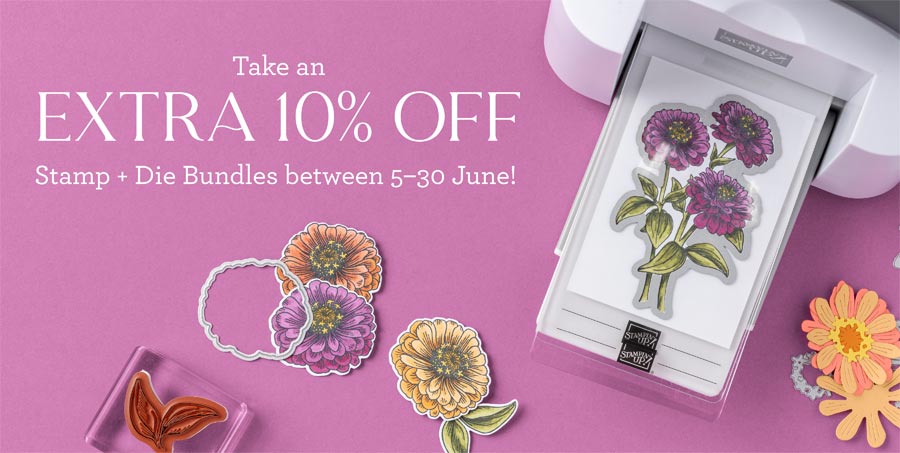
***Now Through June 30th, receive an ADDITIONAL 10% off of all STAMP/DIE BUNDLES and Stampin’ Cut & Emboss Machines, both the regular size and the Mini one!***
Check out this month’s Specials:
Click on an image for more information…


