Share A Milkshake Fun Fold Card & Video

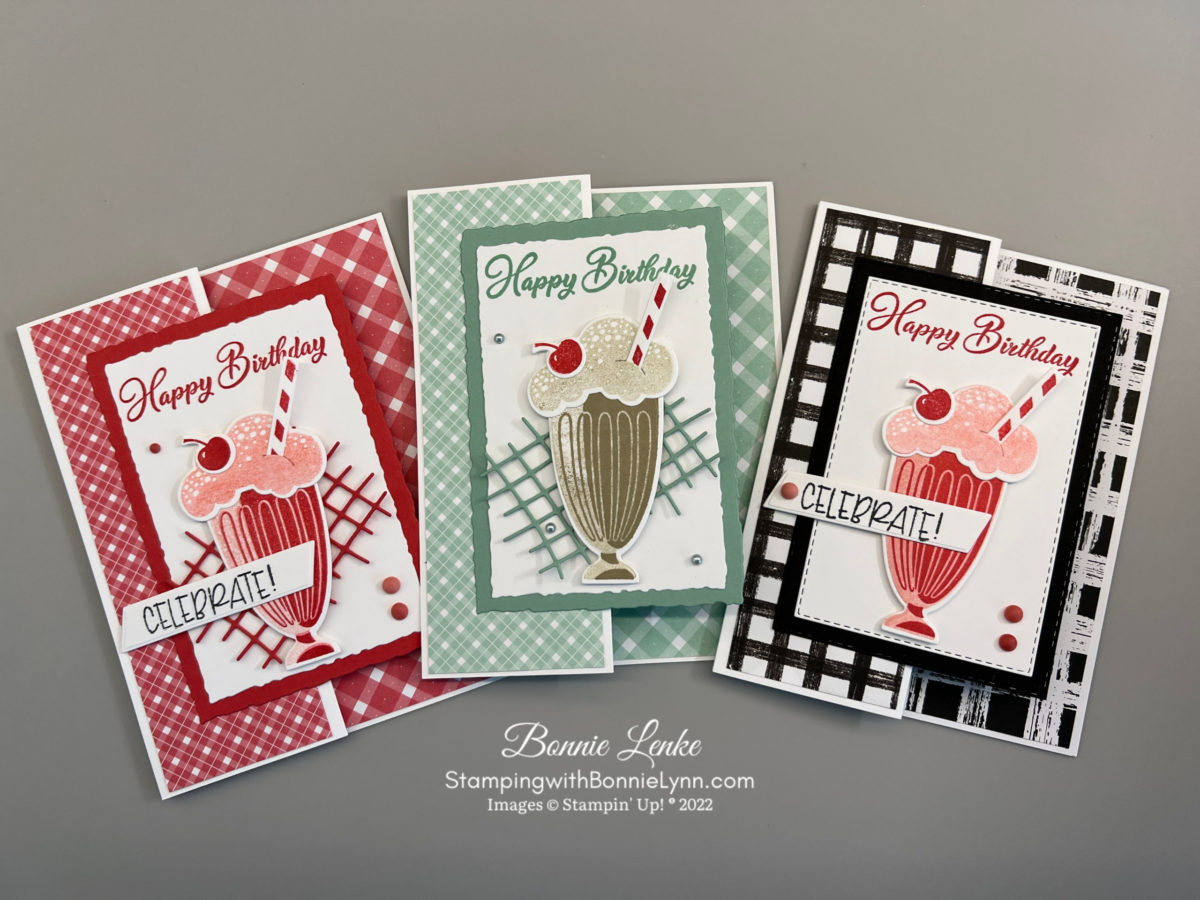
Stampin’ Up! Share a Milkshake is a fun set. This card was designed with an old time soda fountain in mind and a pleasant memory I have of my husband sharing a strawberry milkshake at In-N-Out Burger with our granddaughter when she was a toddler. This is a great birthday, valentine or just for fun stamp set.
Maybe this stamp set can bring pleasant memories back to you too. I hope you enjoy this card as much as I enjoyed making it.
CLICK FOR SHARE A MILKSHAKE VIDEO
Let’s Get Started – Share A Milkshake
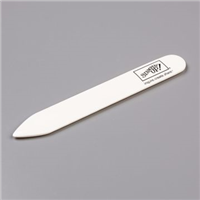
- Fold the Card Base on both score lines, burnish each one with Bone Folder.
- Adhere 4” x 5-1/4” DSP to right side of Card Base.
- Attached the 1-7/8” x 5-1/4” DSP to the first four section on the left side of Card Base.
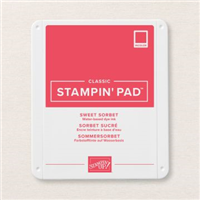
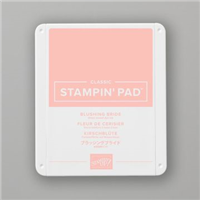
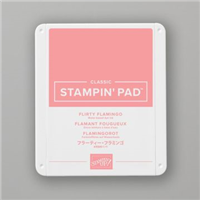
- Stamp the solid milkshake glass stamp in Blushing Bride Ink onto White Cardstock using the Stamparatus. Note- if your ink pad is heavily inked, stamp off one time before stamping onto white cardstock. Next stamp the decorative milkshake glass stamp with Sweet Sorbet Ink over the Flirty Flamingo image lining up first at the bottom then the top. Cut out with coordinating Share A Shake Die.
- Stamp the ice cream/foam stamp in Flirty Flamingo Ink onto White Cardstock after stamping off once or twice to get a light color image. Stamp the cherry and the straw in Sweet Sorbet Ink on White Cardstock. Cut out with coordinating dies.
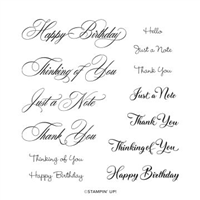
- Cut two of the 4th largest Stitched Rectangle Die out of White Cardstock. Stamp “Happy Birthday” from the Go To Greeting stamp set in Sweet Sorbet Ink.
- Cut the 3rd largest Stitched Rectangle Die out of Black Cardstock. Adhere the white rectangle piece to the black cardstock.
- Glue the ice cream to the top of the milkshake glass. Insert the straw in the slit on the ice cream and hold in place on the back with a Glue Dot. Add the cherry to the ice cream with a Glue Dot. Cut out the waffle grid out of Sweet Sorbet Cardstock. Add to white rectangle piece where the milkshake is going with a couple Glue Dots ( the dimensionals on the milkshake will help hold it in place). Using Dimensionals add the milkshake to the Black and White rectangle pieces over the waffle grid.
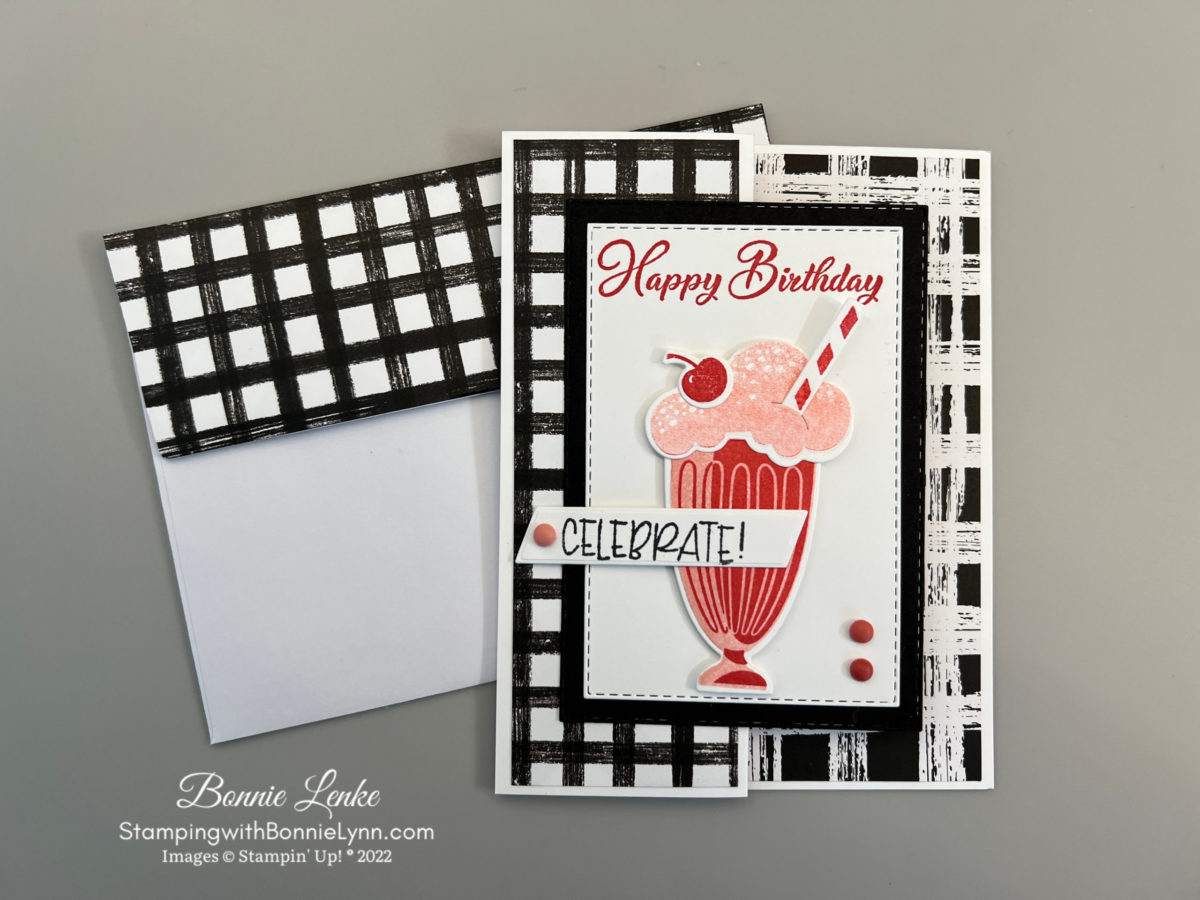
- Add adhesive to one side of the back of the Black Cardstock and adhere to the top piece of the folded card front centering it.
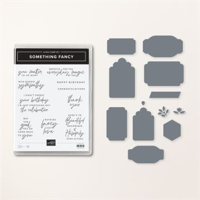
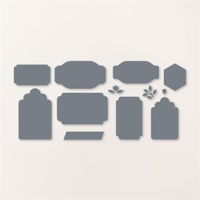
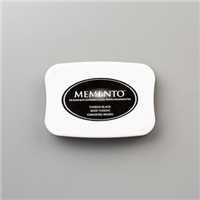
- Use Memento Black Ink and stamp “Celebrate” onto White Cardstock and cut out the the Something Fancy die. Adhere to card front with a Dimensional on one side and a glue dot on the other.
- For embellishments add 2022 – 2024 In Color Matte Decorative Dots.
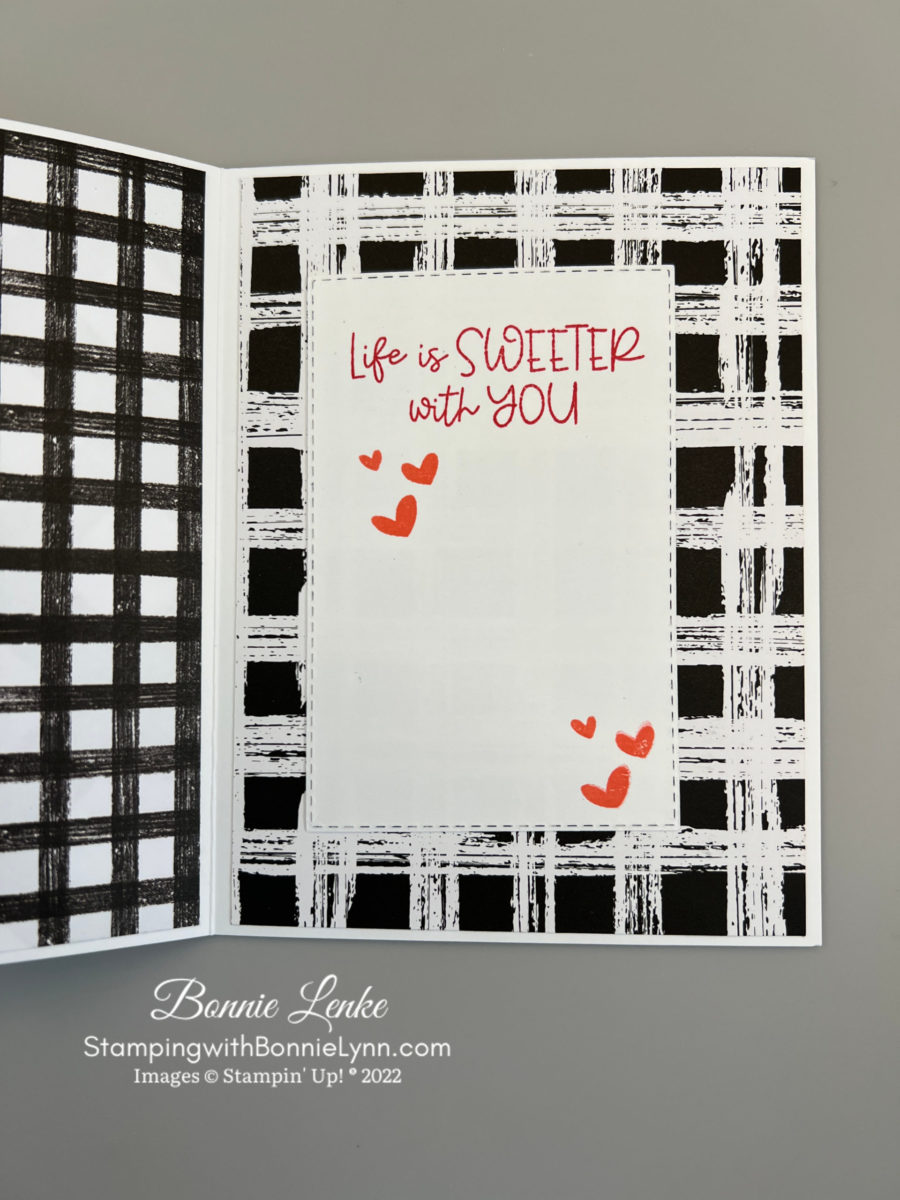
- Stamp saying on the other white rectangle piece in Sweet Sorbet Ink. Stamp the hearts in Flirty Flamingo Ink. Adhere to the right side of the card base by centering on the backside of the black rectangle then flip the back closed onto the white cardstock.
- The Envelope flap is finished with a piece of the DSP used on the card front.
- Now you have a yummy card to brighten someone’s day.
Happy Stamping!
Card Recipe
Cardstock:
- Basic White: 8-1/2” x 5-1/2”, scored at 2-1/8”, 4-1/4” (card base), (2) 3” x 4-1/4” (4th largest rectangle), 3” x 5” (stamping)
- Basic Black: 3-1/4” x 4-3/4” (3rd largest rectangle)
- Sweet Sorbet: 3″ x 3″ (waffle grid)
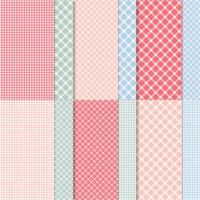
- Gingham Cottage DSP: 2 Strips 1-7/8” x 5-3/8”, 4” x 5-3/8”, 6” x 2-1/4” envelope flap
Supplies Used:
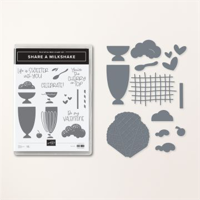
- Stamps: Share A Milkshake, Go To Greetings
- Dies: Share A Milkshake, Stitched Rectangle Dies, Something Fancy
- Cardstock/Paper: Basic White, Basic Black, Sweet Sorbet, Gingham Cottage or Country Gingham Designer Series Paper
- Stampin Pads: Sweet Sorbet, Flirty Flamingo, Blushing Bride, Memento Black (Note: Crumb Cake is what I used for the Chocolate Milkshake)
- Embellishments: 2022 – 2024 In Color Matte Decorative Dots
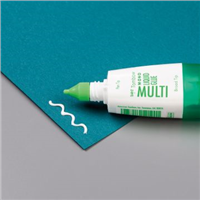
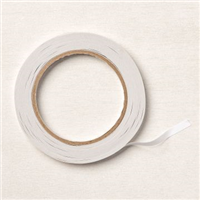
- Others: Adhesives: Dimensionals, Glue Dots, Liquid Glue, Tear N Tape, Stampin Seal
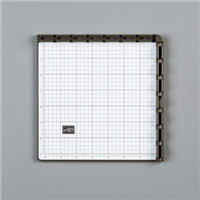
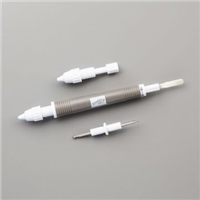
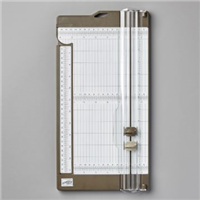
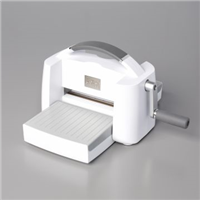
- Tools: Paper Trimmer, Cut & Emboss Machine, Clear Blocks, Take Your Pick, Bone Folder, Stampin Pierce Mat, Stamparatus
April’s Paper Pumpkin Kit – All The Little Things
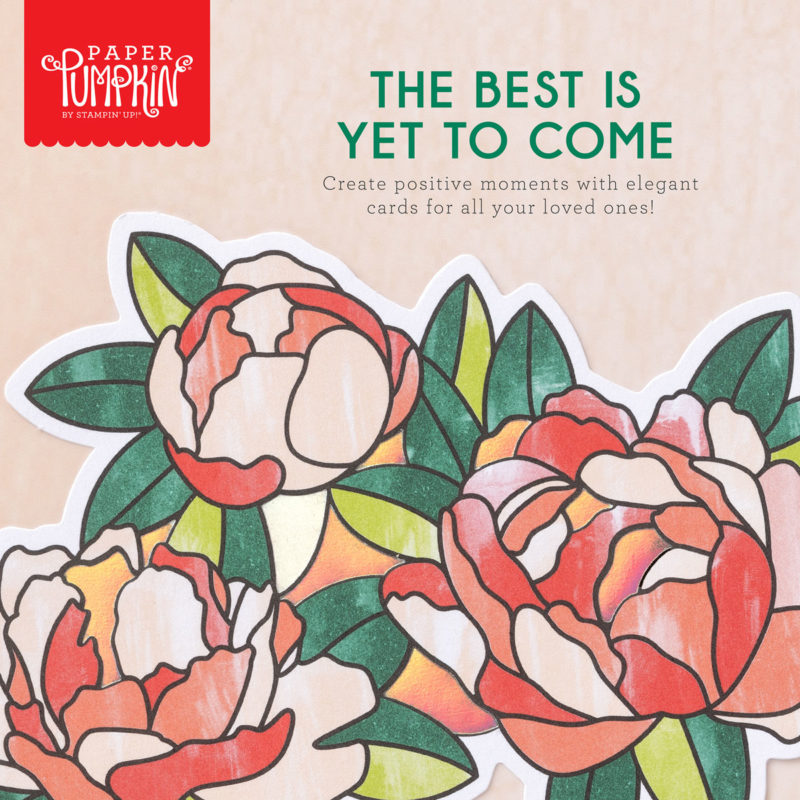
Good things take time, but you can start creating them now with the All the Little Things Paper Pumpkin kit! This kit includes nine cards, three each of three designs, with elegant designs and bright colors. The iridescent foil is the shining detail to bring your crafts together. You can make a card for anyone and for any occasion!
And don’t wait, because anyone who subscribes to this month’s kit will get a FREE box organizer! This organizer fits perfectly inside your Paper Pumpkin box and is great for keeping your supplies from past kits organized, so you know right where everything is!
FOR MORE DETAILS CLICK HERE
Earn Reward Points quickly for a $25 Credit
When placing an order please use the current Host Code* and earn REWARD POINTS. Once you earn 10 reward points you will receive a $25 shopping credit from me. CLICK HERE for more details.
*NEWEST HOST CODE is always located on the right side of webpage midway down.

