Special Delivery of Santa’s Express Card
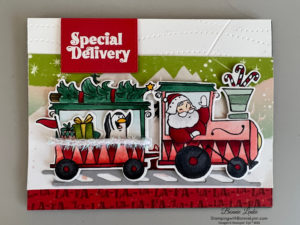
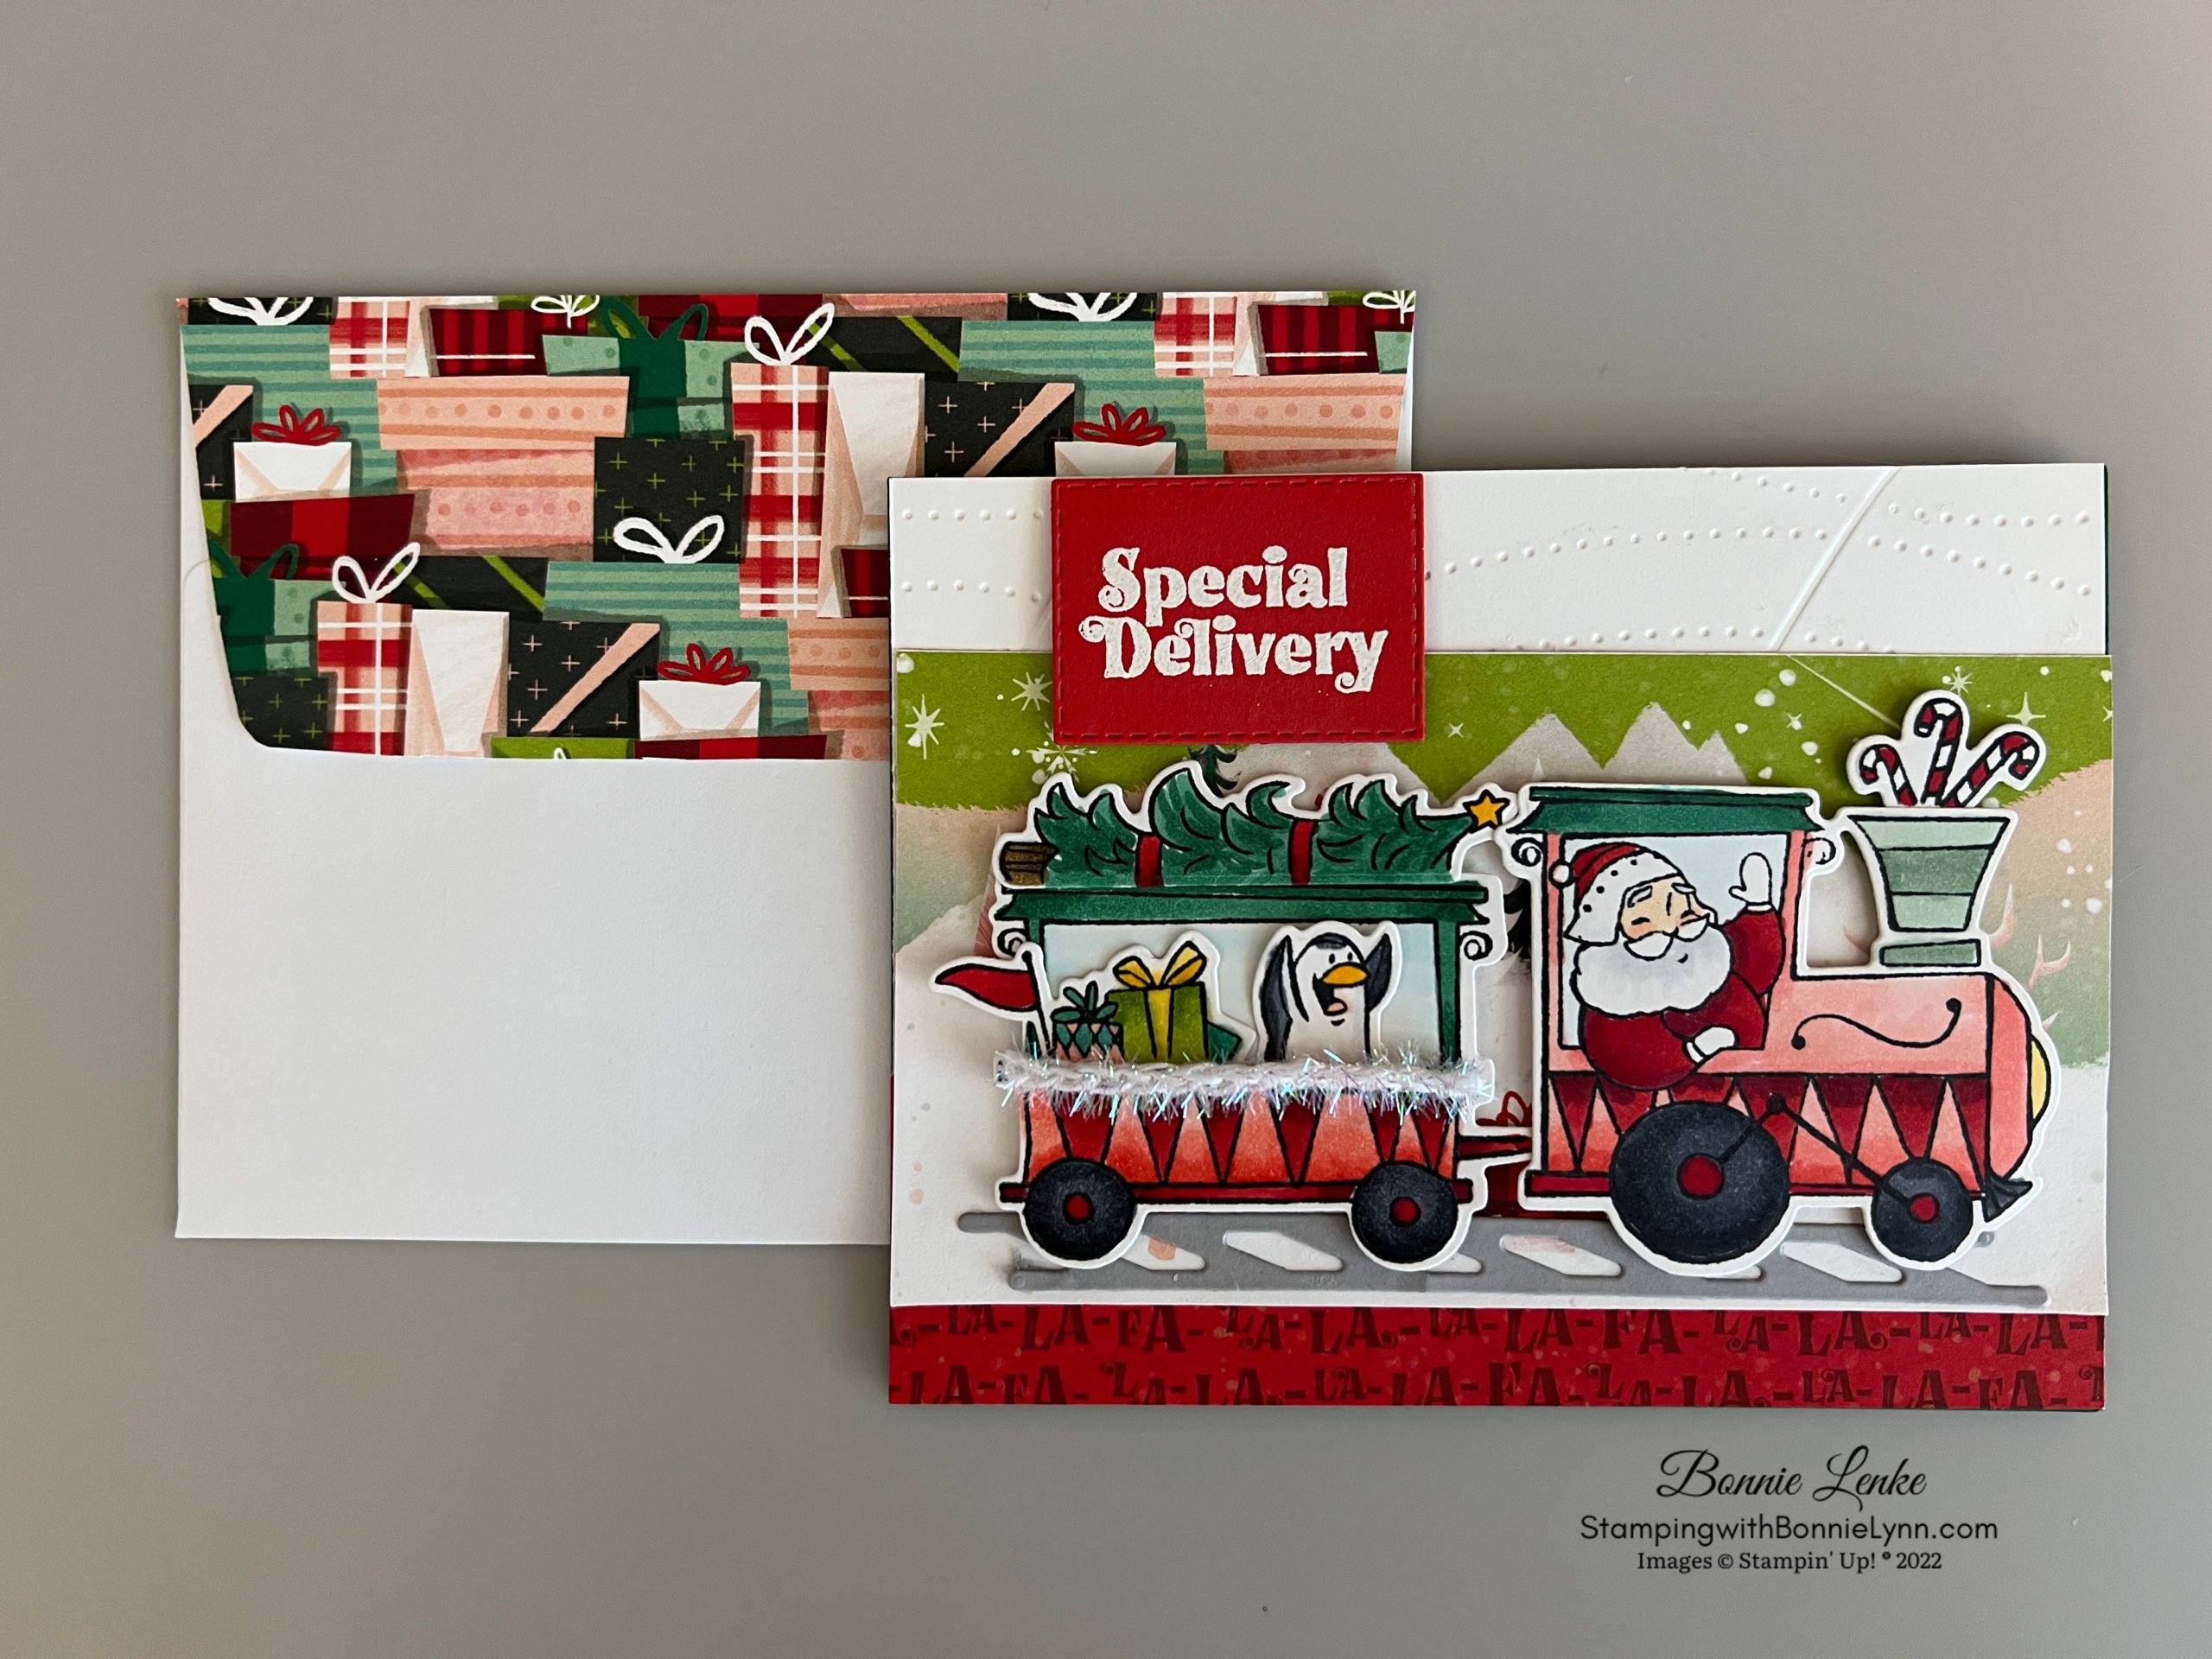
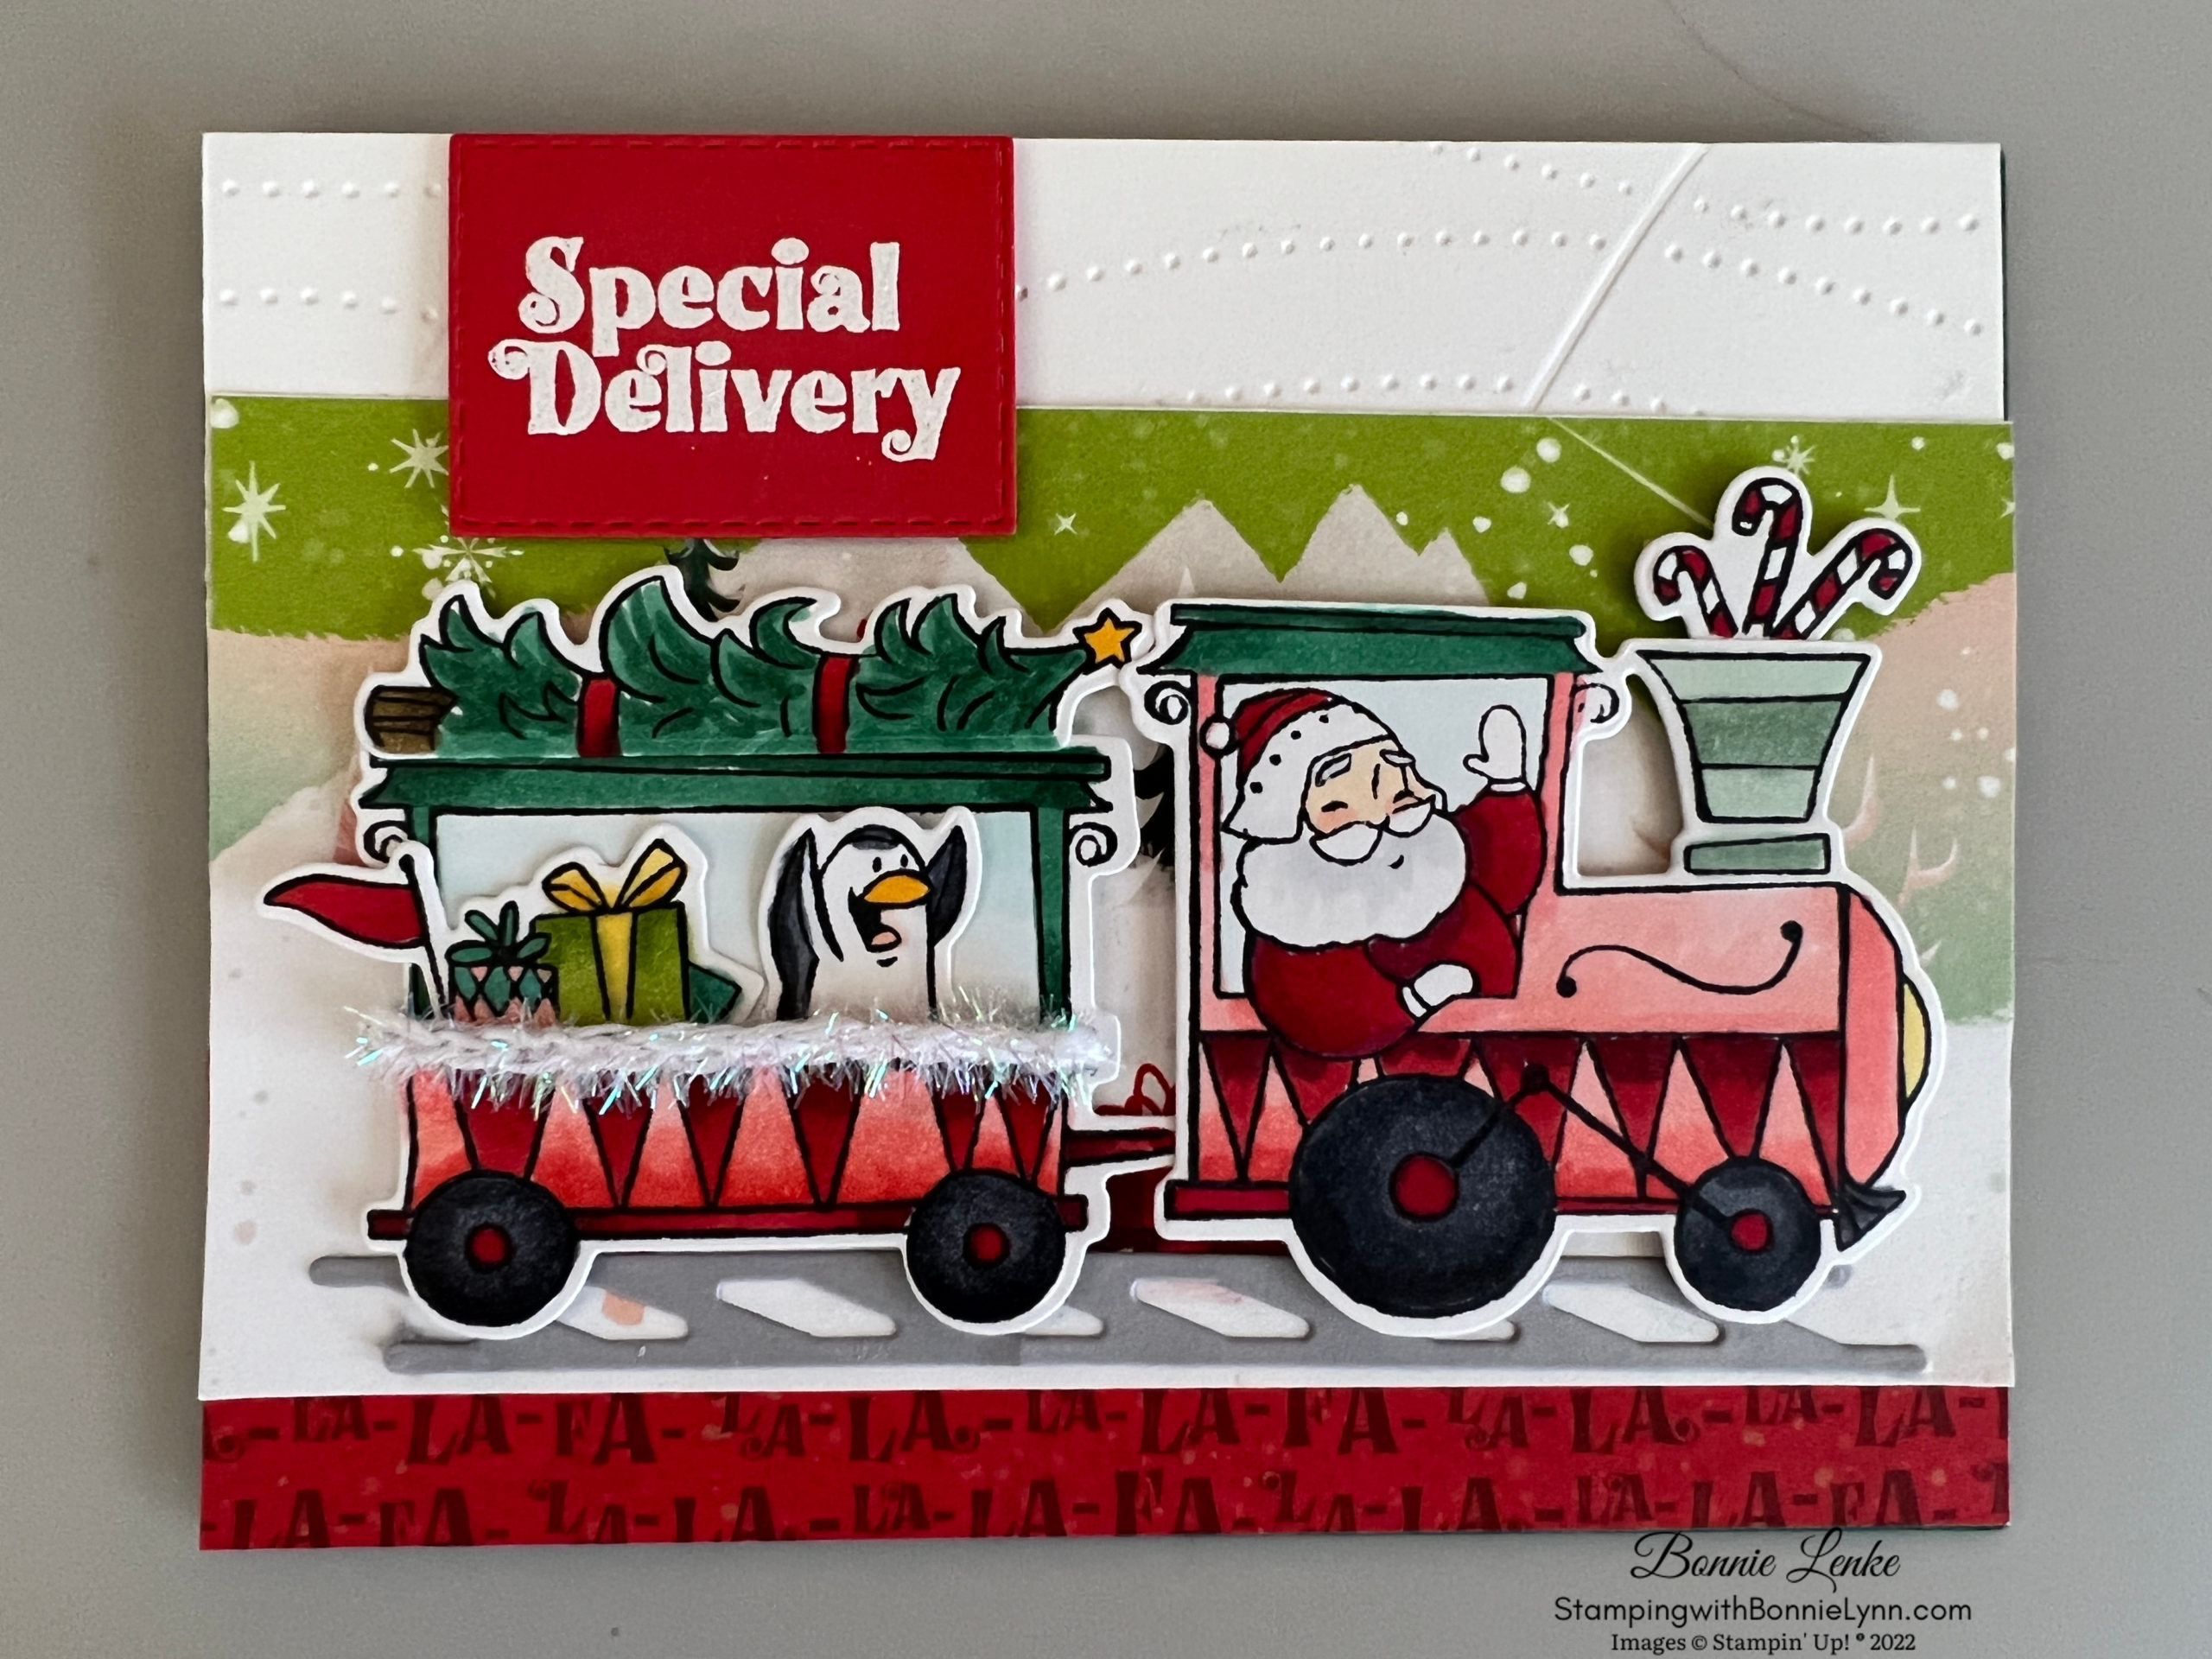
The new July to December Mini-Catalog will be available July 1st and is packed full of exciting Fall and Christmas stamps, papers and all the necessary extras. I ordered 3 sets as soon as demonstrators were able to and here is the first Sneak Peak of one making an early appearance, Santa’s Delivery stamp set and Santa’s Train Dies. Santa is headed south for Christmas in July and is bringing a friend from the north pole to help us get in the spirit. This is one of the cards that we’ll be making at my Christmas in July Card Class.
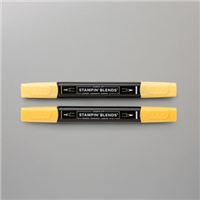
This is colored with Stampin’ Blends (alcohol markers). Please remember when using your alcohol markers to have a scrap piece of paper next to you to test your color on before adding it to the picture you’re coloring. This way you can adjust the color if it’s not exactly the color you want. You could also use your favorite mediums of water coloring, color pencils or blender pen. My two rules are 1) have fun and 2) remember there is no right or wrong to the colors you choose, it’s your art you’re making. Also, if you feel you’re struggling take a break. When you come back you’ll realize it looks better than what you thought. Don’t be hard on yourself.
Let’s Get Started
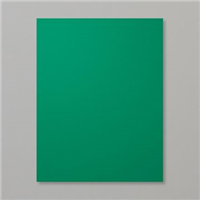
- Fold your Shaded Spruce card base on the score line and burnish with your Bone Folder.
- Emboss your 5-1/2” x 2-3/4” White Cardstock with the Charming Landscaped Embossing Folder. Adhere to card base.
- Adhere a 5-1/2” x 1-1/2” strip of red “fa la la” DSP from the Santa Express Designer Series Paper to card base.
- There is one piece of the Santa Express DSP that has four 3” strips of mountains and candy canes. Cut one strip off and then down to 5-1/2” wide. Adhere to Card base leaving a strip of the “fa la la” paper to show and also the white embossed card stock on top.
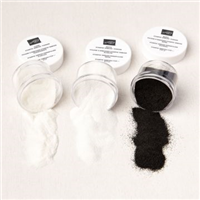
- Use a piece of Poppy Parade Cardstock to heat emboss “Special Delivery” in white embossing powder. Cut out with the smallest Stitched Rectangular Die and adhere to card front using Dimensionals.
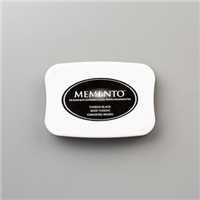
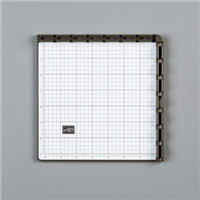
- Now comes the Therapeutic part of card making. Stamp the both parts of the train, penguin, presents, flag, tree and candy canes in Black Memento Ink. To do this I cut a 5-1/2” x 4-1/4” piece of white cardstock and put it in my Stamparatus. I then laid all the stamps out so they fit and had enough room around them to cut out with the dies. Ink the stamps and stamp, repeat if necessary. I color my pictures before cutting them out with dies, others cut out first then color. Choices…
- Color with you favorite coloring method. Here are the colors I used:
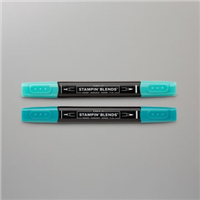
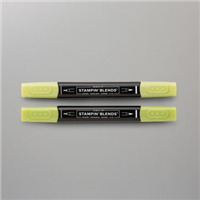
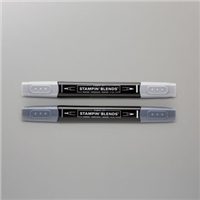
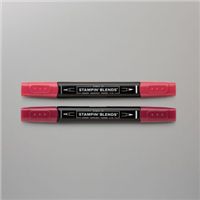
- Skin Tone – Santa’s face, Black for penguin and wheels along with Smokey Slate, Shaded Spruce for Tree and the top part of both trains, Soft Suede for tree trunk, Daffodil Delight for tree star, penguin, train light, and ribbon, Light Smoky Slate with Color Lifter to shade Santa’s beard and penguin. Bermuda Bay and Petal Pink on one gift, Granny Apple green for gift, Pool Party light for a very light color on the train window, Mint Macaron for train smoke stack. Save your red items for last. I used Cherry Cobbler and Poppy Parade to do all of the red. The very light red I used a Copic marker as I didn’t have Petal Pink to use to blend my reds. You could use Sweet Sorbet with a Color Lifter to get the same look. Part of coloring is experimenting to get the look you want. When I say to use the Color Lifter, I mean that you “kiss it” to a color to lift that color and put it on paper. This is how you can take a dark color and lighten up for blending when you don’t have a pen that will work. Remember to have fun.
- Cut a piece of Smoky Slate Cardstock with the track die and adhere to card front.
- Pop up the train with Dimensionals where attaching to card front. I used a straight blade to cut the bottom of the window so I could slide the bottom half of penguin down so it wouldn’t show and to get the position I wanted for him and the flag. I adhere the bottom of tree to the back of train top with glue.
- Adhere a piece of Iridescent trim to train car with glue.
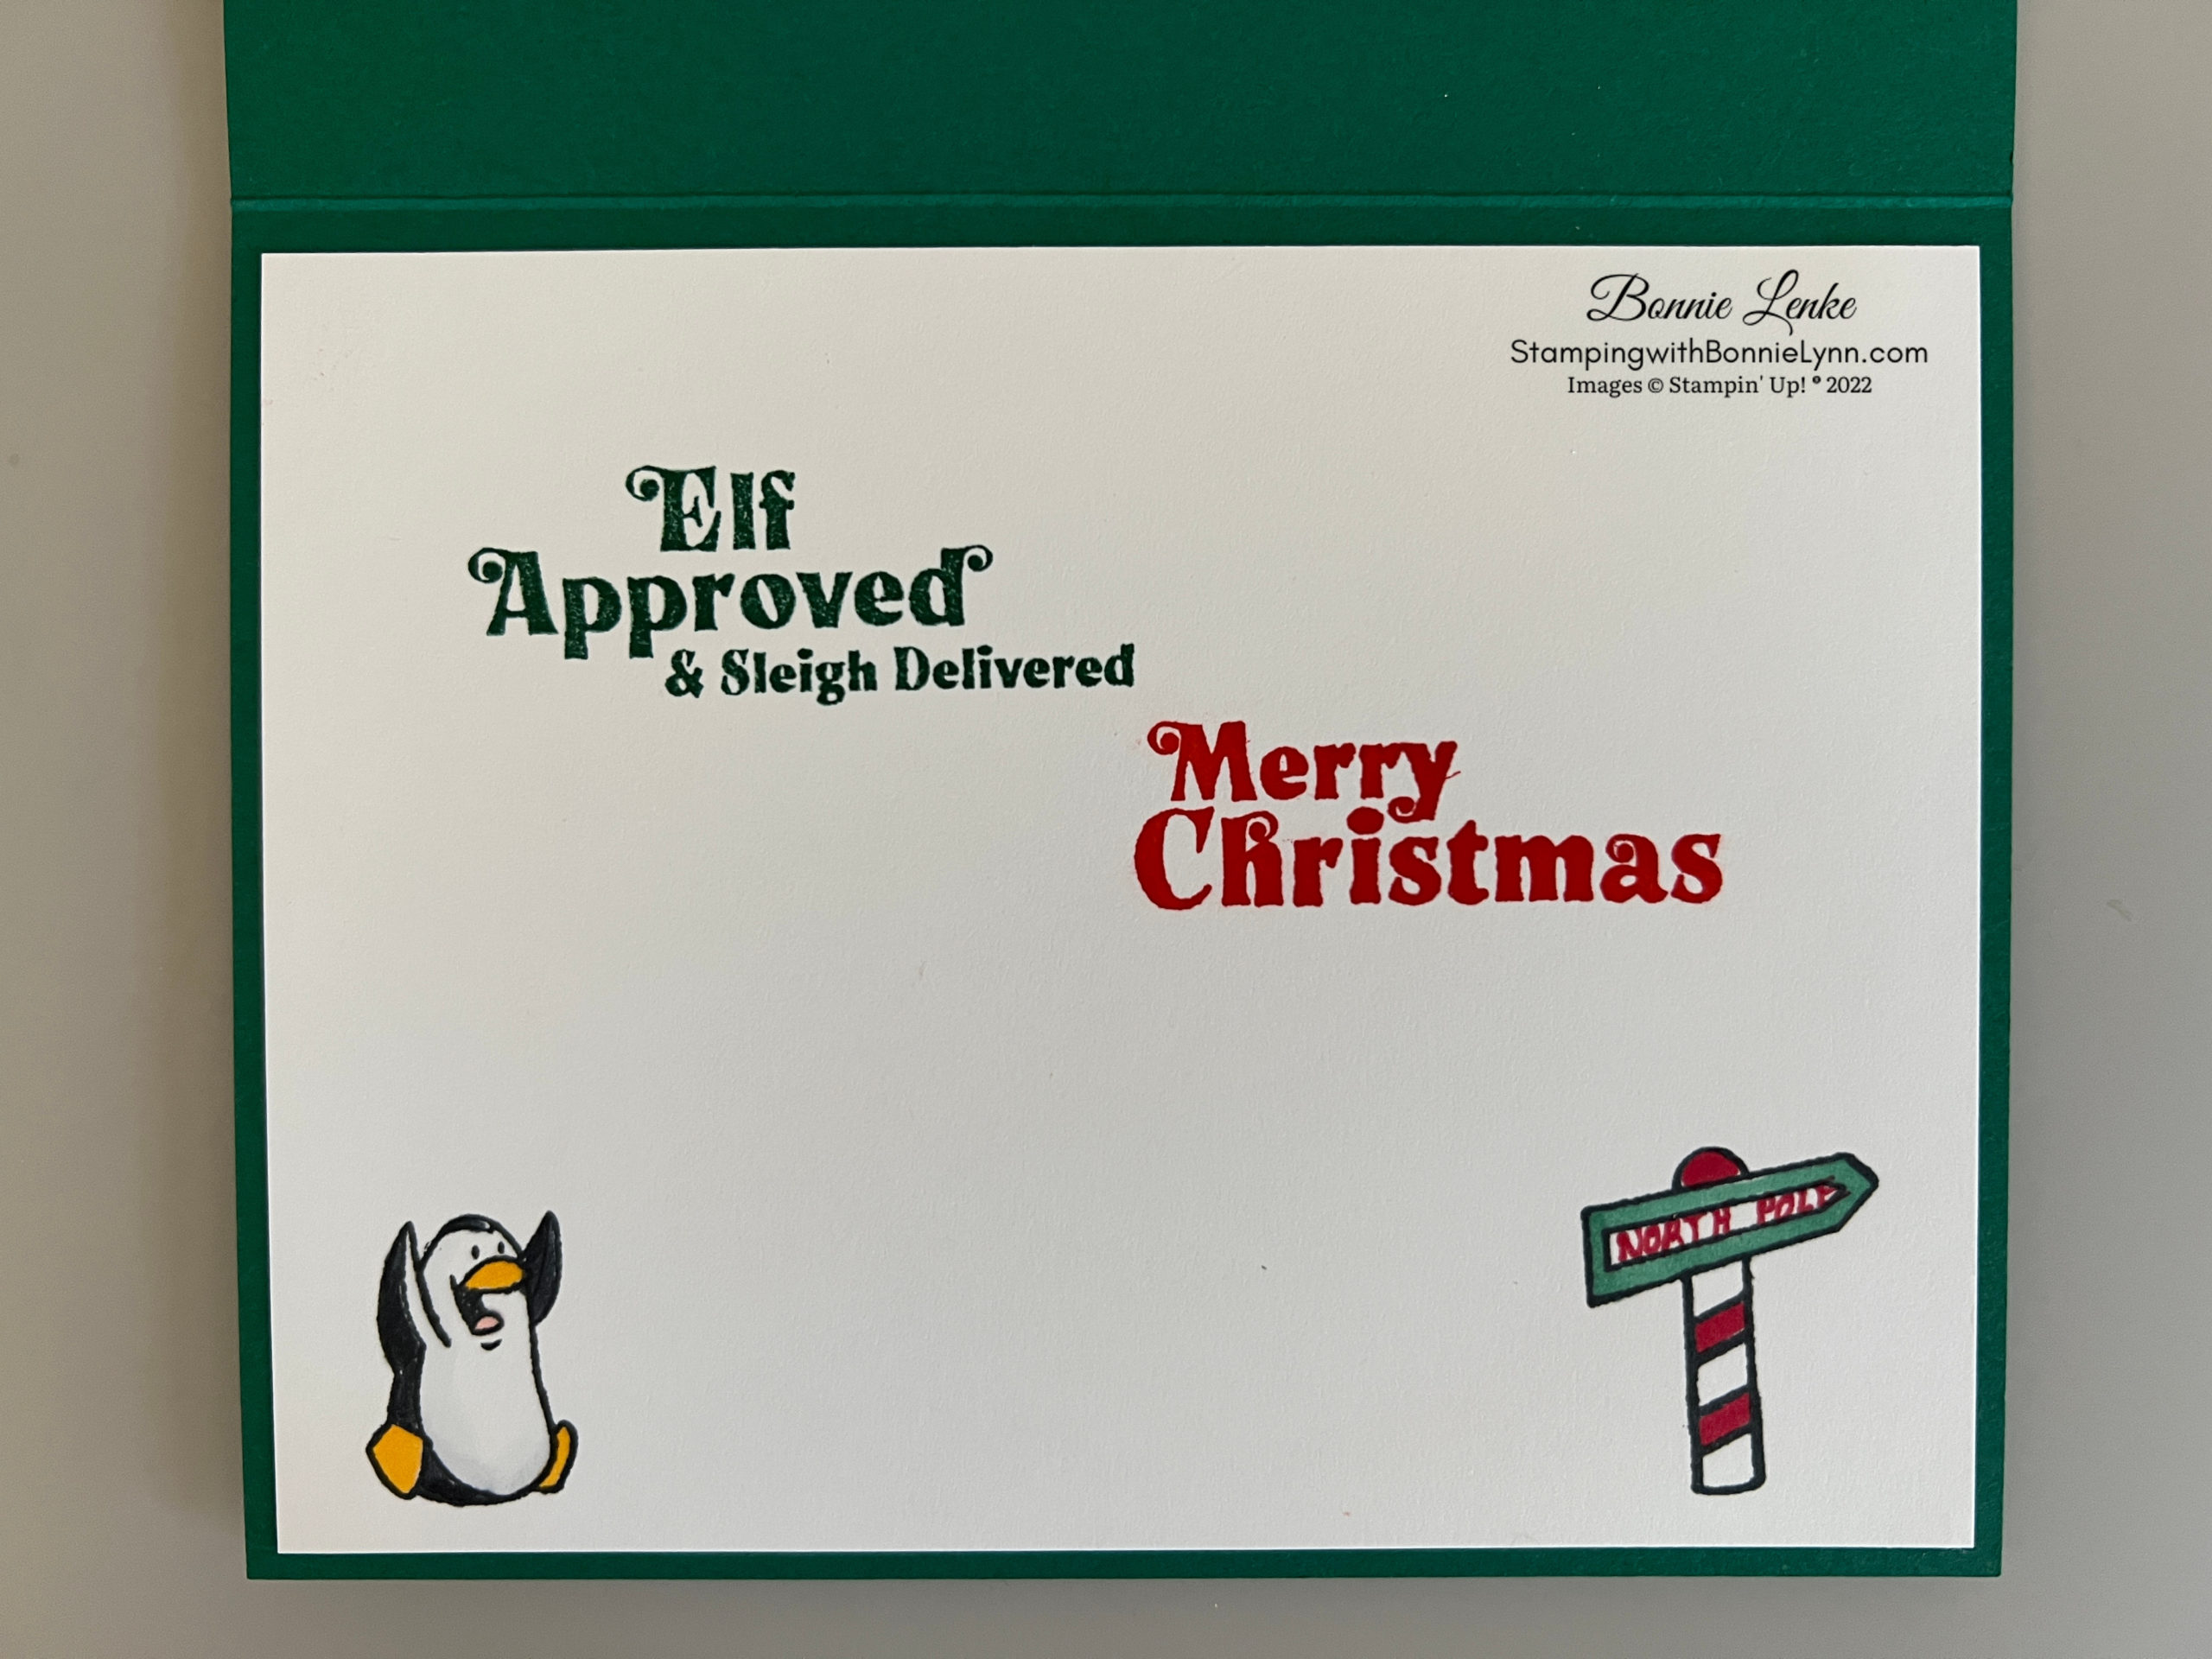
- For card inside I stamped to greetings, one in Shaded Spruce and the other in Poppy Parade. I also stamped a penguin and sign in Black Memento Ink and then colored them. I hand wrote “north pole”.
- For the Envelope I glued a piece of Santa Express DSP on the Envelope flap.
And now you have a beautiful card to brighten someone’s day.
Happy Stamping!
Card Recipe for Santa’s Delivery
Cardstock:
- Shaded Spruce: 8-1/2” x 5-1/2” scored at 4-1/4”
- Basic White: 5-1/2” x 2-3/4”, 4” x 5-1/4”
- Smoky Slate: Scrap
- Poppy Parade: 2” x 1-3/4”
- Santa Express DSP: Red fa la la 5-1/2” x 1-1/2”, Scenery Strip 5-1/2” x 3”, Presents for envelope flap 6” x 2-1/4”
Supplies Used:
- Stamps: Santa Delivery
- Dies: Santa Train Dies, Stitched Rectangle Dies
- Cardstock/Paper: Shaded Spruce, Basic White, Poppy Parade, Smoky Slate, Santa Express Daydream Designer Series Paper
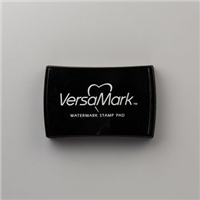
- Stampin Pads: Shaded Spruce, Poppy Parade, VersaMark, Memento Black
- Ribbon: Iridescent Trim
- Others: Stampin Emboss Powders – Basics (Black, Clear & White), Charming Landscapes Embossing Folder
- Adhesives: Dimensionals, Glue Dots, Liquid Glue, Tear N Tape, Stampin Seal
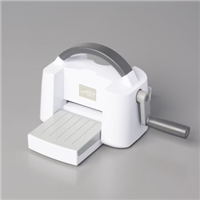
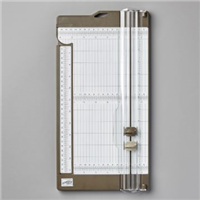
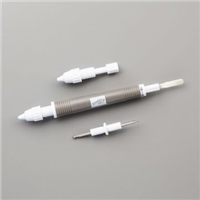
- Tools: Heat Tool, Paper Trimmer, Cut & Emboss Machine, Stamparatus, Take Your Pick, Bone Folder, Stampin Pierce Mat
- Stampin’ Blends (light & dark): Daffodil Delight, Bermuda Bay, Shaded Spruce, Granny Apple Green, Petal Pink, Poppy Parade, Smoky Slate, Basic Black, Cherry Cobbler, Skin tone, Color Lifter, Pool party light

