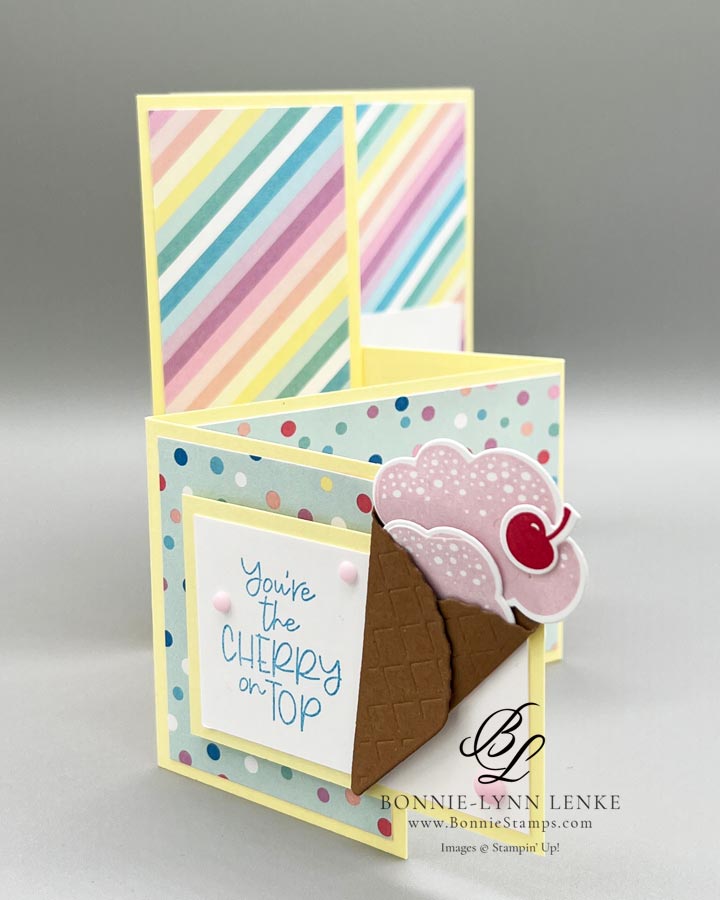
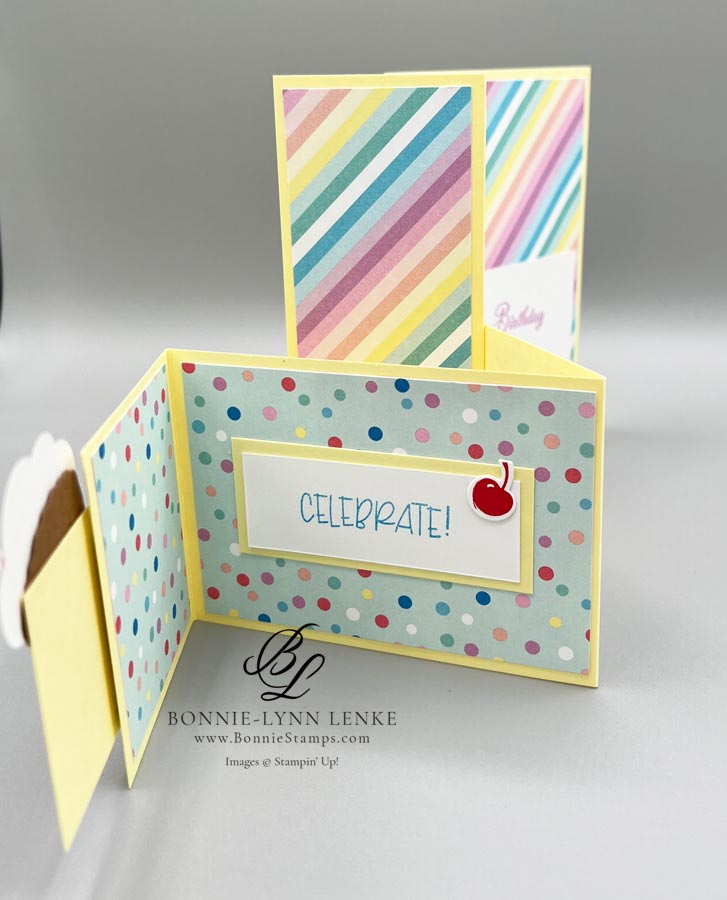
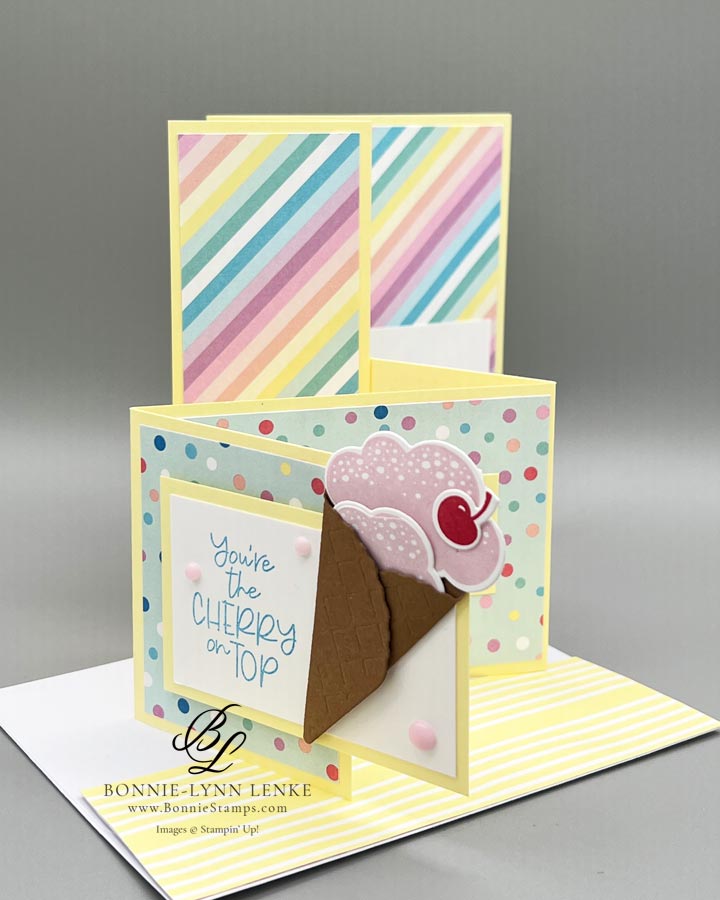
Today we’re going back to a favorite stamp set from last year, share A Milkshake (retiring April 30th), to make this exciting Z-Fold card with a Pop Out. Only instead of a milkshake, we are sharing an ice cream cone.
For this one I suggest watching the video tutorial to learn how easy this fun fold is to make. Once you fold the cardstock and join the two bases together, it’s just adding the designer series paper and whatever stamped elements you want.
When you download the Directions/PDF you will find many more pictures labelled, showing each step of assembling the two card bases together. Happy Stamping!
Card Directions
- Cut and score all cardstock and papers as listed under Cutting Directions below.
- Fold Lemon Lolly Card Base A on the score lines as a Z Fold, burnish with Bone Folder.
- Fold Lemon Lolly Card Base B on the score lines in a reverse Z Fold with the 2-1/2” section on the left side. Burnish folds with Bone Folder.
- Adhere right side (4-1/4” end) of card base B to the middle section of card base A. To do this measure up 3” and mark lightly with pencil. Add adhesive to this middle section only under the mark and adhere the end of card base B to it. Card base B is the pop out of Z Fold card base A.
- With Card laying flat, Adhere 4” x 5-1/4” stripe DSP to right panel of card base A.
- Emboss 1-7/8” x 5-1/4” Lemon Lolly Cardstock with the 3D Dots Basic Embossing Folder, adhere to middle section of card base A, this will hide the line from where card bases were joined together.
- Adhere 1-7/8” x 5-1/4” Stripe DSP to left side of card base A.
- The two 2-1/4” x 2-3/4” Dot DSP are adhere the left end of card base B on the front and back sides.
- Adhere the 4” x 2-3/4” Dot DSP to the middle section of card base B.
- And lastly, adhere 2” x 2-3/4” Dot DSP to the right end of card base B (yellow dot cardstock is just right of this).
- Stamp greeting from Share A Milkshake stamp set, in Azure Afternoon Ink on right side of 3” x 1-3/4” White Cardstock, adhere to 3-1/4” x 2” Lemon Lolly Cardstock.
- Crop the ice cream cone from Pecan Pie Cardstock. Fold the right side in first and then the left side using seal to adhere left side in place.
- Stamp the ice cream in Bubble Bath Ink using the small and larger ice cream stamps. Die cut out with coordinating Share A Milkshake Dies. With a Glue dot at the very bottom back side of small scoop, add to inside of cone. Next, use a couple Glue Dots to adhere the larger scoop behind the small scoop.
- Stamp 2 cherries in Sweet Sorbet Ink on White Cardstock, crop with coordinating die. Add one of the cherries with a Glue Dot over the slit that is in the large scoop of ice cream.
- Adhere the ice cream cone to the sentiment section with Seal/tape.
- Add sentiment layer to card front (card base B) by adding Stampin’ Dimensionals on the left side only.
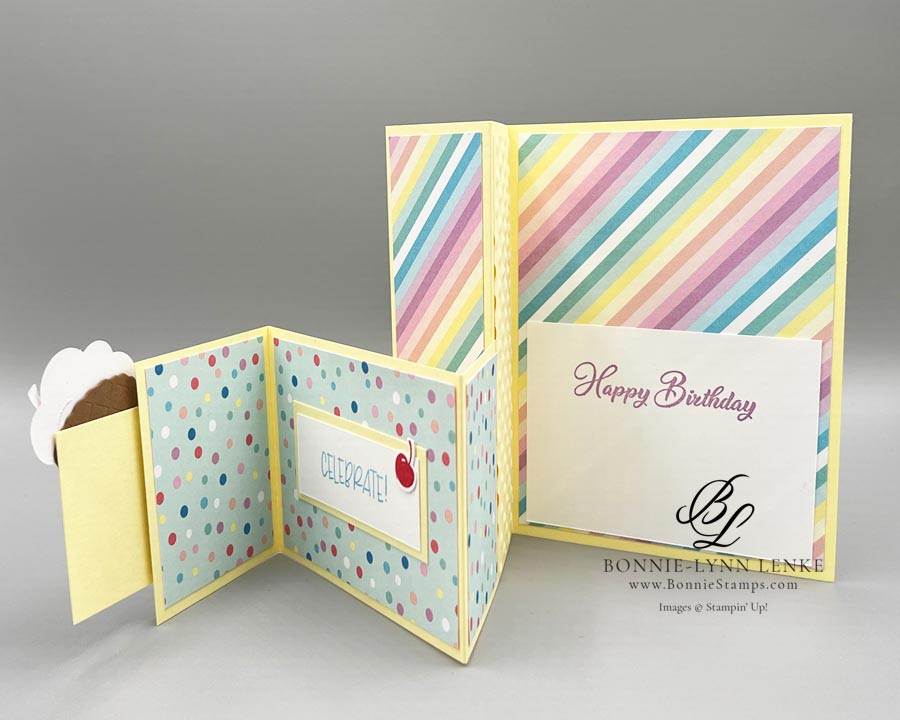
- Stamp greeting with Azure Afternoon Ink on Basic White 2-3/4” x 1”, adhere to Lemon Lolly 3” x 1-1/4” with adhesive, add to middle section of pop out with adhesive. Add the extra cherry to upper right corner with Glue dot.
- Stamp sentiment with Fresh Freesia Ink on 3-3/4” x 2-3/4” Basic White Cardstock, adhere to inside of card base A on the last panel with adhesive.

Card Recipe
Cutting Directions:
- Lemon Lolly:
- 8-1/2” x 5-1/2”, score at 2-1/8” & 4-1/4” (card base A)
- 11” x 3”, score at 4-1/4” & 8-1/2” (card base B)
- 3-1/4” x 2” (front layer card base B)
- 3” x 1-1/4” (middle inside layer card base B)
- 1-7/8” x 5-1/4” (card base A middle section embossed layer)
- Basic White:
- 3” x 1-3/4” (front layer card base B)
- 2-3/4” x 1” (card base B middle inside layer)
- 3-3/4” x 2-3/4” (card base A right side layer)
- scraps (stamp ice cream & cherry)
- Lighter Than Air 6” x 6” Designer Series Paper:
- 1-7/8” x 5-1/4” Stripes (card base A left side)
- 4” x 5-1/4” Stripes (inside base A right section)
- (2) 2-1/4” x 2-3/4” Dots (card base B end panel front & back)
- 4” x 2-3/4” Dots (card base B middle section inside)
- 2” x 2-3/4” Dots (card base B right end section inside)
- 6” x 2-1/2” Yellow & White Stripes (envelope flap)
- Pecan Pie: 3-1/2” x 4” (ice cream cone)
Supplies Used:
- Stamps: Share A Milkshake, Go To Greetings
- Dies: Share A Milkshake
- Cardstock/Paper: Lemon Lolly, Basic White, Pecan Pie, Lighter Than Air 6” x 6” Designer Series Paper
- Stampin Pads: Afternoon Azure, Bubble Bath, Fresh Freesia, Sweet Sorbet
- Embellishments: Rainbow Adhesive-Backed Dots
- Embossing Folder: Basics 3D Embossing Folders Dots
- Adhesives: Dimensionals, Glue Dots, Stampin Seal, Liquid Glue, Tear & Tape
- Tools: Paper Trimmer, Cut & Emboss Machine, Clear Blocks, Take Your Pick, Bone Folder, Stampin Pierce Mat, Paper Snip Scissors
Latte Love Mini Stamp Camp
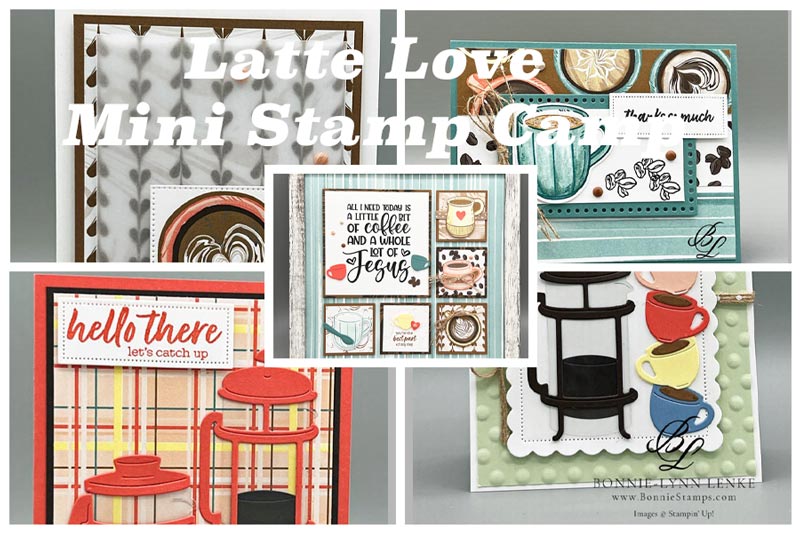
Who doesn’t enjoy starting the day off with a perfectly brewed cup of coffee? Now you can enjoy the aroma of your coffee while creating this beautiful Sampler and 5 cards. I’m bringing you the joy of crafting 3 ways: right to your door step, in-person class or tutorials only. Whether you’re a seasoned stamper or just getting started, this class is perfect for all skill levels. You will make SIX projects where we do the designing and most of the work for you. The registration ends on March 28th and will ship by April 10th. You will be notified if an item is out of stock.
Click on the Register Button below to see exactly what is included, priced and add on choices. As a bonus for those who purchase any part of the Stamp Camp, you will also receive my Cutest Cow tutorial via email when I send out the Latte Love tutorial. The Cutest Cow tutorial consists of 4 really cute cards. Those who purchase the full stamp camp will also receive a kit of the card I made on a February blog post.
FREE THOUGHTFUL WISHES KIT WITH $50* ORDER

MAY 2024 ORDERING SPECIAL:
Place your online order of $50* or more in May 2024 with the host code SHFCTEUM, and you will receive:
1) A FREE class packet to make FOUR CARDS using the Thoughtful Wishes & Bundle & Simply Said Stamp Set! Everything possible will be cut, punched, embossed, and die-cut for you! You’ll just stamp and assemble with your stamps. I always email you a written tutorial with photos and measurements, too! You’ll receive your card supplies in the following month.
*Order amounts before tax & shipping.
Check out this month’s Specials:
Click on an image for more information…
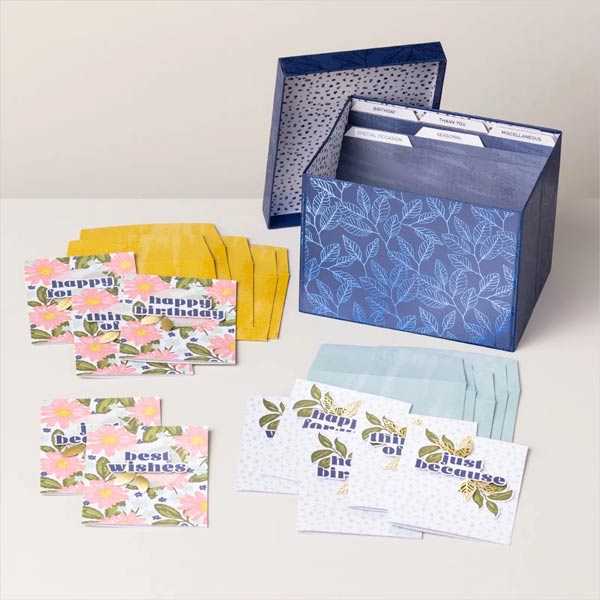
Card Keeper Kit