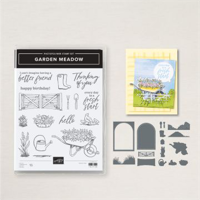
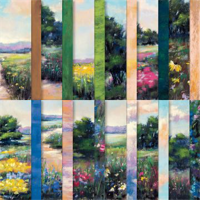
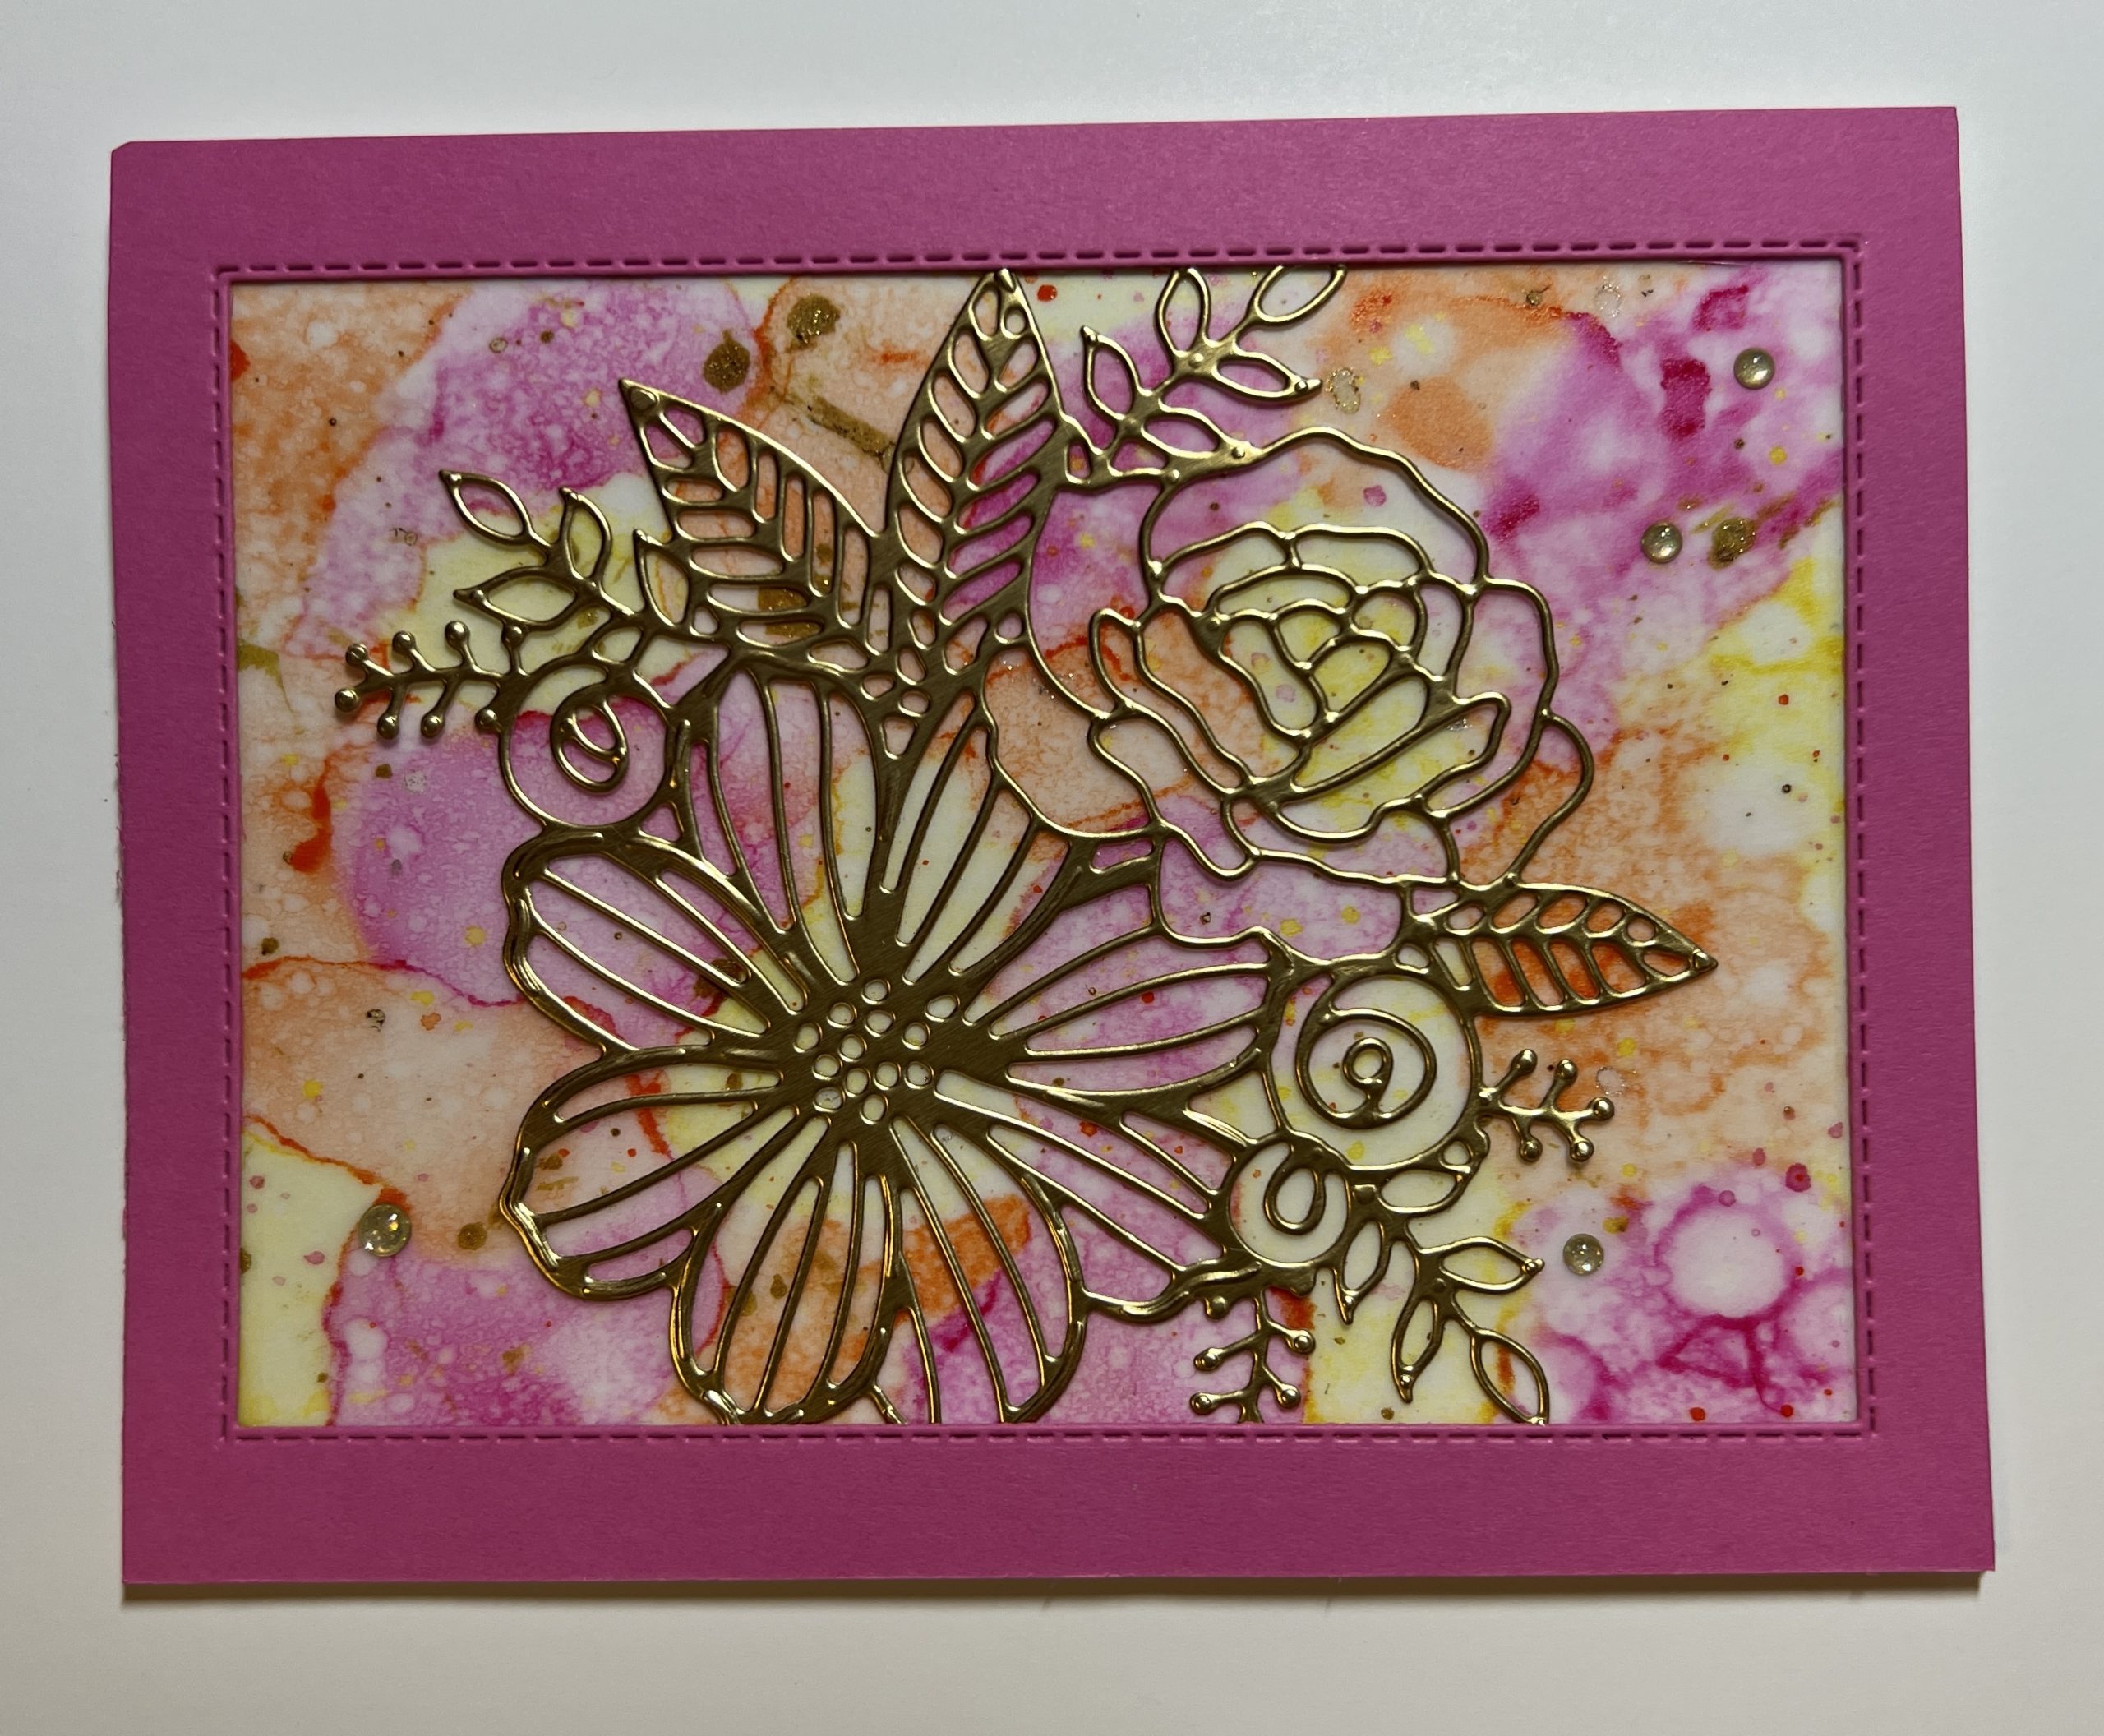
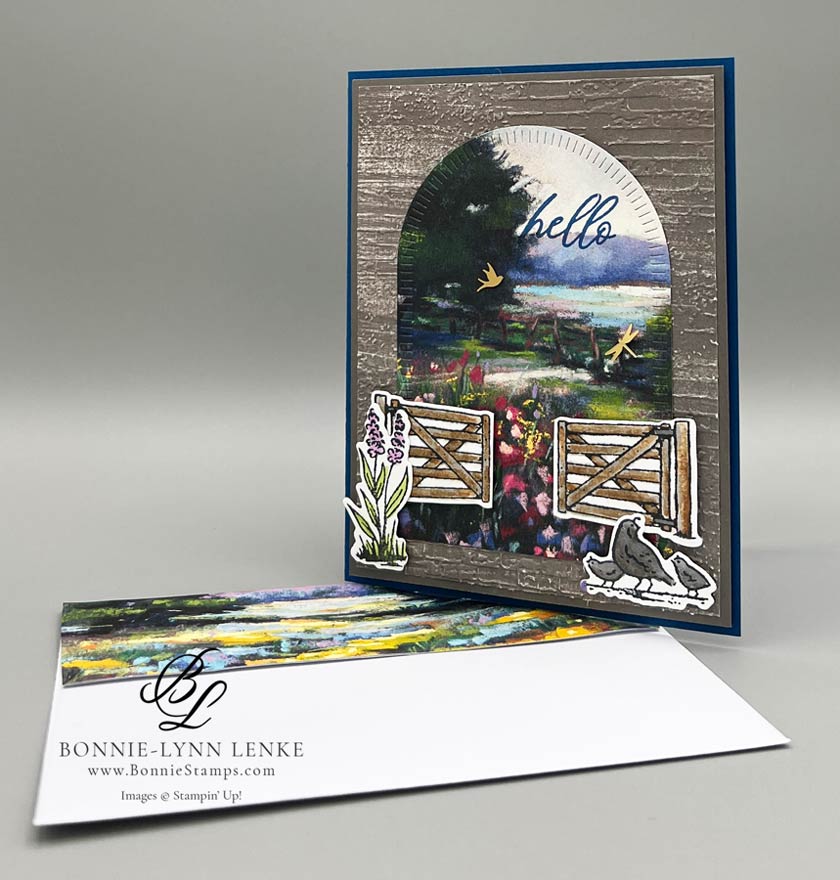
Today I’m sharing with you the online exclusive Garden Meadow to show you a technique with Stampin’ Blends. I show you how to make the fence have a weathered look. The Meandering Meadows Designer Series Paper offer an impressionistic scene that’s sure to add movement and composition to your cards.
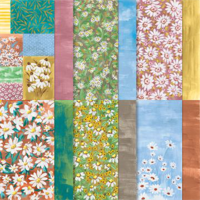
In the gallery below I’m sharing the card that I made on the video to give you a little different look. I was out of the Fresh As A Daisy DSP so I used the retired In Good Taste DSP. Happy Stamping!
Card Directions
- Cut and score all cardstock and DSP as directed in Cutting Directions.
- Fold Blueberry Bushel card base in half on the score line, burnish with Bone Folder.
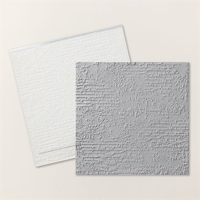
- Emboss the Fresh As A Daisy DSP with Exposed Brick 3D Embossing Folder. Adhere to Pebbled Path Panel. Use Dimensionals to adhere to Card Base.
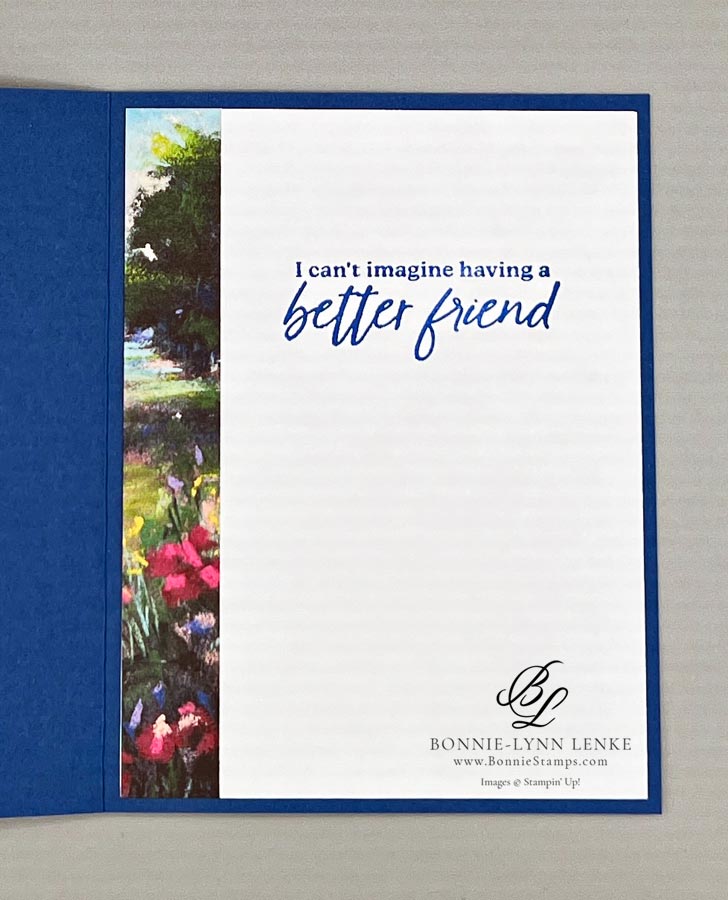
- Select a piece of the Meandering Meadows DSP and crop with the Arch Die by placing it in a spot you desire. Stamp the “Hello” stamp on the light sky area of arch with Blueberry Bushel Ink. Add the Arch piece to card front with favorite adhesive. After cropping the arch cut a strip 3/4” x 5-1/4” for the card inside.
- Stamp the gate and other items you want in Black Memento Ink onto Basic White Cardstock. Next we color with Stampin’ Blends. For the gate I started with the dark Pecan Pie, short lines in the middle of the slats. Go over those lines with the light Pecan Pie, then with the light Crumb Cake. If you leave small white areas that is okay. You will now cover the inks in light Smoky Slate making sure you get the white areas and most of the pecan pie areas. Crop with coordinating dies and adhere with Stampin’ Dimensionals.
- The quail were colored with Pebbled Path and Pecan Pie. The large plant was colored with light Granny Apple Green and light Fresh Freesia. The small plant on the other card was stamped in Garden Green Ink and colored with light Fresh Freesia. Crop with coordinating dies and adhere with Dimensionals and Glue Dots.
- Add strip of DSP to left side of 4” x 5-1/4” Basic White Cardstock. Stamp sentiment in Blueberry Bushel Ink. Adhere to card inside.
- For the envelope adhere a strip of DSP to envelope flap with Liquid Glue. Trim off excess paper.


Card Recipe
Cutting Directions:
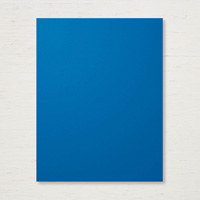
- Blueberry Bushel: 8-1/2” x 5-1/2”, scored at 4-1/4” (card base)
- Pebbled Path: 4-1/16” x 5-5/16” (card front)
- Basic White: 4-1/4” x 5-1/2” (stamping), 4” x 5-1/4” (inside)
- Meander Meadows Designer Series Paper: 6” x 6” (crop arch out then cut 3/4” x 5-1/4” strip for card inside)
Supplies Used:
- Stamps: Garden Meadow
- Dies: Garden Meadow
- Cardstock/Paper: Blueberry Bushel, Pebbled Path, Basic White, Meandering Meadows DSP
- Stampin Pads: Blueberry Bushel
- Embellishments: Adhesive-Backed Dragonflies & Birds
- Stampin’ Blends: Pecan Pie, Crumb Cake, Smoky Slate, Fresh Freesia, Granny Apple Green
- Embossing Folder: Exposed Brick 3D Embossing Folder
- Adhesives: Dimensionals, Glue Dots, Stampin Seal
- Tools: Paper Trimmer, Cut & Emboss Machine, Clear Blocks, Take Your Pick, Bone Folder, Stampin Pierce Mat, Paper Snip Scissors
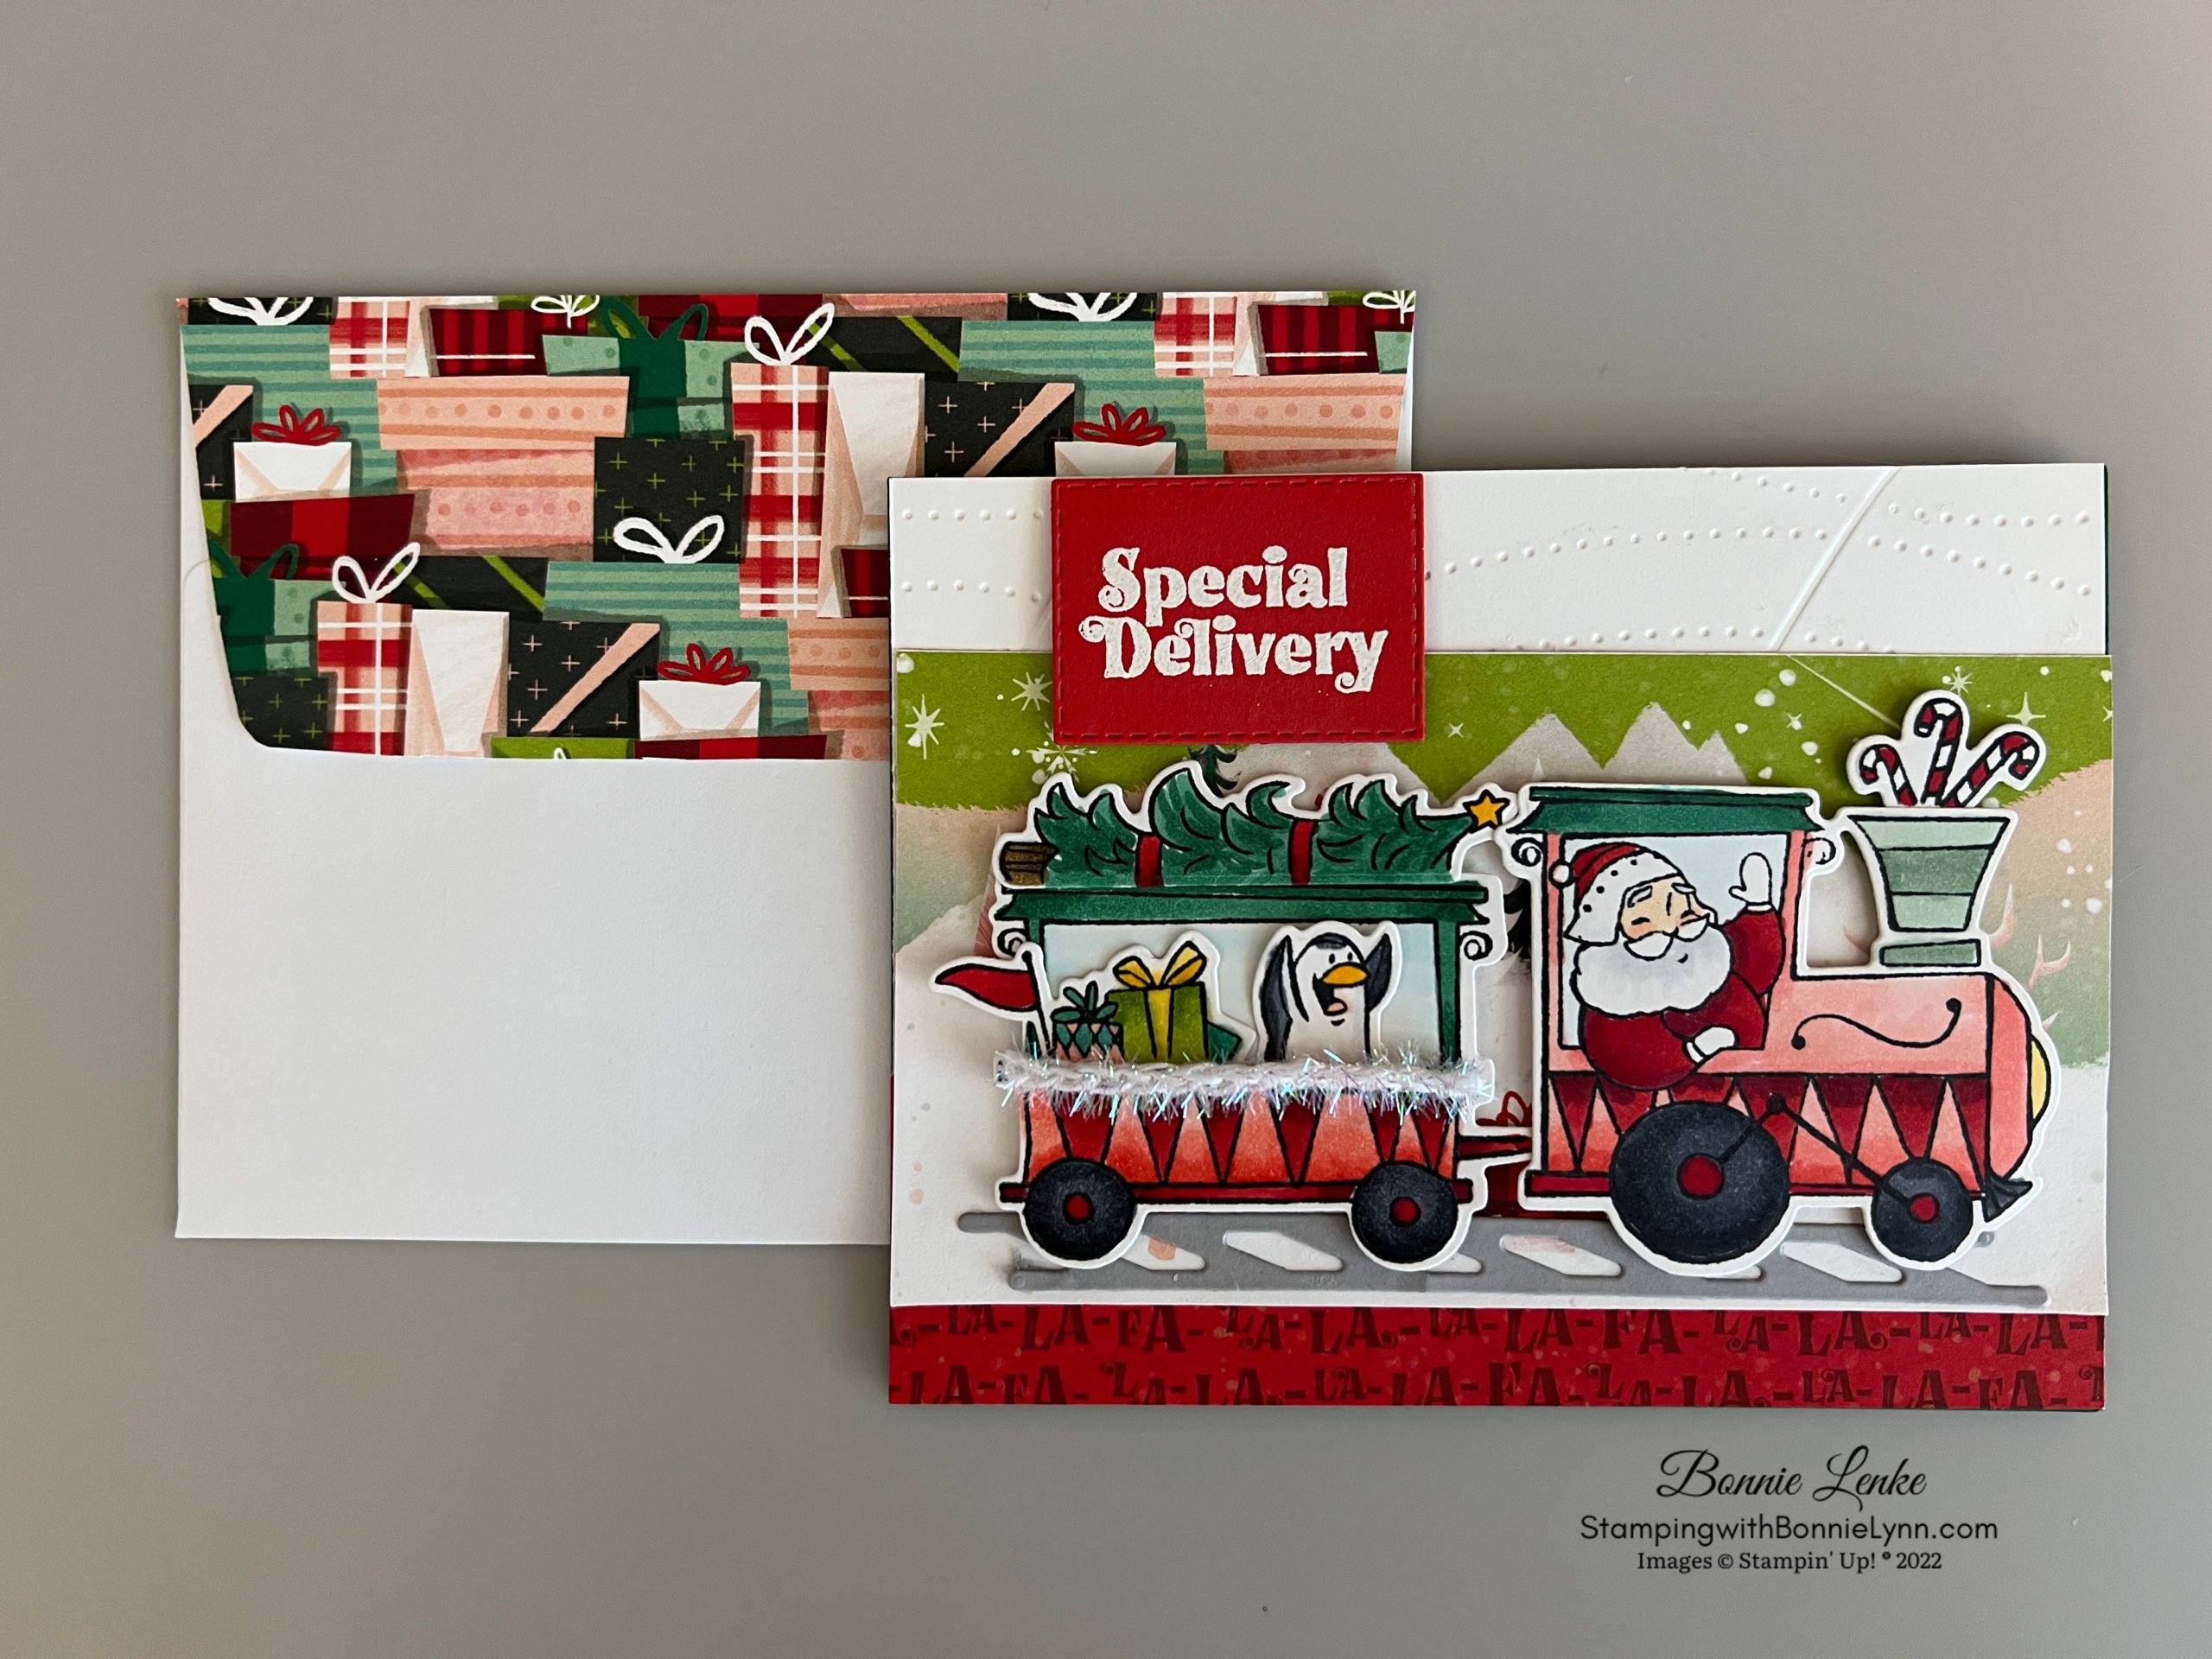
January’s Thoughtful Expressions Card Tutorial

This tutorial is available free to all who place a $35 merchandise order in my online store. My team members all receive my tutorials for being on my Starlight Crafters team. The tutorials are also available for sale on my website by clicking on the Shop Tutorials heading. Included are 4 Fun Fold card tutorials with video instructions.
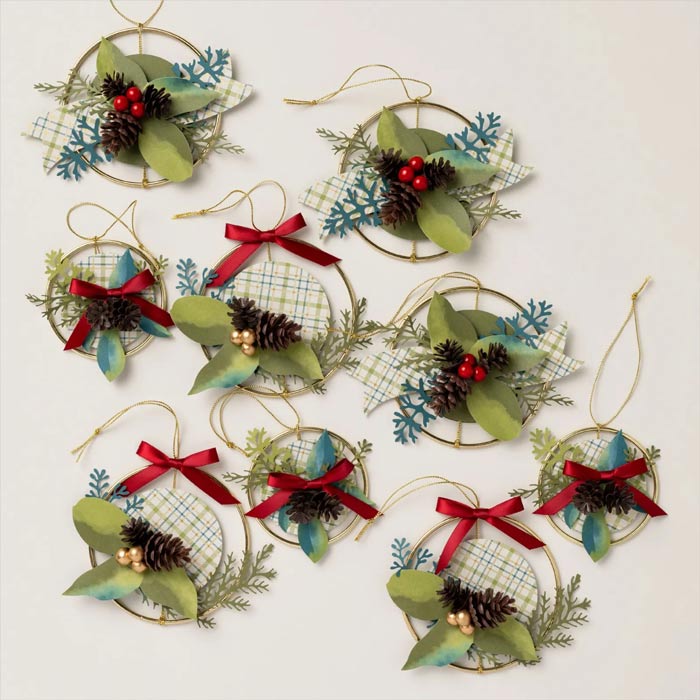
Check out this month’s Specials:
Click on an image for more information…
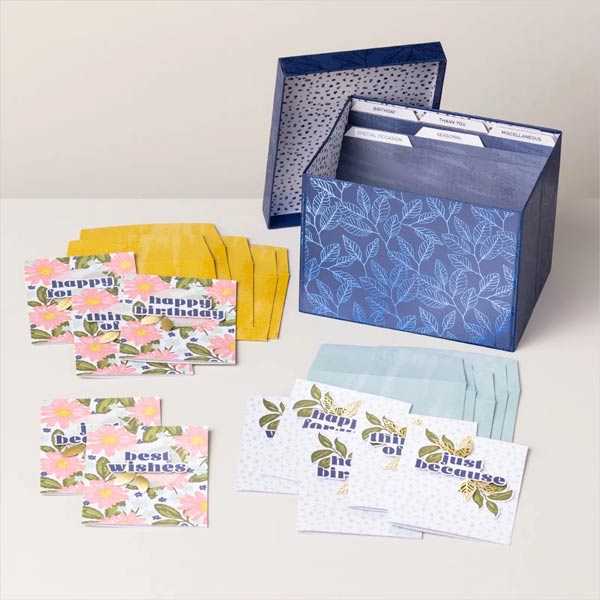
Card Keeper Kit