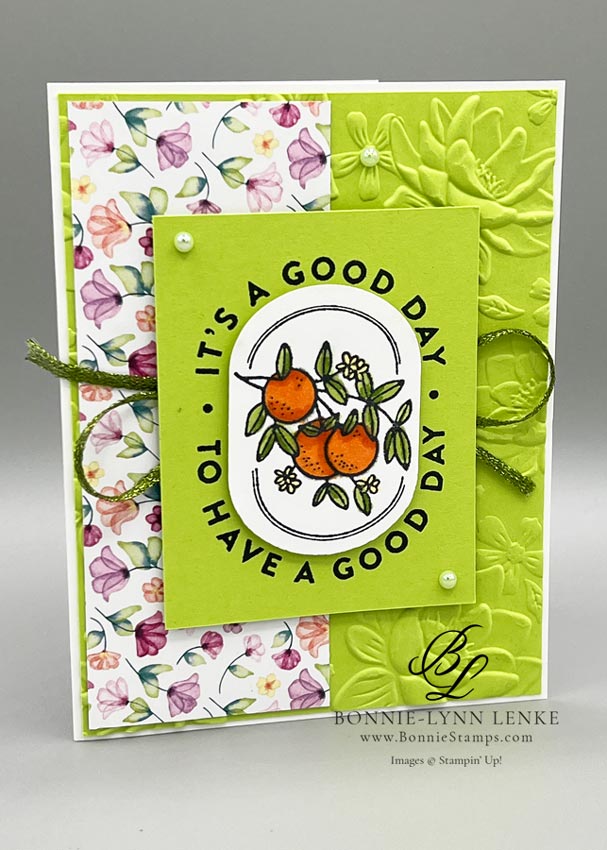
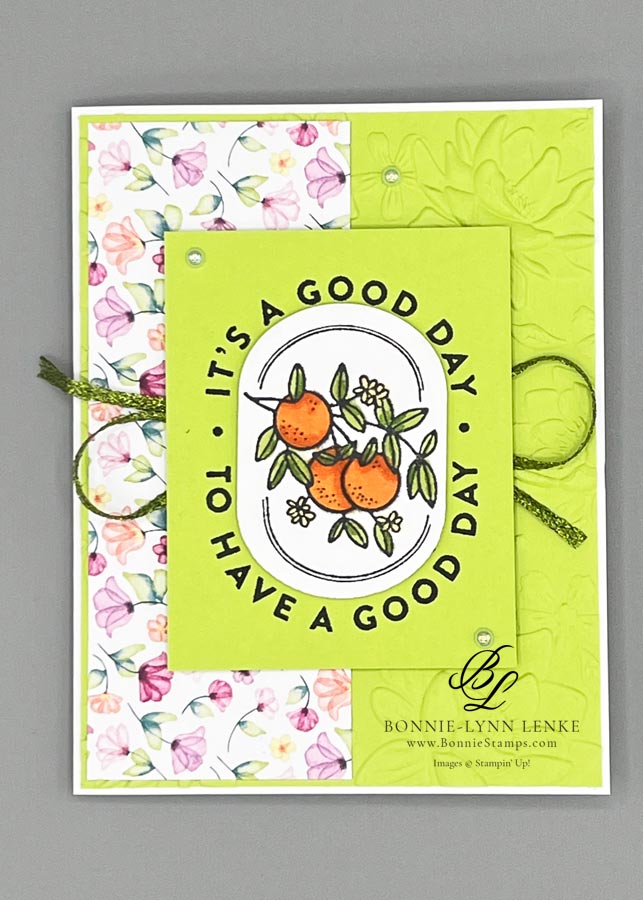
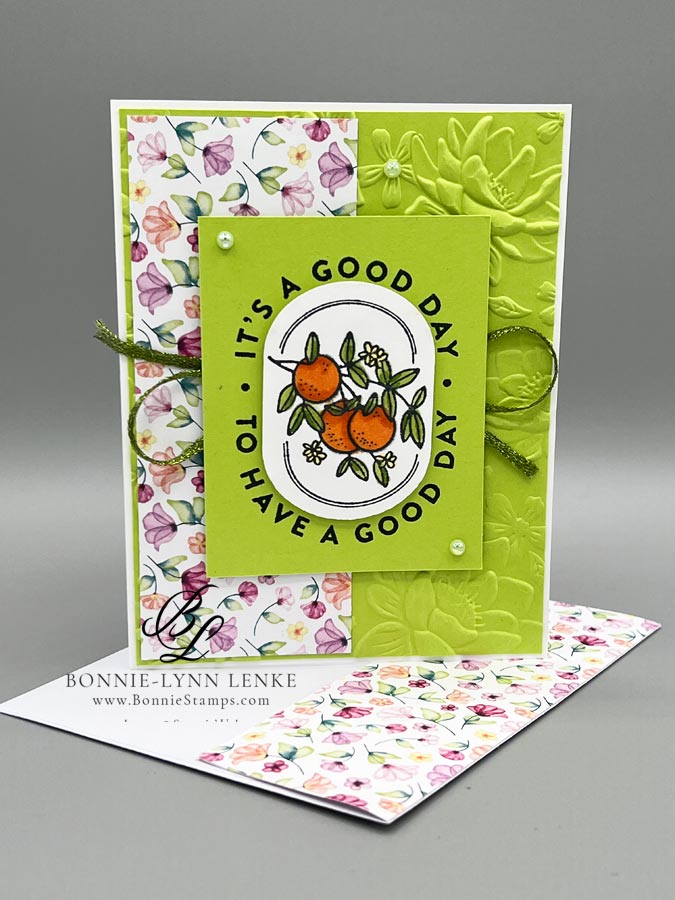
Hello! Today I’m sharing a card made with Filled With Happiness stamp set. This was a quick card to make, don’t let the coloring throw you for a loop. I used Stampin’ Blends that I quickly colored with or you can use colored pencils. I didn’t concern myself with blending as the images are small. Remember to use the Stampin’ Pierce Mat with Photopolymer Stamps.
Happy Stamping!
Card Directions
- Cut and score all cardstock and papers as listed under Cutting Directions below.
- Fold Thick Basic White Card Base in half on the score lines, burnish with Bone Folder.
- Emboss the Parakeet Party 4-1/8” x 5-3/8” panel, adhere to card front.
- Add the 2-1/8” x 5” Delightful Floral Designer Series Paper to left side of card front leaving a slight left edge of embossed layer showing.
- Cut a 14” length of ribbon or twine, triple fold it and adhere to card front with Seal.
- Stamp the “It’s A Good Day” stamp to piece of White Cardstock with Memento Black Ink. Color image with Stampin’ Blends: oranges – pumpkin pie, leaves – granny apply green, flowers – lemon lolly. Punch imagine only with the Modern Oval Punch.
- Using Memento Black Ink, stamp the same stamp again centered on a piece of Parakeet Party Cardstock. Adhere the punched image over the stamped image with Dimensionals. Trim ribbon ends if needed.
- Add embellishments to card front.
- The inside was finished with a panel of White Cardstock adhered to a panel of Parakeet Party Cardstock. Add a strip of Designer Series Paper to left side of card stock. (Note: stamp sentiment on White Cardstock prior to adding it to Parakeet Party Cardstock).
- Finish the Envelope Flap with a piece of Designer Series Paper.

Card Recipe
Cutting Directions:
- Basic White Thick: 8-1/2” x 5-1/2”, scored at 4-1/4” (card base)
- Basic White: 3-1/2” x 2-1/2” (stamp image), 3-3/4” x 5” (inside)
- Parakeet Party: 4-1/8” x 5-1/8” (embossed layer), 2-3/4” x 3-1/2” (stamped layer), 4” x 5-1/4” (inside layer)
- Delightful Floral Designer Series Paper: 2-1/8” x 5-1/4” (front), 5/8” x 5” (inside strip), 6” x 2-1/2” (envelope flap, measure your envelope flap first for correct size)
Supplies Used:
- Stamps: Filled With Happiness
- Dies/Pun: Modern Oval Punch
- Cardstock/Paper: Basic White Thick, Basic White, Parakeet Party, Delightful Floral
- Stampin Pads: Memento Black Ink
- Stampin’ Blends: Pumpkin Pie, Granny Apple Green, Lemon Lolly
- Embellishments: 2022 – 2024 In Color Pearls (retired)
- Ribbon: 2022 – 2024 Parakeet Party Metallic Woven Ribbon
- Embossing Folder: Layered Florals 3D
- Adhesives: Dimensionals, Glue Dots, Stampin Seal, Liquid Glue, Tear & Tape
- Tools: Paper Trimmer, Cut & Emboss Machine, Clear Blocks, Take Your Pick, Bone Folder, Stampin Pierce Mat, Paper Snip Scissors
Latte Love Mini Stamp Camp
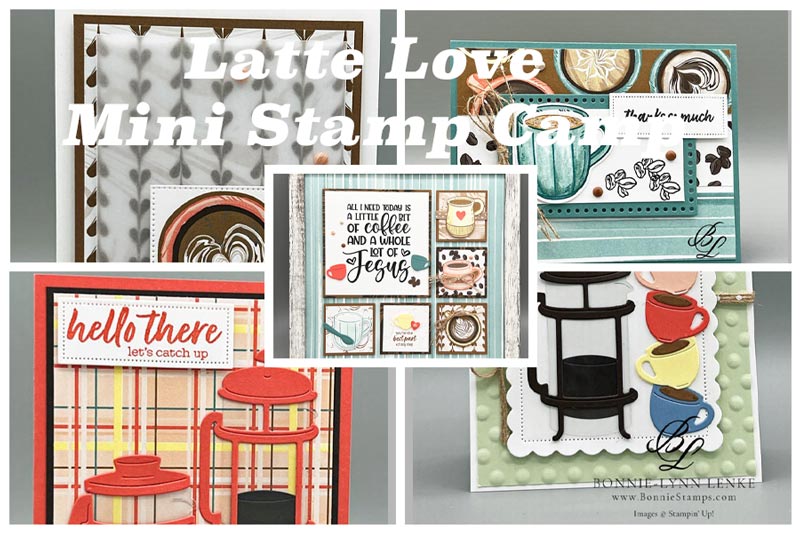
Who doesn’t enjoy starting the day off with a perfectly brewed cup of coffee? Now you can enjoy the aroma of your coffee while creating this beautiful Sampler and 5 cards. I’m bringing you the joy of crafting 3 ways: right to your door step, in-person class or tutorials only. Whether you’re a seasoned stamper or just getting started, this class is perfect for all skill levels. You will make SIX projects where we do the designing and most of the work for you. The registration ends on March 28th and will ship by April 10th. You will be notified if an item is out of stock.
Click on the Register Button below to see exactly what is included, priced and add on choices. As a bonus for those who purchase any part of the Stamp Camp, you will also receive my Cutest Cow tutorial via email when I send out the Latte Love tutorial. The Cutest Cow tutorial consists of 4 really cute cards. Those who purchase the full stamp camp will also receive a kit of the card I made on a February blog post.
FREE THOUGHTFUL WISHES KIT WITH $50* ORDER

MAY 2024 ORDERING SPECIAL:
Place your online order of $50* or more in May 2024 with the host code SHFCTEUM, and you will receive:
1) A FREE class packet to make FOUR CARDS using the Thoughtful Wishes & Bundle & Simply Said Stamp Set! Everything possible will be cut, punched, embossed, and die-cut for you! You’ll just stamp and assemble with your stamps. I always email you a written tutorial with photos and measurements, too! You’ll receive your card supplies in the following month.
*Order amounts before tax & shipping.
Check out this month’s Specials:
Click on an image for more information…


