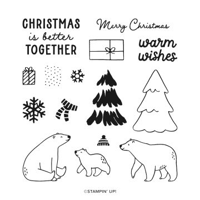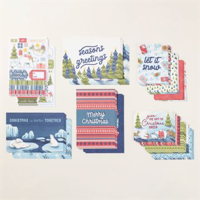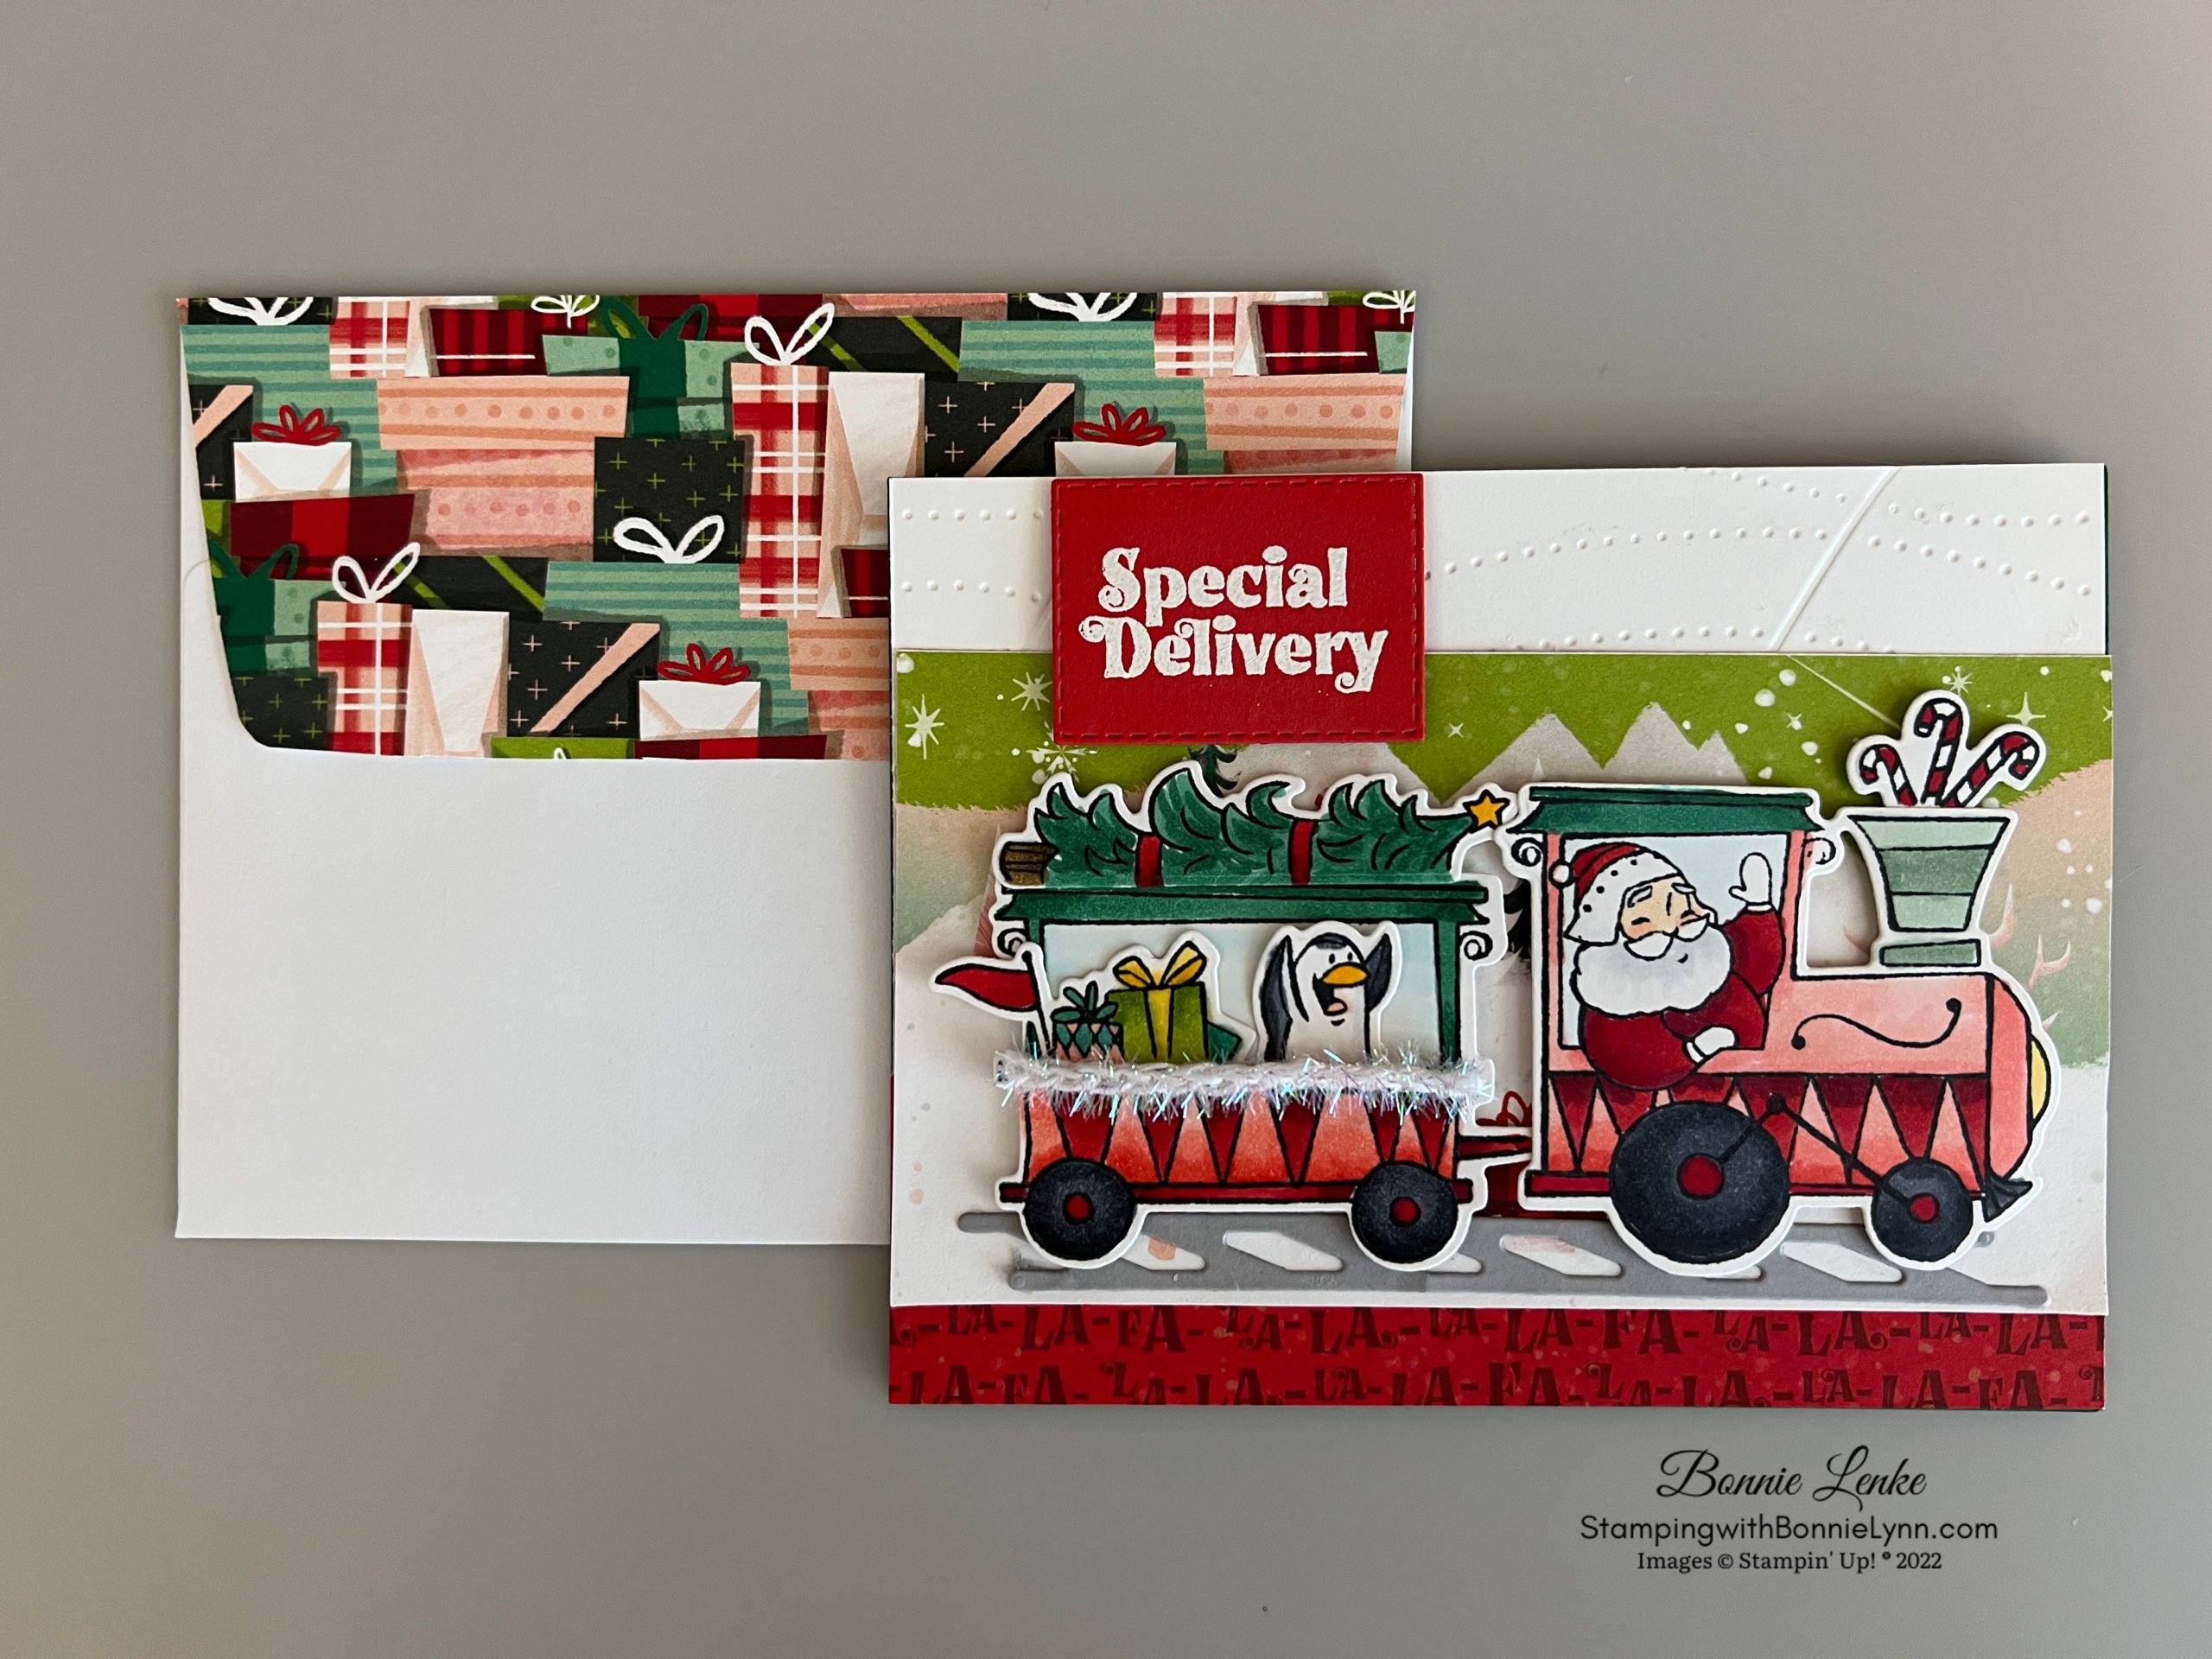
Who wouldn’t love receiving this creative fold Stampin’ Up! Beary Cute Cascading Card that comes in a box. There is even room in the box for a gift card or some treats. To help you make this card and box I’ve included a video tutorial that I suggest you watch for the best directions.
This idea is a case from a Creative Retreat card. I did rework the measurements to fit my design. I hope you enjoyed this unique card as much as I enjoyed making and sharing it with you. Happy Stamping!
Card Directions
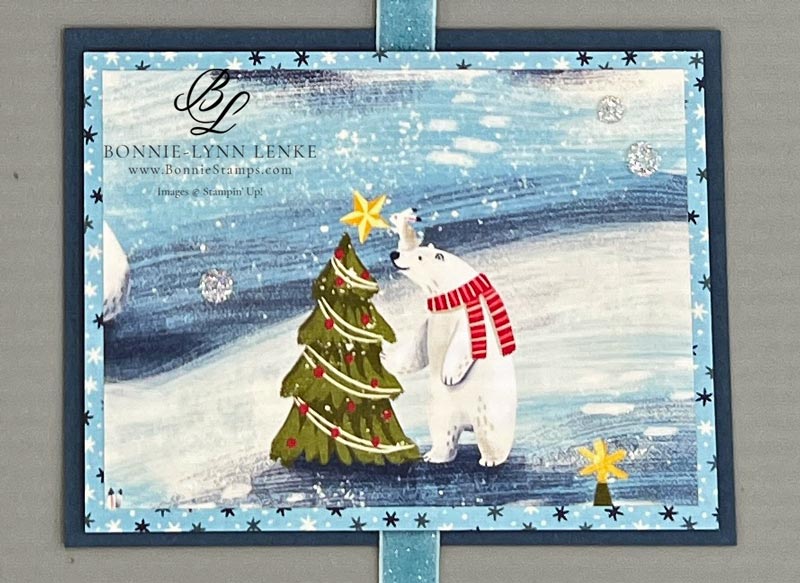
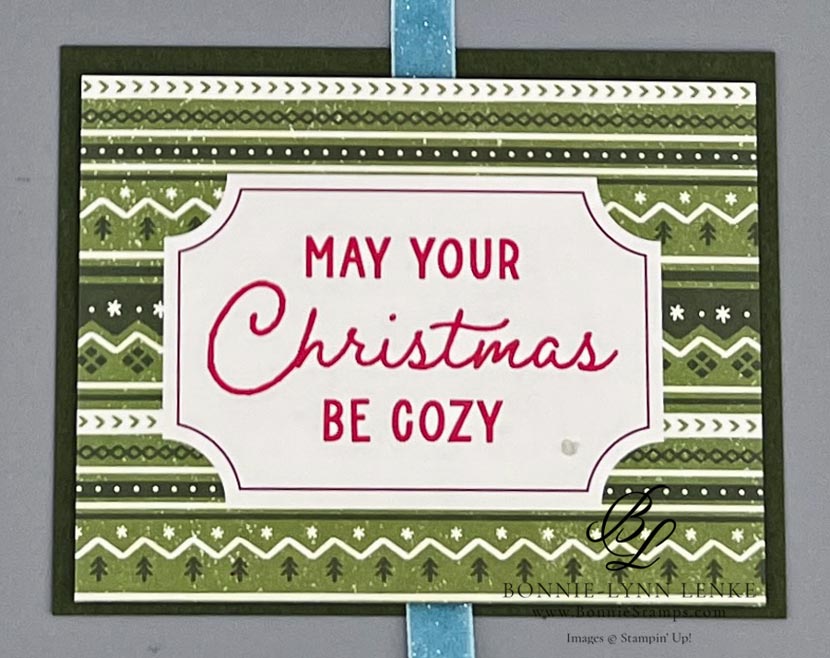
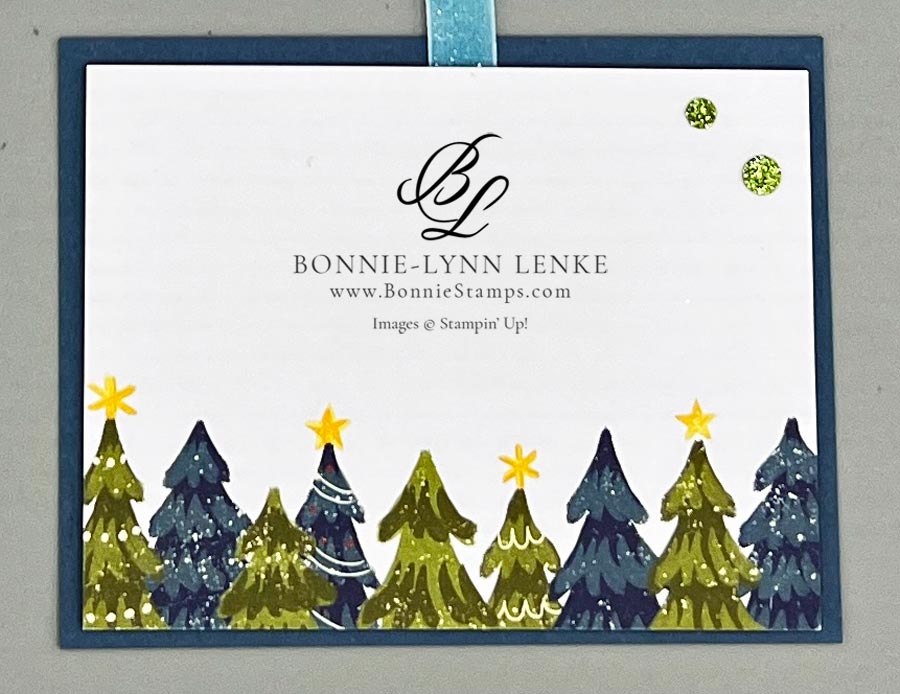
- For the card, lay the card backs on a piece of grid paper, alternating the colors, spacing panels 1/2” apart.
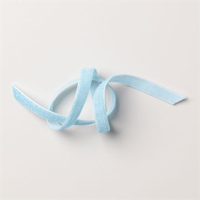
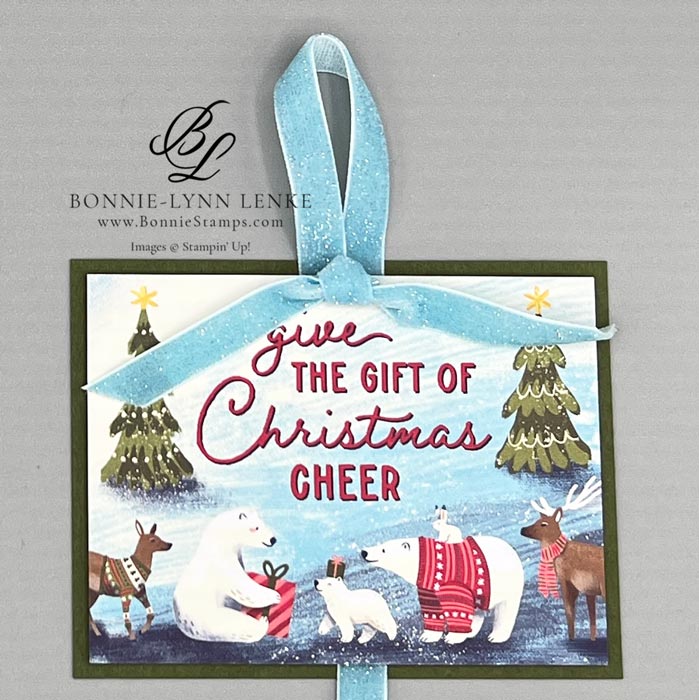
- Take the 3/8” Balmy Blue Sparkle Ribbon, 20 inches, start with the bottom base and tape ribbon with scotch tape or Tear-N-Tape about 1/3 the way up from bottom of panel. With 1/2” between bottom card base and the next card base, tape the ribbon to the next base in the middle of panel. Repeat this process for panel #2 and then the top panel. Leaving the ribbon in one piece, take the left over ribbon, make a loop and tape the end in the middle of top panel next to/slightly overlapping ribbon already down.
- Use Dimensionals to adhere the Beary Christmas Memories & More Cards to the card bases. (Hint: you might want to wait to attached the bottom panel that you write on till after you write on the note card.
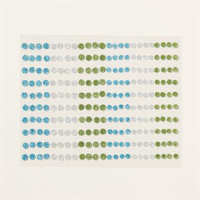
- Next I added some Adhesive-Backed Glitter Sequins to a couple of the panels.
- Tie a knot out of 6” of the ribbon and adhere at the top of the first card panel where the ribbon comes together.
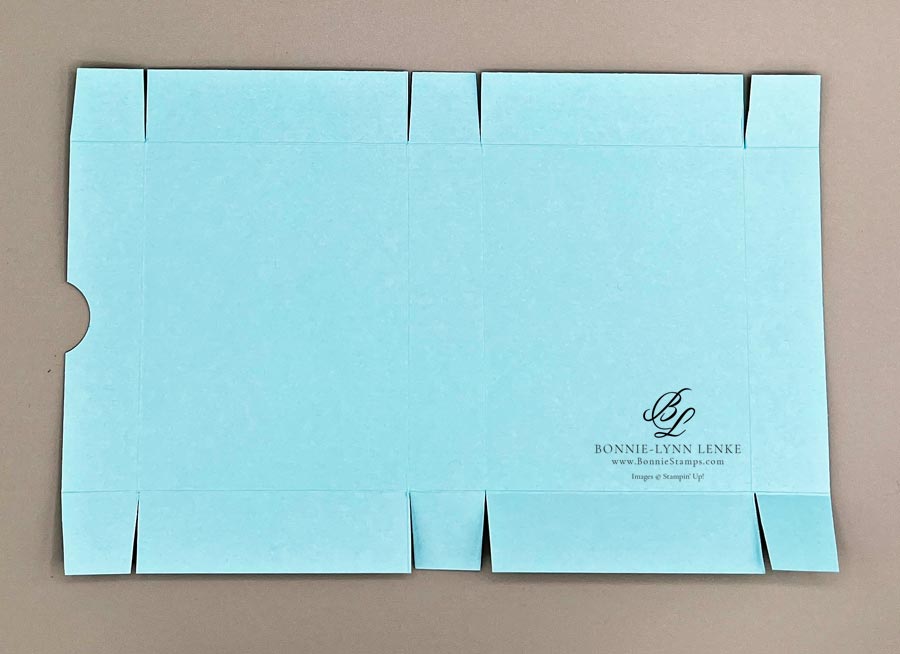
- For the box, score all 4 sides at 1”. On the long side, score at 4-1/2” & 5-1/2”. Burnish the score lines.
- Cut on the long side score lines from the edge in 1” to score lines. Angle each tab (see photo/video) to score line.
- Punch or crop half of a 1” circle on the front of the box top (see photo).
- Glue (you can also use Seal Plus or Tear-N-Tape) all 4 tabs to inside of box bottom to form a box. Place glue or tape close to score lines.
- Adhere the tops 2 tabs to inside of top to form the lid.
- To finish the top, adhere the Misty Moonlight panel to the box top centering it.
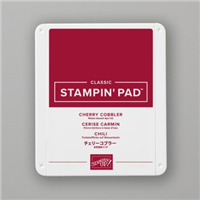
- Stamp the greeting in Cherry Cobbler Ink in the middle of one of the Beary Christmas Memories & More cards. Adhere to box top with Dimensionals.
- Select a couple stickers from the sticker sheets in the Beary Christmas Memories & More Card Pack and adhere to box top.
- Add embellishments to box top. Tie a box out of 11” of the ribbon and add to box top with a Glue Dot.

Card Recipe
Cutting Directions:
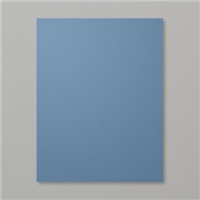
- Balmy Blue: 6-1/2” x 10”, score at 1” on all 4 sides then 4-1/2” & 5-1/2” on the long side (Box)
- Misty Moonlight: (3) 3-1/4” x 4-1/4” (2 are card backs)
- Mossy Meadow: (2) 3-1/4” x 4-1/4” (card backs)
- Beary Christmas Memories & More Card Pack: (5) 3” x 4” cards
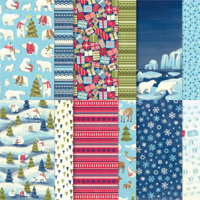
- Beary Christmas 12” x 12” Designer Series Paper: 2-3/4” x 3-3/4” panel
Supplies Used:
- Stamps: Beary Cute
- Dies or Punch: 1” punch or 1” circle die
- Cardstock/Paper: Balmy Blue, Mossy Meadow, Misty Moonlight, Beary Christmas Memories & More Card Pack, Beary Christmas 12” x 12” Designer Series Paper
- Stampin Pads: Cherry Cobbler
- Embellishments: Adhesive-Backed Glitter Sequins
- Ribbon: Balmy Blue 3/8” Sparkle Ribbon
- Adhesives: Dimensionals, Glue Dots, Stampin Seal Plus, Liquid Glue
- Tools: Paper Trimmer, Score Pal, Clear Blocks, Take Your Pick, Bone Folder, Stampin Pierce Mat, Paper Snip Scissors
Check out this month’s Specials:
Click on an image for more information…


