Sweet Candy Canes Kris Cross Card & Video
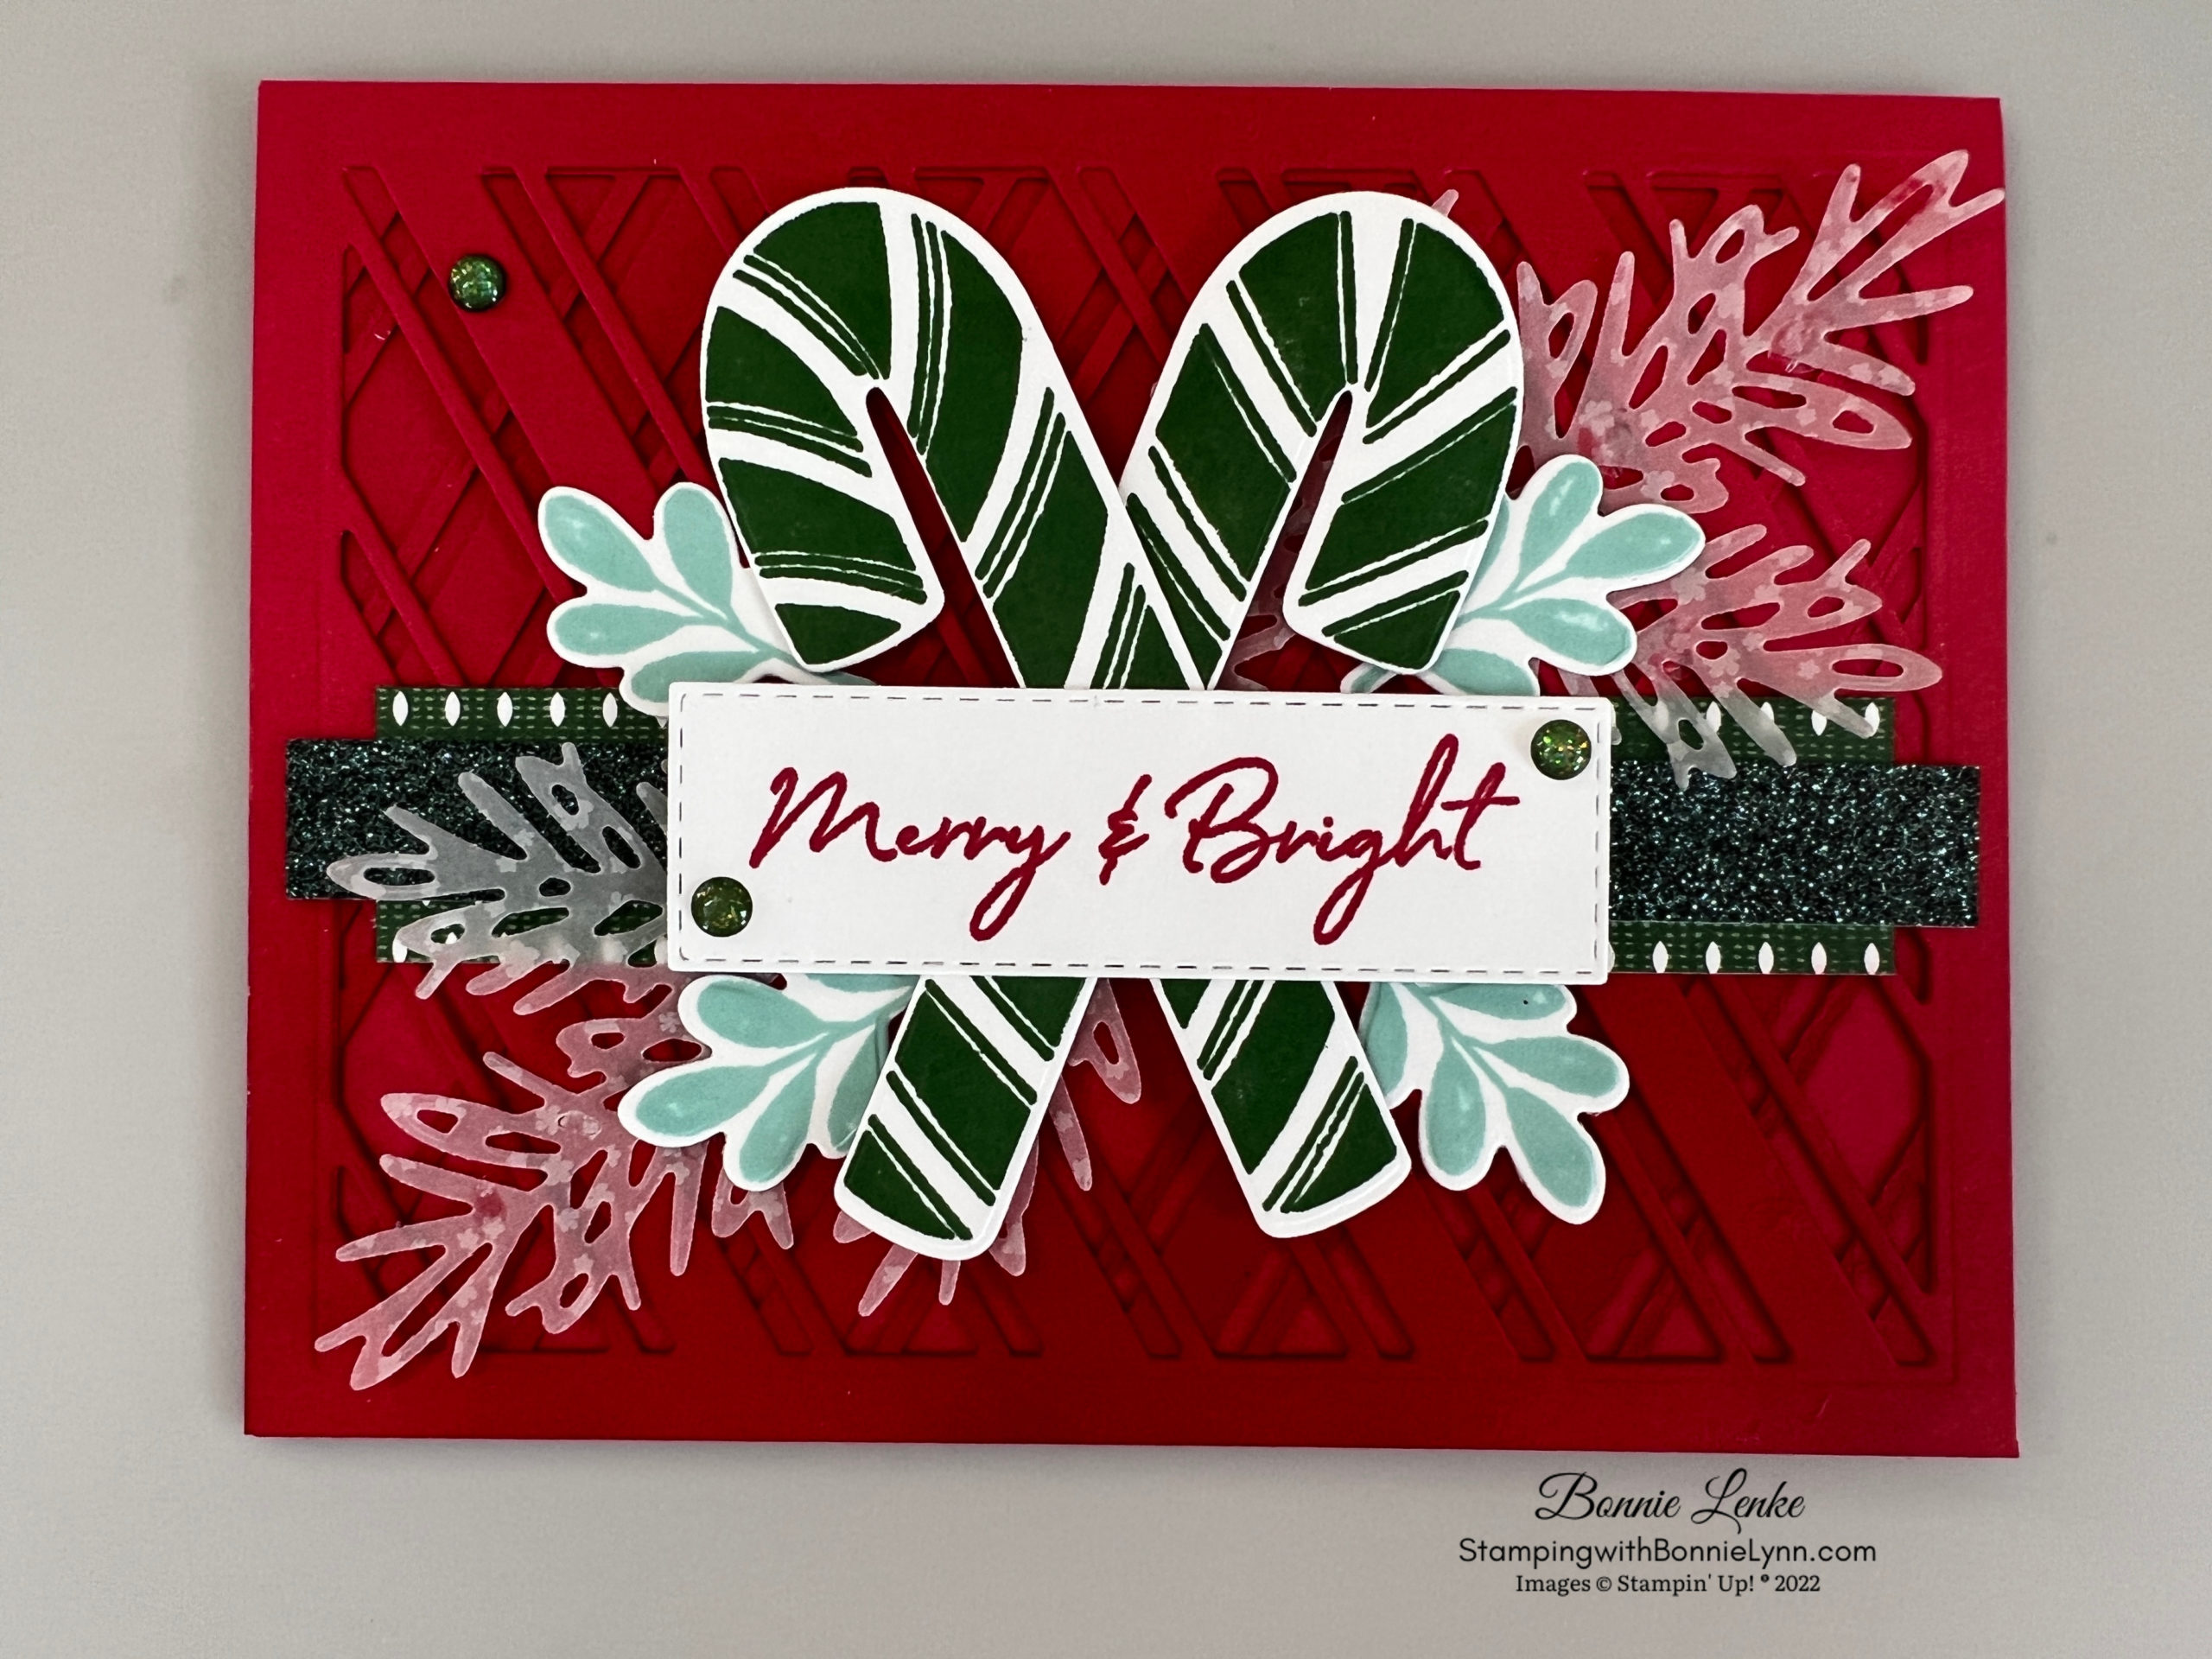
Who doesn’t like Sweet Candy Canes during the Christmas Season to decorate a tree with or even to eat? Today I’m sharing with you my Christmas Card from Stampin’ Up Sweet Candy Canes stamp set and Candy Cane Dies. I know I would enjoy getting this card in the mail and I’m sure you know someone who would enjoy it too. I really like the big die that comes with this set, especially when you use two of them for the Kris Cross look I did. I also made the same card in Real Red Cardstock and there will be a picture after the directions.
There is also the Legend of the Candy Cane that I heard years ago at church. Since that time the candy cane has taken on a special meaning to me. Here is the legend and also a link to read further. http://www.chocolate-candy-mall.com/meaning-of-christmas-candy-cane.html
The Legend of the Candy Cane
Many years ago, a candy maker wanted to make a candy at Christmas time that would serve as a witness to his Christian faith. He wanted to incorporate several symbols for the birth, ministry and death of Jesus.
He began with a stick of pure white hard candy. The white symbolized the virgin birth and the sinless life of Jesus.
He made the candy hard to symbolize the that Jesus is the solid rock and the foundation of the church. The firmness also represents the promises of God.
The candy maker made the candy in the form of a “J” to represent the name of Jesus, who came to earth as our Savior. He thought it could also represent the staff of Jesus, the Good Shepherd.
The candy maker then added red stripes. He used three small stripes to show the stripes of the scourging Jesus received, by which we are healed. The large red stripe was for the blood shed by Christ on the cross so that we could be forgiven and have the promise of eternal life.
The flavor of mint is similar to hyssop. In Old Testament times, hyssop was associated with purification and sacrifice. It was also used at the cross as they gave Jesus a drink of vinegar before He gave up the Ghost.
Click Here to print the Legend
Let’s Get Started
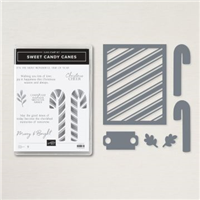
- Start with the Sweet Candy Canes stamp set and stamp the two Candy Canes in Real Red Ink onto Basic White Cardstock using the Stamparatus. By using the Stamparatus you can stamp the same imagine a couple times for a cleaner imagine. It’s also great for making multiple cards.
- Stamp four Boughs in Pool Party Ink onto White Cardstock. Cut out the boughs and candy canes with the coordinating Candy Cane Dies.
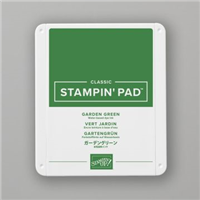
- Stamp the greeting “Merry & Bright” in Garden Green Ink on White Cardstock. Using the 2nd smallest Stitched Rectangle Die cut out this greeting.
- Next, cut the pine needle branch out of Vellum using the Decorated Pine Dies. You’ll need 2 of the.
- Using the Rectangle Die from the Candy Cane Dies cut out 2 Garden Green panels, center the die on each panel and tape in place with removable tape or washi tape before cutting.
- Time to assemble your card. Fold your Garden Green Cardstock in half on the score line and burnish with Bone Folder.
- Grab a Blending Brush and sponge some Garden Green ink onto the front bottom of one panel then repeat on the back bottom of the second panel.
- Start with the second panel that you sponged on the back side. Add liquid glue to the edges of the side that doesn’t have ink on it and adhere to Card Base (the angled lines should run from right side down to left side). Now add glue to the reverse side of the first panel and adhere to Card Front. This time the angled lines should go from left side down towards right side. This is your Kris Cross.
- Adhere your strip of Sweetest Christmas Designer Series Paper (DSP) to Card Front with top of strip placed about center of card using Stampin’ Seal or Tear-N-Tape.
- Use Seal or Tape to adhere your Real Red Glitter Paper centered on DSP.
- It’s easiest to add your Pine Branches before attaching the candy canes. Add you Vellum Pine Branches with Glue Dots. I placed the largest tip in the corner for the correct position and used 4 glue dots on each branch.
- Attached your Candy Canes next. The first candy cane I used 4 Dimensionals and then 3 Dimensionals on the one that goes on top.
- Place your Greeting next using Dimensionals on each end.
- Adhere your Pool Party Boughs with Glue Dots.
- Place 3 Pearls from the Red & Green Adhesive Backed Pearls. (on the red card I used the retired Toile Tidings Glitter Enamel Dots)
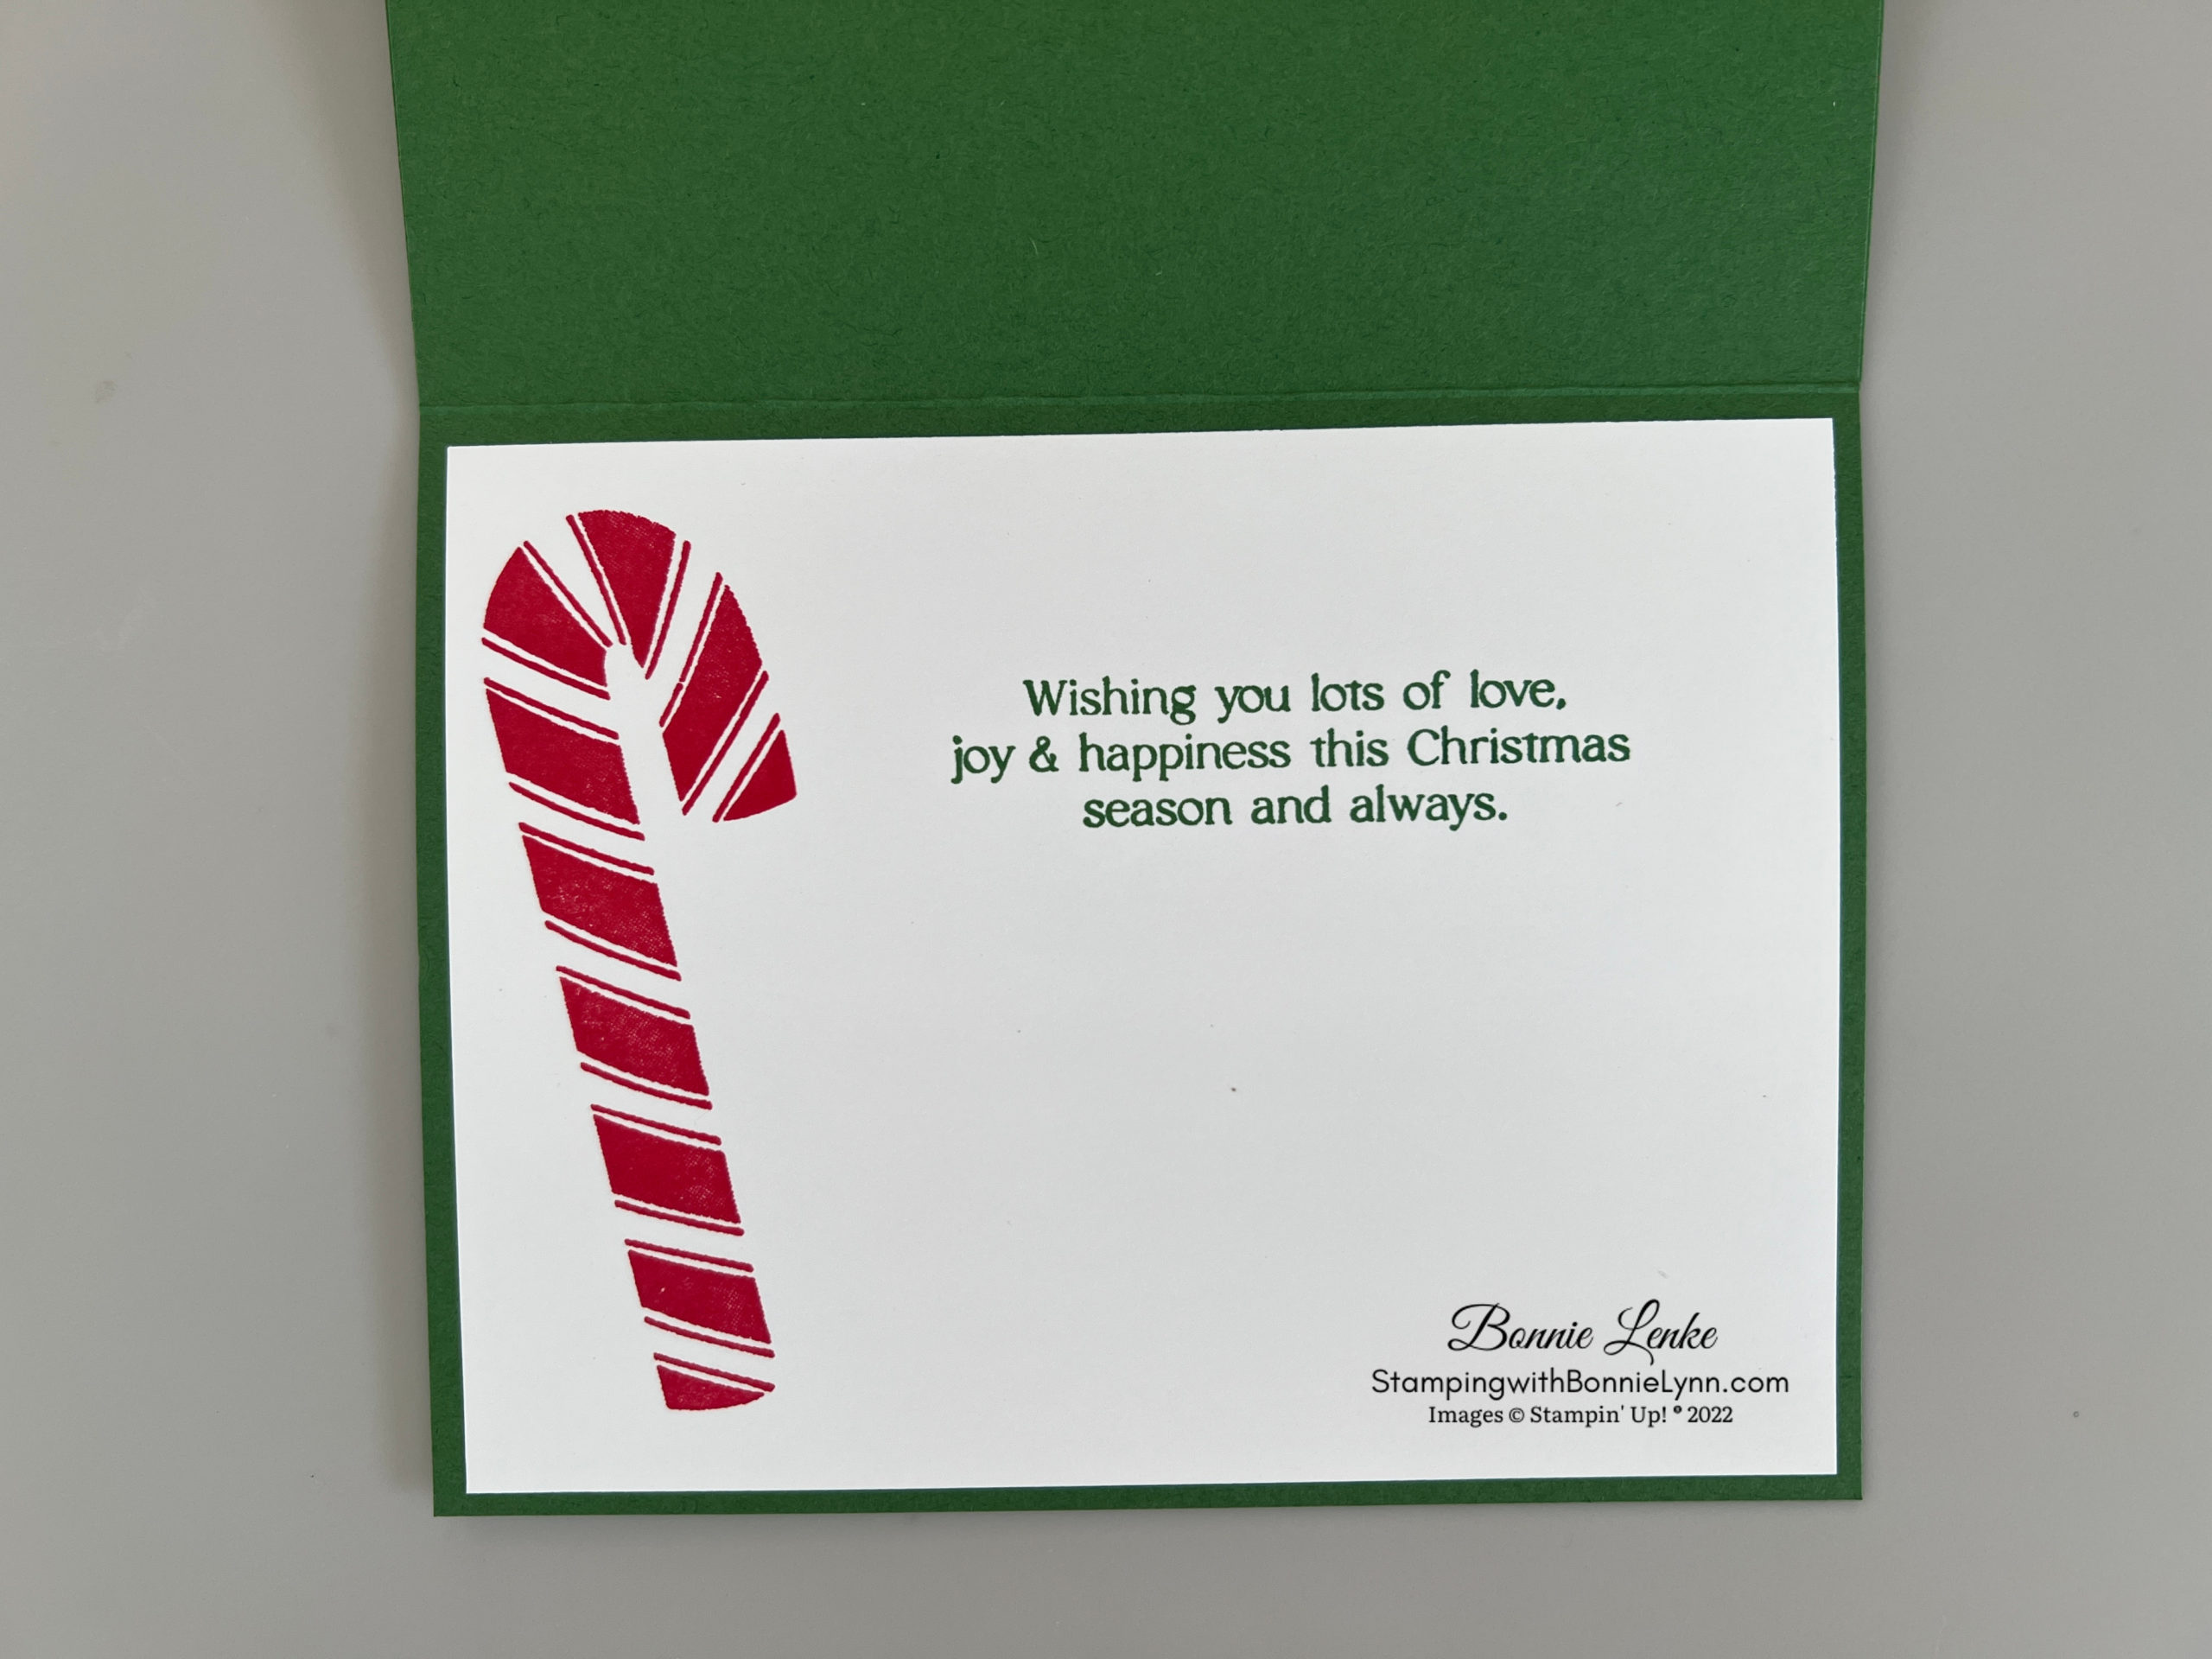
- For the card inside, stamp a Candy Cane in Real Red Ink on the left side and then the greeting in Garden Green Ink.
- For the envelope stamp a Candy Cane on the left side of the envelope in Real Red Ink.
- Stamp a special Made with Love on the back of your card using the Limited Edition Stamp Set.
And now you have a beautiful card to brighten someone’s day.
Happy Stamping!
Card Recipe
Cardstock:
- Garden Green: 8-1/2” x 5-1/2”, scored at 4-1/4” This is your card base, 2 panels 4-1/4” x 5-1/2” each
- Basic White: 3” x 4-1/4” for candy canes, 1-3/4” x 4-1/2” for boughs, 1-1/2” x 3-1/2” for greeting, 4” x 5-1/4” (inside)
- Sweetest Christmas DSP: ¾” x 4-3/4”
- Real Red Glitter: ½” x 5-1/4”
- Vellum: Large scrap piece, cut 2 branches
Supplies Used:
- Stamps: Sweet Candy Canes
- Dies: Candy Cane Dies, Decorated Pines, Stitched Rectangle Dies
- Cardstock/Paper: Garden Green, Basic White, Real Red Glitter, Sweetest Christmas Designer Series Paper, Vellum
- Stampin Pads: Garden Green, Real Red, Pool Party
- Embellishments: Festive Pearls, Toile Tidings Glitter Enamel Dots (retired)
- Adhesives: Dimensionals, Glue Dots, Liquid Glue, Tear N Tape, Seal
- Tools: Paper Trimmer, Cut & Emboss Machine, Stamparatus, Take Your Pick, Bone Folder, Blending Brush
The New Mini Catalog is Here Plus Sale-a-bration
The July to December Mini Catalog is my favorite Catalog of the year and now you can share in the excitement of it. Not only that it’s Sale-a-bration time. With every $50 of Merchandise you order during July & August you get to select FREE ITEMS from the Sale-a-bration Catalog. It doesn’t get more exciting than this. Click Here to Shop the Mini Catalog.


