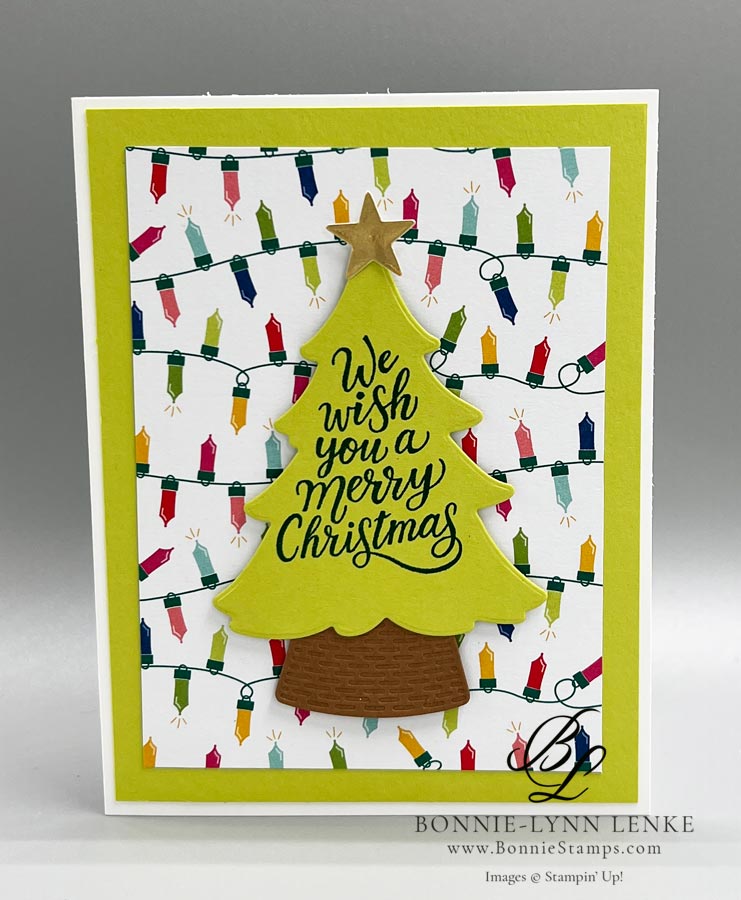
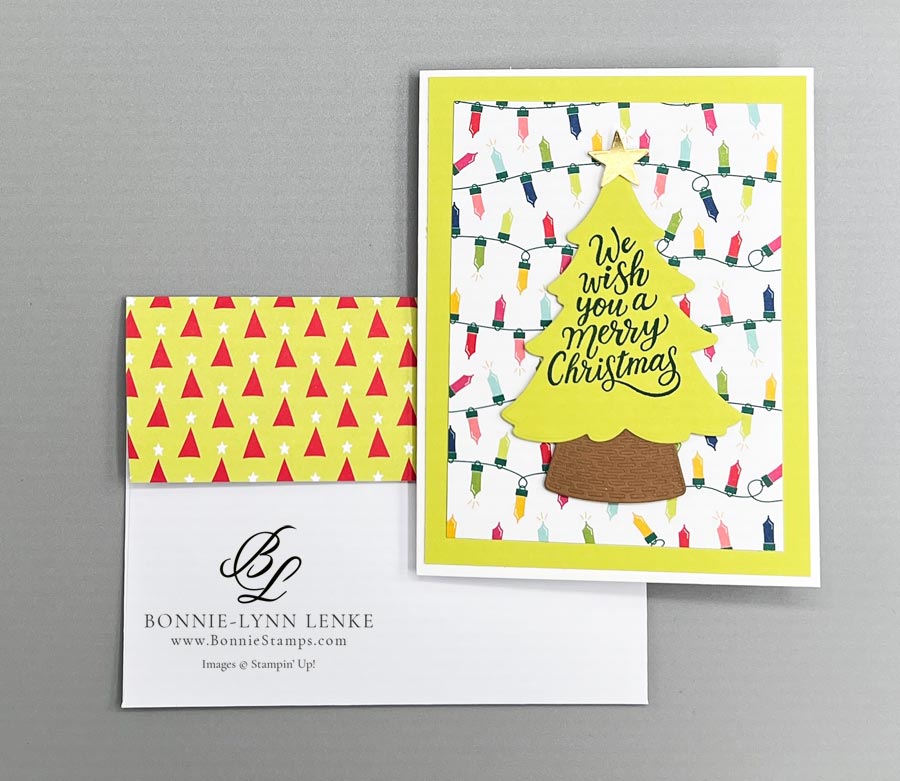
Today for you I’m sharing with you the Stampin’ Up! Merriest Trees Christmas card as a quick & simple card. I then show you how to dress it up a notch or two. Which one are you going to make?
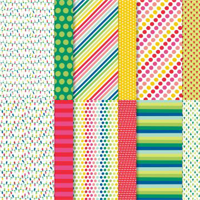
I enjoyed playing with the Merriest Trees Bundle today. The tree dies come in different sizes with great potential to inspire your creativeness. There are also cute little present stamps to make too. This bundle pairs nicely with the Merry, Bright & Bold Designer Series Paper. Happy Stamping!
Card Directions
Directions are for the Quick & Simple card. In the “Dress it Up” description I give you the items I used and/or changed along with measurements if they are different.
- Fold card base in half on score line, burnish with Bone Folder.
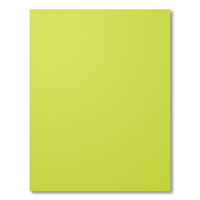
- Take the Merry, Bold & Bright Designer Series Paper and adhere to Lemon Lime Twist. Use Dimensionals to add this combo to card base.
- Stamp the greeting onto Lemon Lime Twist Cardstock in Shady Spruce Ink. Cut out with the 2nd largest Tree Die.
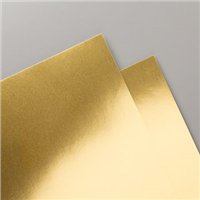
- Die cut the solid star out of Gold Foil. Attach this to top of tree with a Glue Dot. Use Dimensionals to add this tree to card front. (Note – put dimensionals at the side of tree on the bottom, leaving the middle clear for base to slide in.)
- Using Pecan Pie Cardstock die cut the tree trunk base out. Adhere so top is just under tree using Seal or Liquid Glue.
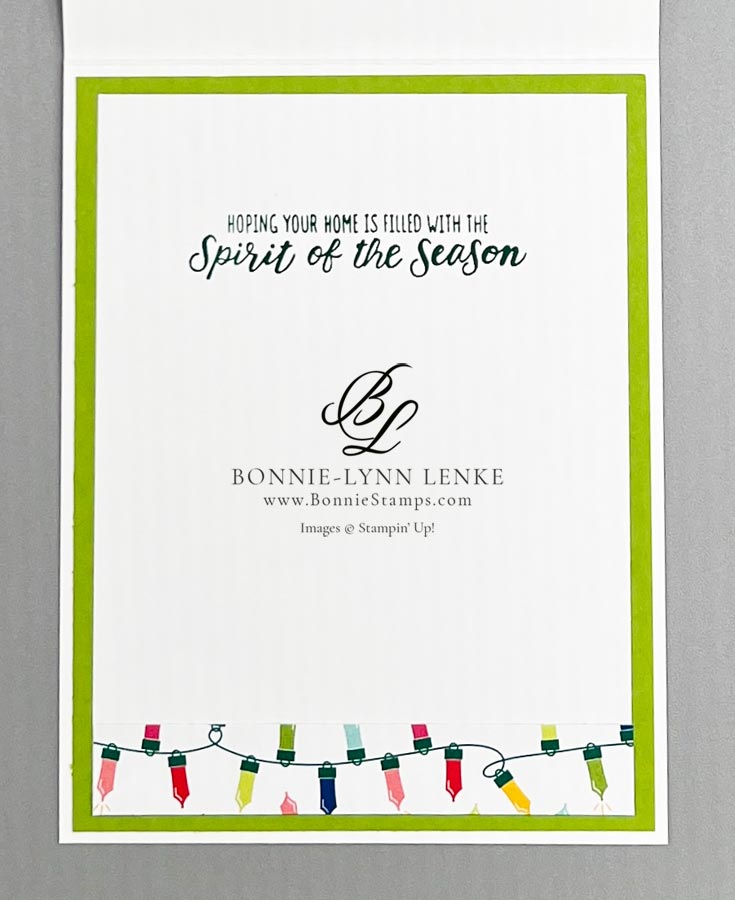
- The inside is complete by stamping saying in Shaded Spruce on White Cardstock. Attach to inside. Finish the bottom with a strip of Designer Series Paper.
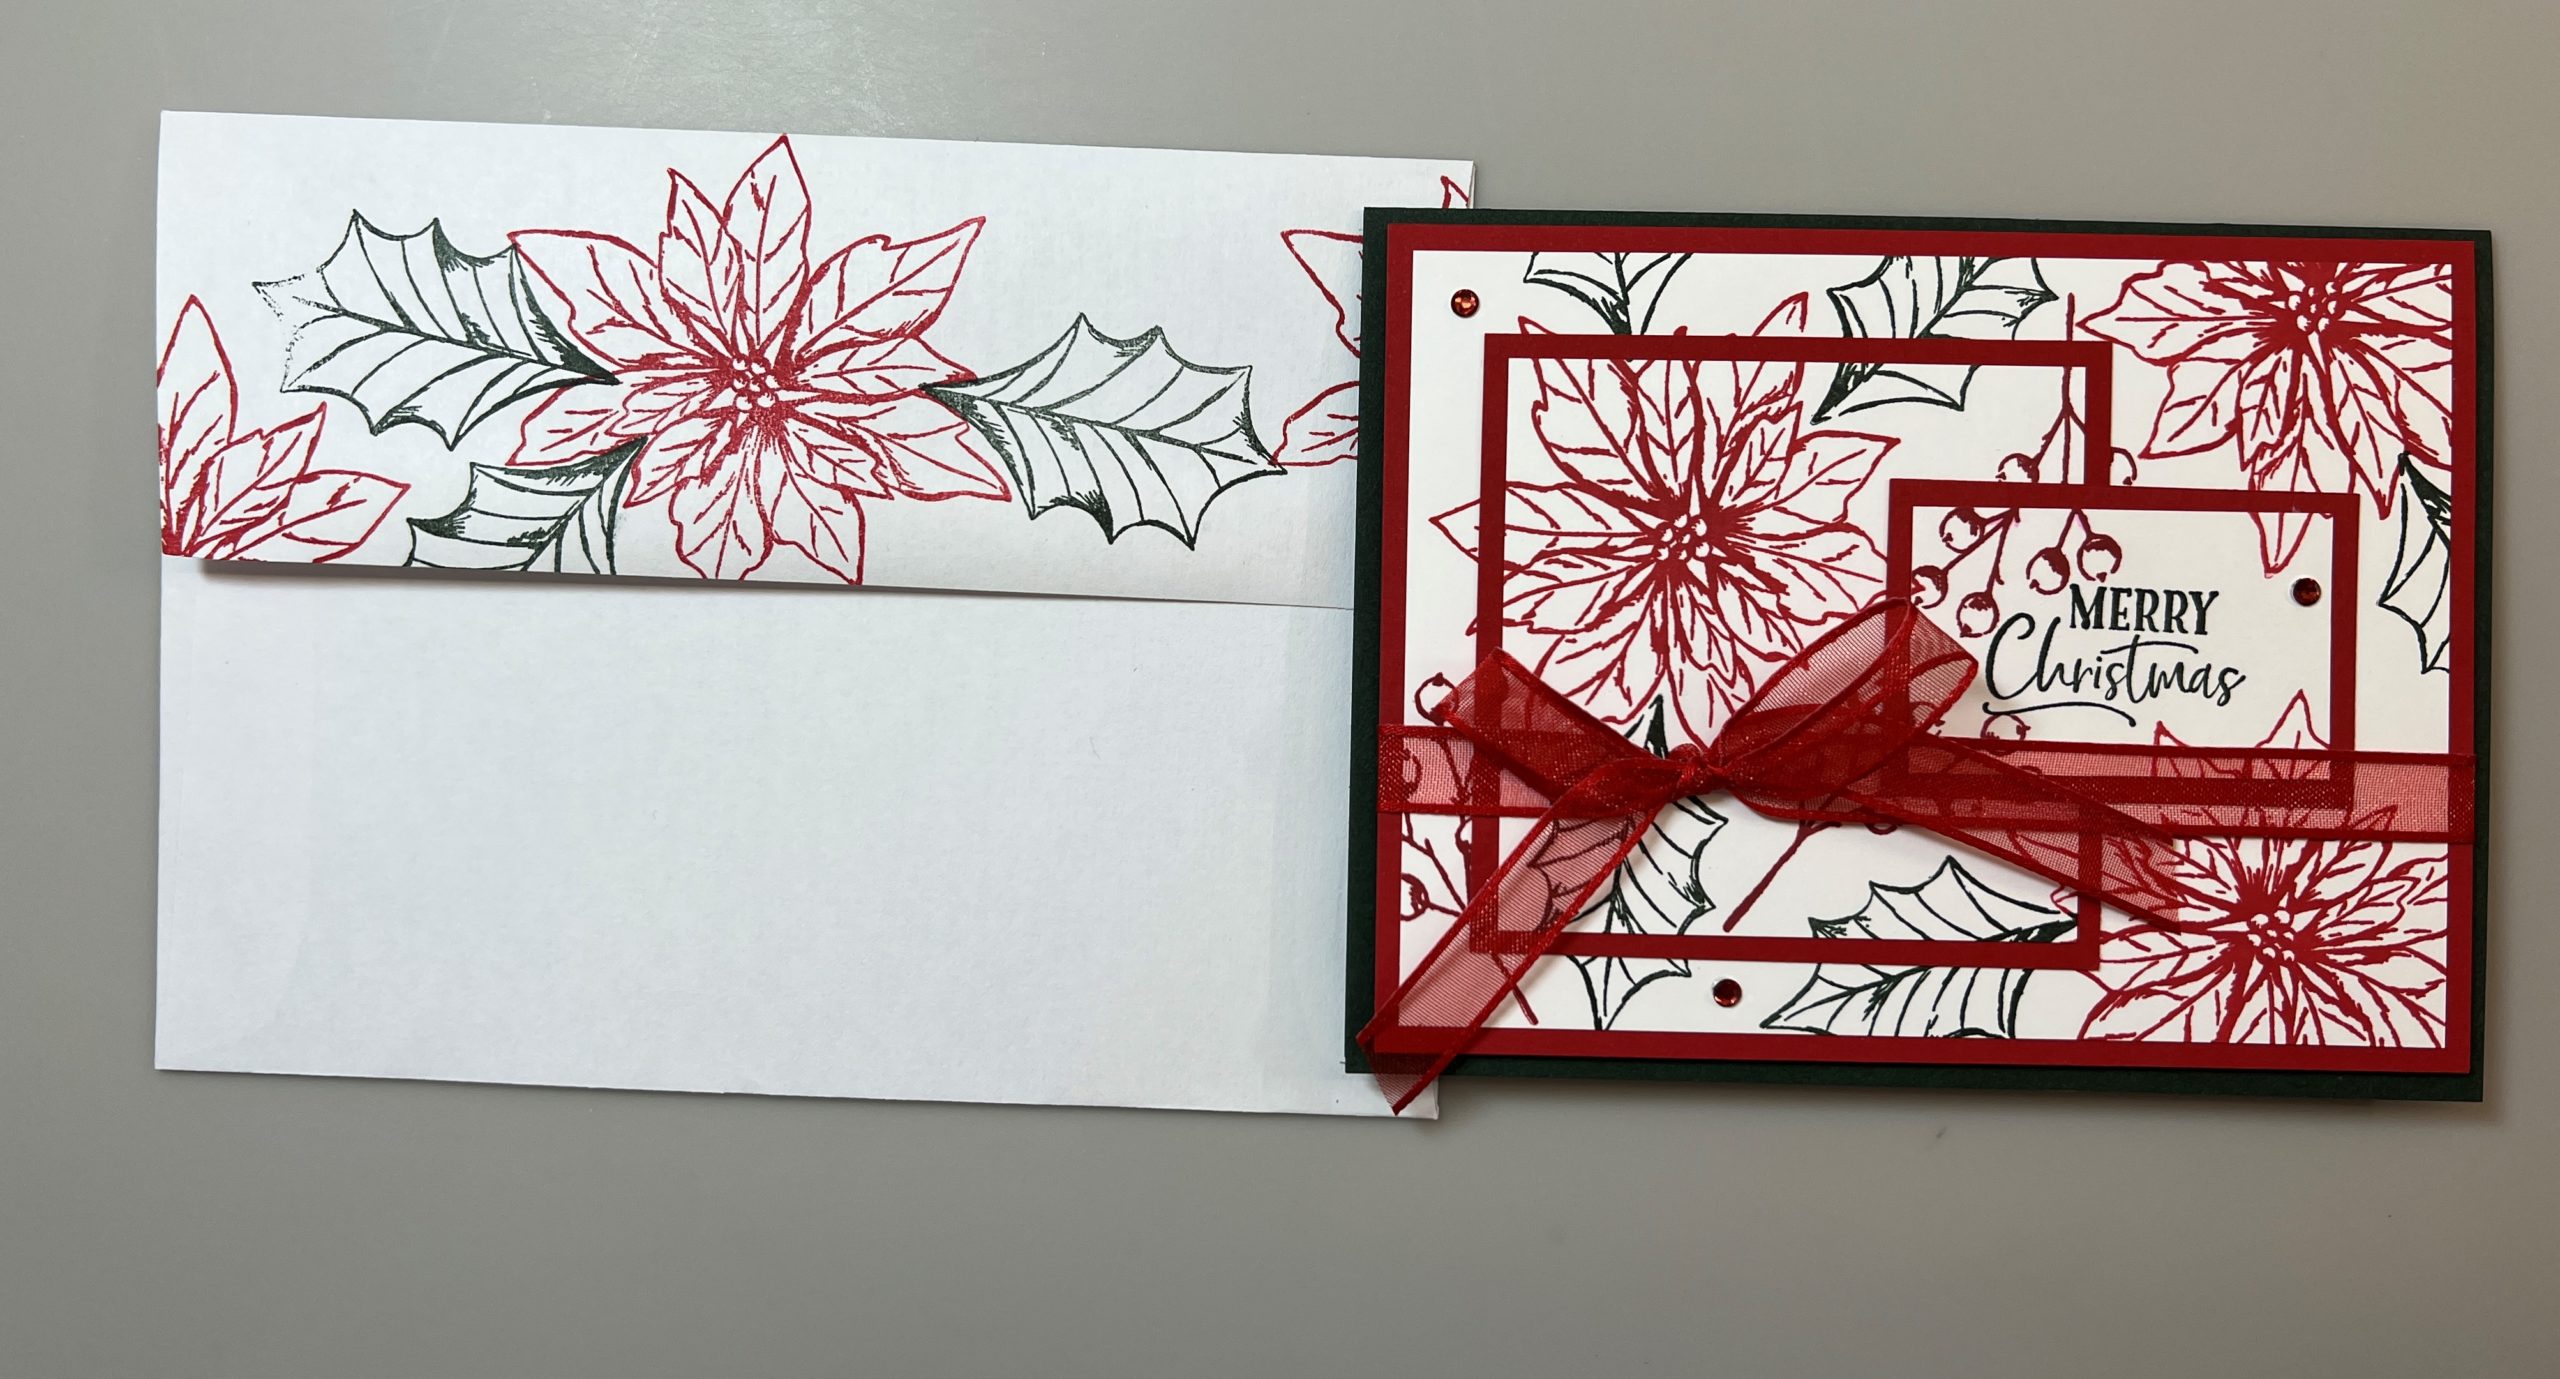
- To dress the envelope, attach a panel of Designer Series Paper with Liquid Glue.
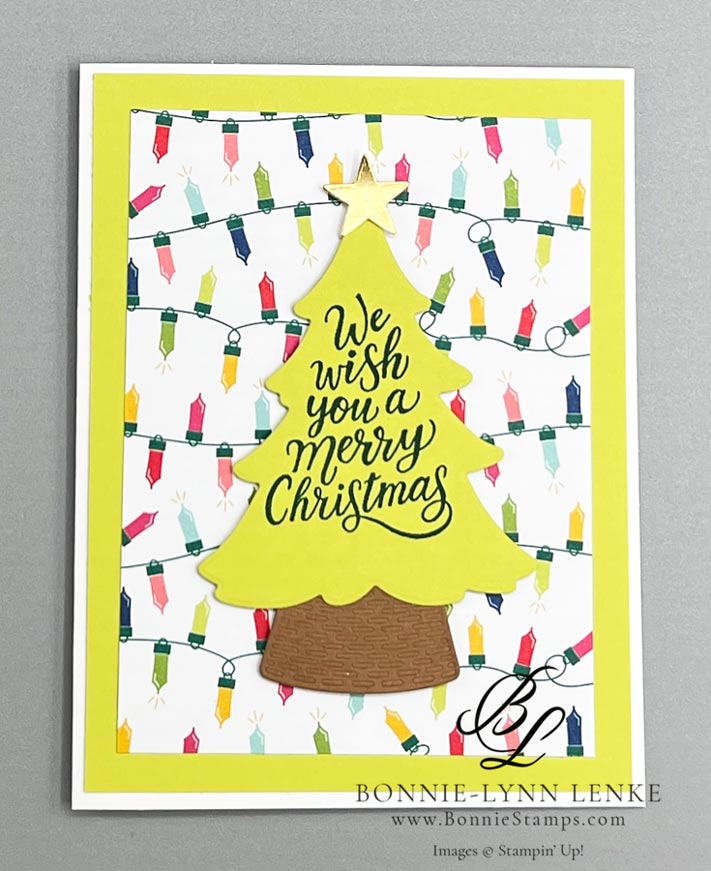

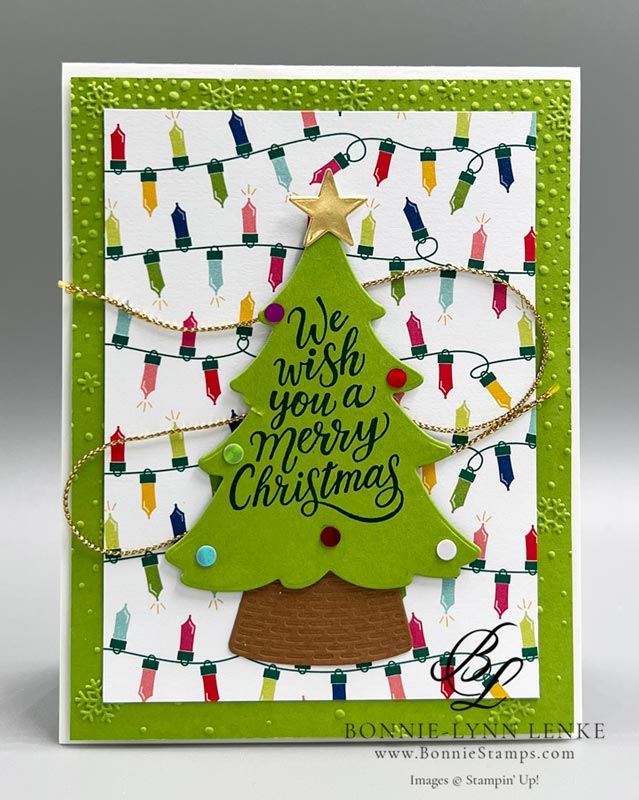
Dress it Up!
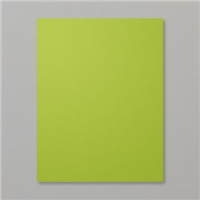
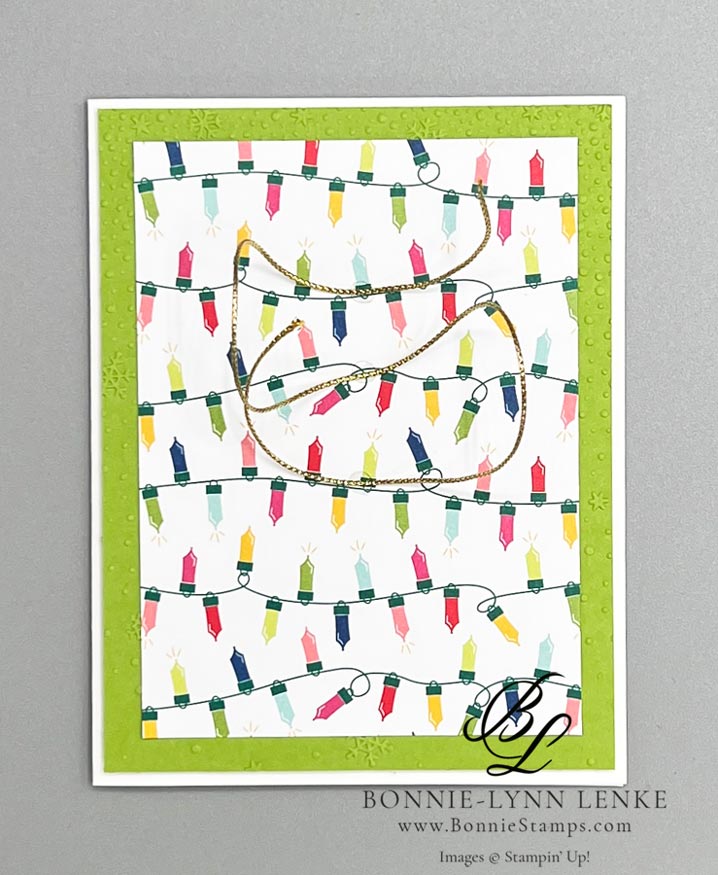
- To dress the card up a bit I changed the cardstock to Granny Apple Green and embossed it with the Snowflake Sky 3D Embossing Folder. Adhere DSP to this and then pop up on card base with Dimensionals.
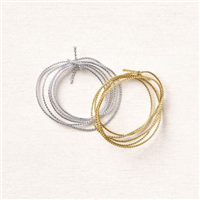
- Before adding the tree to card front, add 11-1/2” of Simply Elegant Gold Trim to DSP. Use 3 glue dots placed about 3/4” to 1” in a row from top to bottom (see picture). Place trim on dots in a backwards “S” design. Adhere tree.
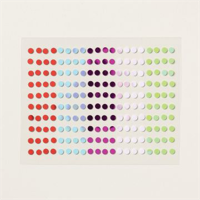
- Add Iridescent Adhesive-Backed Discs to tree.
- On the inside, adhere a panel of Granny Apple Green Cardstock 4” x 5-1/4”. Stamp saying on 3-3/4” x 5” panel of White Cardstock.
Card Recipe
Cutting Directions:
- Basic White Thick: 8-1/2” x 5-1/2”, scored at 4-1/4” (card base)
- Lemon Lime Twist: 4” x 5-1/4” (card front), 3-1/4” x 3-1/2” (tree)
- Basic White: 4” x 5-1/4” (inside)
- Pecan Pie: 2” x 1-1/4” (tree trunk)
- Gold Foil: Scrap for star
- Merry, Bold & Bright Designer Series Paper: 3-1/2” x 4-3/4” (card front), 4” x 5/8” (inside strip), piece for envelope flap, measure flap for correct size.
Supplies Used:
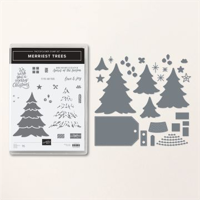
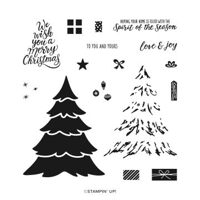
- Stamps: Merriest Trees
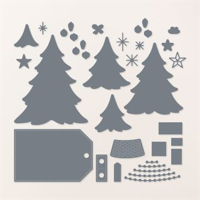
- Dies: Merriest Trees
- Cardstock/Paper: Lemon Lime Twist, Basic White Thick, Basic White, Pecan Pie, Gold Foil and Merry, Bold & Bright DSP
- Stampin Pads: Shaded Spruce
- Embellishments: Iridescent Adhesive-Backed Discs
- Ribbon: Simply elegant Trim (gold)
- Embossing Folder: Snowflake Sky 3D
- Adhesives: Dimensionals, Glue Dots, Stampin Seal, Liquid Glue
- Tools: Paper Trimmer, Cut & Emboss Machine, Clear Blocks, Take Your Pick, Bone Folder, Stampin Pierce Mat, Paper Snip Scissors
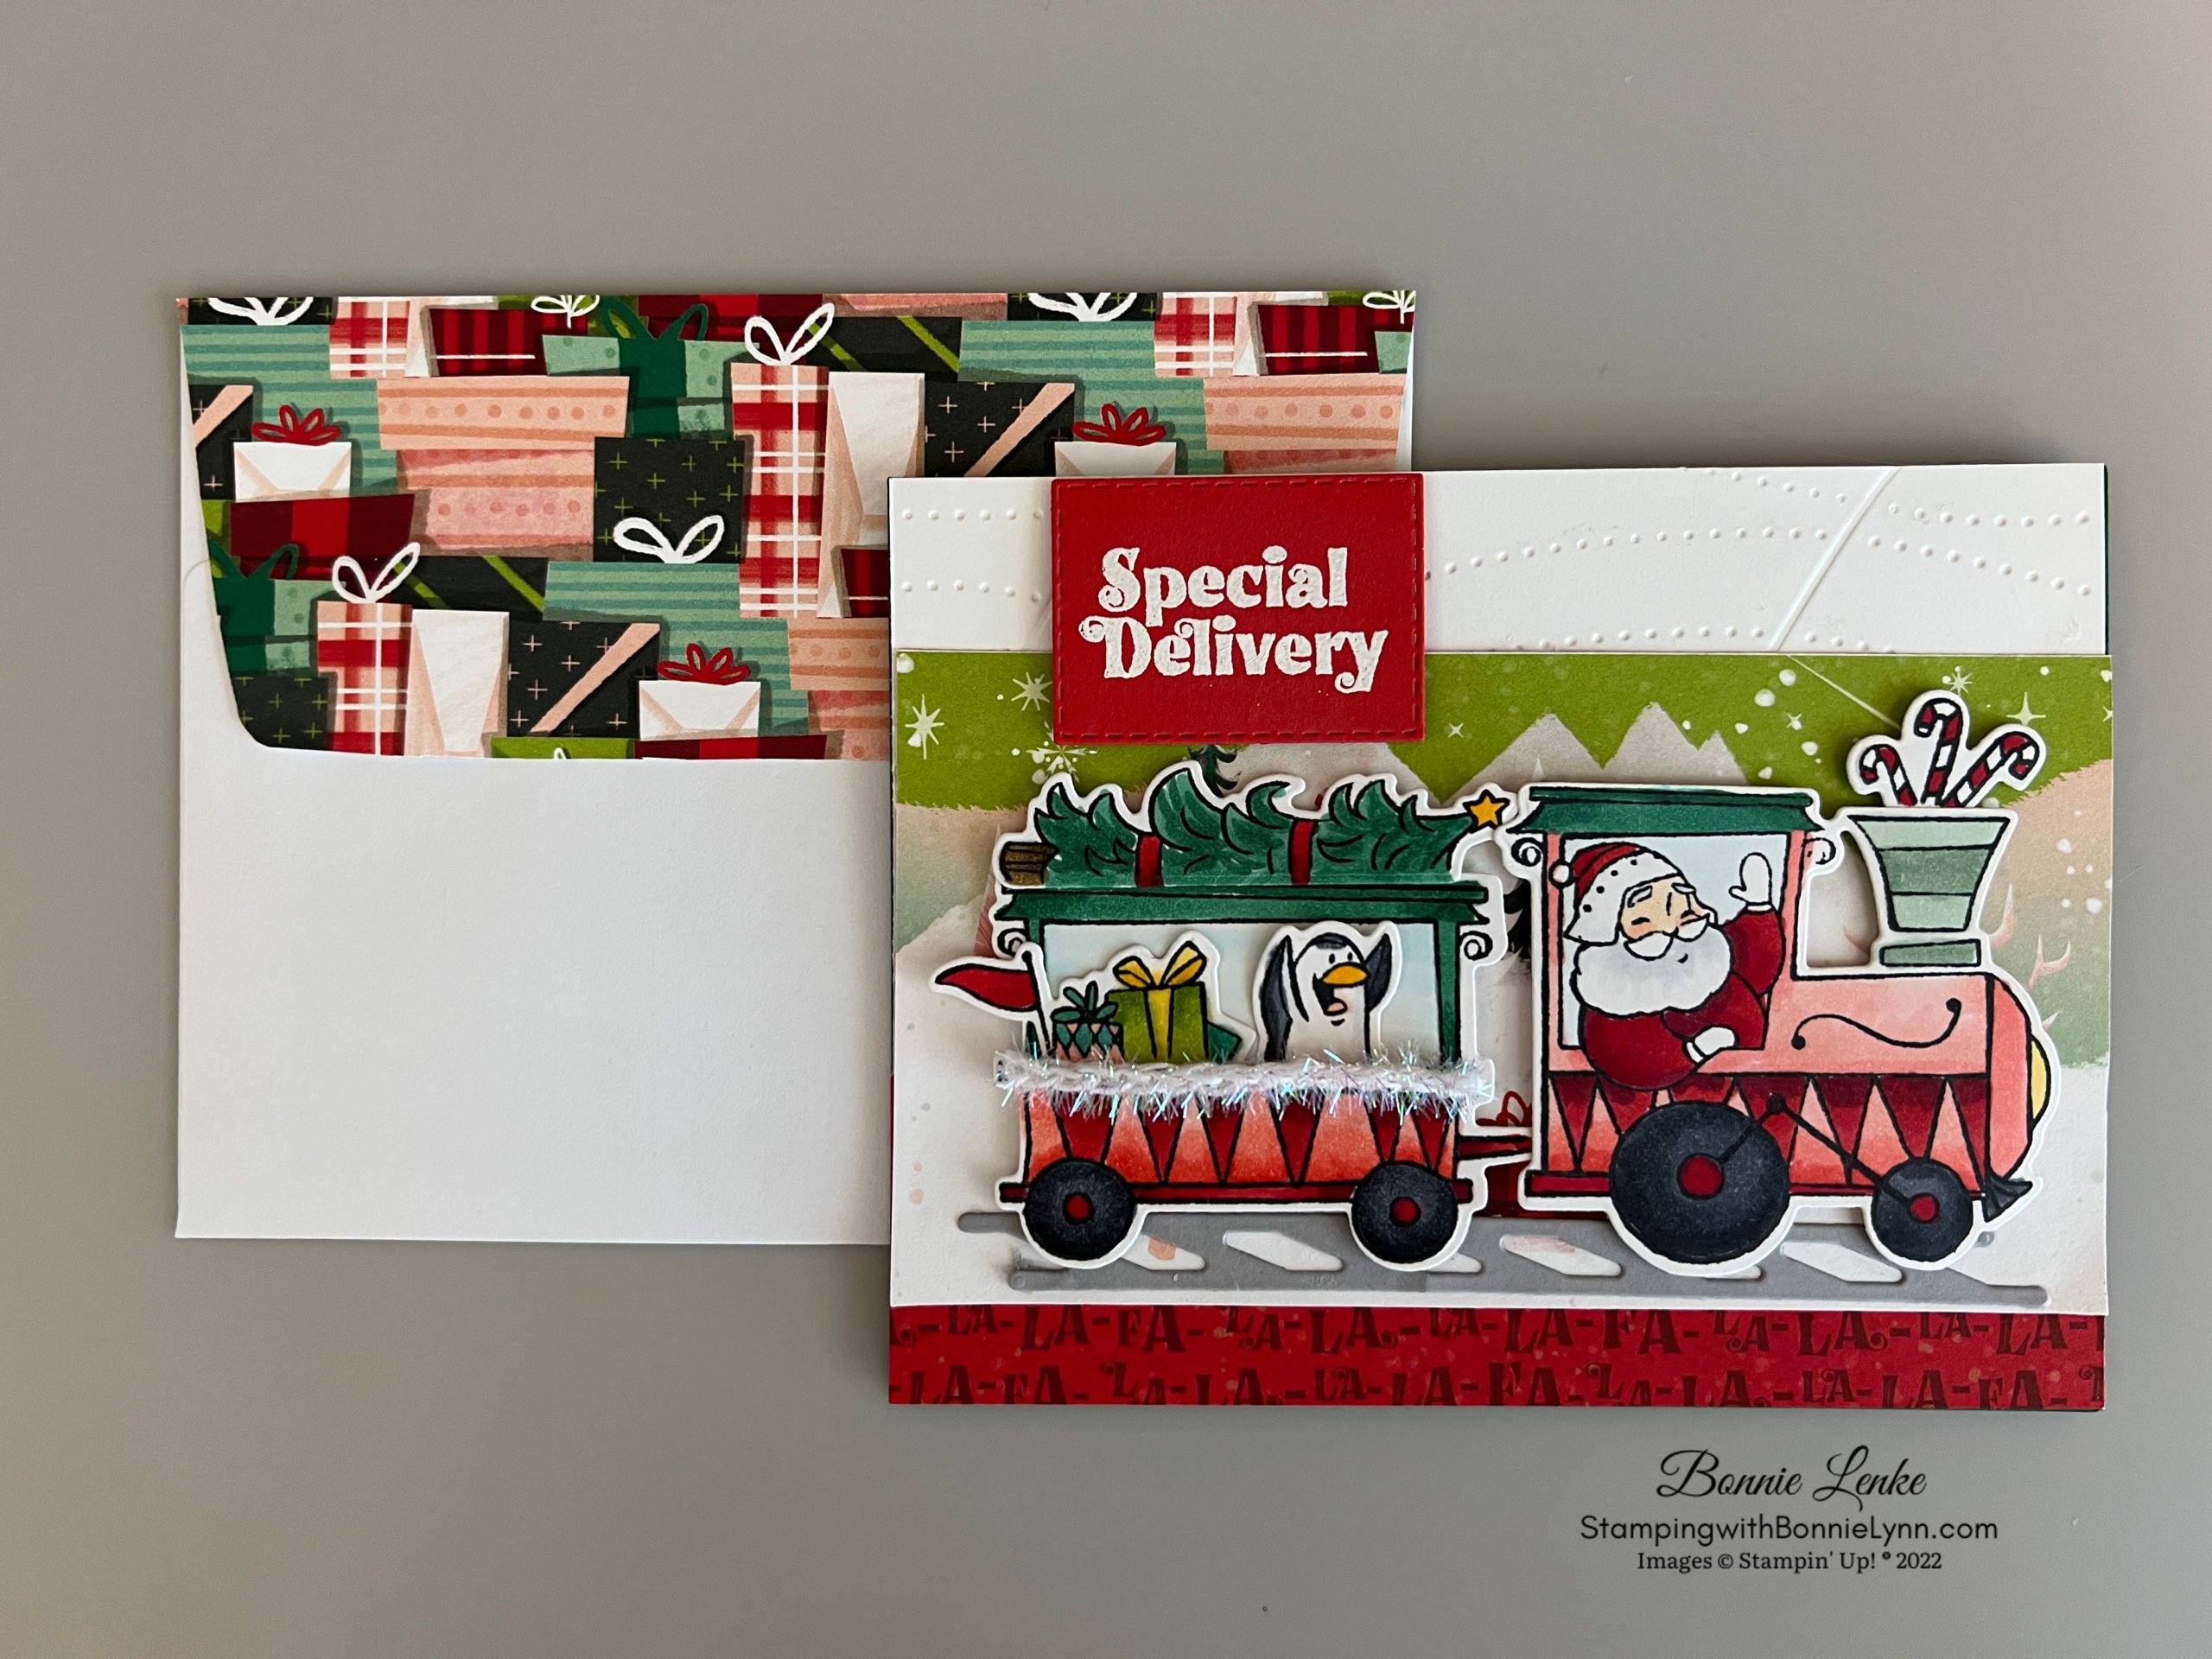
Christmas Everywhere Kit
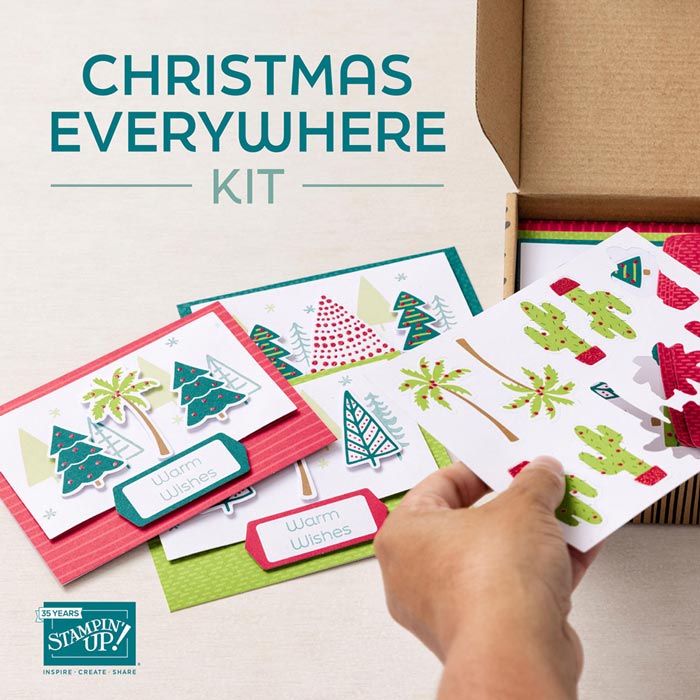
CHRISTMAS EVERYWHERE KIT
- Item #162422
- $21.00 USD
DETAILS
This kit includes:
- Enough supplies to create 9 cards—3 each of 3 designs
- 9 coordinating envelopes
- Christmas Everywhere photopolymer stamp set
- One Lost Lagoon Ink Spot
- Printed card bases, printed die-cut labels and images with red glitter, adhesive, and a clear block
- Finished card size: 5-1/2″ x 4-1/4″ (14 x 10.8 cm)
- Coordinating colors: Granny Apple Green, Lost Lagoon, Pecan Pie, Pretty Peacock, Real Red
ORDER KIT HERE
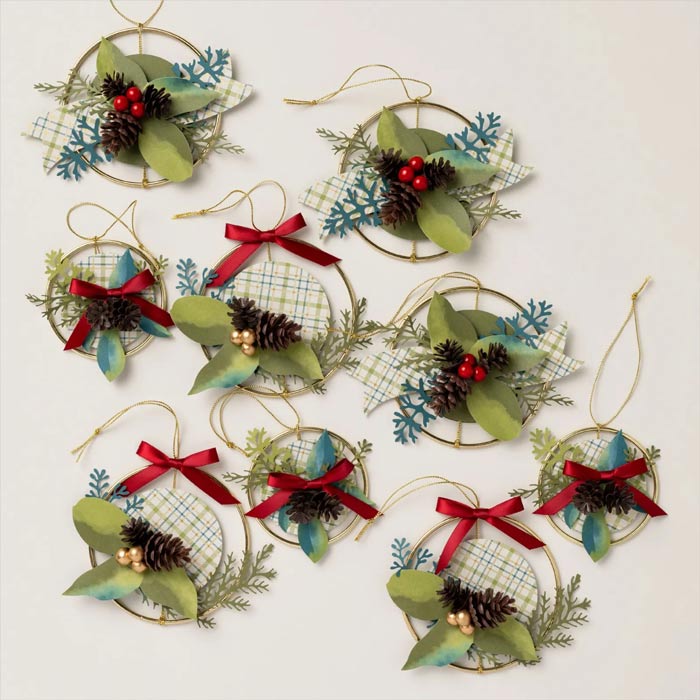
Check out this month’s Specials:
Click on an image for more information…
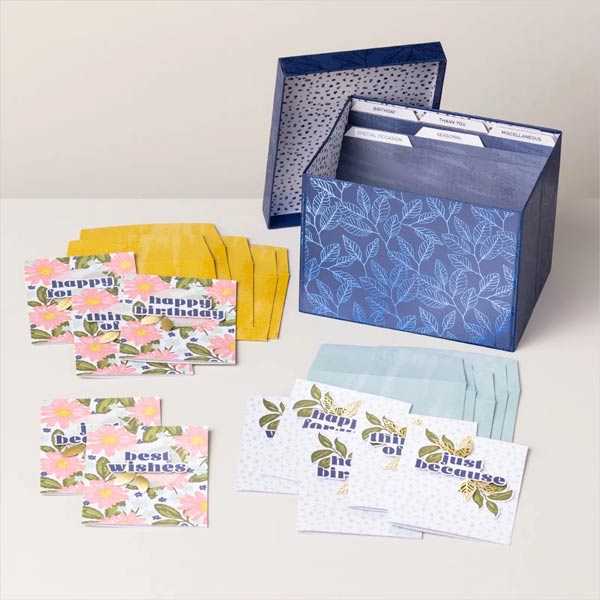
Card Keeper Kit