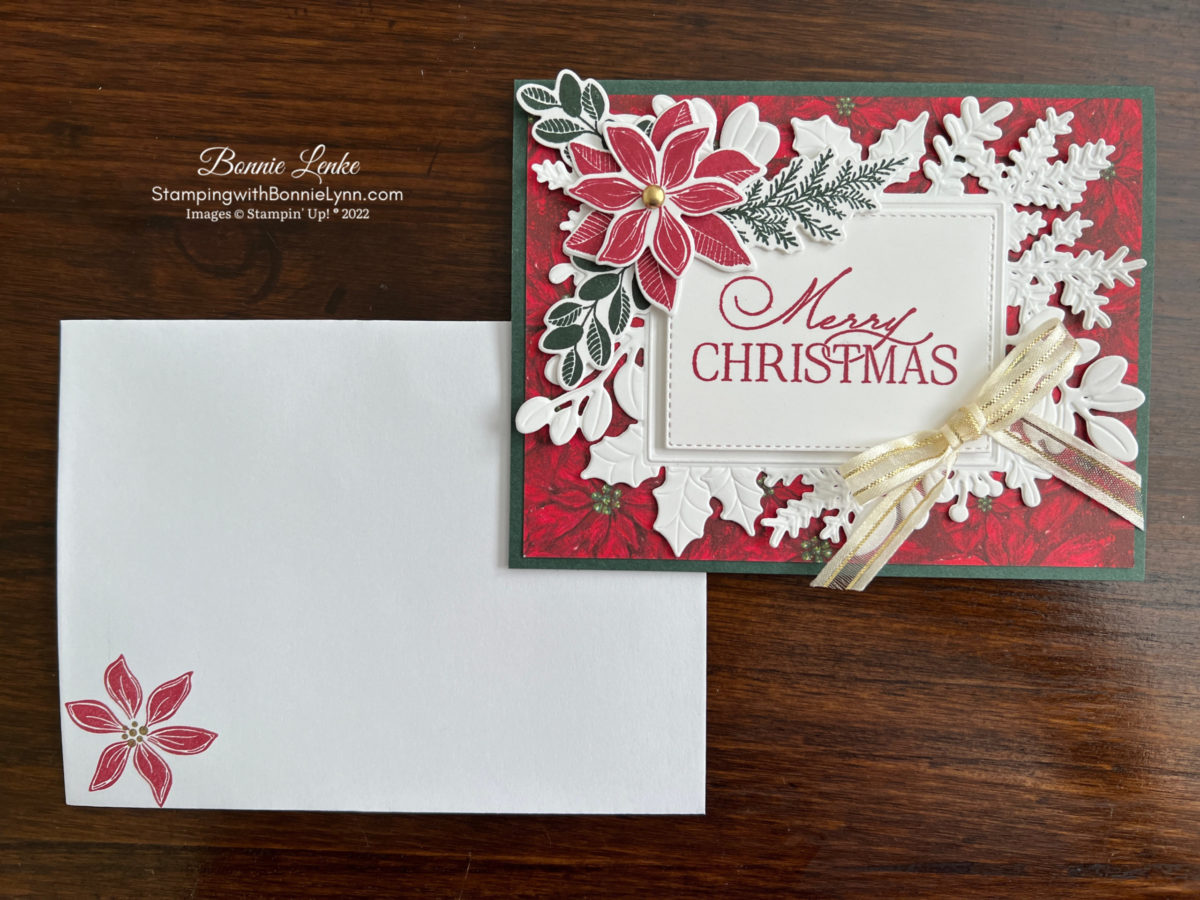
Merriest Moments Boughs of Holly Card
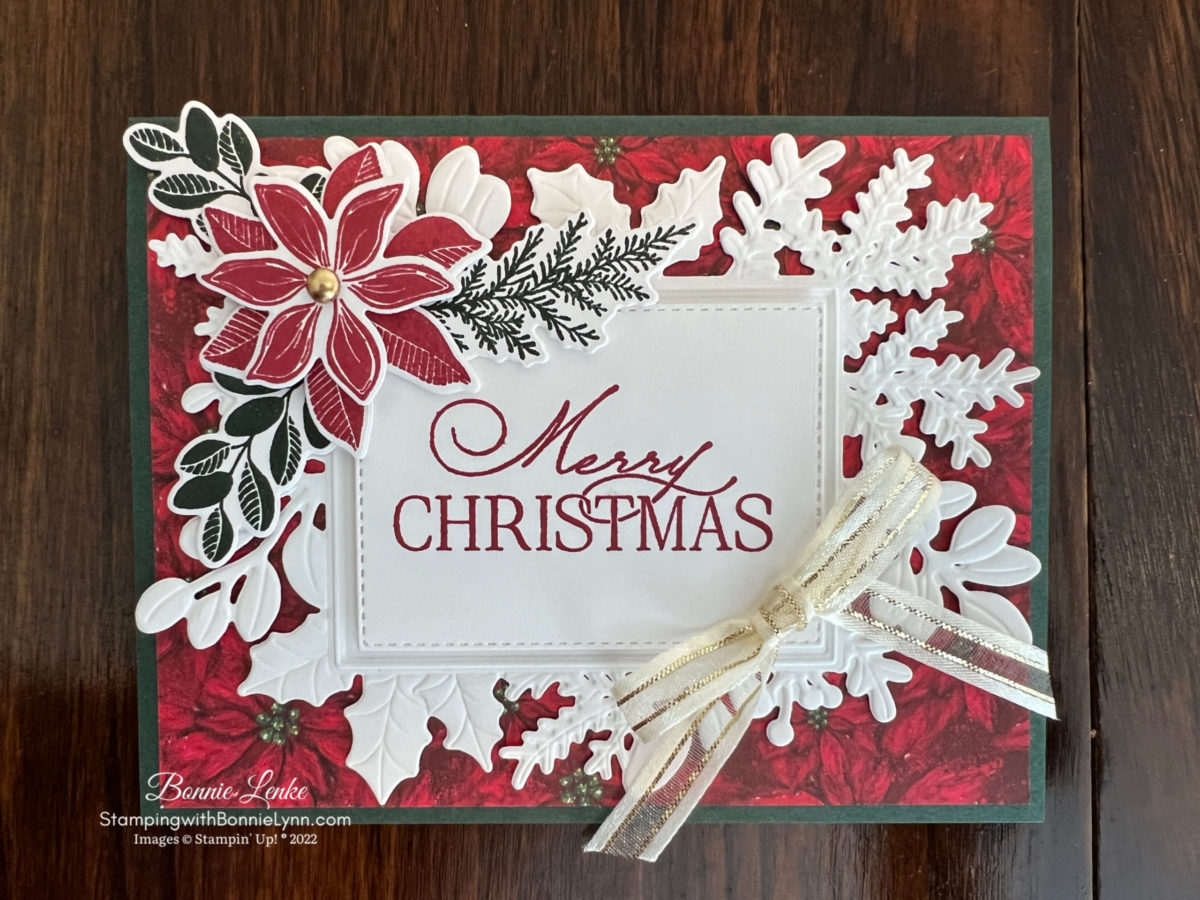
Stampin’ Up Merriest Moments stamp set along with the Merriest Frames Hybrid Embossing Folder are making a return from last years Holiday Catalog. I didn’t purchase it until a few weeks ago and I’m so glad I did. This set makes such beautiful cards. The Boughs of Holly Designer Series Paper matches nicely with this set.
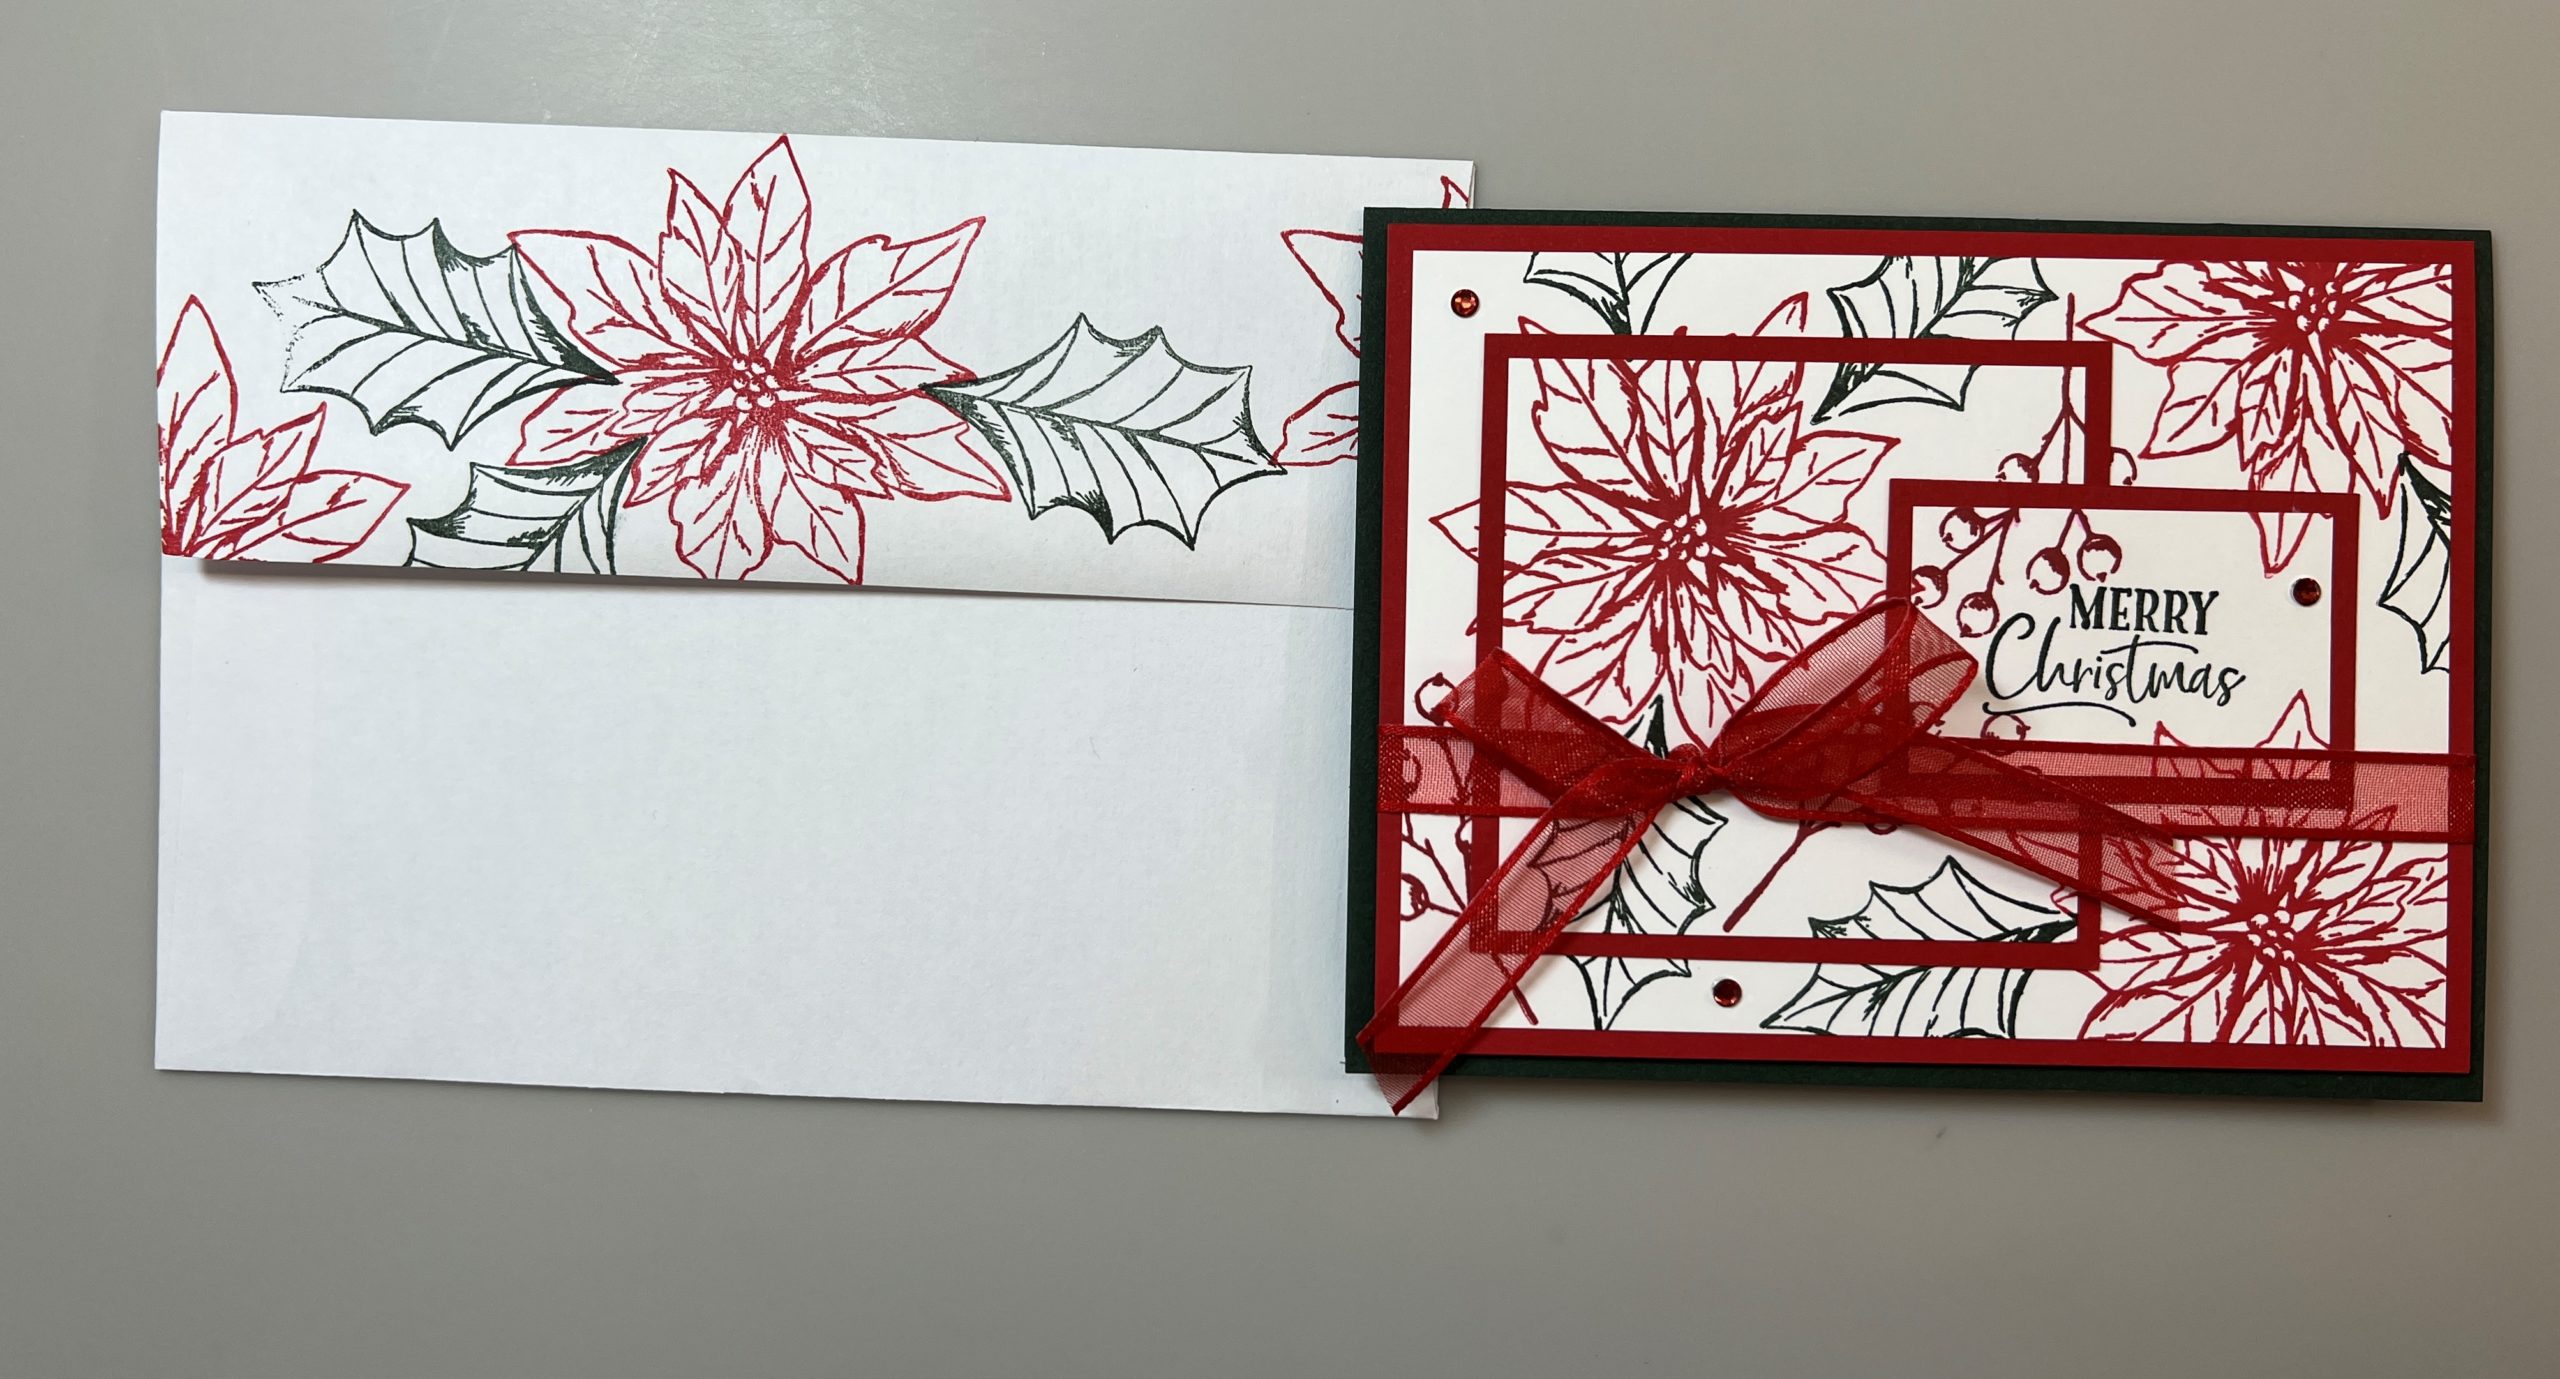
Using just the stamps for a card will make a lovely one and if you use the masking technique you’ll be able to have the leaves under the poinsettia. The Dies/Hybrid Embossing Folder is sold separately from the stamps and are well worth the price.
There are so many different combinations with the dies/Embossing Folder and over the rest of the Fall until we celebrate Christmas I plan on sharing some of those different combinations with you. I look forward to discovering with you what I come up with. I hope you enjoy this card as much as I enjoyed making it.
Let’s Get Started
- Cut your card base 5-1/2” x 8-1/2” and score on the long side at 4-1/4”. Cut the rest of your cardstock and designer series paper (DSP) according to the sizes listed below under “Cardstock”.
- Fold you Evening Evergreen Card Base in half on the score line and burnish with Bone Folder.
- Adhere the Boughs of Holly DSP to the card front.
- Using the large detailed die cut out the white cardstock panel. Line the cut out piece up with the design in the corresponding Hybrid Embossing Folder and run through the Cut & Emboss machine. Add adhesive to the underneath side of the center rectangle and adhere to card front.
- Stamp the Greeting from the Brightest Glow Stamp Set in Cherry Cobbler Ink and cut out with the rectangle die from the Merriest Frames Dies. Add to card front with Dimensional’s.
- Use the Evening Evergreen Ink and stamp the bough 2 times and the large pine needles onto the white cardstock. Stamp each of the 2 larger poinsettia’s in Cherry Cobbler Ink. Die cut each item with the coordinating dies.
- Add the large poinsettia first with one dimensional, offset from the center so the dimensional doesn’t sit on the greeting. The little poinsettia is added with a dimensional. The greenery is attached with Glue Dots. The center of Poinsettia is finished with a Brushed Metallic Adhesive-Backed Dot.
- Gold Satin Edge Ribbon was tied into a bow and adhered with a Glue Dot.
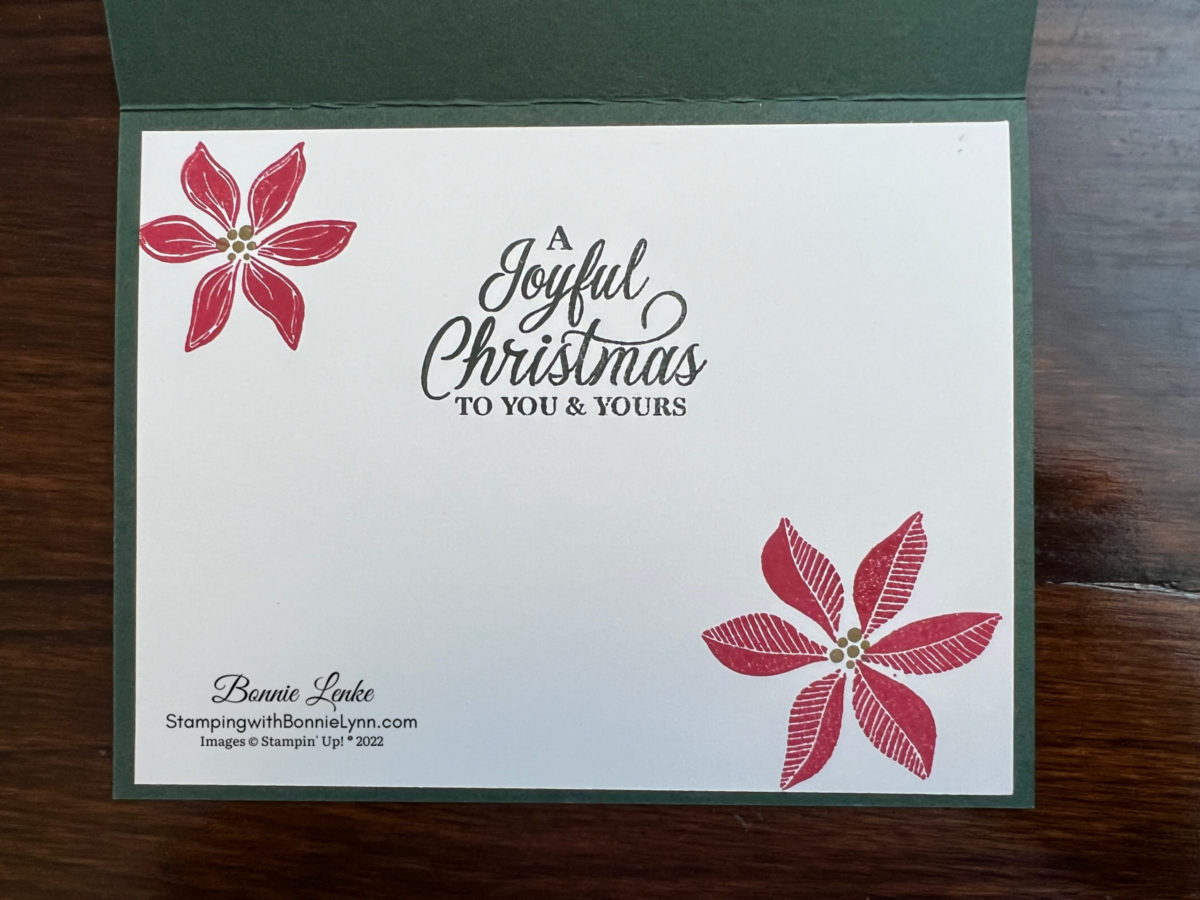
- The inside of card was finished with the saying stamped in Evening Evergreen Ink. The Poinsettias were stamped in Cherry Cobbler Ink.
- Finish the Envelop with a Poinsettia stamped in Cherry Cobbler Ink on the lower left side. On the envelope flap either stamp more poinsettias or add Boughs of Holly Designer Series Paper to it.

And now you have a beautiful card to brighten someones Christmas Season.
Happy Stamping!
Card Recipe
Cardstock:
- Evening Evergreen: 5-1/2”x 8-1/2” scored at 4-1/4”
- Basic White: 4-1/4” x 5-1/2” (cut detailed frame), 3-1/4” x 2-1/2” greeting, 4” x 5” for stamping, 4” x 5-1/4” inside.
- Boughs of Holly Designer Series Paper: 4” x 5-1/4”
Supplies Used:
- Stamps: Merriest Moments, Brightest Glow
- Dies: Merriest Frames Hybrid Embossing Folder
- Cardstock/Paper: Evening Evergreen, Basic White, Boughs of Holly DSP
- Stampin Pads: Cherry Cobbler, Evening Evergreen
- Embellishments: Brushed Metallic Adhesive-Backed Dots, Gold Satin Edge Ribbon
- Adhesives: Dimensionals, Glue Dots, Liquid Glue, Tear N Tape, Stampin Seal
- Tools: Paper Trimmer, Cut & Emboss Machine, Stamparatus, Clear Blocks, Take Your Pick, Bone Folder, Stampin Pierce Mat, Paper Snip Scissors
Earn Reward Points quickly for a $25 Credit
When placing an order please use the current Host Code* and earn REWARD POINTS. Once you earn 10 reward points you will receive a $25 shopping credit from me. CLICK HERE for more details.
*NEWEST HOST CODE is always located on the right side of webpage midway down.