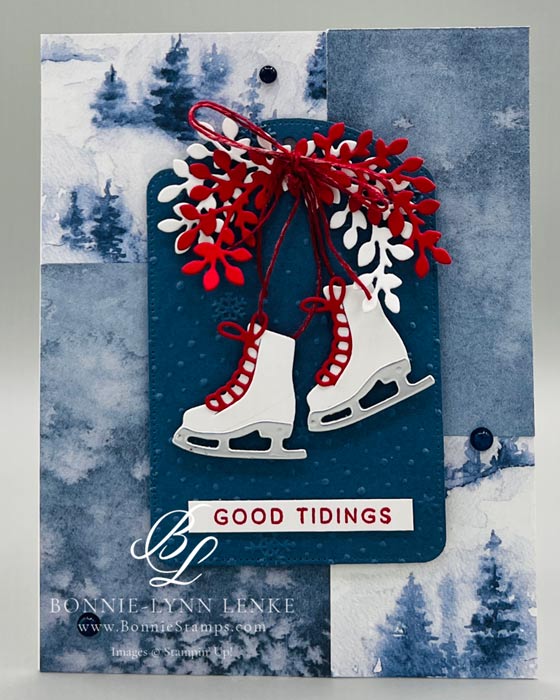
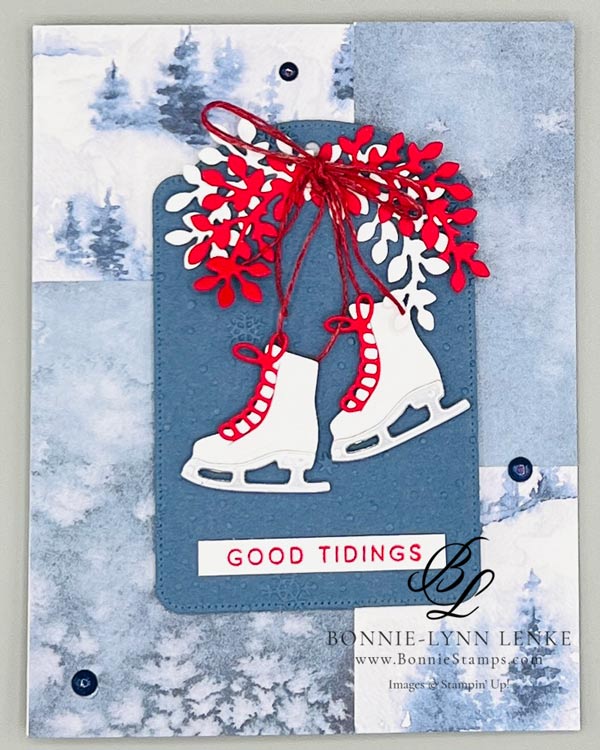
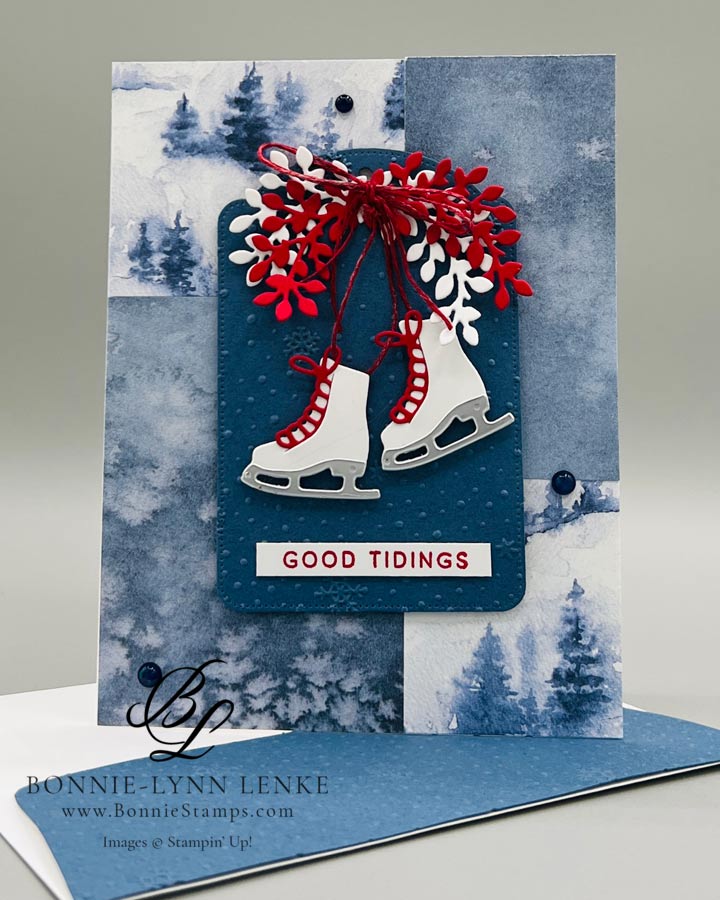
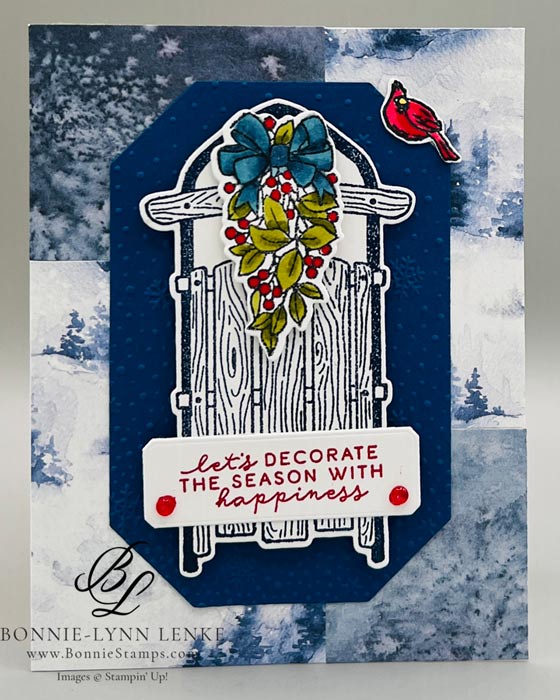
The Sophisticated Sled bundle is fun to use and makes beautiful cards. In the video, I will demonstrate how to make the Good Tidings Skate card and tell you how I made the sled card. The supply list includes all the items for both cards. The Sophisticated Sled bundle is an Online Exclusive. Happy Stamping!
Card Directions
- Cut and score all cardstock and papers as listed under Cutting Directions below.
- Fold the Basic White Thick Card Base in half on the score line, and burnish it with a Bone Folder.
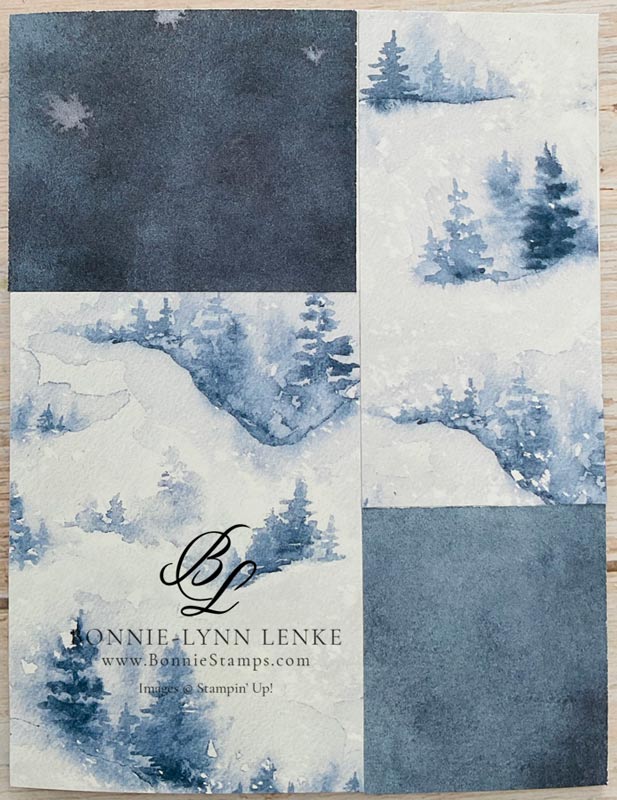
- Cut 2 4-1/4” x 5-1/2” panels from the Winter Meadows Designer Series Paper. On the short side, cut each one at 2-1/2”, and on the long side, cut at 2”.
- From the tree DSP, adhere the 2-1/2” x 3-1/2” panel to the bottom left-hand corner. Adhere the 1-3/4” x 3-1/2” panel to the top right-hand corner. Now adhere the blue DSP’s 2-1/2” x 2” panel to the upper left-hand corner and the 1-3/4” x 2” panel to the bottom right-hand corner.
- Take a length of Linen Thread, enough for a double bow and a piece to join skates to the bow, and color it with a dark Real Red or Dark Cherry Cobbler Stampin’ Blend. Set aside to dry.
- Die cut the 2-3/4” x 4” panel of Misty Moonlight Cardstock with the largest Greetings of The Seasons dies. Emboss with the Snowflake Sky 3D Embossing Folder and adhere to the card front with Stampin’ Dimensionals.
- From both Real Red and Basic White Cardstock, die-cut the detailed swag and join them together offset with a Glue Dot. Add to the card front with another Glue Dot.
- Die-cut the skates from White Cardstock, the ties from Real Red Cardstock, and the blades from Silver Foil that is backed with the Adhesive Sheet. Remove the backing from the blades and set it in place on the skates. Slip the ties into the slit on the skates, then place 3 Mini-Dimensionals onto the back of each skate, making sure one of them covers the tie and skate. String the Linen Thread you colored through the top tie on each skate, tie a knot in the end, and adhere to the middle of the swag with a Glue Dot.
- Stamp the greeting in Real Red Ink on a 2” x 1/4” Basic White Cardstock strip, then adhere to the card front with Glue Dots.
- Take two lengths of the Linen thread you colored, tie them together into a bow, and adhere them to the middle of the swag.
- Embellish with Opal Rounds Assortment Embellishments.
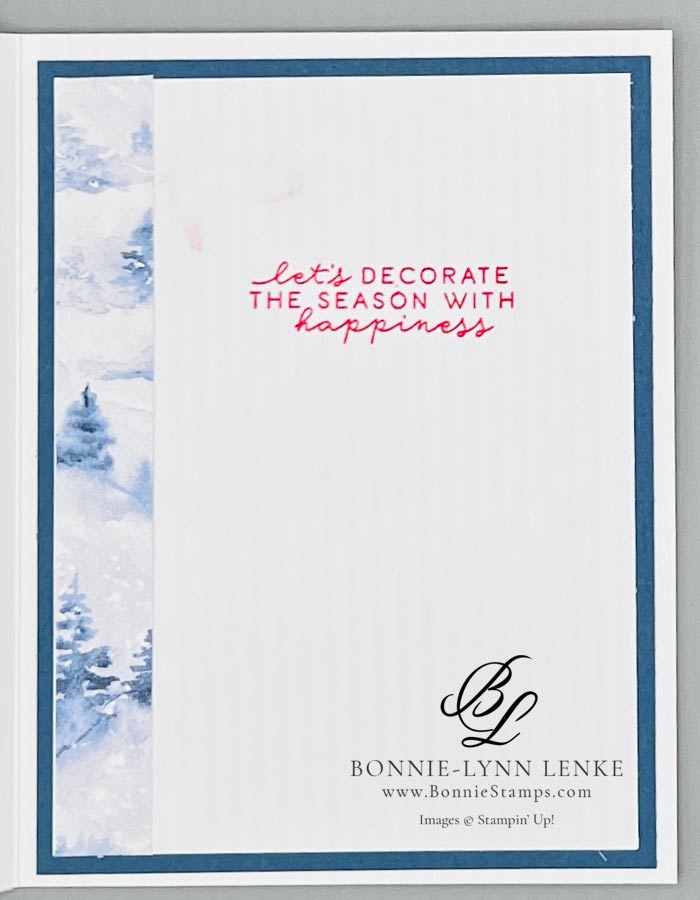
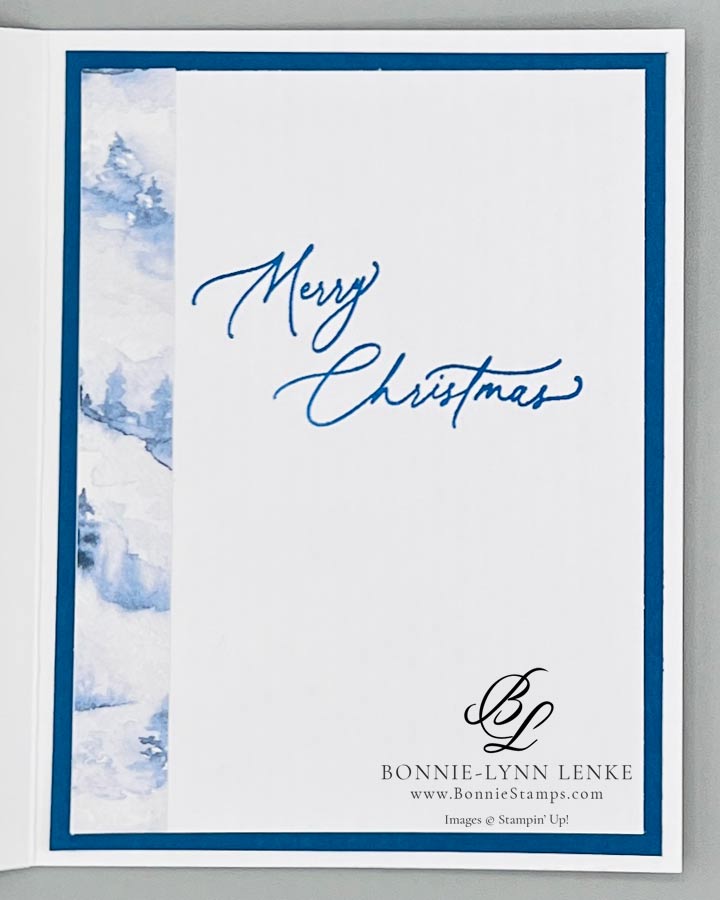
- For the inside, add a 5/8” x 5” strip of Winter Meadows Designer Series Paper to the left-hand side of a 3-3/4” x 5” panel of Basic White Cardstock. Now stamp the sentiment in Real Red Ink (be neater than I was) on the panel and adhere to the 4” x 5-1/4” panel of Misty Moonlight Cardstock. Adhere to the inside of the card.
- The envelope was completed by embossing a 6” x 2-1/2” panel of Misty Moonlight, trimming off the excess.
Card Recipe
Cutting Directions:
- Basic White Thick: 8-1/2” x 5-1/2”, scored at 4-1/4” (card base)
- Basic White: 2” x 1/4” (greeting), Scapes for die-cutting, 3-3/4” x 5” (inside)
- Misty Moonlight: OL2-3/4” x 4” (die-cut tag), 4” x 5-1/4” (inside)
- Winter Meadows Designer Series Paper: 2 4-1/4” x 5-1/2” (front)
Supplies Used:
- Tools: Paper Trimmer, Cut & Emboss Machine, Clear Blocks, Take Your Pick, Bone Folder, Stampin Pierce Mat, Paper Snip Scissors
- Stamps: Sophisticated Sled, Greetings of The Season (inside)
- Dies: Greetings of The Season, Sophisticated Sled
- Cardstock/Paper: Winter Meadows Designer Series Paper, Basic White Thick, Basic White, Blueberry Bushel, Real Red, Silver Foil
- Stampin Pads: Real Red, Blueberry Bushel, Night of Navy, Memento Black
- Stampin’ Blends: Old Olive, Misty Moonlight, Blueberry Bushel, Balmy Blue, Real Red, Cherry Cobbler, Daffodil Delight
- Embellishments: Opal Rounds Assortment
- Embossing Folder: Snowflake Sky 3D
- Adhesives: Dimensionals, Glue Dots, Stampin Seal, Liquid Glue, Tear & Tape, Adhesive Sheets
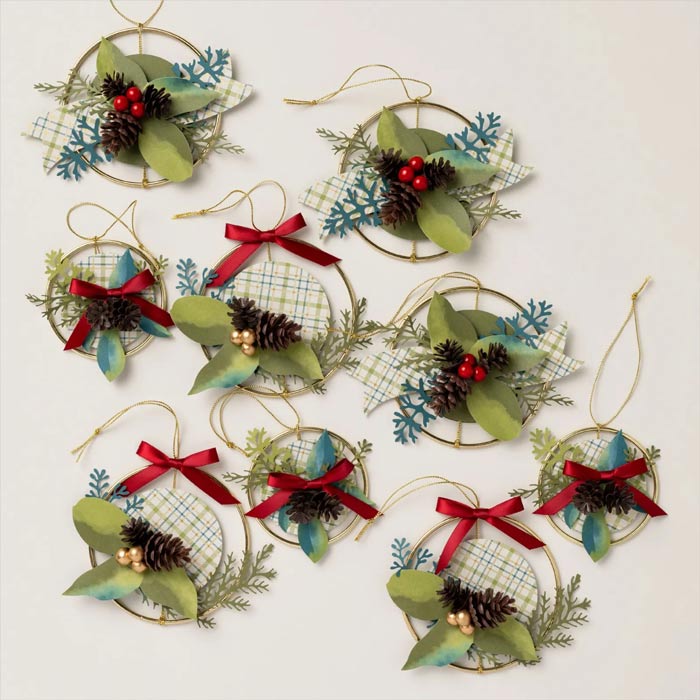
Check out this month’s Specials:
Click on an image for more information…
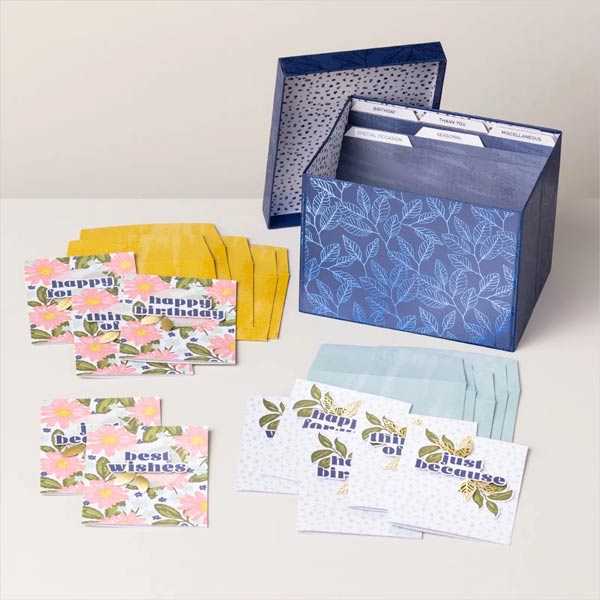
Card Keeper Kit