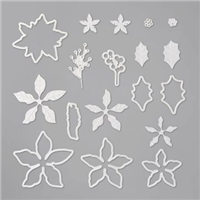
Poinsettia Petals Christmas Card
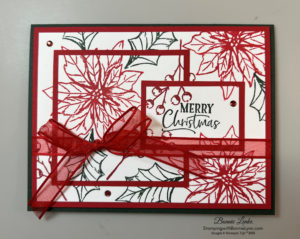
Yes I’m doing a Christmas Card in April, isn’t that Exciting. This was one of my Top 3 Christmas Stamp Sets for the last two Christmas Seasons and I just had to give it a shout out before it retires the end of this month. I decided to show case it and show you the Triple Time Stamping Technique at the same time. I learned this technique a number of years ago when I first started stamping and hadn’t done it for some time.
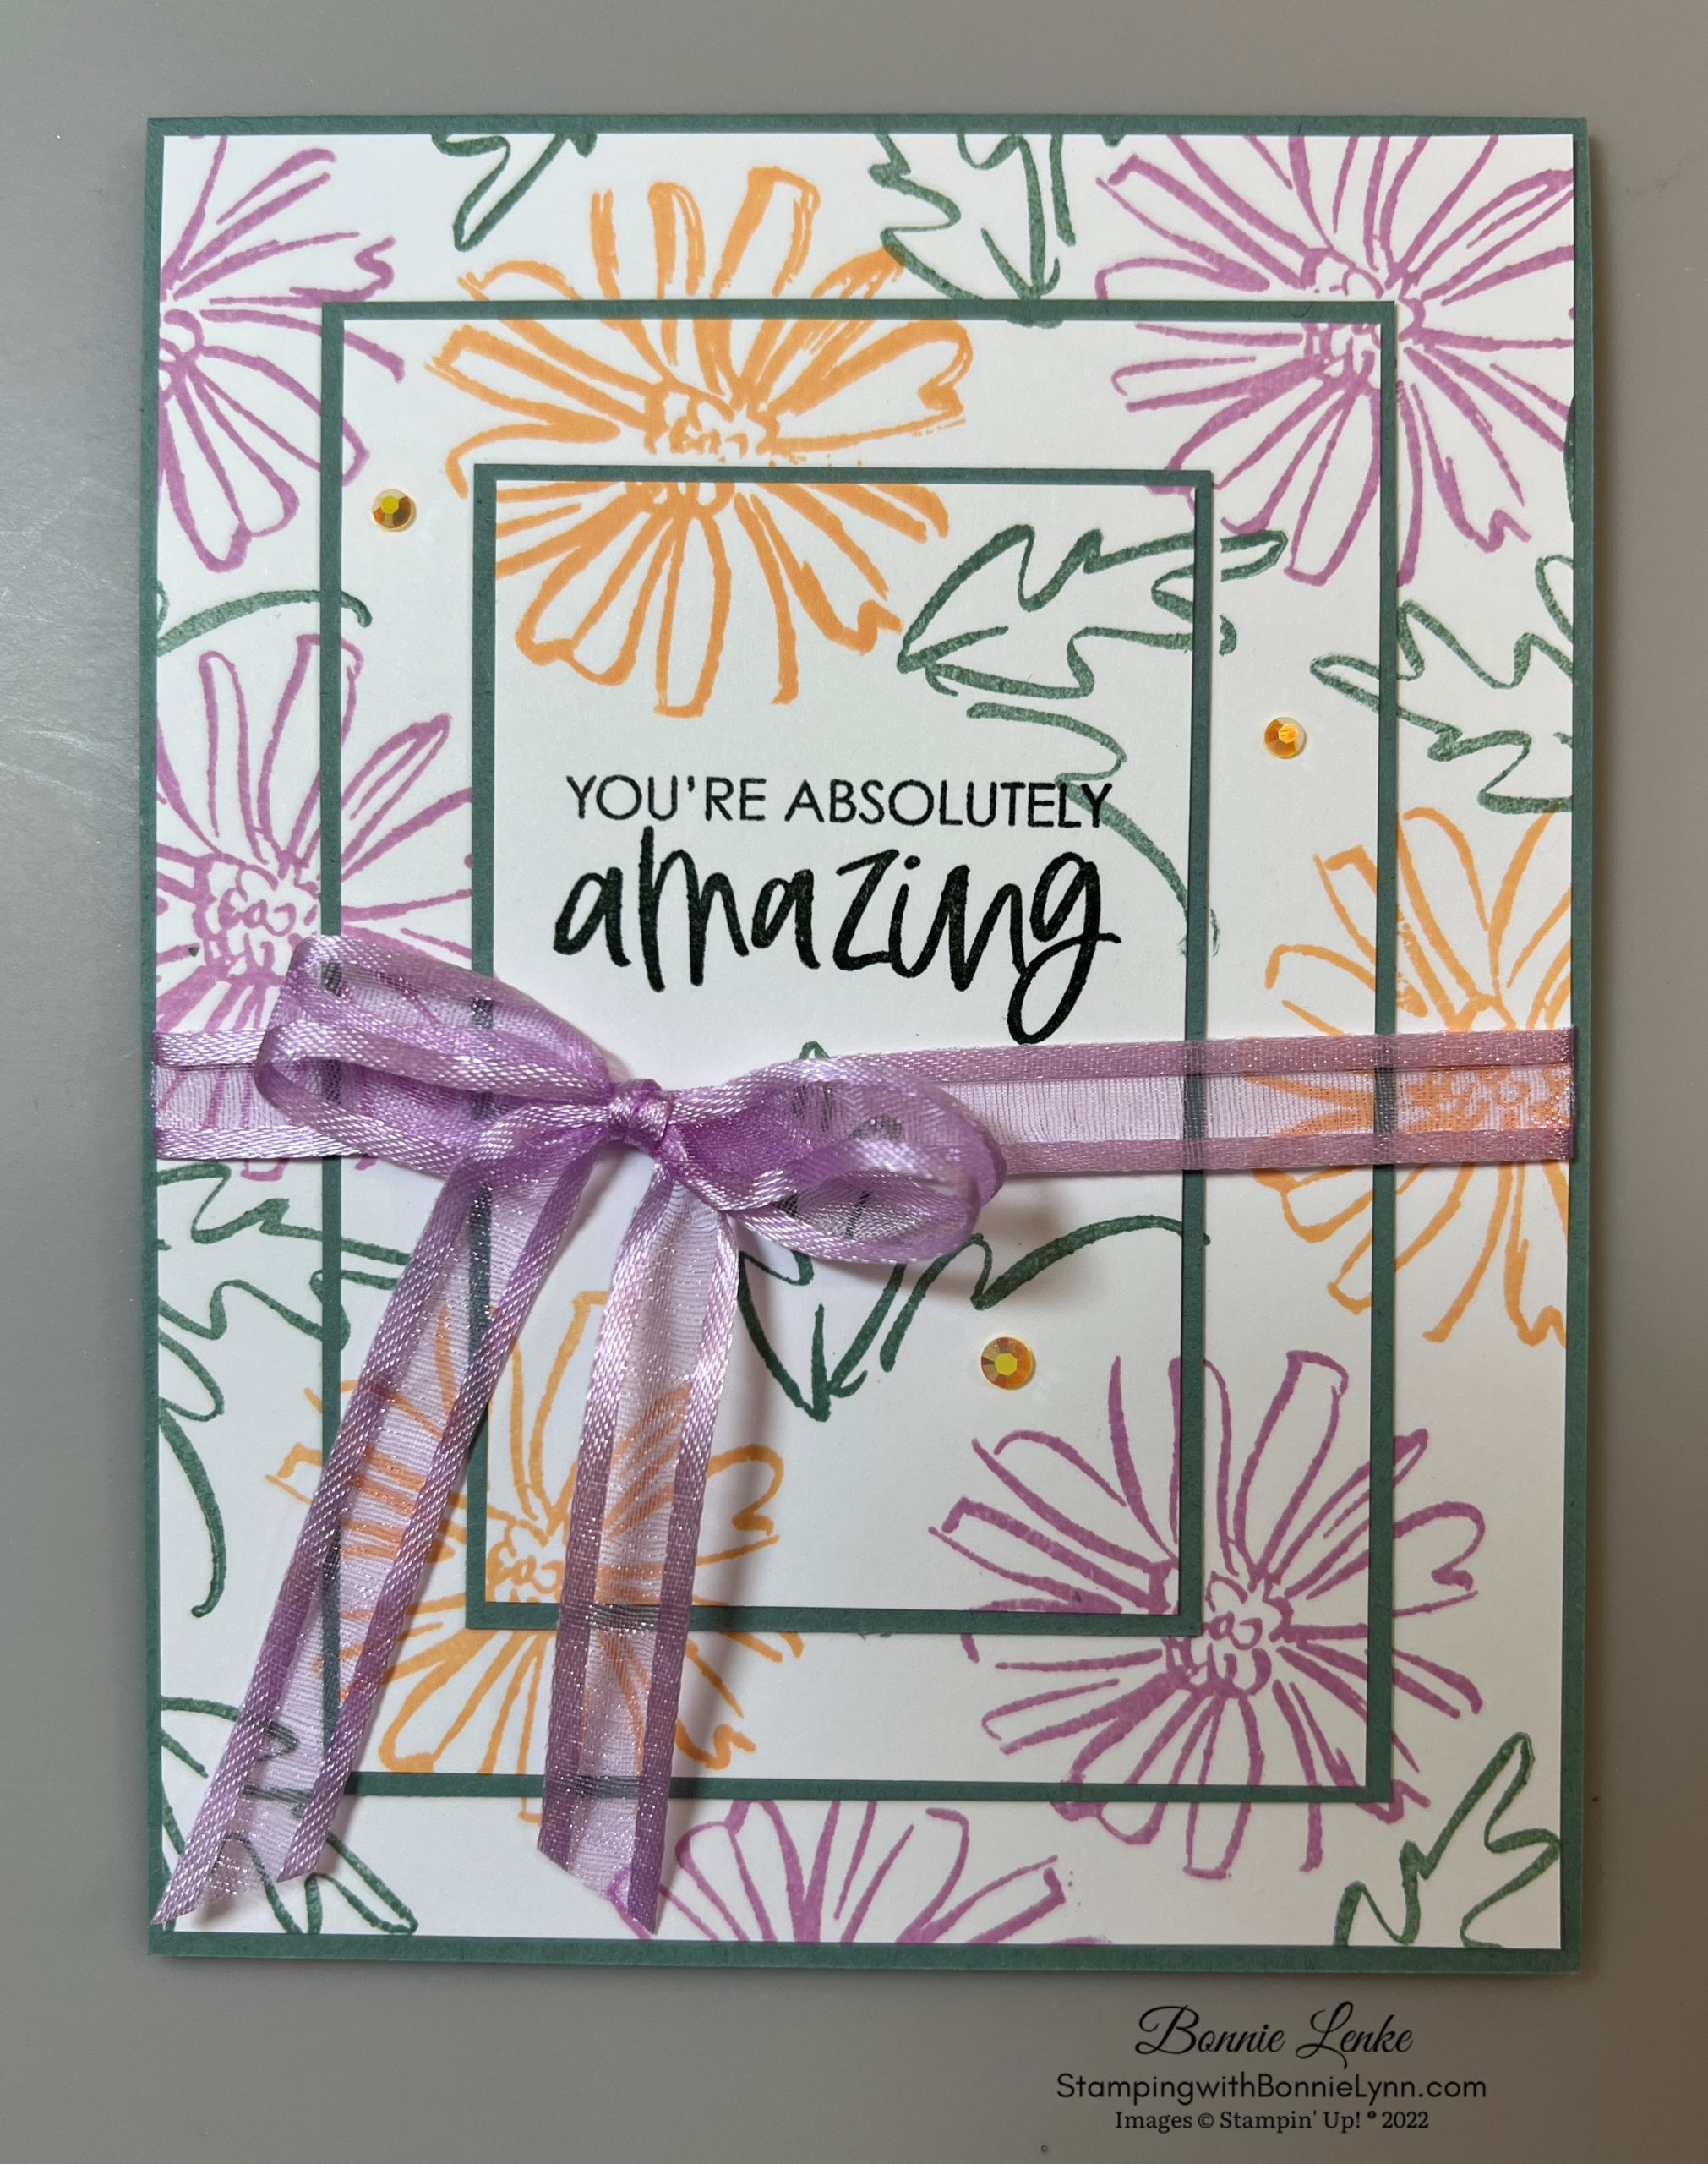
I love the looks of this technique. This is also a beautiful technique to do with a solid stamp. At the end of this post I’ll include a copy of other photo’s of two other cards I did with this technique, only a different lay out. I hope you enjoy this card and technique showcasing the Poinsettia Petals Stamp Set and Dies.
Let’s Get Started –
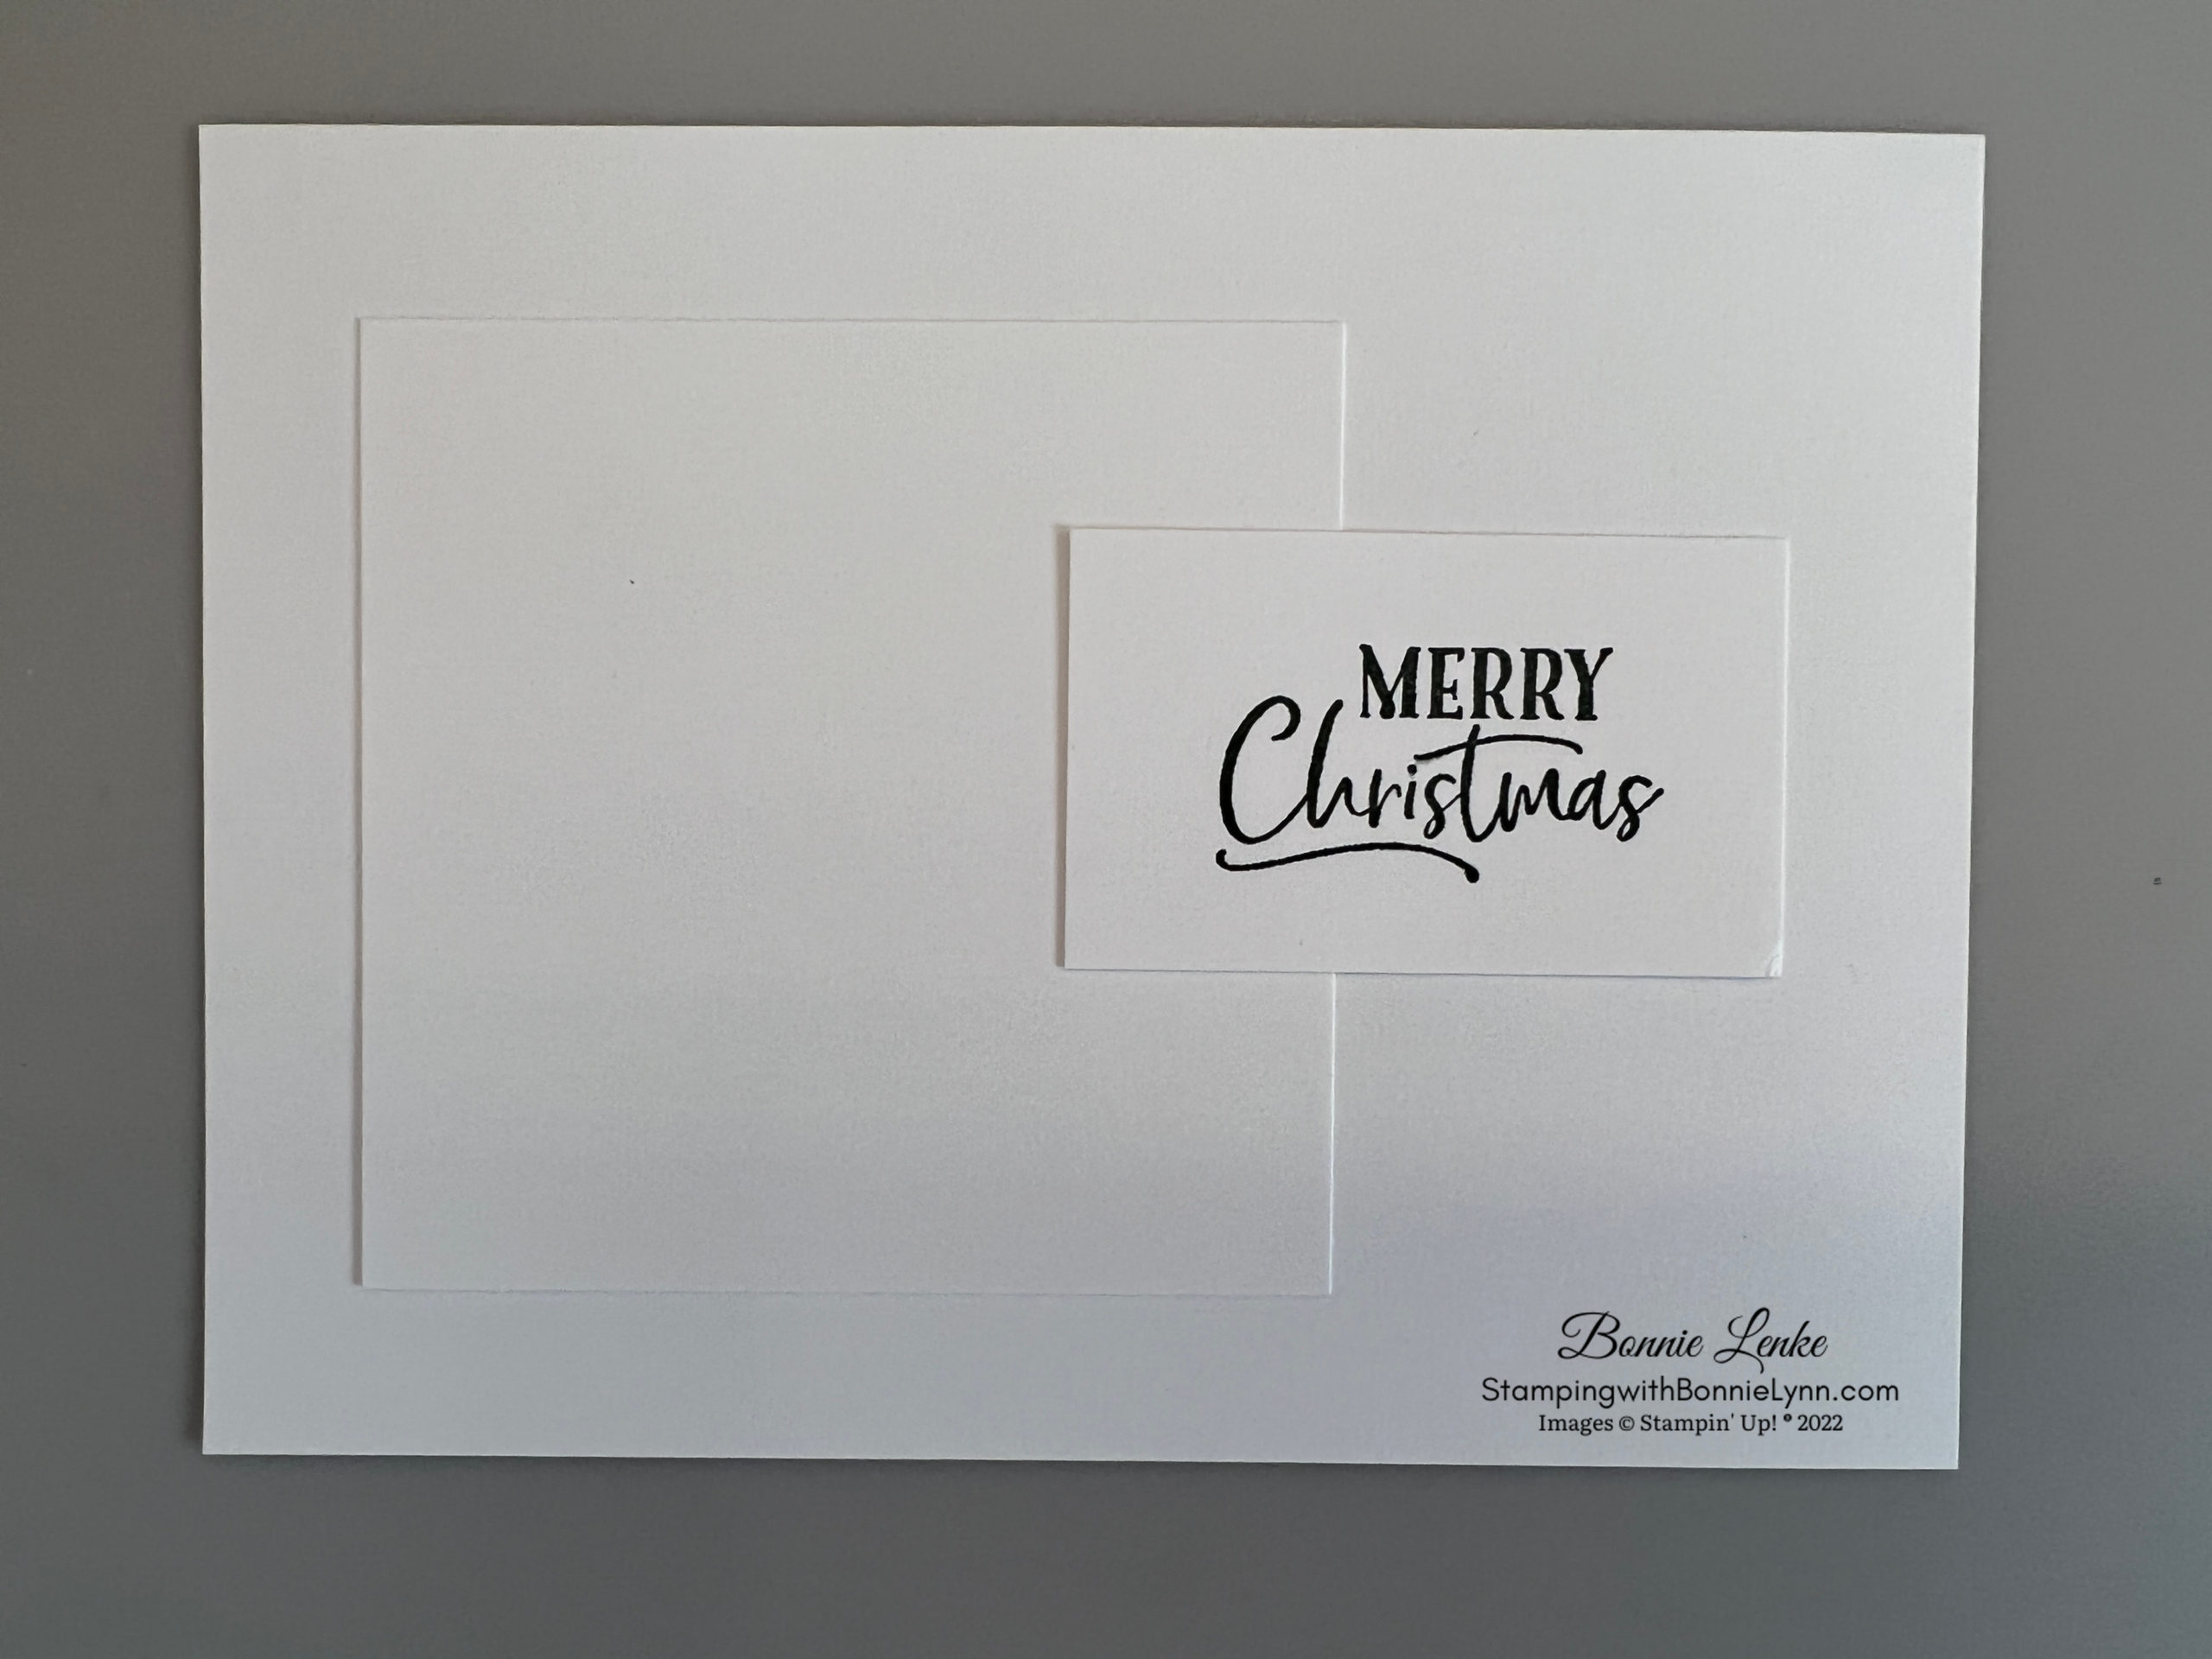
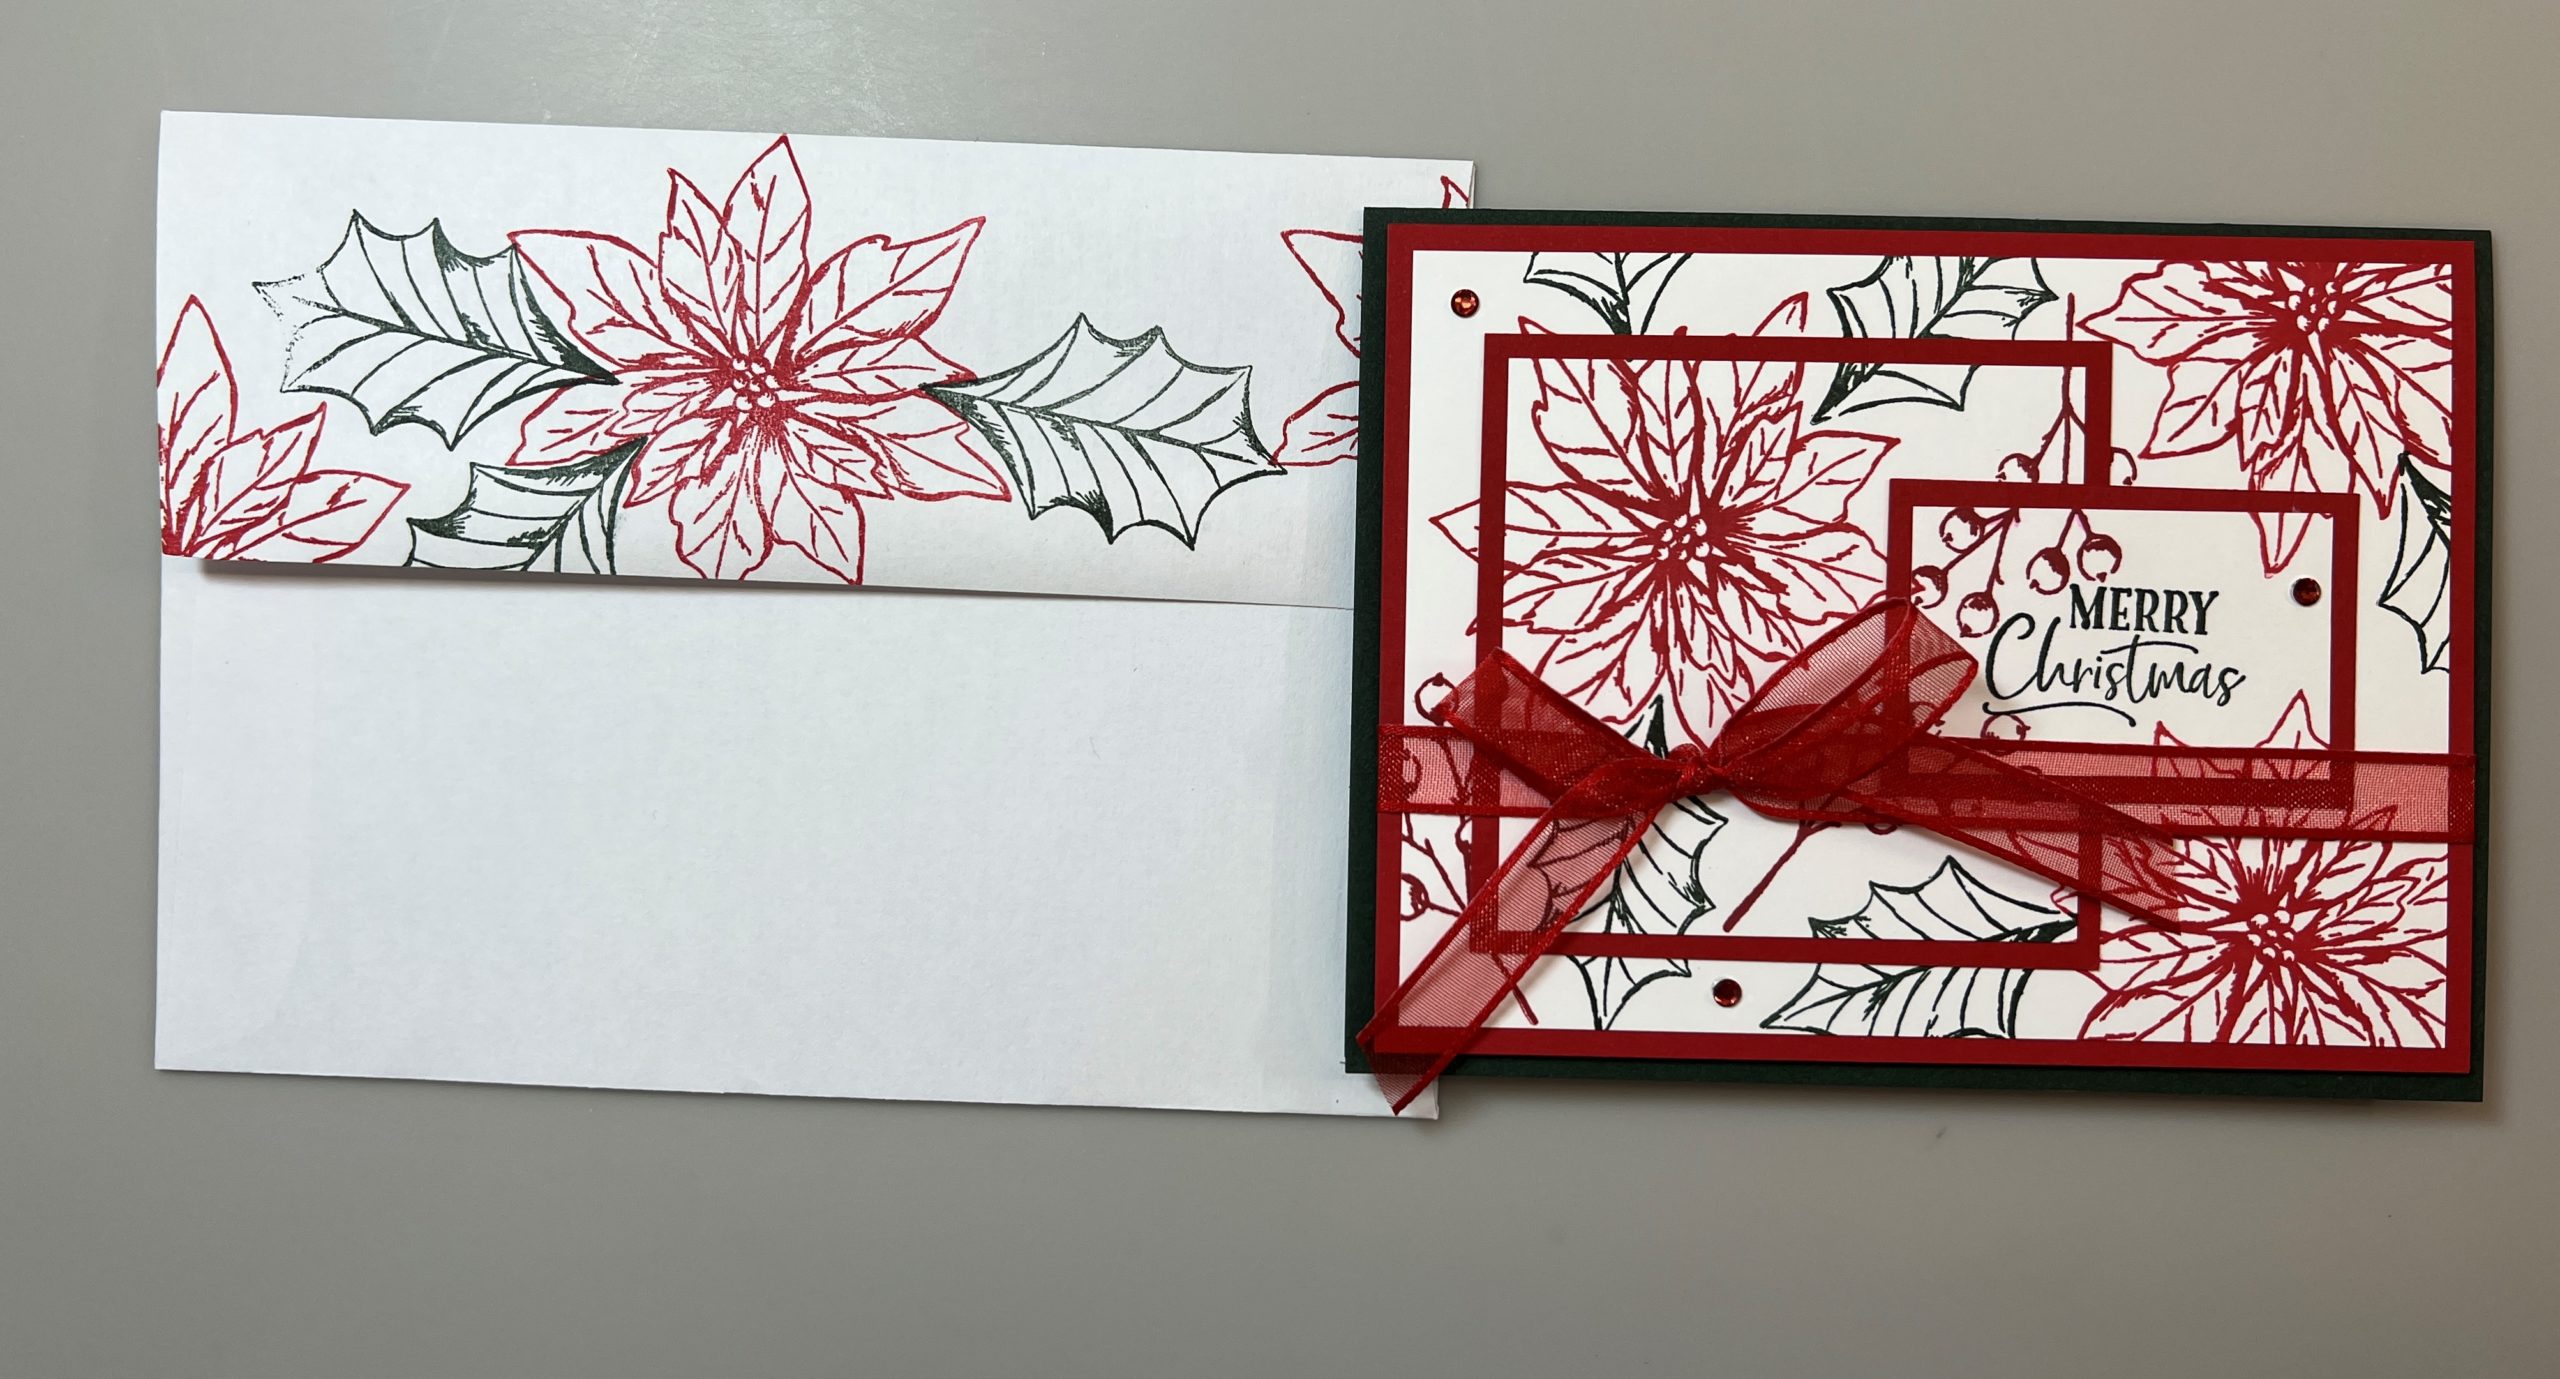
- Stamp your greeting on the 1-1/4” x 2” white card stock.
- Using double-sided repositionable/removable tape, tape the 3 layers of Basic White card stock together in the positions you want them in the final steps. (If you don’t have repositionable tape then use just one glue dot and be very careful when pulling the pieces apart).
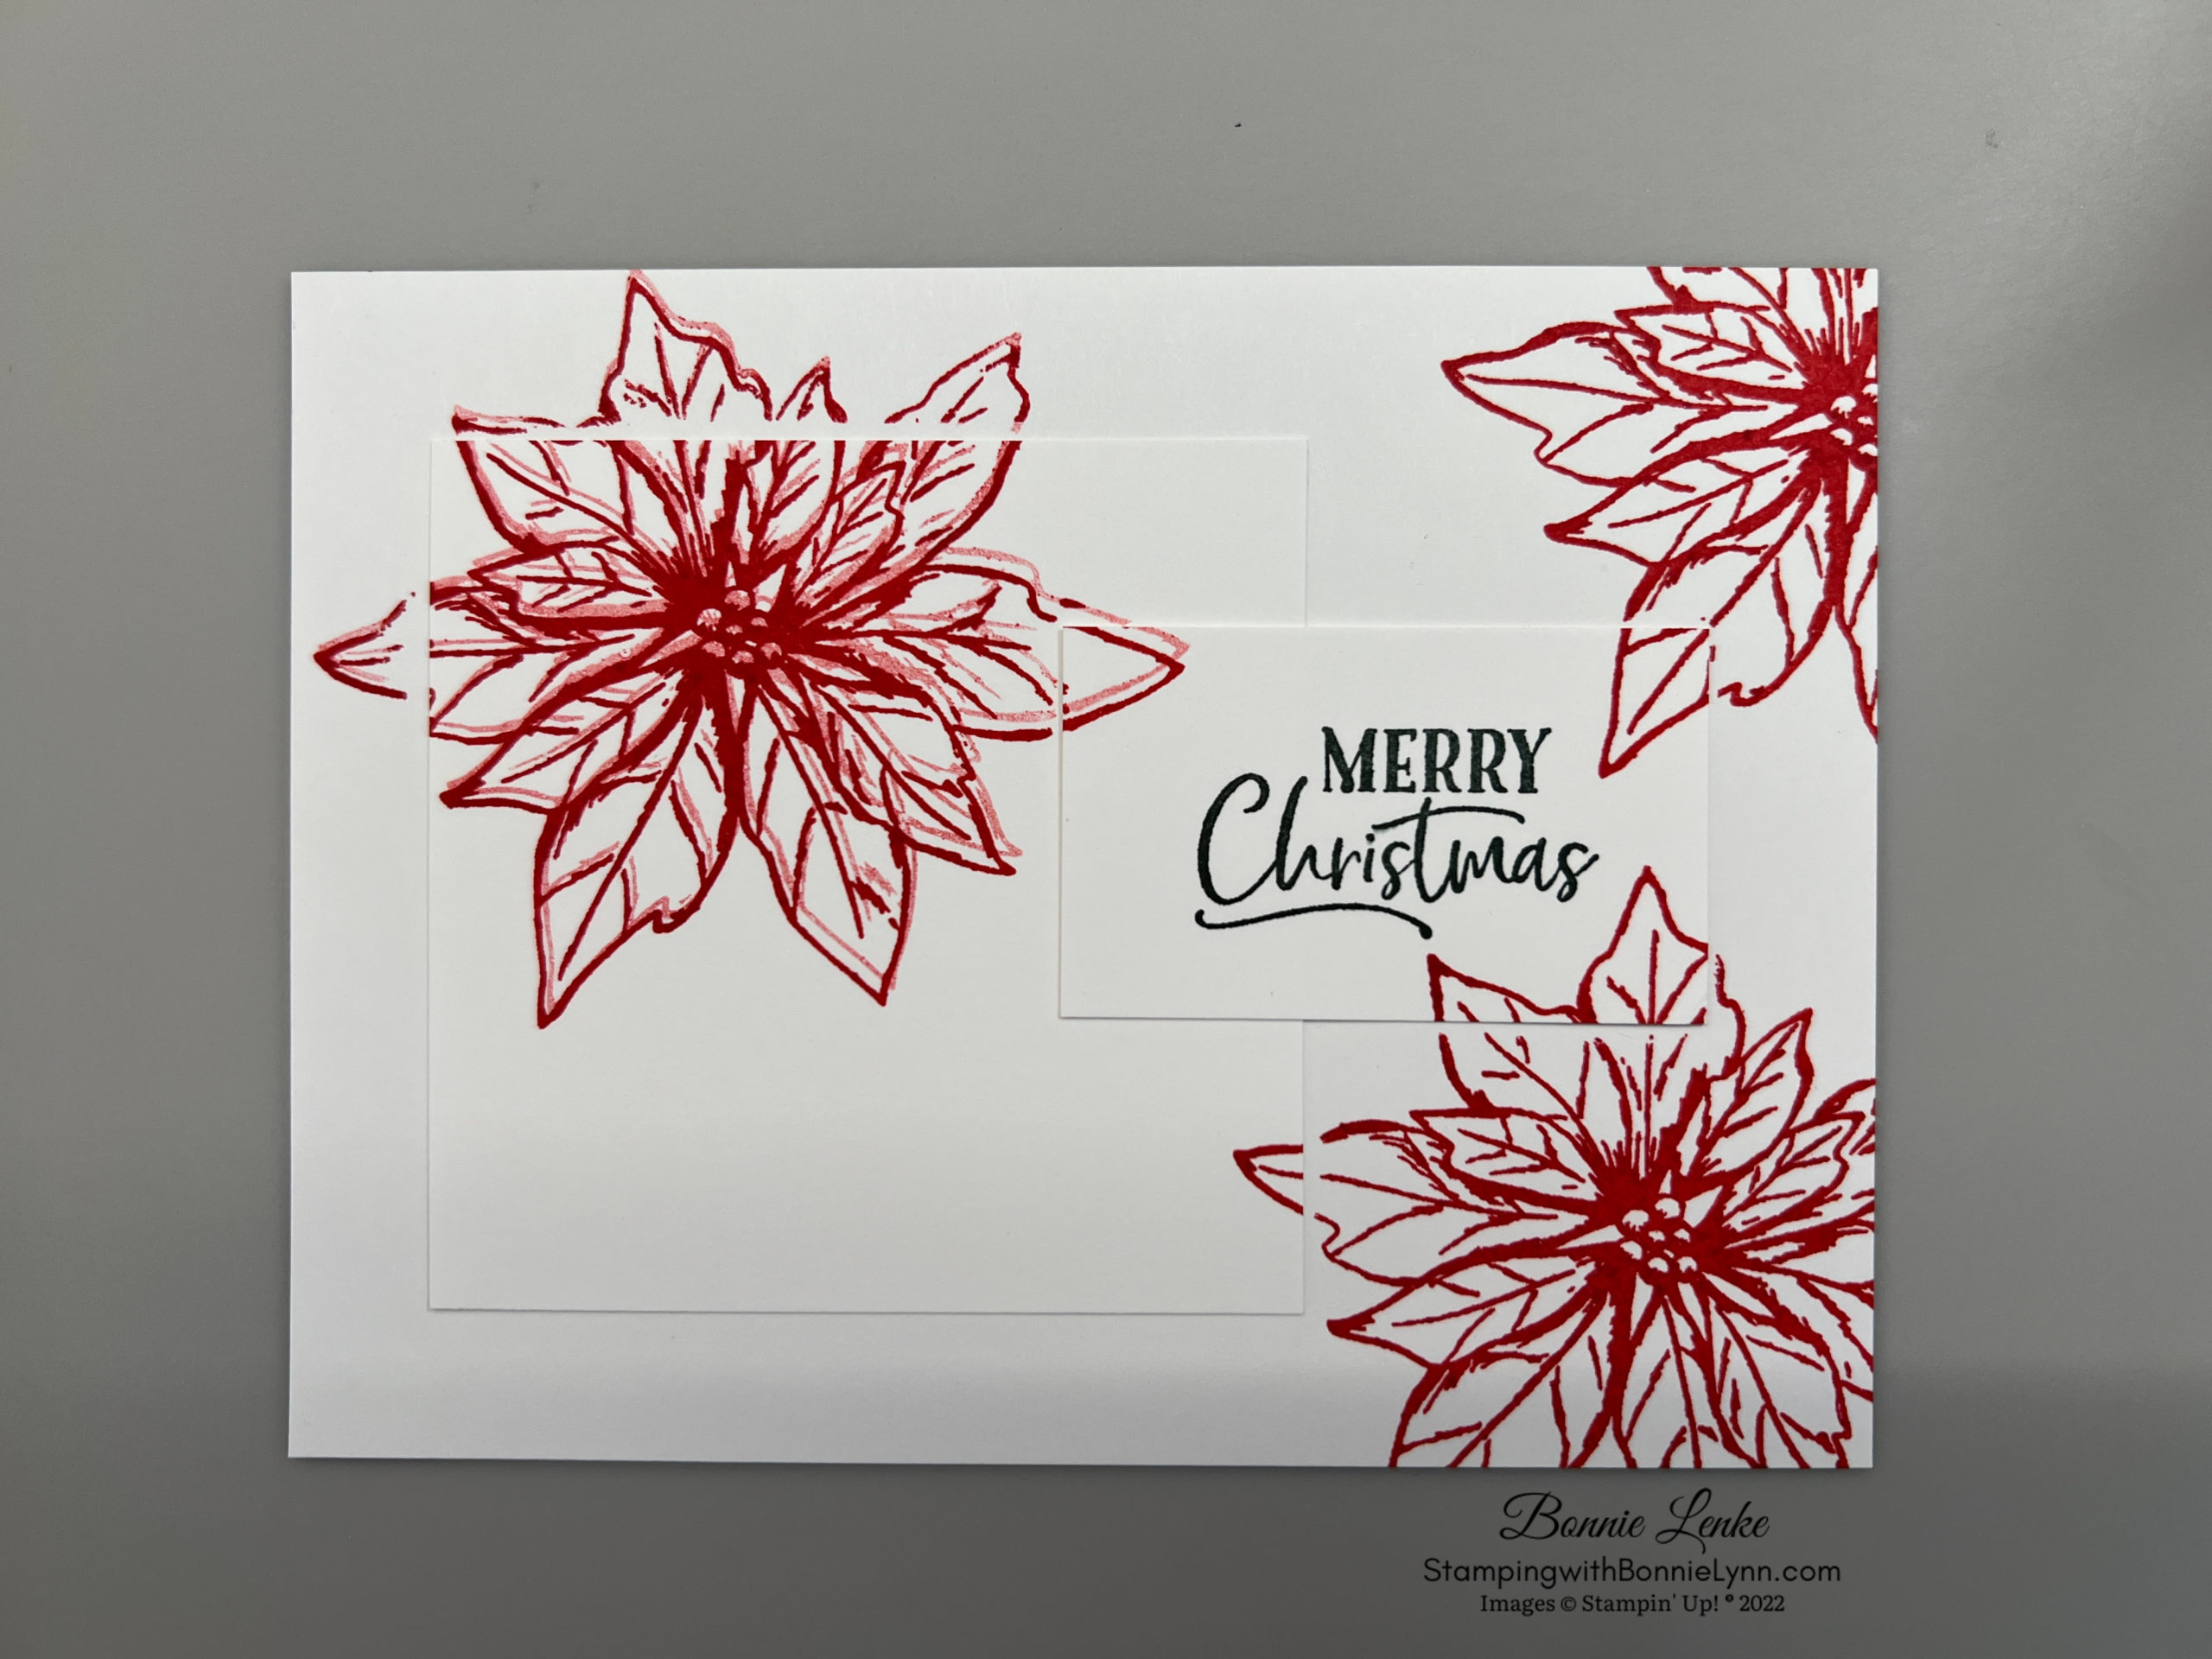
- Stamp the poinsettia stamp in Real Red Ink on the different layers of white card stock.
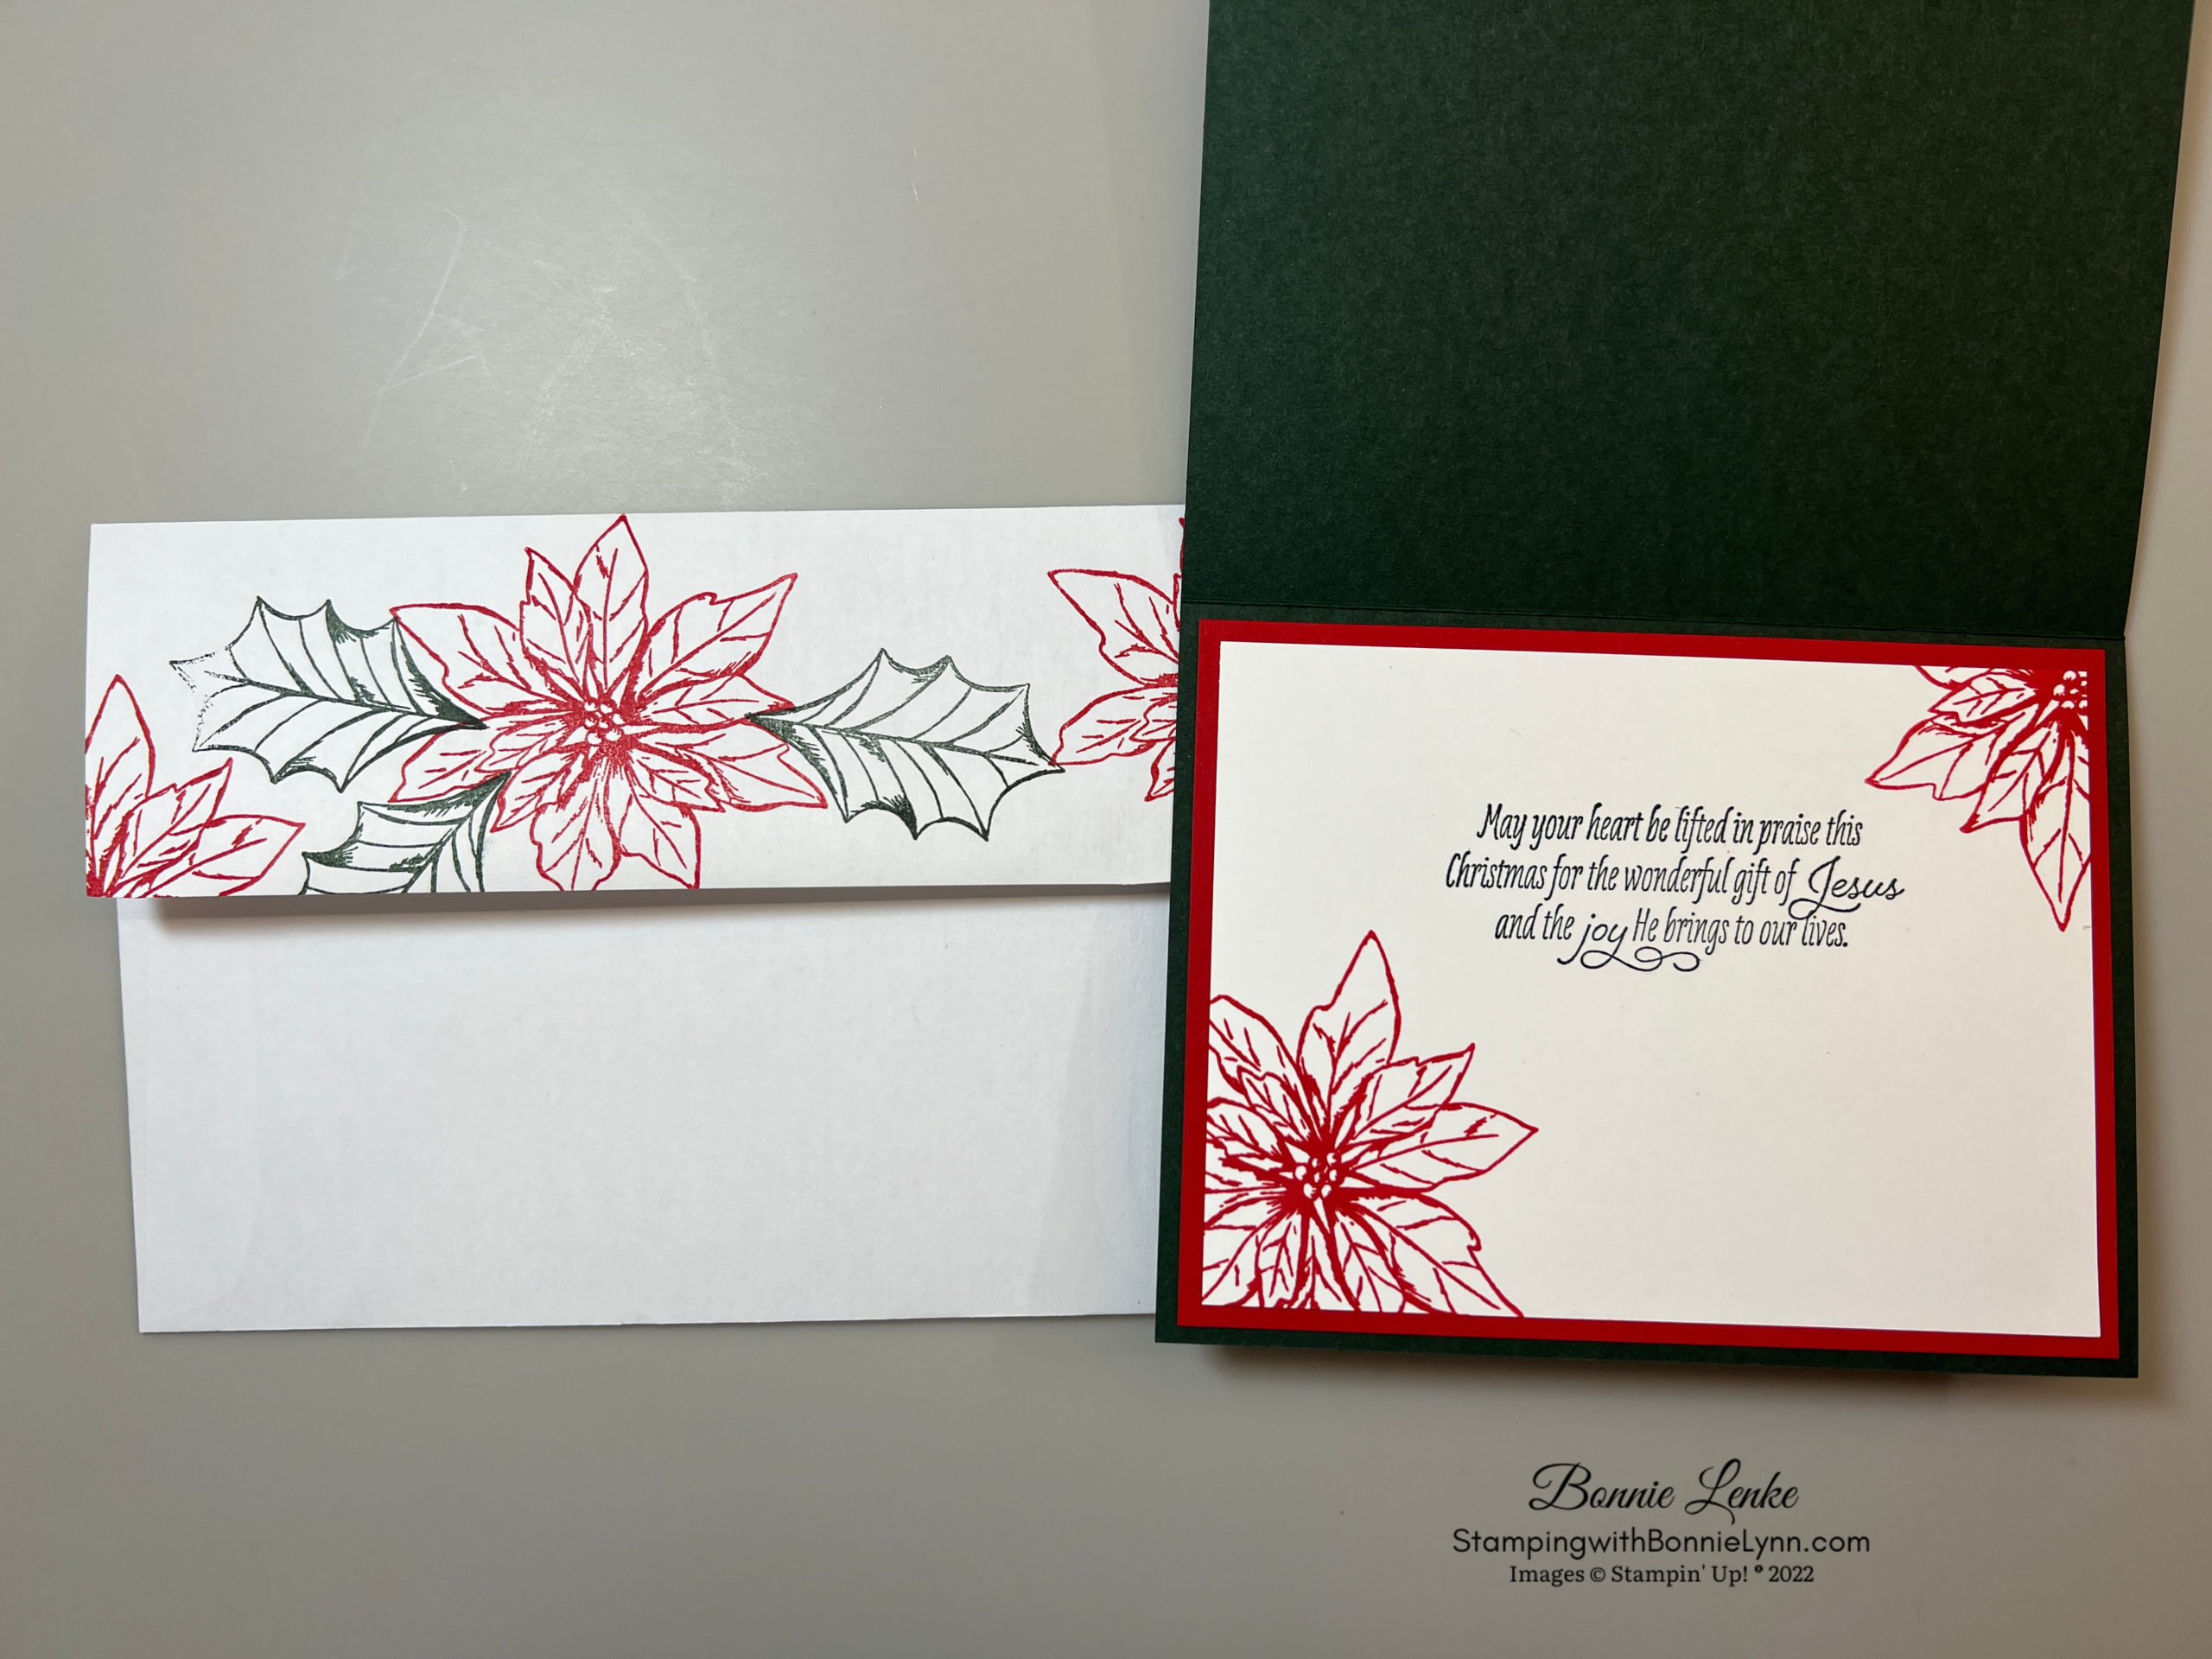
- While you are stamping your triple layer white card stock go ahead and stamp your envelope flap/front and the inside white card stock.
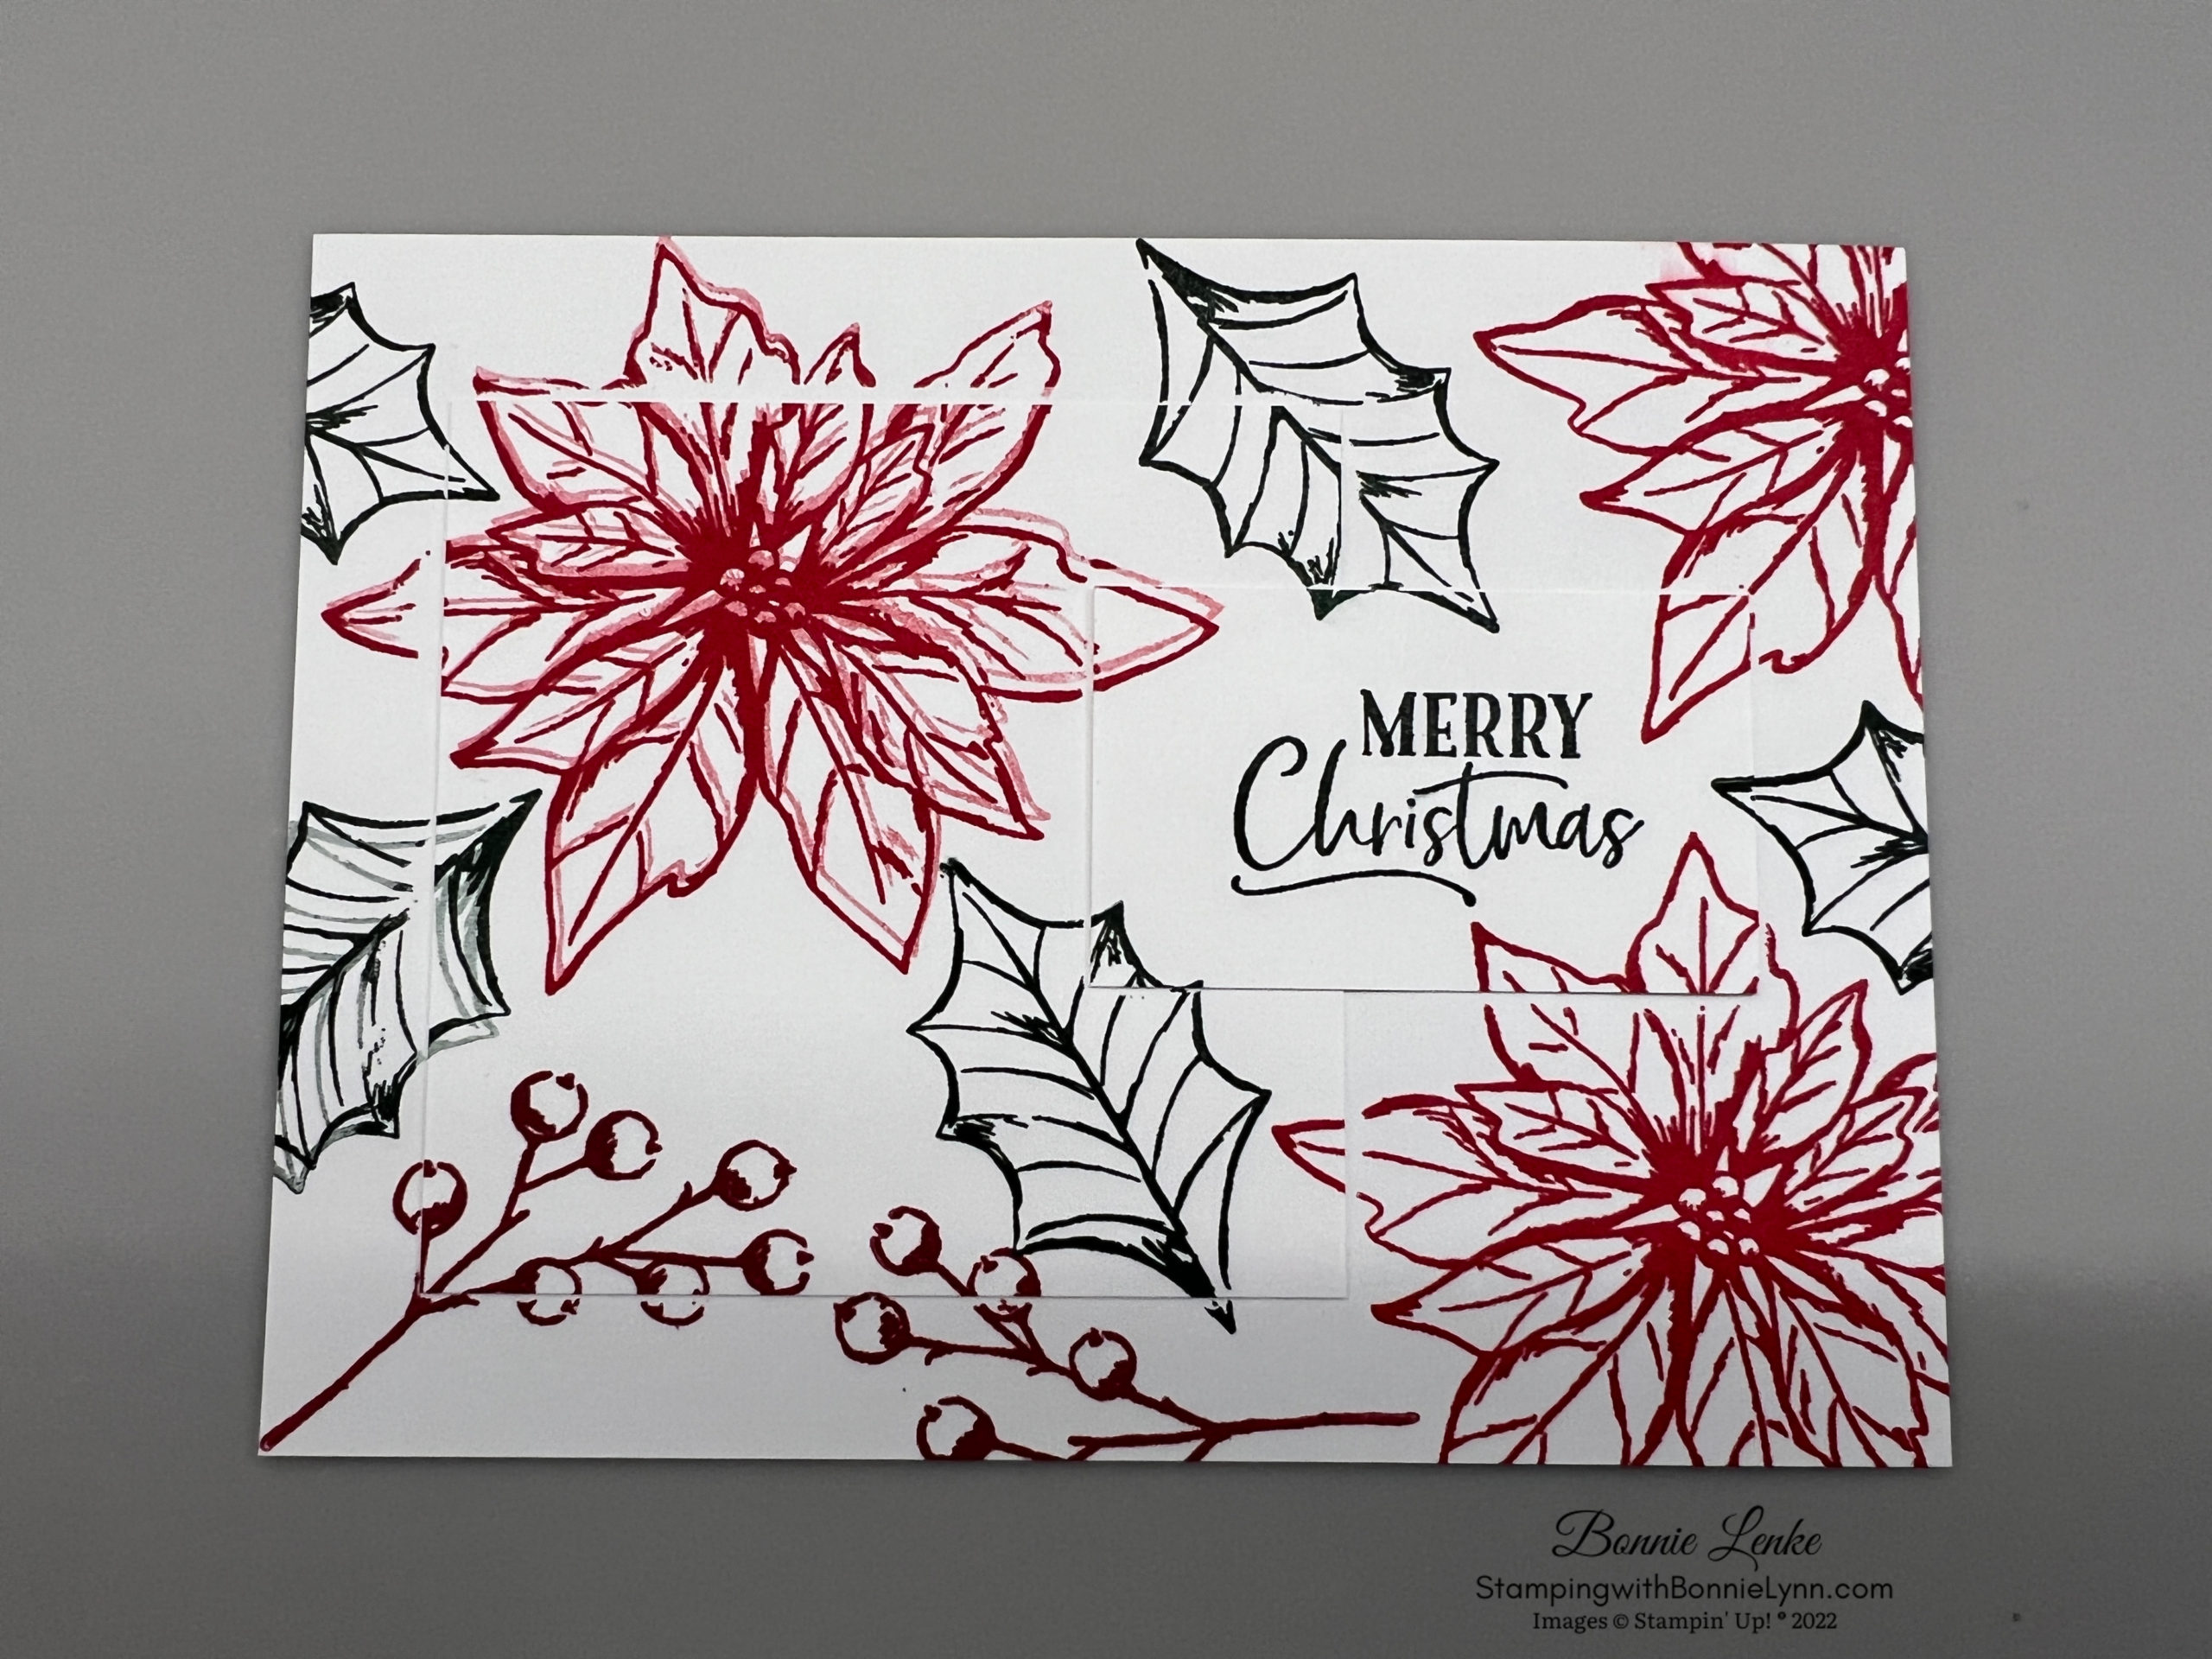
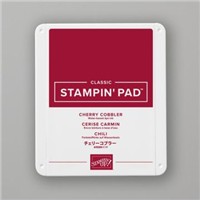
- Next stamp the leaf in Evening Evergreen ink over the layers. Then the berries in Cherry Cobbler ink.
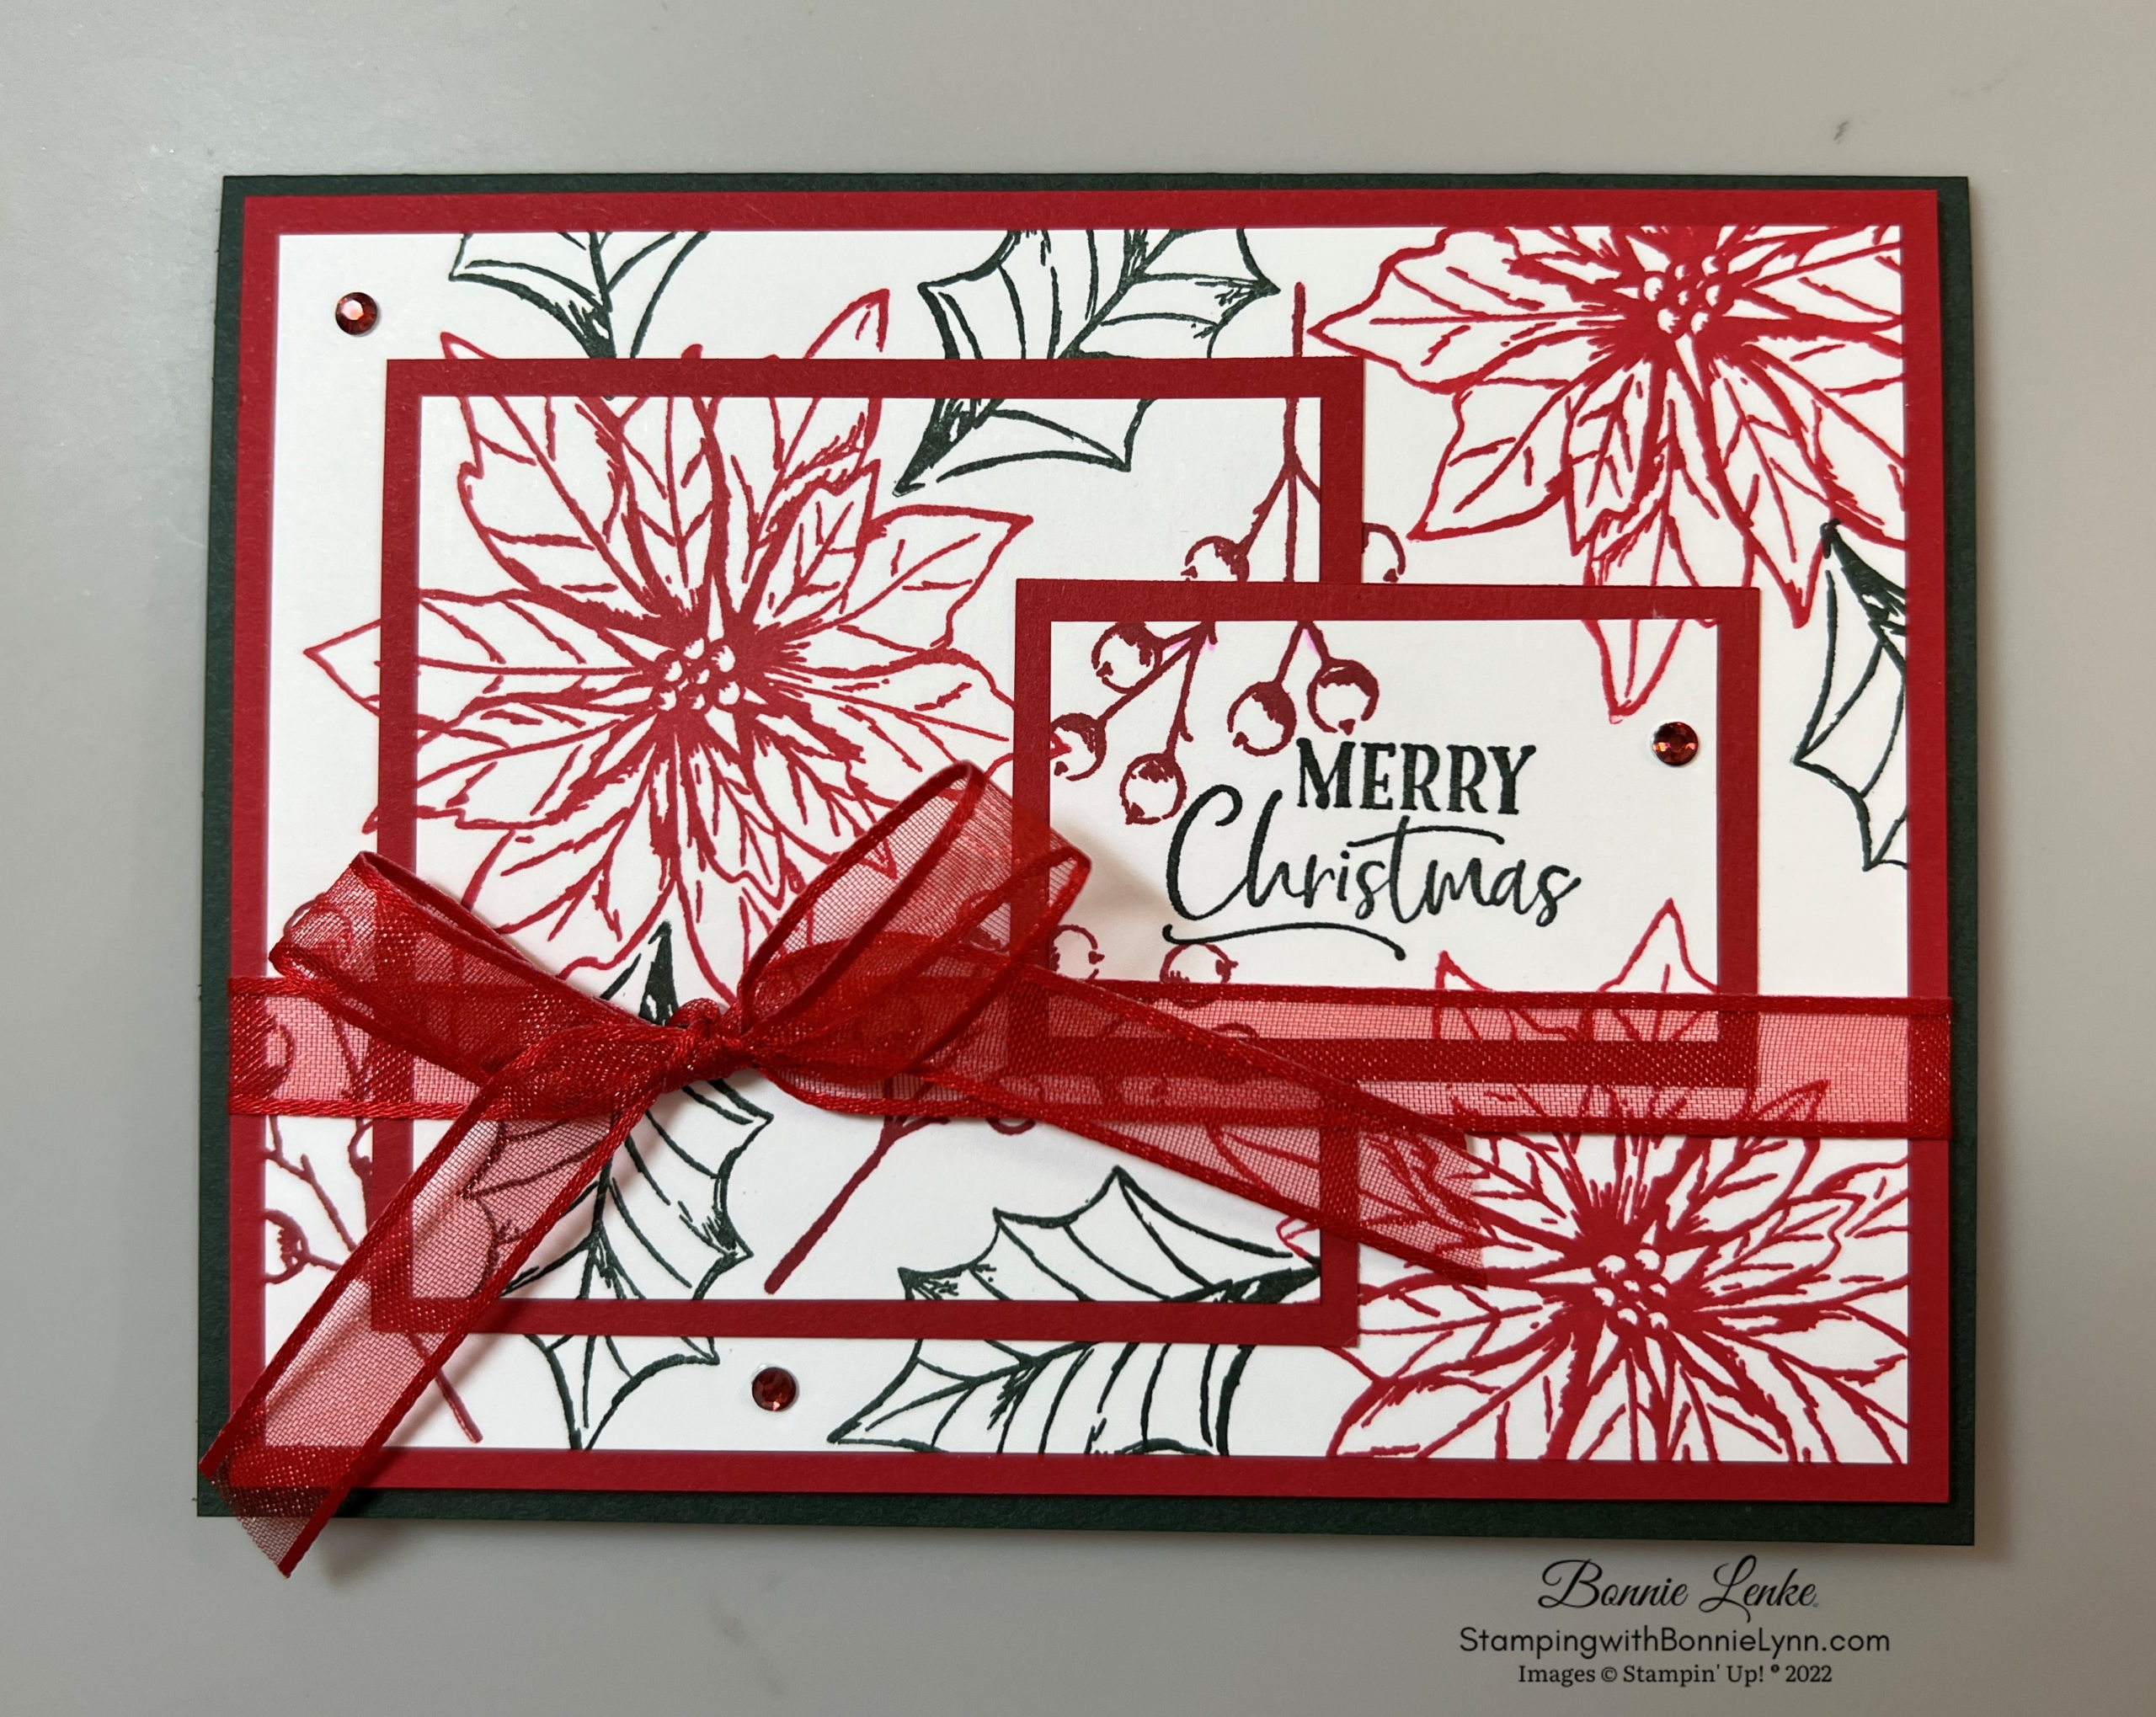
- Take the layers apart and adhere each one to its corresponding size Real Red card stock.
- Adhere the middle layer (square one) to the large layer with double sided tape, matching the stamp lines up. Then adhere the smaller layer with double side tape using the same method as before.
- Wrap a ribbon completely around these 3 layers and tie into a bow.
- Fold Card base in half and burnish with bone folder.
- Using Dimensionals adhere your triple layers to card front.
- Add Holiday Rhinestone Basic Jewels or Red Rhinestones to card front.
- Stamp a greeting onto the inside Basic White cardstock.
- Adhere the stamped white card stock that you created to the Real Red Card Stock panel. Adhere this inside the card base.
And now you have a beautiful card to brighten someone’s day.
Happy Stamping!
Card Recipe
- Evening Evergreen: 5-1/2” x 8-1/2” scored at 4-1/4” on the long side
- Real Red: 5-1/4” x 4”, 3” x 3”, 2-1/4” x 1-1/2”, 5-1/4” x 4” (inside)
- Basic White: 5” x 3-3/4”, 2-3/4” x 2-3/4”, 2” x 1-1/4”, 5” x 3-3/4” (inside)
Supplies Used:
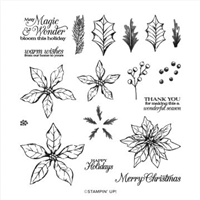
- Stamps: Poinsettia Petals, For Unto Us (retired, used for inside greeting)
- Cardstock/Paper: Real Red, Basic White, Evening Evergreen and a Basic White Envelope
- Stampin Pads: Real Red, Evening Evergreen and Cherry Cobbler
- Embellishments: Holiday Rhinestone Basic Jewels or Red Rhinestones
- Ribbon: Red Ribbon
- Adhesives: Dimensionals, Tear N Tape, Stampin Seal, Glue Dot, Removable double-sided tape
Tools: Paper Trimmer, Take Your Pick, Stamparatus, Clear Blocks in assorted sizes, Bone Folder

