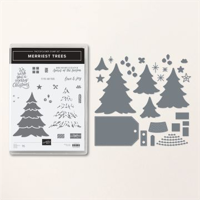
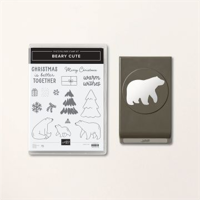
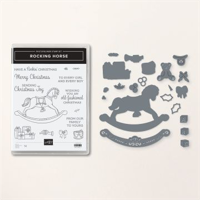
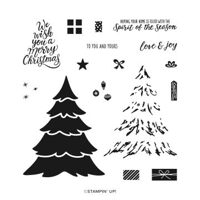
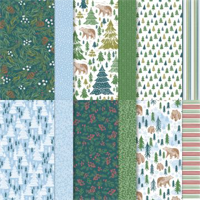
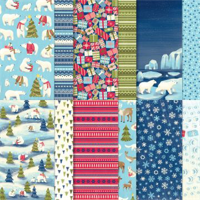
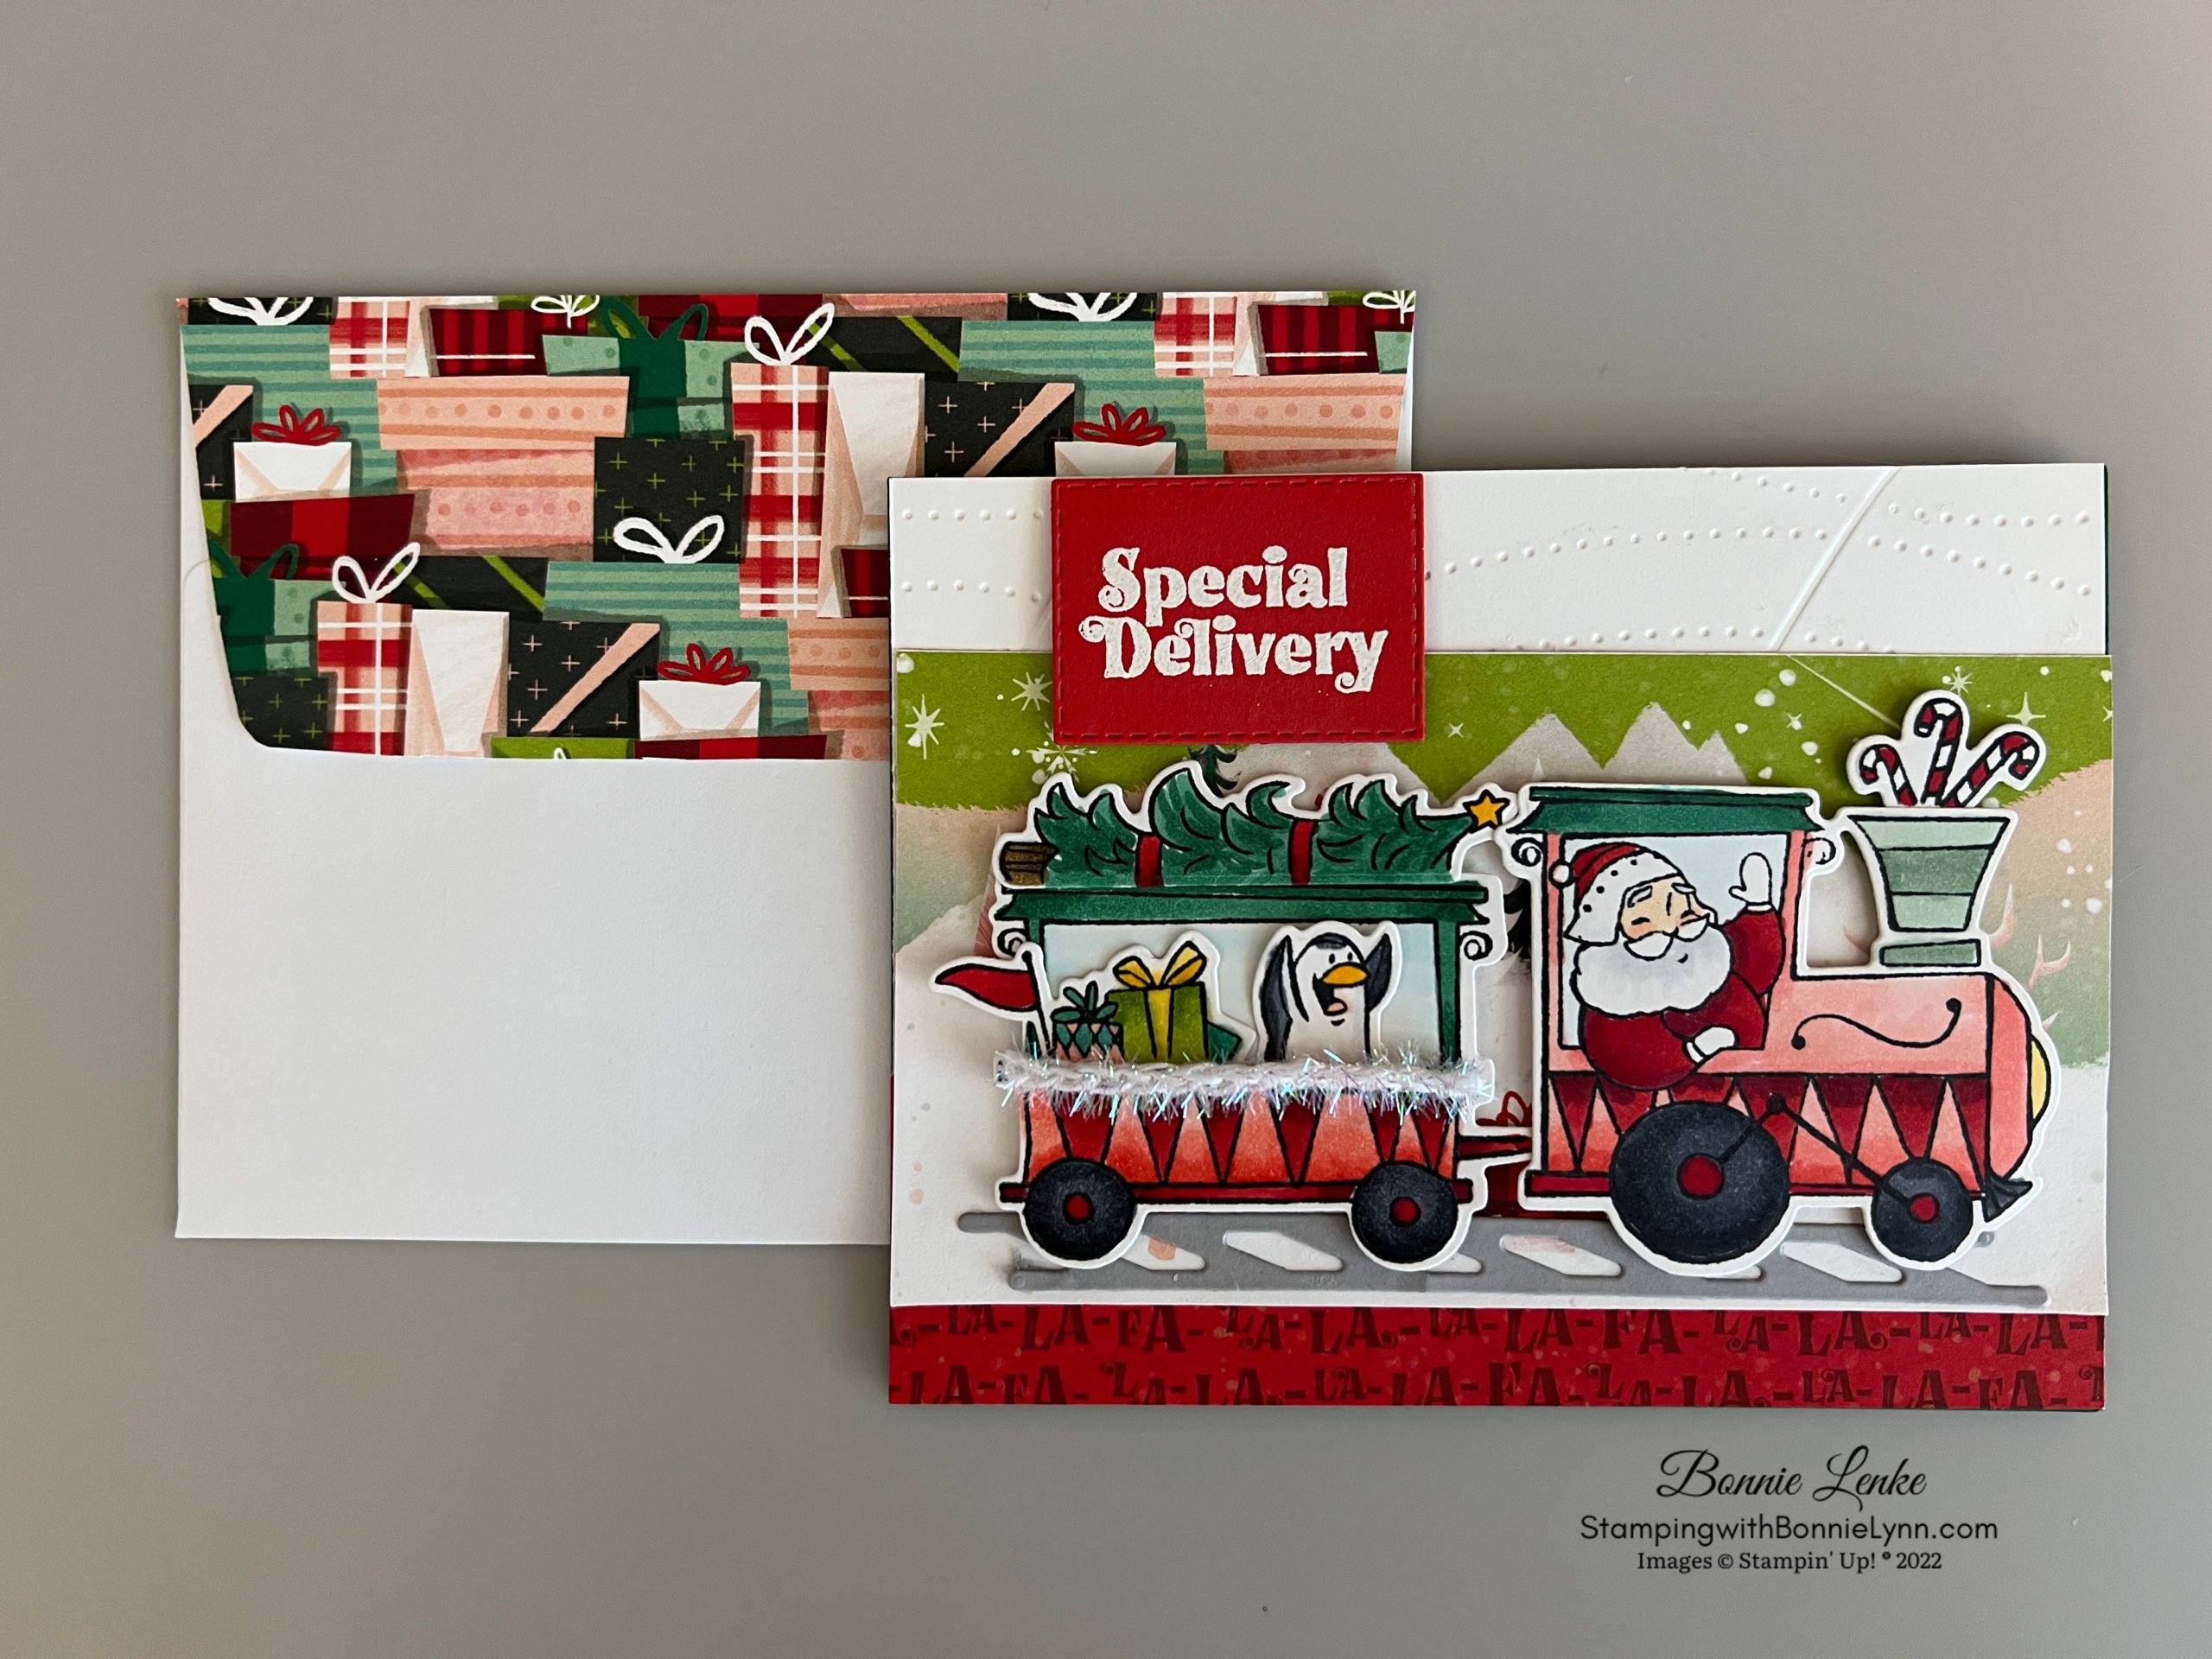
This year it is so easy to make cards combining stamp bundles. For this card I used the Stampin’ Up! Merriest Trees Bundle and the Beary Cute Punch along with the A Walk in the Forest and the Beary Christmas Designer Series Papers. And for good measure I used a stamp from the Rocking Horse set. That’s a lot of combining products.
I wanted to show you how you can mix and match from a number of items to make a unique card that others are not doing. Plus I used the Merriest Dies a little different than what I’ve seen others do. It uses a little more designer series paper and it’s worth it. I love how my tree turned out.
I hope you enjoyed this card tutorial as much as I enjoyed making and sharing it with you. Happy Stamping!
Card Directions
- Fold Balmy Blue card base in half on the score line, burnish with Bone Folder.
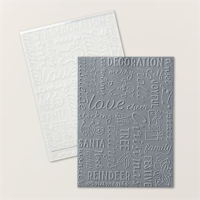
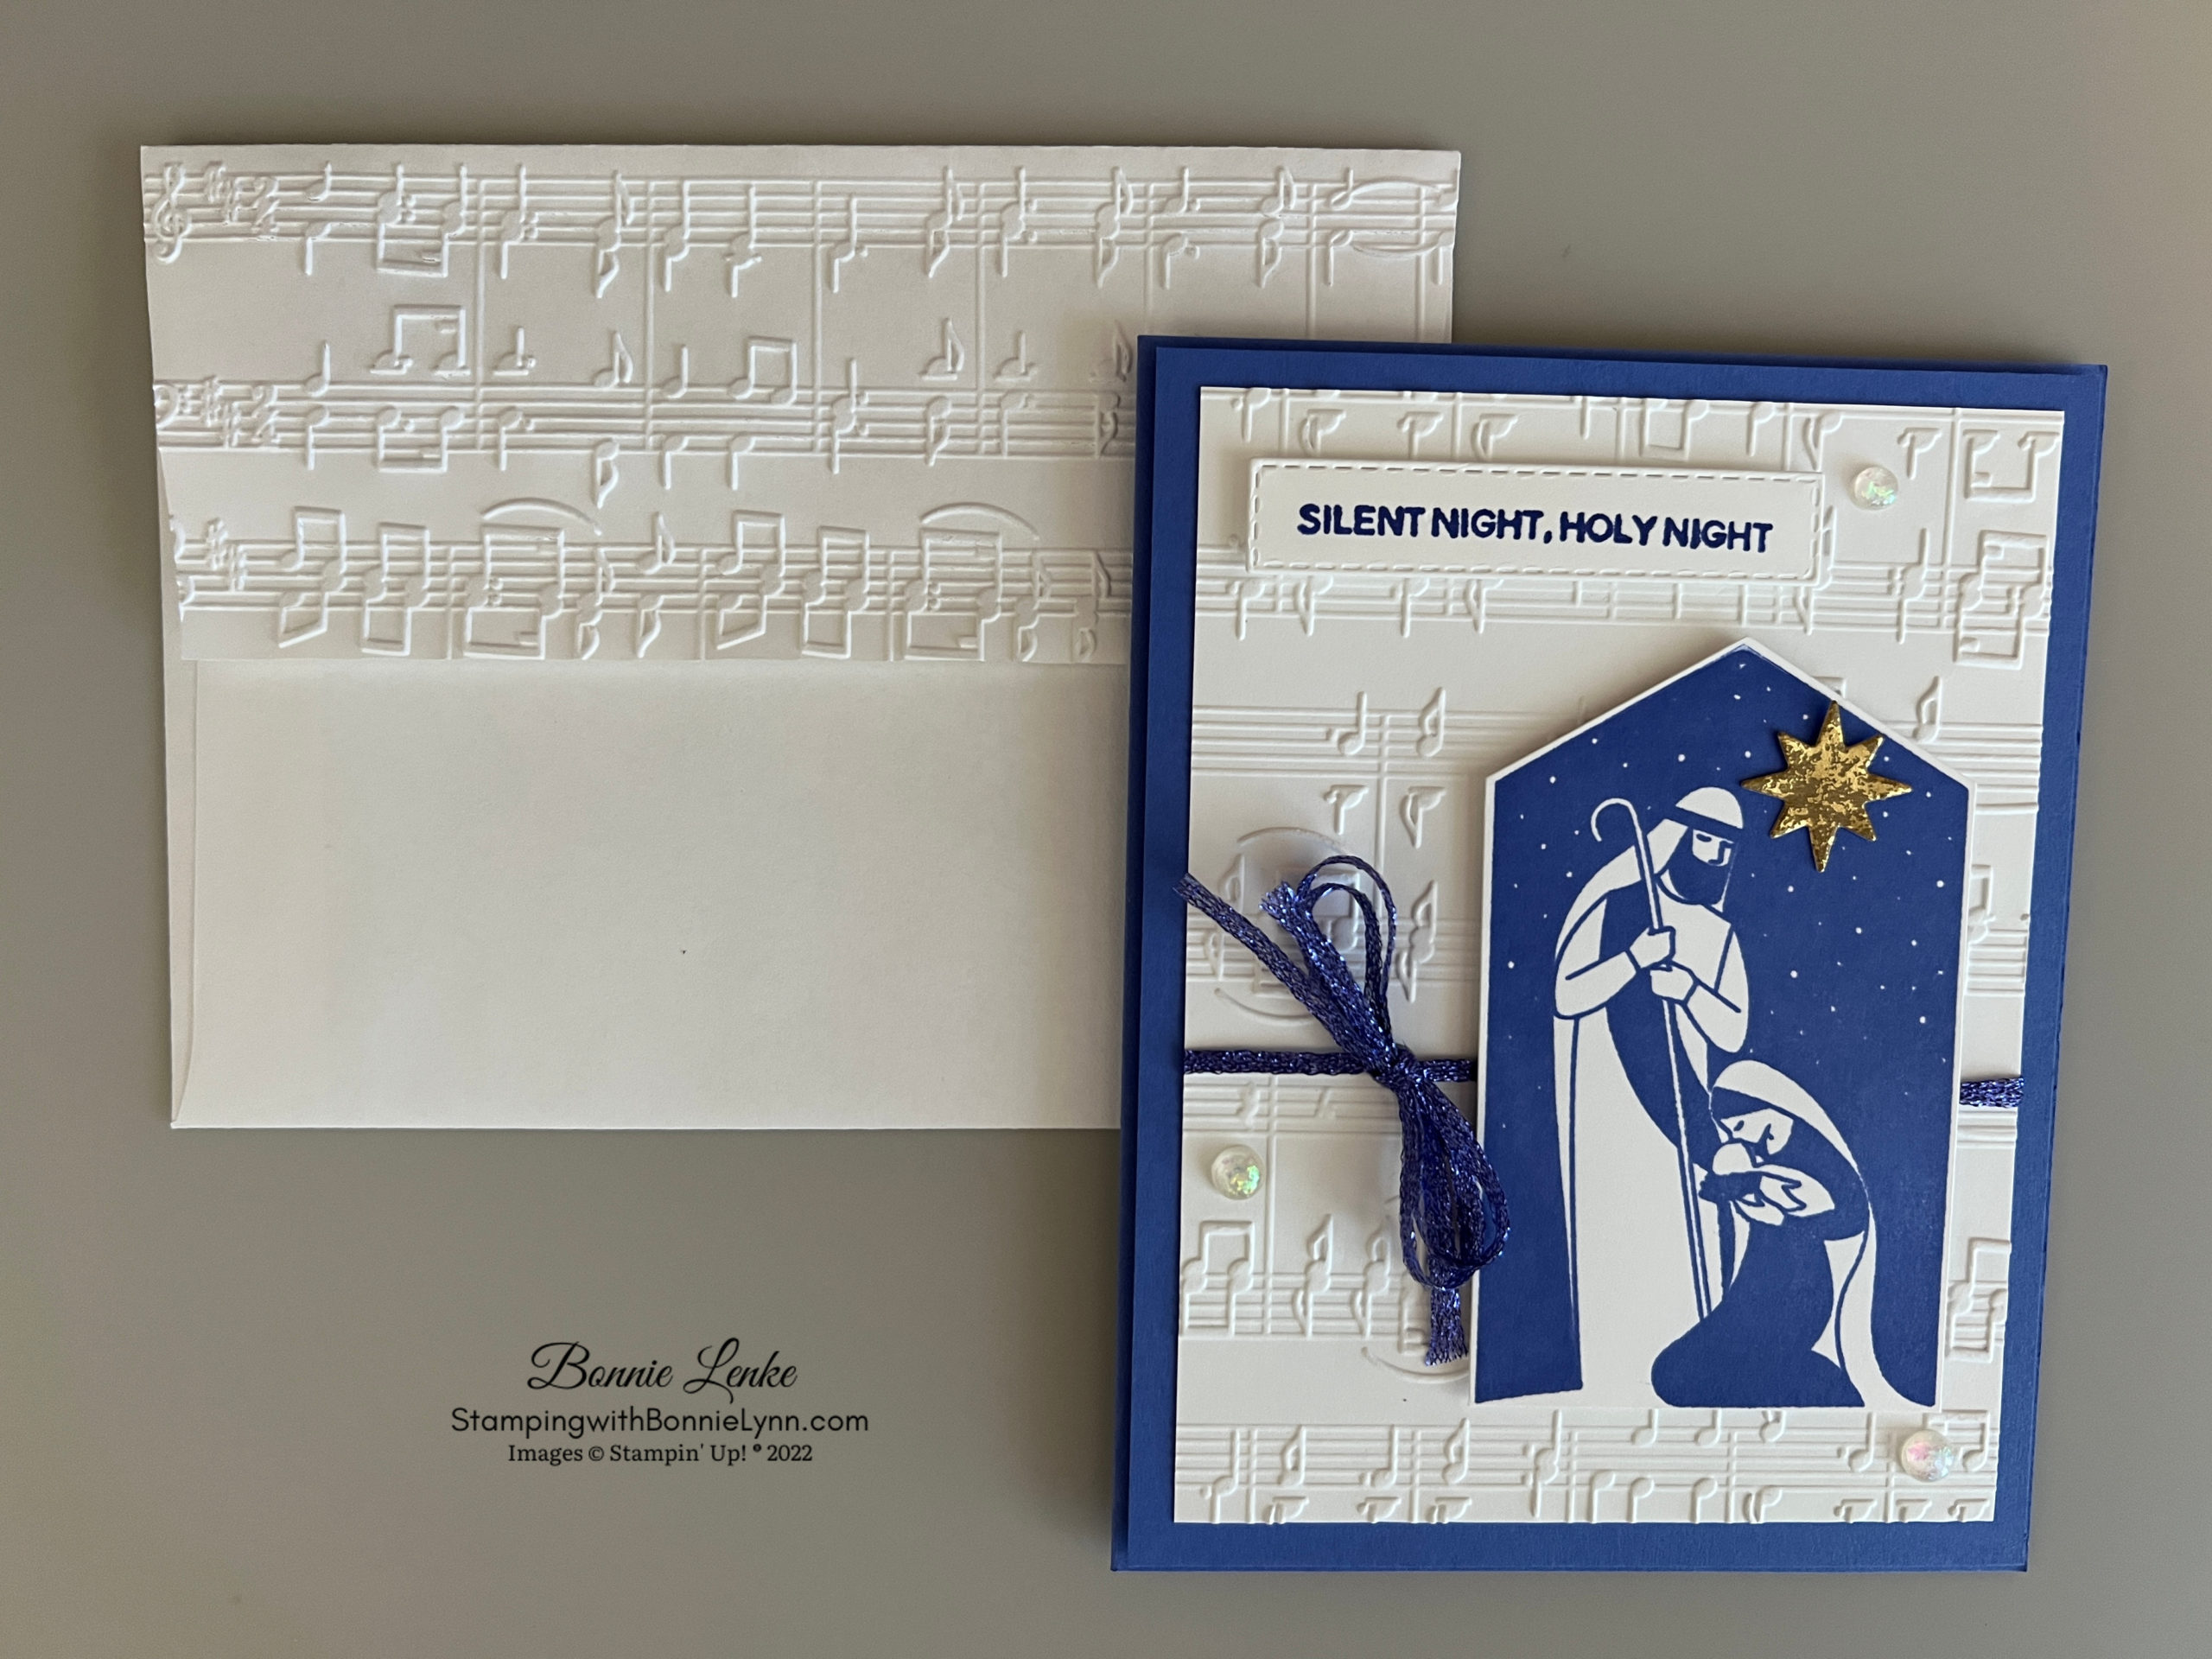
- Next emboss the White Cardstock panel with the Christmas Tidings Embossing Folder.
- Wrap a 6-1/4” piece of Balmy Blue 3/8” Sparkle Ribbon around the embossed panel about 1” down from the top, adhering ends to back of panel. Adhere the panel with Seal to the card base.
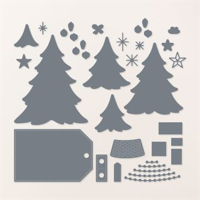
- From the A Walk In The Forest Designer Series Paper die each of the 5 tree dies from the 6” x 6” panel. To the back of the 4 smallest layers of trees add seal at the top and Dimensionals along the bottom on the back side (see picture below). Lay the largest panel face up on your working surface. Take the 4th largest tree and adhere it to the large tree lining it up with the top and sides (hint: the video will show you how it is done). Repeat this step 3 more times, working from the largest to smallest. Adhere to card front with Dimensionals, using a mini one for the very top. DO NOT place any dimensionals where they would be on the ribbon.
- Die cut the solid star out of Silver Foil and the outline of star out of More Dazzle Specialty Paper or the Gold & Silver Adhesive Back Glimmer Paper (online exclusive). Adhere the star outline to solid silver foil star. Add to tree with a Glue Dot.
- Heat Emboss the saying (Rocking Horse stamp set) in White Embossing Powder to piece of Balmy Blue Cardstock. Cut the ends at an angle and adhere to ribbon with Glue Dots.
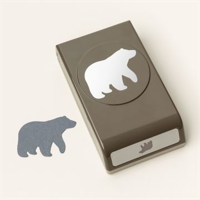
- The bear was punch out of a piece of the Beary Christmas Designer Series Paper and attached to card front with Glue Dots.
- Finish the card front by adding some Adhesive-Backed Glitter Sequins.
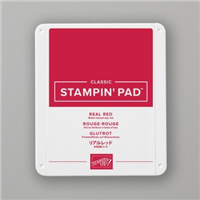
- To complete the inside I stamped the saying in Real Red Ink onto White Cardstock. Use your favorite adhesive to attach to inside. Add a strip of Designer Series Paper to either the left side of white panel or the bottom.
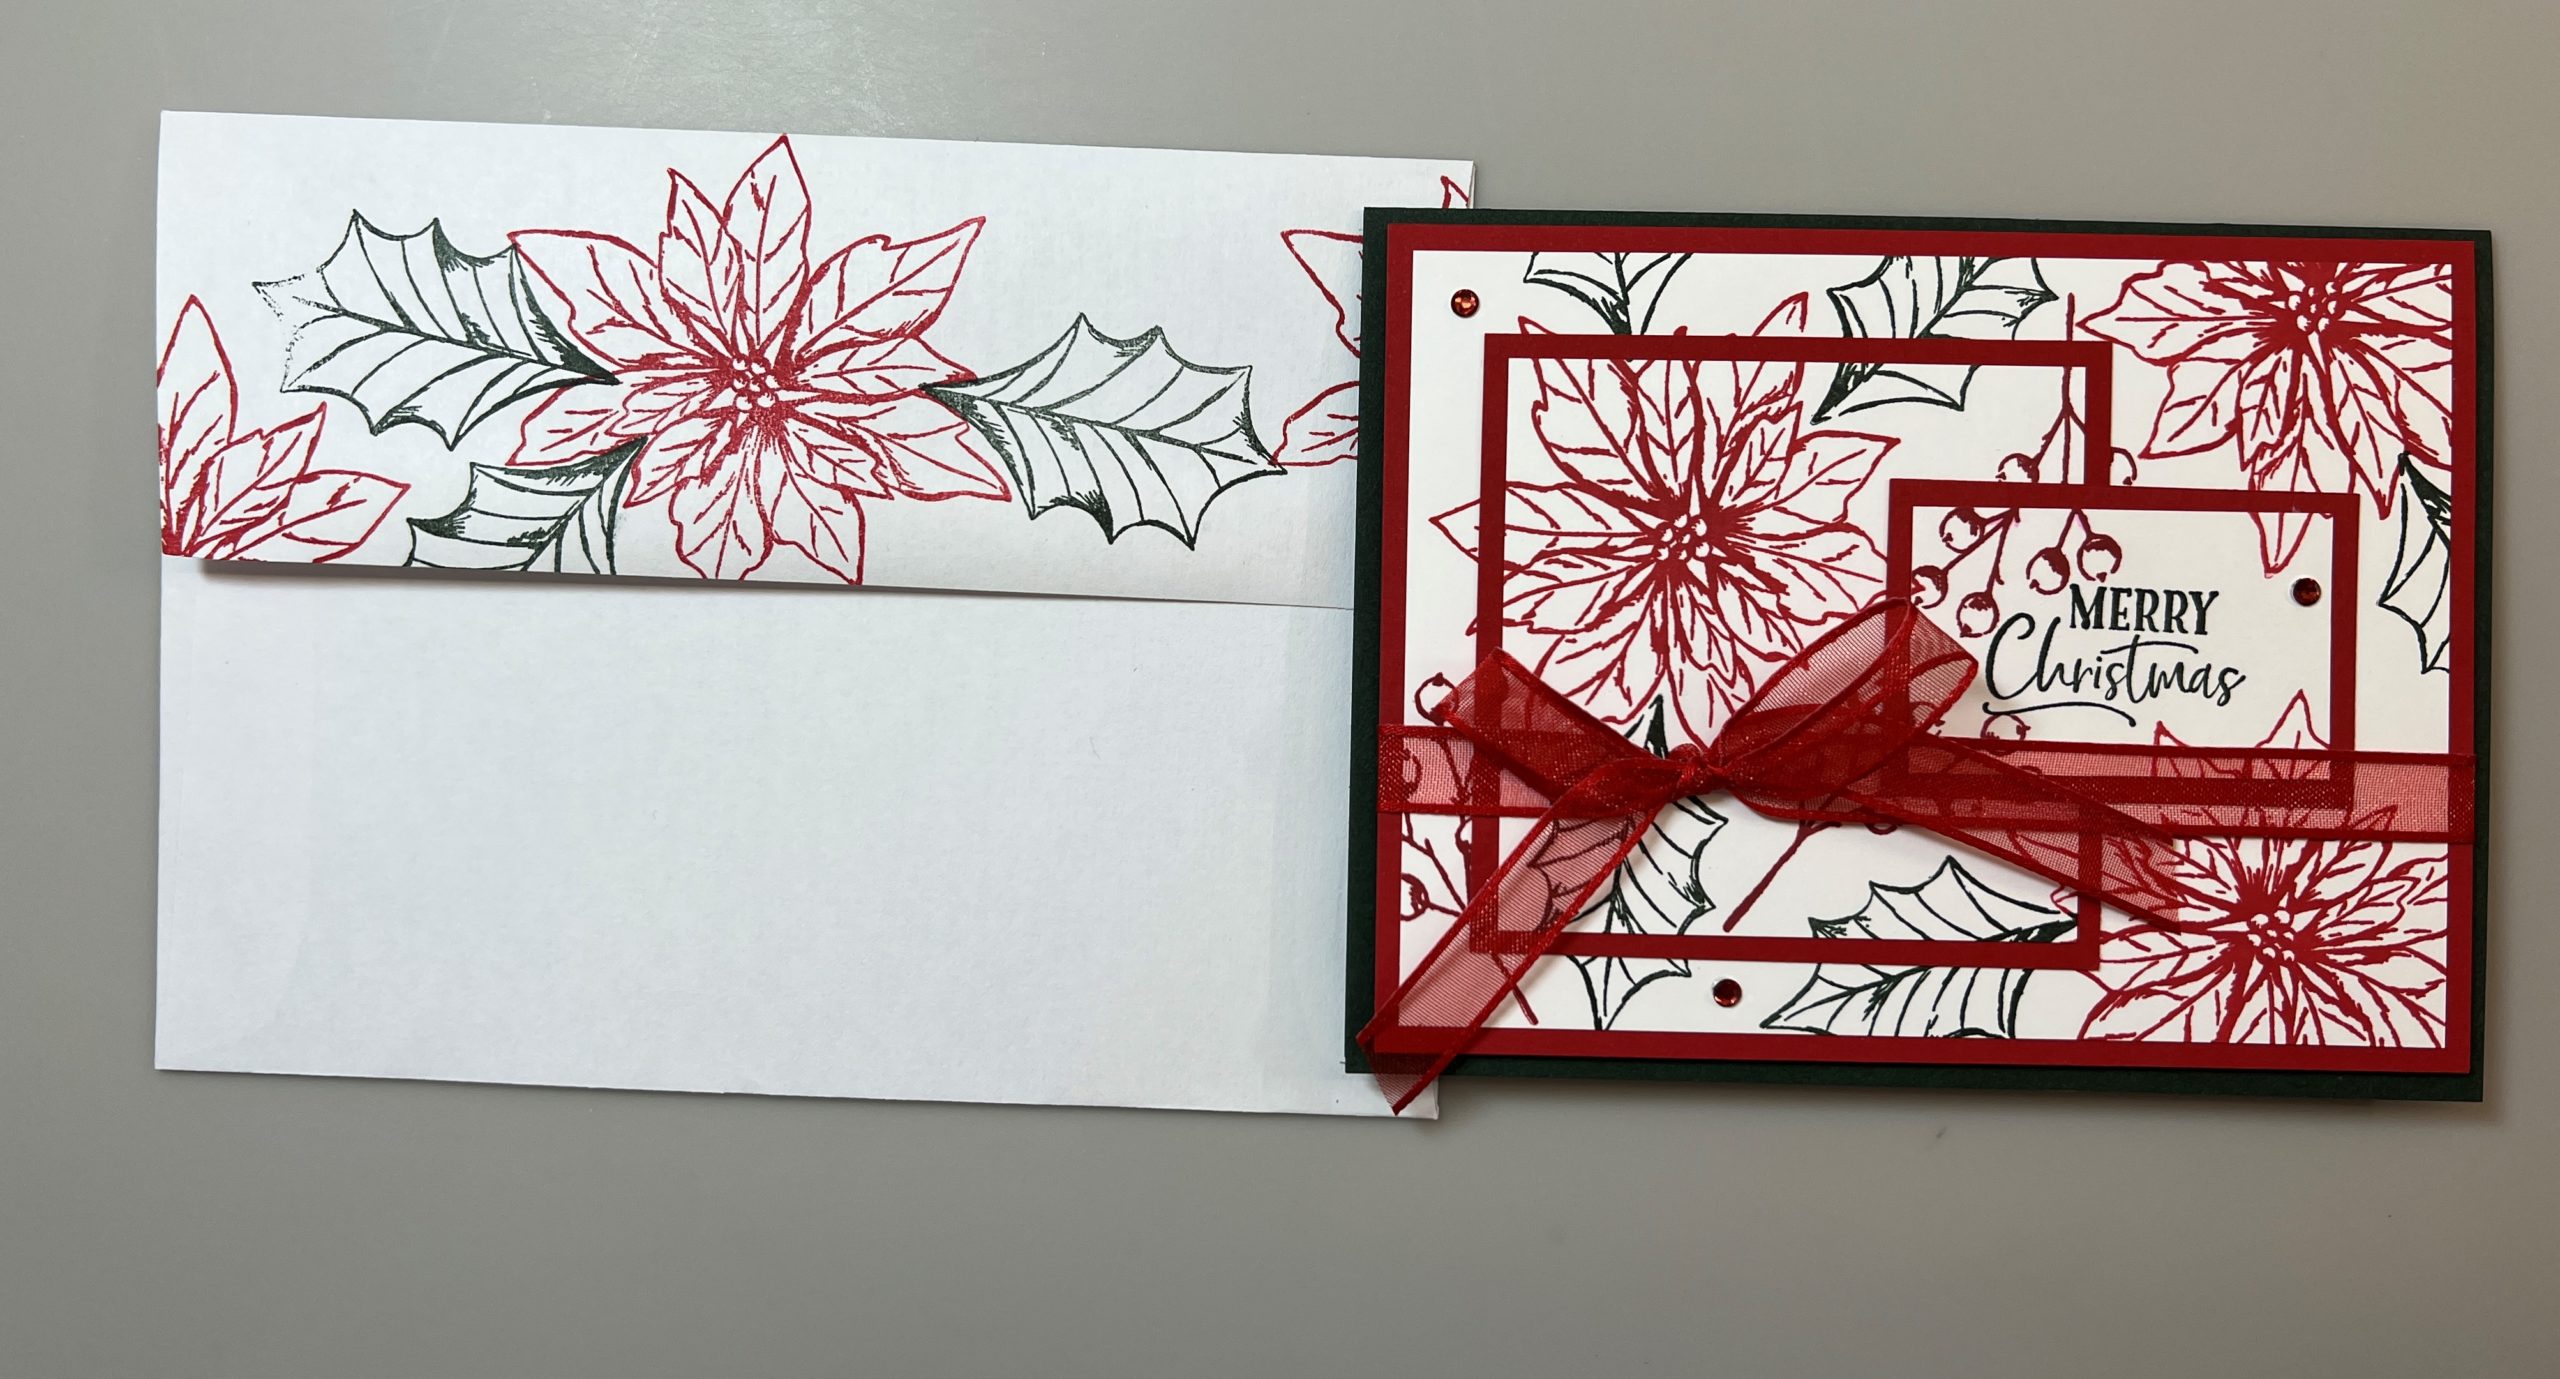
- For the Envelope I added designer series paper to the Envelope Flap.


Card Recipe
Cutting Directions:
- Balmy Blue: 8-1/2” x 5-1/2”, scored at 4-1/4” (card base)
- Basic White: 4-1/8” x 5-3/8” (front), 4” x 5-1/4” (inside)
- Balmy Blue: 5/8” x 3-1/4” (front)
- A Walk In The Forest Designer Series Paper: 6” x 6” (die cut trees), 5/8” x 4” (inside on left side)
- Beary Christmas Designer Series Paper: Punch a bear
- Silver Foil and Gold & Silver Adhesive Back: Scrap of each (More Dazzle Specialty DSP would also work)
Supplies Used:
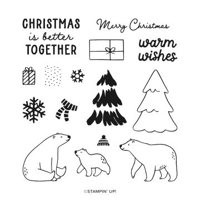
- Stamps: Merriest Trees, Beary Cute, Rocking Horse
- Dies: Merriest Trees, Beary Cute Punch
- Cardstock/Paper: Balmy Blue, Basic White, A Walk In The Forest DSP & Beary Christmas DSP, Silver Foil, More Dazzle Specialty Paper or the Gold & Silver Adhesive Back Glimmer Paper
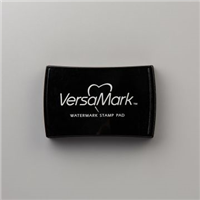
- Stampin Pads: Real Red, VersaMark
- Embellishments: Adhesive-Backed Sequin Glitter Sequins
- Ribbon: Balmy Blue 3/8” Sparkle Ribbon
- Embossing Folder: Christmas Tidings
- Heat Embossing: Basics Embossing Powders, Embossing Additions Tool Kit, Heat Tool
- Adhesives: Dimensionals, Glue Dots, Stampin Seal, Tear-N-Tape
- Tools: Paper Trimmer, Cut & Emboss Machine, Clear Blocks, Take Your Pick, Bone Folder, Stampin Pierce Mat, Paper Snip Scissors

Check out this month’s Specials:
Click on an image for more information…
Card Keeper Kit