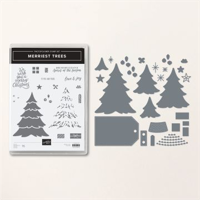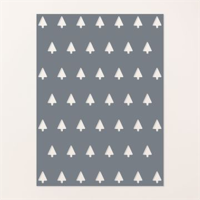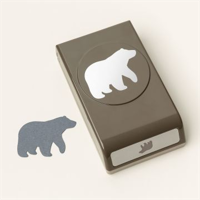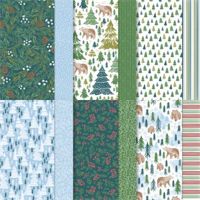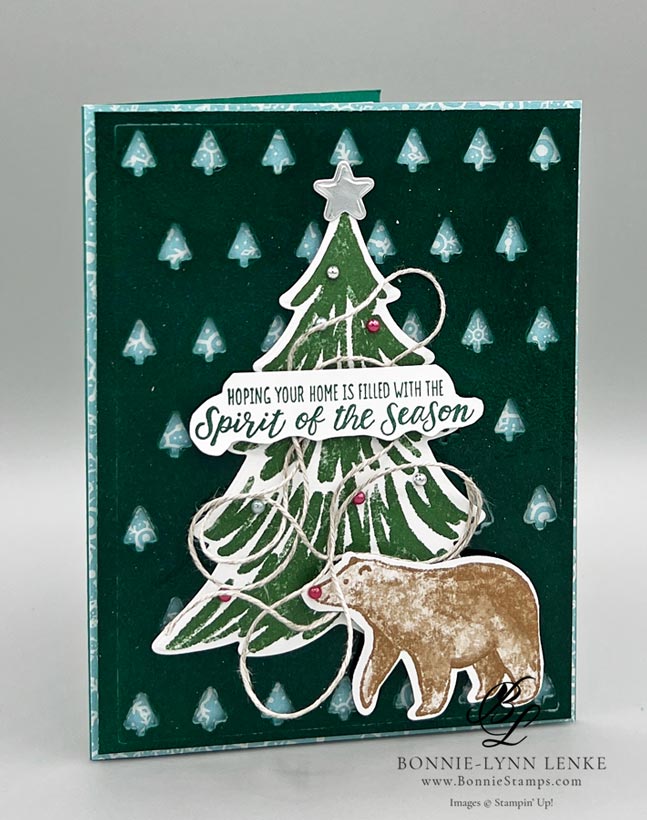
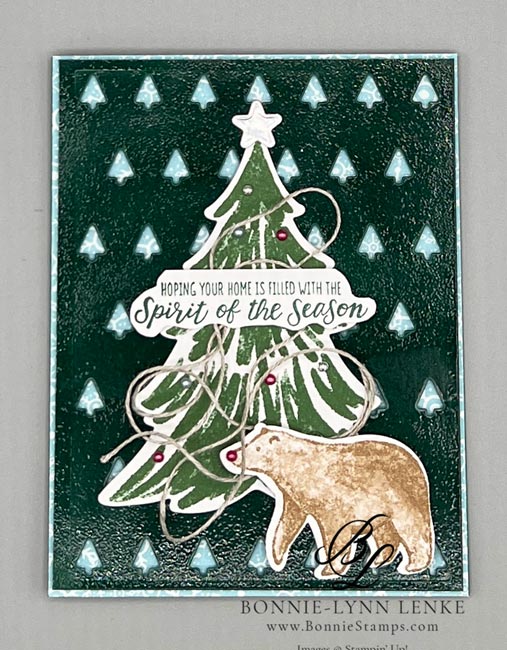
Today I’m sharing the Stampin’ Up! Tiny Christmas Trees Die with you along with Merriest Trees & Beary Cute Punch. This card shows you a new way to use heat embossing to change the look of cardstock. The Tiny Christmas Trees Die is still available on the Last Chance list and has a price reduction. The Merriest Trees & Beary Cute Bundles are also still available. I hope you enjoyed this technique and give it a try. Happy Stamping!
Card Directions
- Fold card base in half on the score line, burnish with Bone Folder.
- From the A Walk In The Forest Designer Series Paper, cut the snowflake paper to 4-1/4” x 5-1/2”, adhere to card base front.
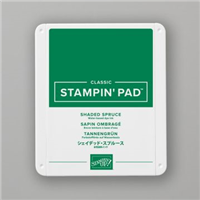
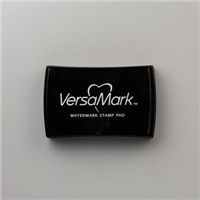
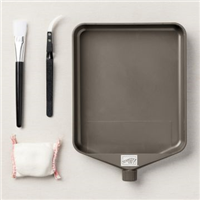
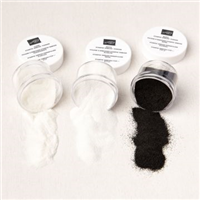
- Heat emboss the Shaded Spruce panel with Clear Embossing Powder. To do this, dust cardstock panel with the Embossing Buddy to remove oils from hands. Next cover 1/2 of the panel with VersaMark Ink and cover with Clear Embossing Powder, heat with Heat Tool till powder is melted. Repeat for the other half of the panel so complete panel is heat embossed in Clear Embossing Powder. Should you miss a spot, repeat the process on the area(s) missed.
- Crop the embossed panel with the Tiny Christmas Trees Die. Use Dimensionals to adhere die cut embossed panel to card front.
- Die cut one of the full size trees out of the Designer Series Paper with a Merriest Tree Die. Attach to card front with Glue Dots.
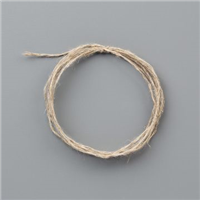
- Wrap a length of Linen Thread around your hand about 4 times, adhere to tree so it looks messy from the Bear playing with it. 🙂
- Punch one of the brown bears out of the Designer Series Paper and attach to card front with Dimensionals.
- Stamp the greeting in Shaded Spruce Ink onto White Cardstock. Fussy cut out and adhere to card front with 3 Dimensionals. This will help the Linen Thread stay in place.
- Crop a star from Silver Foil with the Merriest Trees Dies. Use a Glue Dot to attach star to top of tree.
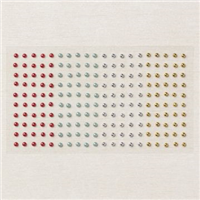
- Festive Pearls Embellishments are added to the tree in different colors. Also, add a red pearl to the tip of the Bear’s nose.
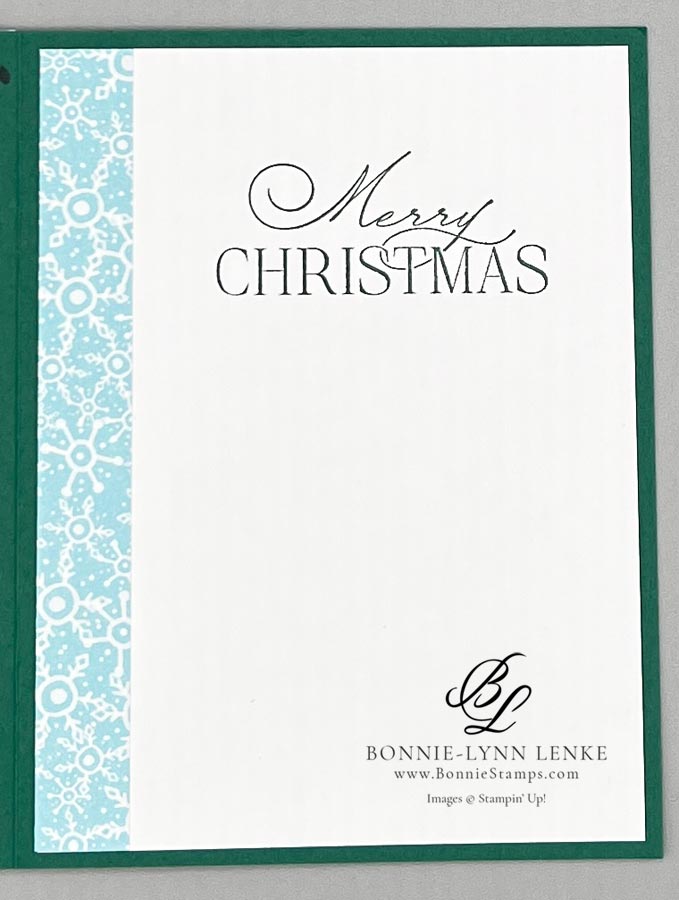
- For the inside, stamp a saying in Shaded Spruce Ink, onto White Cardstock. Adhere to inside of card base. Add a strip of the Designer Series Paper to either the left side of White Cardstock or the bottom.
- Dress the Envelope Flap with a piece of Designer Series Paper.

Card Recipe
Cutting Directions:
- Shaded Spruce: 8-1/2” x 5-1/2”, scored at 4-1/4” (card base), 4-1/8” x 5-3/8” (panel to emboss)
- Basic White: 1” x 3-1/2” (greeting), 4” x 5-1/4” (inside)
- A Walk In The Forest Designer Series Paper: 4-1/4” x 5-1/2” (card front), 5/8” x 5-1/4” (inside strip), 2-1/4” x 6” (envelope flap, measure your envelope flap before cutting)
Supplies Used:
- Stamps: Merriest Trees, Brightest Glow
- Dies: Tiny Christmas Trees, Merriest Trees, Beary Cute Punch
- Cardstock/Paper: Shaded Spruce, Basic White, A Walk In The Forest Designer Series Paper
- Stampin Pads: Shaded Spruce, VersaMark Ink
- Embellishments: Festive Pearls
- Ribbon: Linen Thread
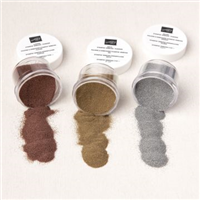
- Heat Embossing: Basics Embossing Powders, Embossing Additions Tool Kit, Heat Tool
- Adhesives: Dimensionals, Glue Dots, Stampin Seal, Liquid Glue
- Tools: Paper Trimmer, Cut & Emboss Machine, Clear Blocks, Take Your Pick, Bone Folder, Stampin Pierce Mat, Paper Snip Scissors
Check out this month’s Specials:
Click on an image for more information…
