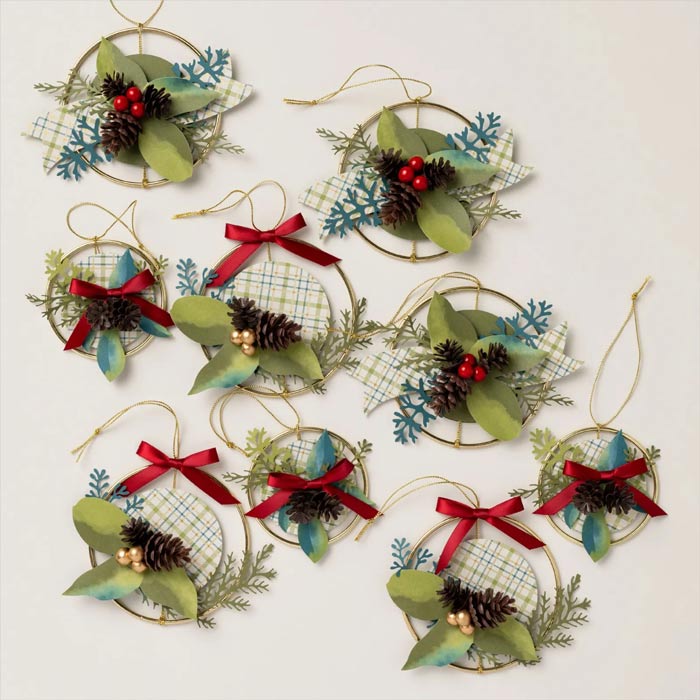
Are you ready to learn how to make some Stampin’ Up! Sending Cheer Christmas Gift Tags? These are my takes on the gifts tags I made with Jennifer Cotton Bingo night the other day. Besides having fun playing bingo and winning a game, I enjoyed her gift tags and wanted to share with you. Hope you enjoy them. Happy Stamping!
Card Directions
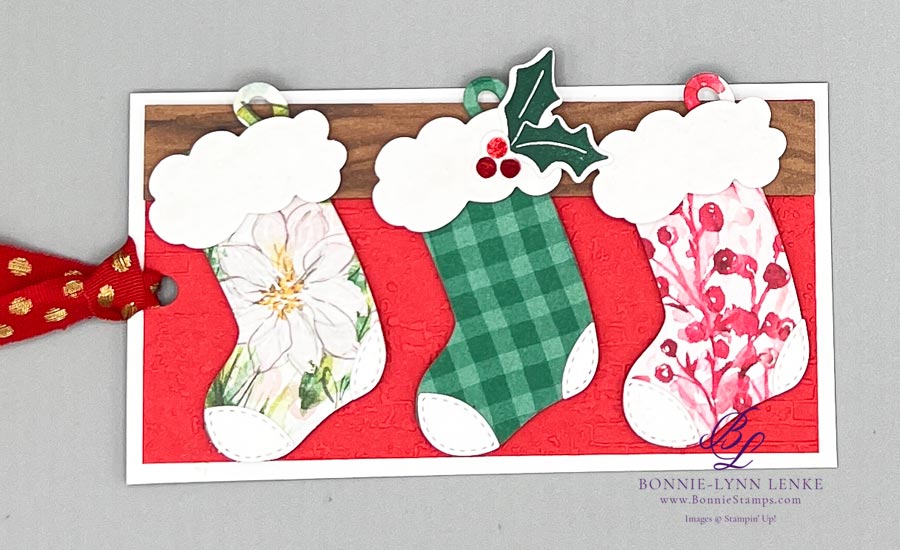
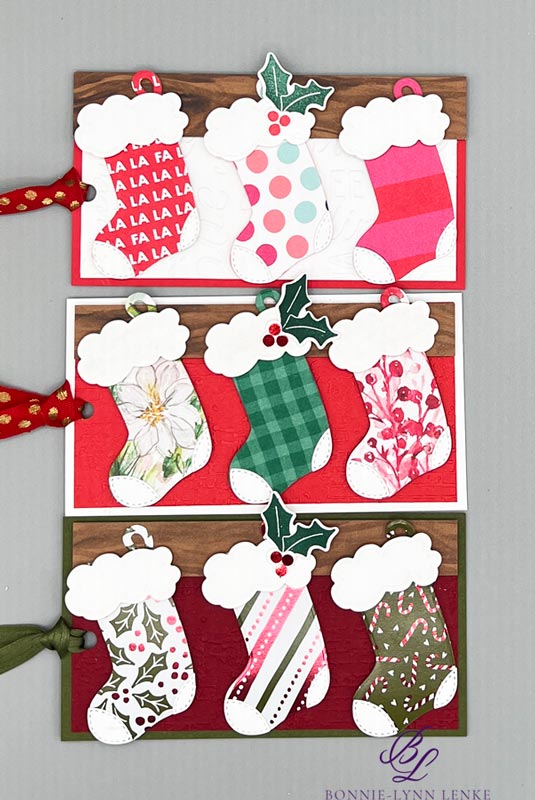
Stockings Tag
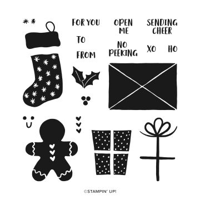
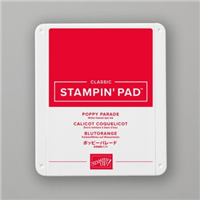
- Stamp the To/From stamp in Poppy Parade Ink on the back side of White Cardstock 3” x 5-1/2”. This is your tag base
- Emboss the Poppy Parade 2-3/4” x 5-1/4” cardstock, with the Exposed Brick Embossing Folder (hint: tag is landscaped). Adhere to front side White Cardstock tag base with favorite Adhesive.
- Cut a 3/4” x 5-1/4” piece of the woodgrain Joy of Christmas Designer Series Paper. Using Dimensionals, pop up the DSP to look like a mantel to the top of the embossed poppy parade paper.
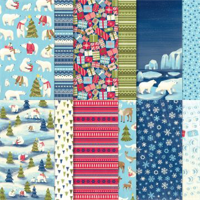
- Crop stockings out of the Joy of Christmas Designer Series Paper and pop up with Dimensionals/Glue Dots (glue dot goes at top to adhere to mantel) at an angle hanging from mantel on the tag front.
- From the Sending Cheer Dies, crop 3 of the fluffy stocking top, 3 each of the top & heel pieces from White Cardstock. The stocking tops are popped up on Mini-Dimensionals. The toe and heel pieces are glued onto the stocking.
- Color some Wink of Stella on the stocking tops to add a glitter to them.
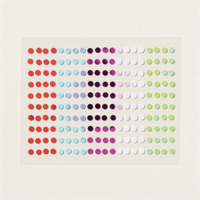
- Stamp the holly leaves in Shaded Spruce Ink and the berries in Poppy Parade Ink. Crop out with coordinating dies. Add holly to middle stocking with Glue Dot and then use another Glue Dot to add the berries. Over top each berry place Iridescent Adhesive-Backed Discs.
- Punch a hole into top of tag with a hole punch and add Real Red & Gold 3/8” ribbon.

Gingerbread Tag
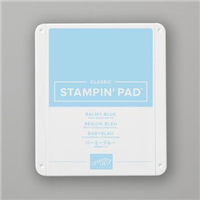
- Stamp the To/From stamp in Pretty Peacock Ink to backside of Balmy Blue Tag Base. Tag is Portrait style.
- Emboss the White Cardstock 2-3/4” x 5-1/4” with Christmas Tidings Embossing Folder (sample is a retired embossing folder) then adhere to Balmy Blue Tag base front.
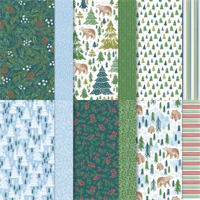
- Add a 1-1/2” x 2-3/4” piece of A Walk In The Forest Designer Series Paper to middle of card tag front with Seal or Tape.
- Stamp 2 Gingerbread men in Pecan Pie Ink onto White Cardstock. The face is stamped in Early Espresso Ink. Crop out with coordinating die.
- For the 3 hearts in gingerbread man tummy, either stamp the 3 hearts stamp in Poppy Parade Ink carefully lining them up or color the hearts with a dark Poppy Parade Stampin’ Blend.
- Cut off the circle at top of each gingerbread man head. Use Stampin’ Seal to adhere the top gingerbread man to tag front. The second one is added using Dimensionals.
- Stamp the “For You” in Poppy Parade Ink onto White Cardstock, crop with the oval shape Sending Cheer Die. Pop up with Dimensionals on bottom of tag front.
- Crop a heart out of Poppy Parade Cardstock and add to greeting with a Glue Dot to cover the hole.
- Punch a hole into top of tag with a hole punch and add Balmy Blue 3/8” Sparkle ribbon.


Card Recipe
Cutting Directions:
- Tag Base: 3” x 5-1/2” (Basic White and/or Balmy Blue)
- Embossed Layer: 2-3/4” x 5-1/4” (Poppy Parade and/or Basic White)
- Basic White: 4-1/2” x 5-1/2” (stamping and dies cuts for both tags)
- A Walk In The Forest Designer Series Paper: 1-1/2” x 2-3/4” (Gingerbread man tag)
- Joy Designer Series Paper: (3) 2” x 3” pieces of DSP (stockings)
Supplies Used:
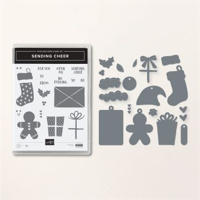
- Stamps: Sending Cheer
- Dies: Sending Cheer
- Cardstock/Paper: Basic White, Poppy Parade, Balmy Blue, Joy of Christmas Designer Series Paper, A Walk In The Forest Designer Series Paper
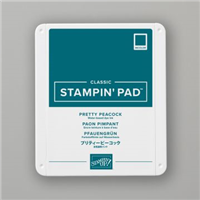
- Stampin Pads: Poppy Parade, Shaded Spruce, Balmy Blue
- Embellishments: Iridescent Adhesive-Backed Discs
- Ribbon: Red & Gold 3/8” Ribbon, Balmy Blue Sparkle Ribbon
- Embossing Folder: Exposed Brick, Christmas Tidings Embossing Folders
- Adhesives: Dimensionals, Glue Dots, Stampin Seal, Liquid Glue
- Tools: Paper Trimmer, Cut & Emboss Machine, Clear Blocks, Take Your Pick, Bone Folder, Stampin Pierce Mat, Paper Snip Scissors
Customer Rewards
Earn Free Stampin’ Up! products when you order from Bonnie-Lynn Lenke!

Earn Free Products*
Bonnie-Lynn’s Reward points are my way of personally saying “thank you” for shopping with me and being a frequent shopper. You earn a reward point for every $25 increment you spend on Stampin’ Up! products (before shipping and taxes) through my online store. **Minimum order amount is $50.00 before shipping and taxes.**
After you earn 10 Reward Points, I’ll provide you with a $25 product credit on a future order, I will need to personally place the order for you with the credit. See full guidelines at BonnieStamp.com
*Products shown in photo are an example of what you could select with your credit.
CLICK HERE FOR MORE DETAILS
Check out this month’s Specials:
Click on an image for more information…
Card Keeper Kit