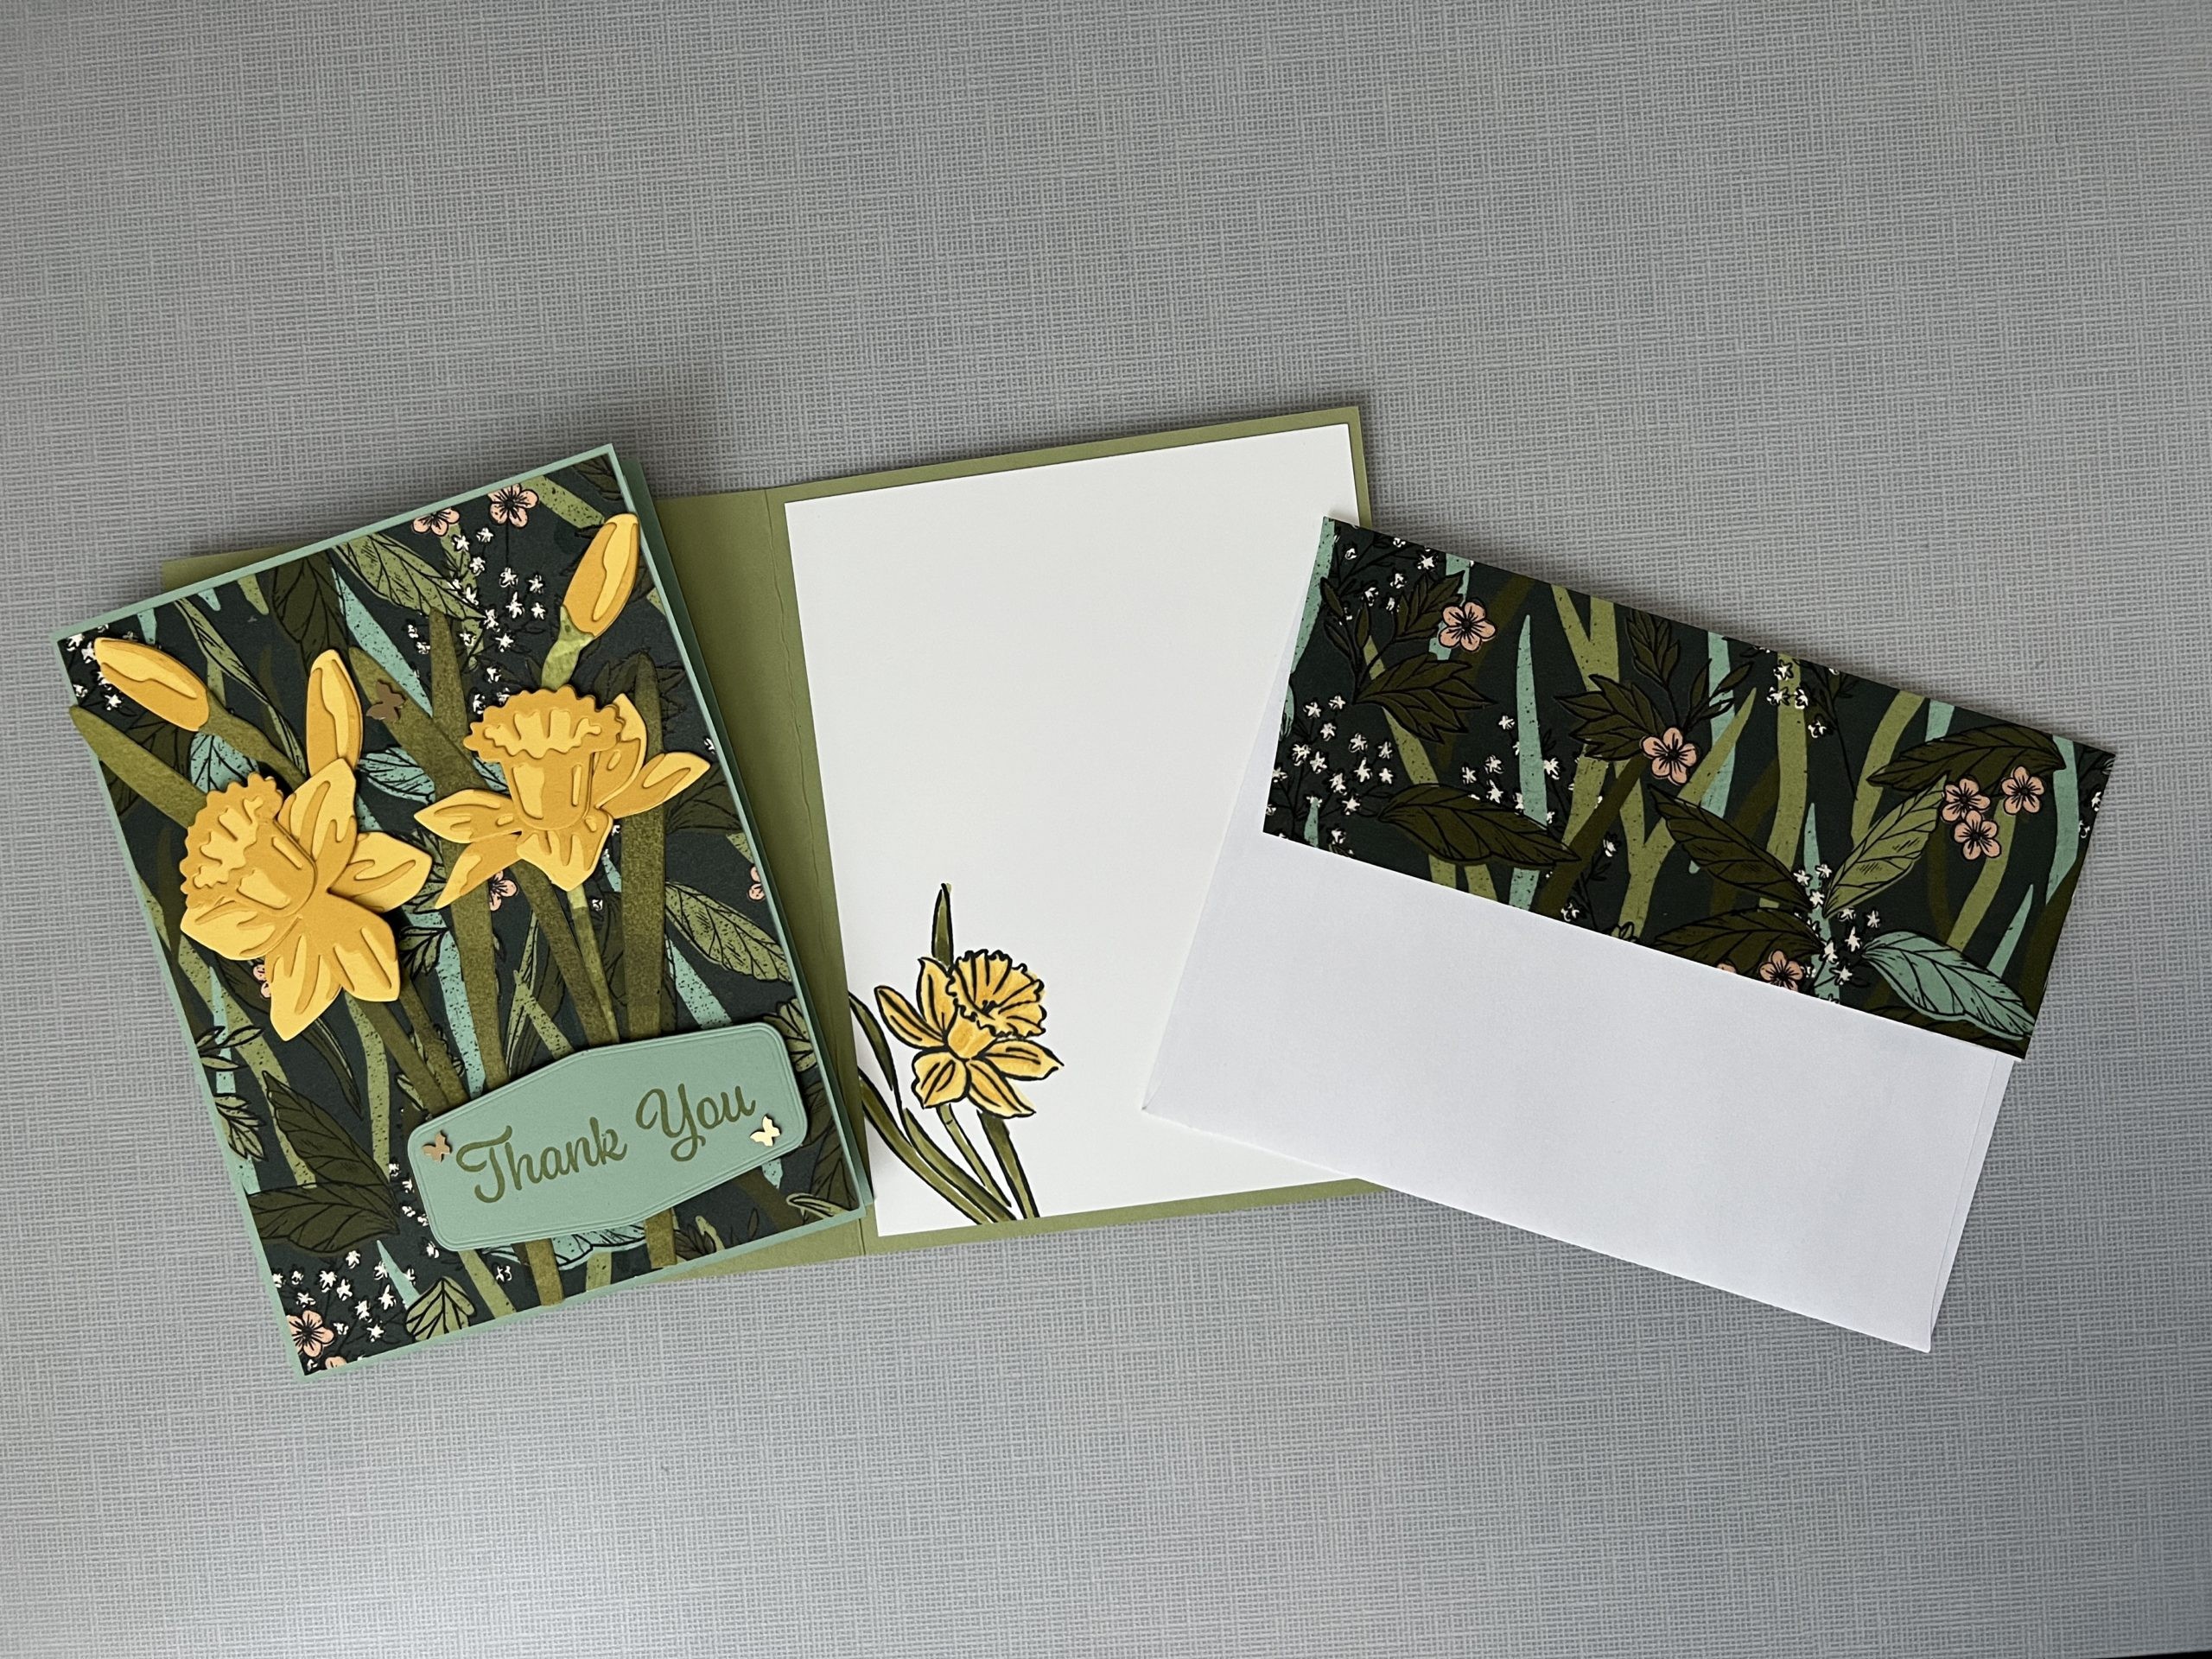
Grassy Grove Water Color Card With Video

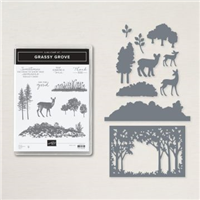
Today I’m sharing with you a Water Color card I did using Stampin’ Up’s Grassy Grove Bundle. Over the years I’ve done a little bit of Water Coloring with ink but not much as I enjoy my Alcohol Markers. The Grassy Grove stamp bundle is perfect for this technique and I hope you enjoy doing it as much as I did. It’s very relaxing and there’s no right or wrong way to do it.
I have made a video for this Grassy Grove card and if you haven’t done watering coloring before or for sometime I recommend you watch it. I show you the difference between using your re-inker verses the stamp pad. I made one card with a greeting on the front and left the greeting off the other ones I did. I prefer no greeting on these pieces of art. Who wouldn’t love receiving this card in the mail. I think my oldest brother may get one in September…
Let’s Get Started
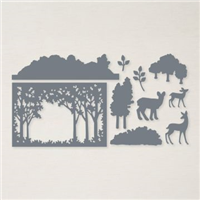
- First let’s cut out the Water Color paper with the large scenery die from the Grove Dies.
- Using either the small or medium brush Water Painter, paint the tree trunks and branches with Soft Suede Ink. I then wet the about half of the water color paper where the green inks are going and start applying the Old Olive Ink. I do this for the rest of the areas. I then go back and add some Mossy Meadow ink where I desire darker areas. Remember it will dry lighter than what it looks wet. I also went back and added Soft Suede ink where I want darker branches. As you’ll see in the video I don’t use a brush stroke as this is a tree outdoors and should look like it has texture. Set aside and let dry. You can use your heat tool to finish drying it if desired.
- Grab your 3-3/4” x 5” White Cardstock panel and Blending Brushes for the background. Starting with the Old Olive on the bottom you want to go up about ¾” to 1” and no straight line across. I don’t mask off at all for blending this background as nature isn’t straight lines. I do hold the water color piece over the blending panel to judge how high I want the green to go. Next I use the Daffodil Delight to add the setting sun in a circular motion. Then starting right above the Old Olive add the Pumpkin Pie. If you made one side of the trees darker than the other you might want to make that Pumpkin Pie area darker. Now use the Pale Papaya to transition to the Balmy Blue. I did take the Balmy Blue a little darker to show through the holes in the die.
- Using the grass stamp from the Grass Grove Stamp Set, stamp the bottom of Blended panel in Old Olive Ink till it is completely across the bottom. At this time also Stamp the bottom of the White Cardstock panel for inside of card and the bottom left-hand side of envelope. Set aside.
- Stamp the greeting onto a piece of White Cardstock with Mossy Meadow Ink. Cut out using a Stitched Rectangle Die. My greeting was much shorter than the die. When first cutting it out I positioned the die close to front lettering and then cut. I then came back and repositioned the die so the other end was close to the end of greeting and made sure that the die fit in the existing grooves from first cut, tape to hold in place and die cut a second time.
- Stamp larger deer in Soft Suede Ink on White Cardstock and die cut out with coordinating Grove Die. Cut little deer out of Soft Suede Cardstock. Also stamp the larger deer in the grass on your envelope lower left-hand corner.
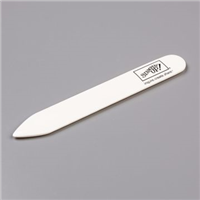
- Fold Mossy Meadow card base in half and burnish with Bone Folder.
- Adhere your Blended Background panel to card base, remember to center it.
- Apply Mini and regular size Dimensionals (you cannot add to many) to Water Color piece and adhere to card front, remembering to center it.
- Adhere greeting to card front with Dimensionals.
- Stamp the inside White panel with a greeting in Mossy Meadow ink and adhere to inside of card.
- Remember to stamp the back of card with a stamp from the Limited-Edition stamp set in Mossy Meadow ink.
CLICK HERE FOR PRINTABLE INSTRUCTIONS
And now you have a beautiful work of art to brighten someone’s day.
Happy Stamping!


Card Recipe
Cardstock:
- Mossy Meadow: 8-1/2” x 5-1/2” scored at 4-1/4” on long side for Card Base
- Basic White: 3-3/4” x 5”, 4” x 5-1/4” (inside), Scraps for stamping
- Soft Suede: Scrap for die cutting deer
- Fluid Watercolor Paper: 4” x 5-1/4”
Supplies Used:
- Stamps: Grassy Grove, Special Moments (thinking of you – set is retired)
- Dies: Grove Dies, Stitched Rectangle Dies
- Cardstock/Paper: Mossy Meadow, Basic White, Soft Suede, Fluid Watercolor Paper
- Stampin Pads: Old Olive, Mossy Meadow, Soft Suede, Pumpkin Pie, Pale Papaya or Peekaboo Peach (retired), Daffodil Delight, Balmy Blue
- Adhesives: Dimensionals, Liquid Glue, Tear N Tape, Stampin Seal
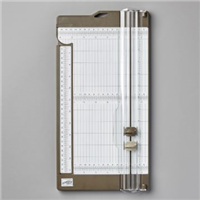
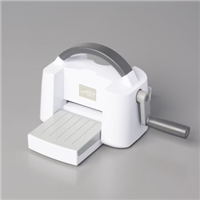
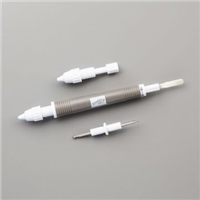
- Tools: Paper Trimmer, Cut & Emboss Machine, Take Your Pick, Bone Folder, Paper Snip Scissors, Stampin Pierce Mat, Blending Brushes, Water Painters, clear blocks.


Stampin’ Up! In Color Starter Kit Promotion May 3rd – 31st
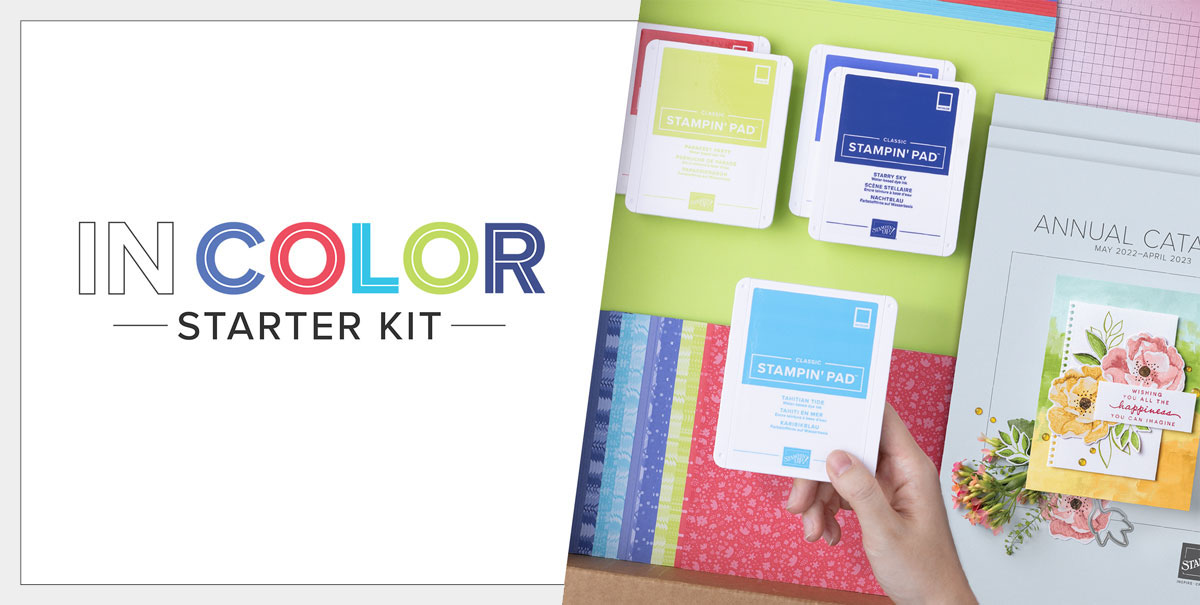
May is a great time to pick up the Stampin’ Up! Starter Kit!! Stampin’ Up! is offering $66.50 in FREE 2022-2024 In Color merchandise when you purchase the Starter Kit between May 3-31!
This incredible deal is in addition to the $125 of products that you normally get with your Starter Kit and the free business supplies, free shipping, a free paper Pumpkin Kit and all the fun being a part of Stampin’ Up!
The Starter Kit is only $99 + tax!! And if you join between May 3-31, you’ll get:
- $125 Stampin’ Up! merchandise of your choice
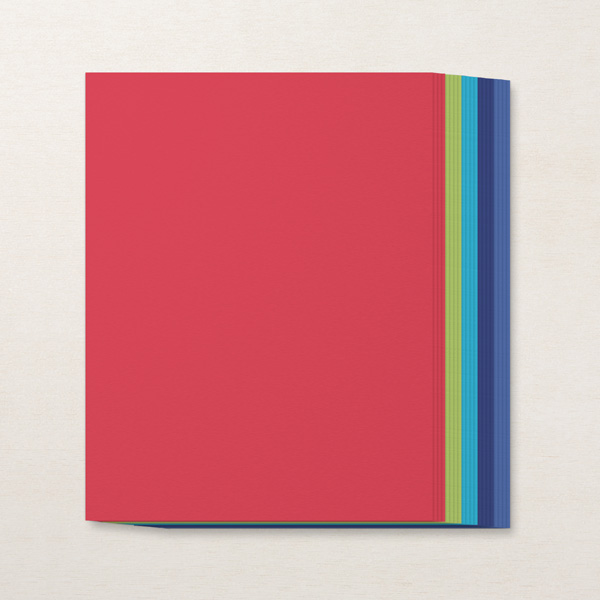
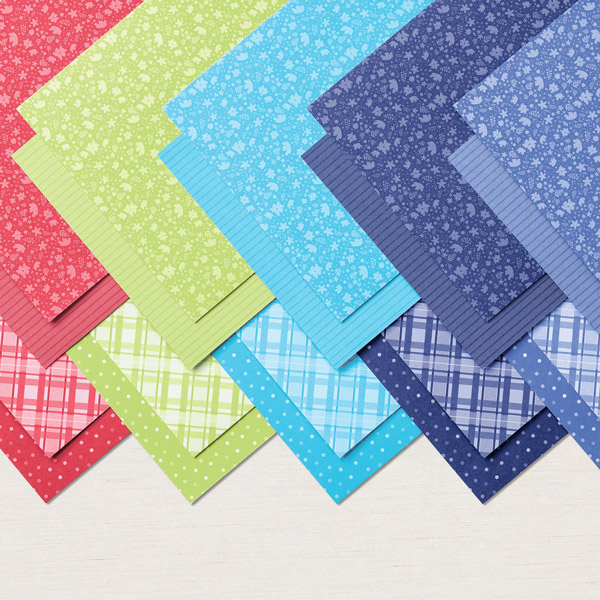
- $66.50 in 2022-2024 In Color merchandise to include the Grid Paper, 5 Stamp Pads, Cardstock Collection and Designers Series Paper Assortment (see pictures below)
- Free business such as Catalogs, Post Cards, Order Forms and Brochures
- Free Shipping
- Free Paper Pumpkin Kit
Such an awesome deal!! And such a great time to join as a Demonstrator!
If you are interested in learning more about becoming a Demonstrator, click here to see all of the benefits and the compensation table. You can also sign up electronically on that same page.