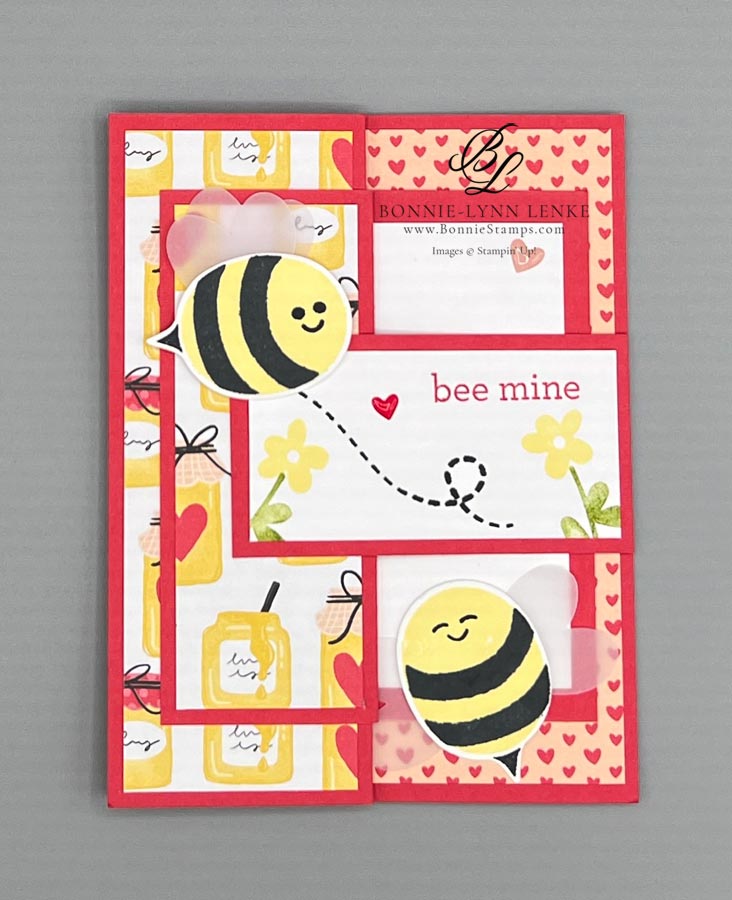
Today I’m sharing my Bee My Valentine Z Fold Card from the Bee Mine Suite of products which is available on January 4th in the new 2024 Spring Mini Catalog. The bees are adorable with the different faces to choose from. Check out the video tutorial for directions on how to make this fun creative fold card. I hope you enjoyed this card as much as I enjoyed making and sharing it with you. Happy Stamping!
Card Directions
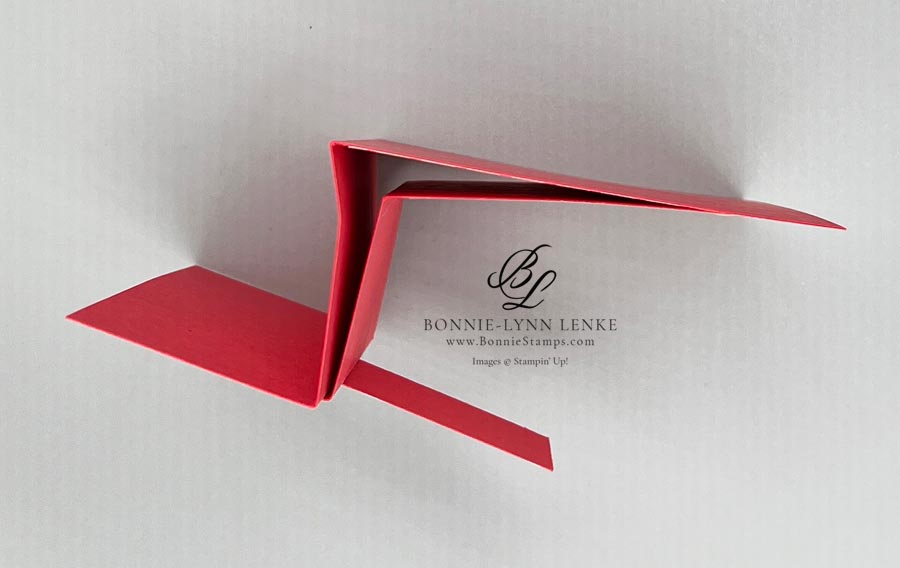
- Cut and score Sweet Sorbet card base and inner z-fold base as written in cutting directions.
- Using your favorite adhesive, add the honey jar Designer Series Paper (DSP) to the left side of card base and the little hearts DSP to the right side of the card base.
- Add the 1-1/2” x 4” honey jar DSP to the right side of the inner z-fold base with adhesive.
- Stamp the sentiment onto the 3-1/4” x 4” White Cardstock in Sweet Sorbet Ink. Adhere to the left side of the inner z-fold base.
- Assemble both card bases together by placing the right side of the 7” x 4-1/4” base centered on the right panel of the 8-1/2” x 5-1/2” card base. Use Tear-N-Tape or Stampin’ Seal on the ends only to adhere the inner Z base (the rest of base needs to be loose to move properly).
- Fold the cards closed and attach the left side of the 7” x 4-1/4” to the left panel of the 8-1/2” x 5-1/2” card base. This will ensure that your Z folds correctly.
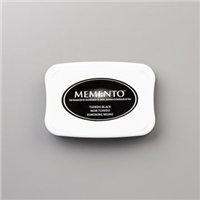
- Stamp the greeting in Sweet Sorbet Ink onto the 3” x 1-1/2 White Cardstock then stamp the broken line with swirl stamp in Memento Ink so one end will be where your bee goes.
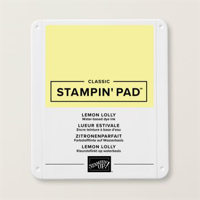
- Stamp the flower in Lemon Lolly Ink on each side of the 3” x 1-1/2” white cardstock and the stem in Granny Apple Green Ink. Adhere to 3-1/4” x 1-3/4” Sweet Sorbet Cardstock.
- Add Tear-N-Tape or Stampin/Seal to the very far right side of greeting. With the card closed, line up the right edge of greeting with the right edge of the card base, adhere to left side of inner base.
- Stamp the solid bee body in Lemon Lolly Ink on White Cardstock, then stamp the stripes with tail in Memento Black Ink on top of the Lemon Lolly. The face is stamped in Black Memento Ink with the bee lying lengthwise. Punch out with the Bee Builder Punch. Repeat these steps for another bee with the face that the eyes are closed and the bee is in a standing position.
- Using the Bee Builder Punch, punch 4 wings out of vellum cardstock. On the bee standing up, apply a wing to each side of the back of the bee with glue dots. The 2 wings on the other bee go to the top side of the bee, offset them. Adhere the bee flying normally to card front with Dimensionals. The other bee is attached to the bottom right hand of inside with Stampin’ Seal.
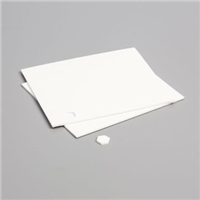
- Add Adhesive-Backed Hearts & Flowers Embellishments to card.


Card Recipe
Cutting Directions:
- Sweet Sorbet: 8-1/2” x 5-1/2”, scored at 2-1/8” & 4-1/4” (card base). 7” x 4-1/4”, scored at 1-3/4” & 3-1/2” (inner z-fold card base), 3-1/4” x 1-3/4” (greeting panel)
- Basic White: 3-1/4” x 4” (sentiment inside right), 3” x 1-1/2” (front greeting)
- Bee Mine 12” x 12” Designer Series Paper: 1-7/8” x 5-1/4” (left card base), 4” x 5-1/4” (right card base), 1-1/2” x 4” (left inner z-fold base)
Supplies Used:
- Stamps: Bee My Valentine
- Dies: Bee Builder Punch
- Cardstock/Paper: Sweet Sorbet, Basic White, Bee Mine 12” x 12” Designer Series Paper
- Stampin Pads: Sweet Sorbet, Black Memento Ink
- Embellishments: Adhesive-Backed Hearts & Flowers
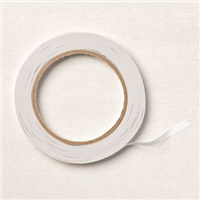
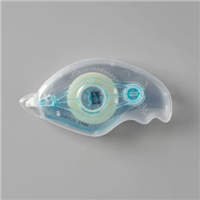
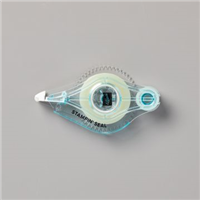
- Adhesives: Dimensionals, Glue Dots, Stampin Seal
- Tools: Paper Trimmer, Clear Blocks, Take Your Pick, Bone Folder, Stampin Pierce Mat, Paper Snip Scissors
Check out this month’s Specials:
Click on an image for more information…
Card Keeper Kit